
A One-Size-Fits-All DIY Project That’ll Keep Your Kitchen Drawer Organized Forever

We all know that the kitchen tool drawer can get messy fast. Housing everything from uni-tasking gadgets to everyday workhorses like cooking spoons, it’s easy for them to become a tangled jumble. And since we all have different items and drawers, there’s no one organizational solution that will work for everyone. Or is there?
The answer is to build your own drawer inserts. You can customize them to fit both your exact drawer dimensions and your specific needs. It’s easier than you think! All you need are wood, glue and a few basic tools.
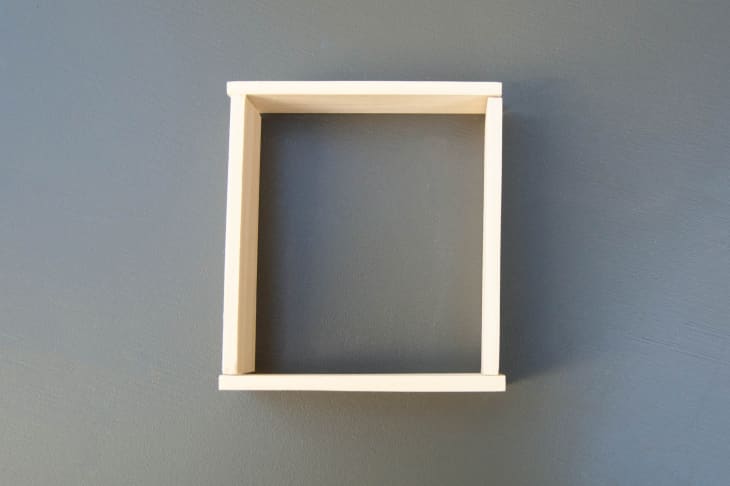
For this project, you are essentially making a series of squares that nestle together perfectly in your drawer, keeping all utensils tidy and in place. They can be any shape or size you need them to be.
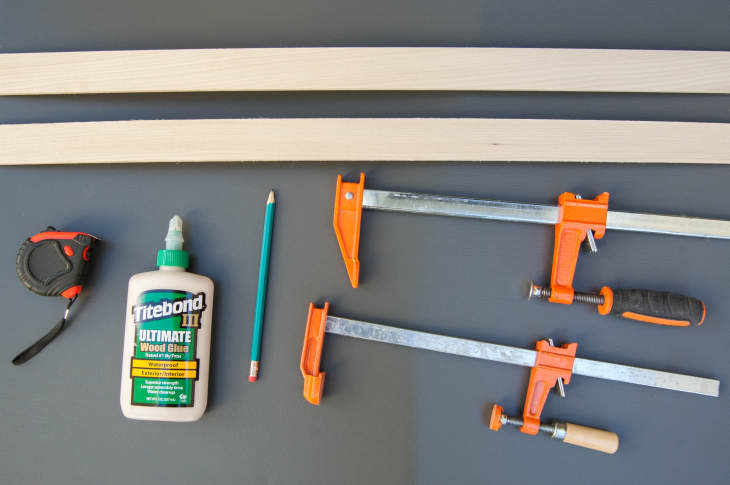
What You Need
Materials
- Wood – I used four 1/4″ x 1 1/2″ by 48″ poplar boards
- Paint or sealer (optional)
- Sandpaper (optional)
- Wood glue
Tools
- Saw
- Two clamps
- Pencil
- Measuring tape
Instructions
1. Take everything out of the drawer and, ideally, cull. These gadget decluttering tips from The Kitchn are a good place to start, but if you want to keep it simple, put everything in a bag and donate whatever you haven’t removed to use within a set timeframe, like a month.
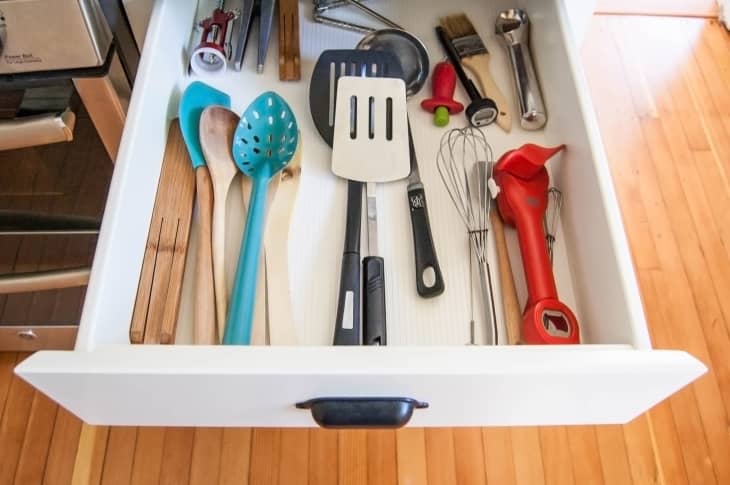
2. Lay your remaining tools out in the drawer in a way that makes sense to you. Consider the size, function, and usage frequency of the items. My drawers don’t fully extend, so I put things in the back that I rarely use but still want to keep. I grouped most other items by size.
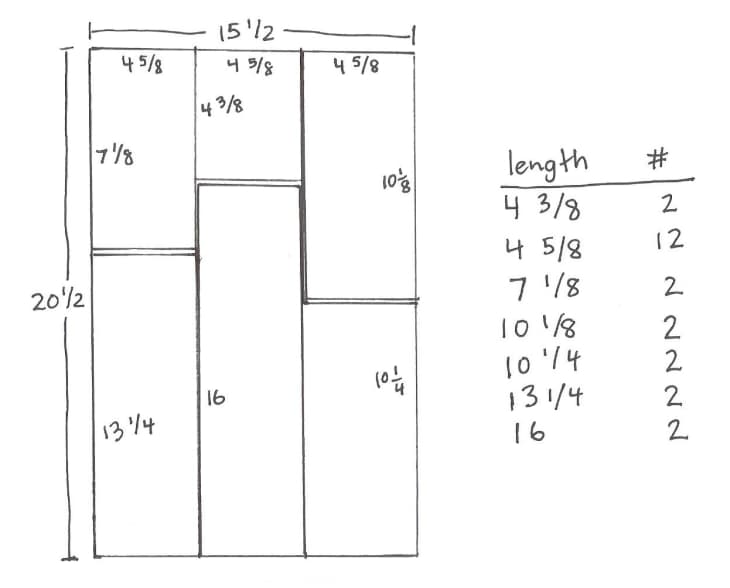
3. Measure your drawer, and draw a diagram of the drawer layout you want to build, with measurements. The inserts need to fit snugly within the drawer so that they don’t slide around when the drawer is opened and closed.
Important Tip: Remember to take into account the thickness of the wood when taking your measurements!
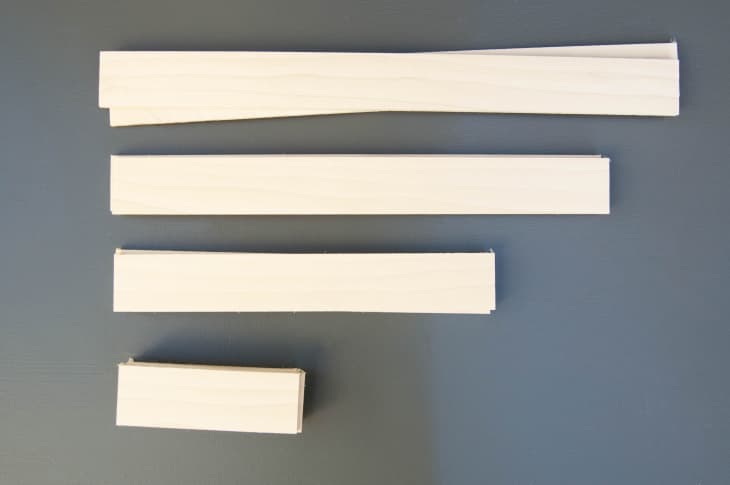
4. Create a cut list, with the lengths and numbers of the pieces of wood you need to cut. If you have one, a mitre/chop saw is perfect for cutting the wood, but a handsaw will work, too.
5. If necessary, sand any rough edges on your wood.
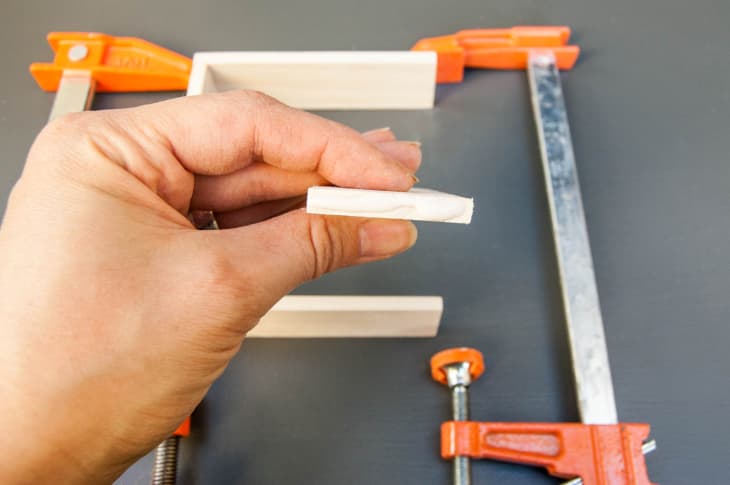
6. Lay out your drawer insert and position your clamps. Spread a thin layer of wood glue on the edges of the wood, and clamp in place. Use a paper towel to wipe away stray glue that seeps out.
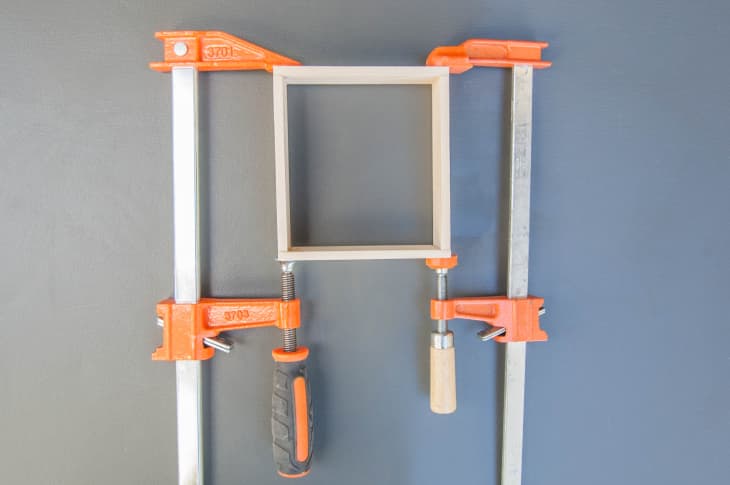
Most wood glues recommend clamping for at least 20-30 minutes. Clamps can be removed to use on your next insert after this time, but leave the glue to dry for a full 24 hours before painting or using.
7. Optional – Paint or seal your drawer inserts with a clear wood sealer.
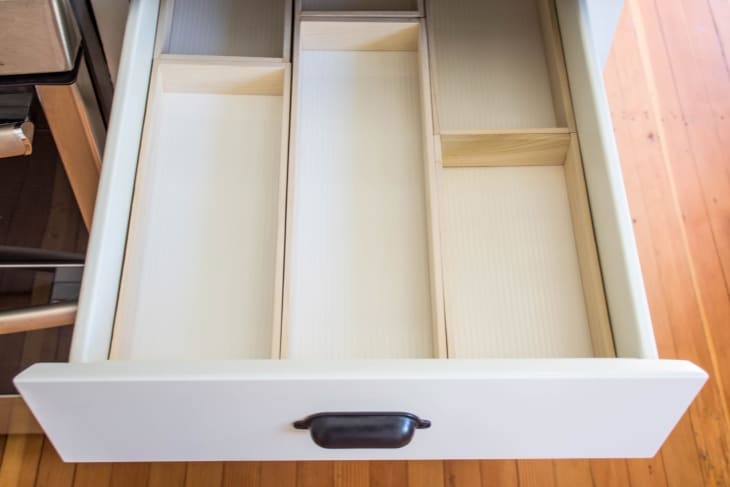
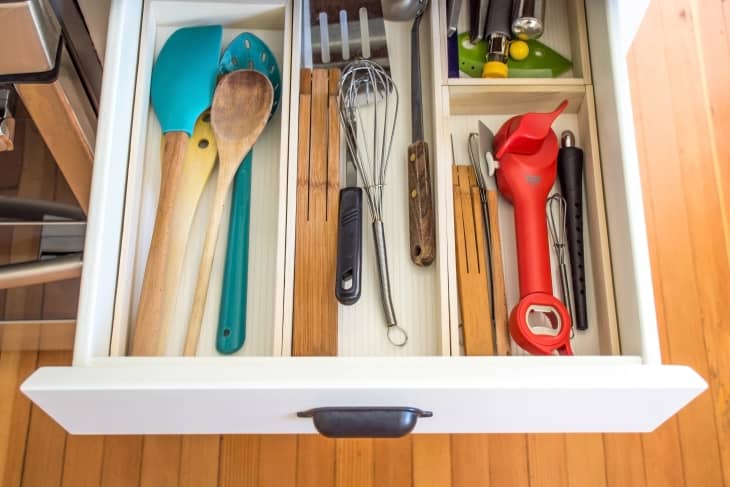
8. Place your dividers in your drawer, and add your utensils.
Have a really great DIY project or tutorial that you want to share with others? Let us know! We love checking out what you’re making these days, and learning from our readers. When you’re ready, click here to submit your project and photos.
Re-edited from a post originally published 8.22.16.