
Sweet & Simple: Make This Easy DIY Advent Calendar

No matter your decor style for the holiday season, this advent calendar/gift cluster can hang, literally. Glam it up with a disco ball ornament (or five!), add color by wrapping the gifts in the same papers that are under the tree, or go over the top with your greenery by adding bright berries or flowers. Whatever your preference, our tutorial will get you started on counting down the days till Christmas.

What You Need
Materials
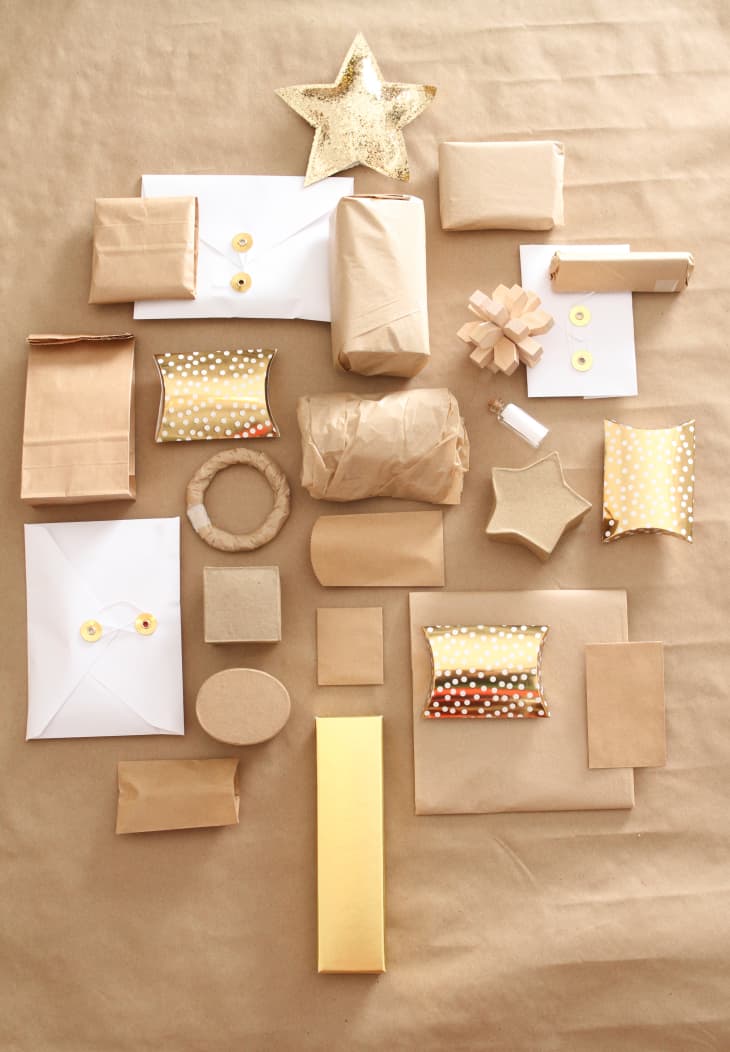
- Envelopes, tiny boxes, tissue paper, wrapping paper, other paper ephemera and decor (enough for 24 small items)
- Ball of twine
- 1/2″ x 36″ dowel rod
- Greenery (I used an olive branch)
- Floral wire
- Tape
- Number stamp kit or permanent marker (optional)
Tools
- Scissors
Instructions

1. Start by gathering your 24 tiny gifts and place them in boxes, or wrap them in paper. Stumped as to what to give? Check out our list of tiny things to fill those boxes.
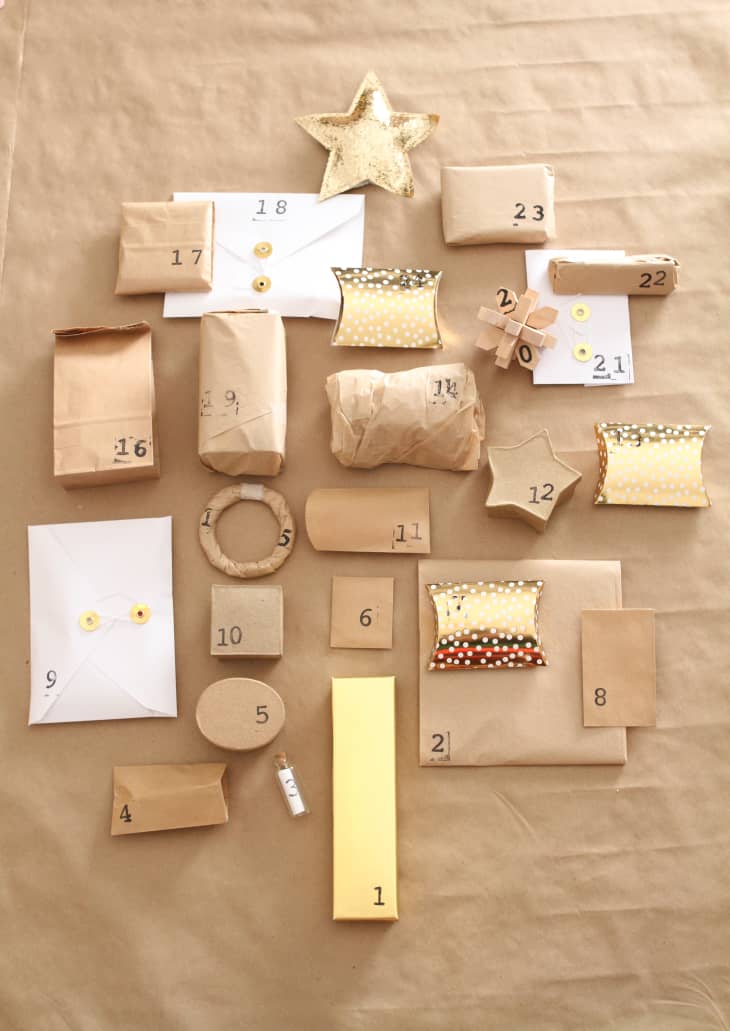
2. Once you’ve collected everything you can either number each package, or leave them blank. I picked up a number stamp kit at the craft store and tagged each package. The numbers won’t necessarily hang next to each other in order on your wall hanging, so if that bugs you, you might want to leave them blank.
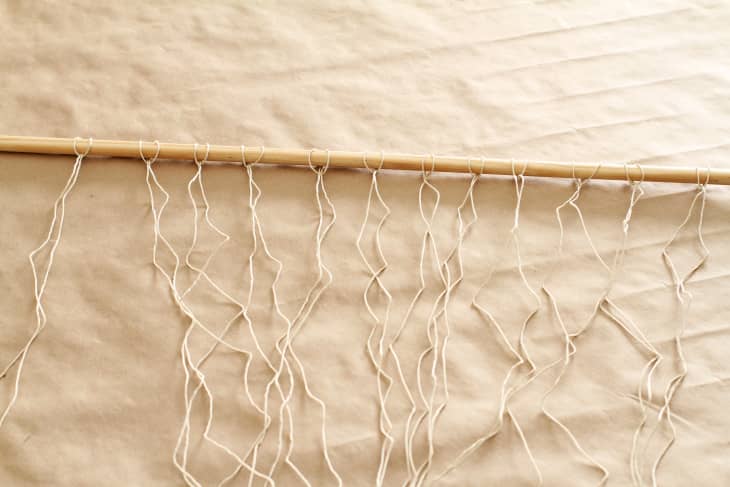
3. After all the presents are in order, get to work on prepping the dowel rod with the twine to hang the gifts from. To do this, you’ll want to first cut 12 long lengths of twine. I cut each string the length of my arms, outstretched. Once they’re wrapped around the dowel rod, you’ll have 24 strings to hang gifts from.
4. Take each length of twine, fold it in half, and make a Larks head knot around the dowel. Start by placing the twine under the dowel rod.
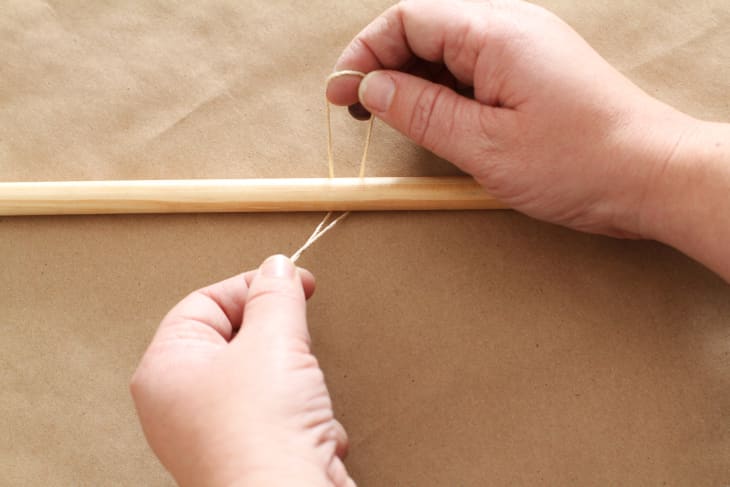
Bring the loop up.
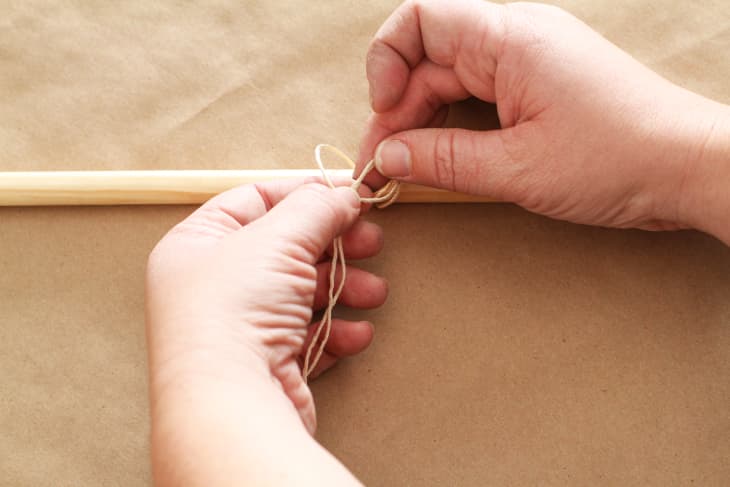
And pull the tail through.
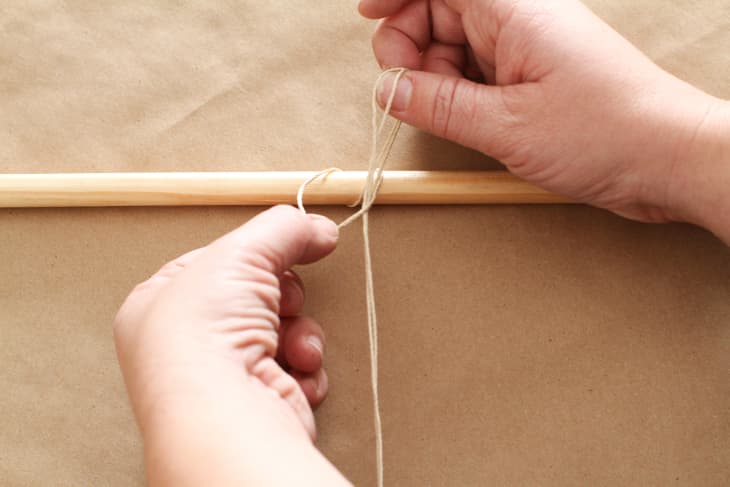
Pull the end of the tail taut so that it’s snug around the dowel rod.
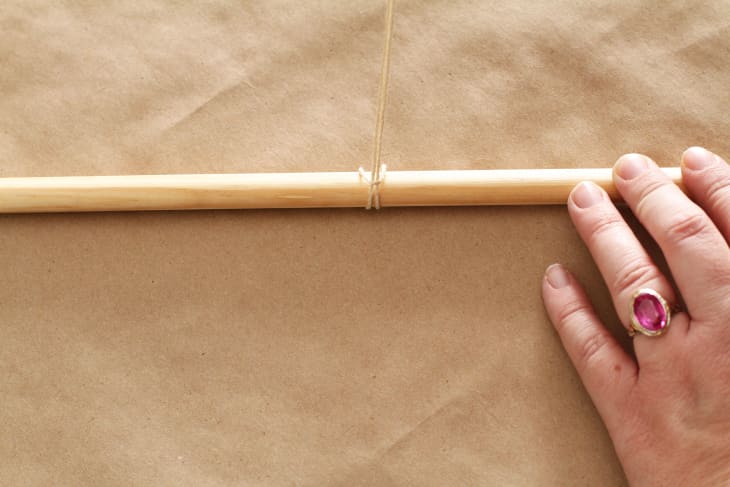
Do this with the remaining 11 lengths of twine.
5. Add a simple hanger to the dowel rod by tying a length of string around each end of the rod. Before attaching the gifts, place the hanging on a wall. This will give you a better idea of layout and balance as you attach the packages. It might look meager at first, but keep at it – once all the packages are in place it looks great!
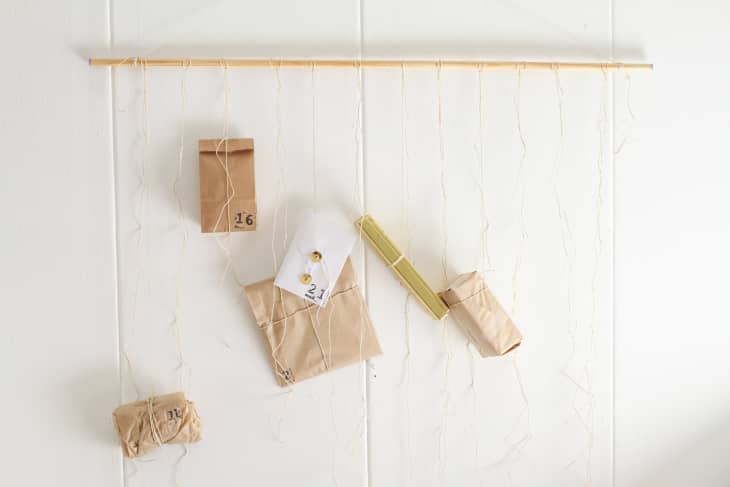
Move the strings around if you need to to balance the gifts and keep the rod level.

6. Lastly, add greenery to make it festive. I chose an olive branch because of its simplicity, and even though it wilts a bit, it will continue to look festive all throughout the season. To keep the branch looking full, add more greenery than you think you’ll want, this way when it begins to dry the wall hanging will still look full.

Don’t overthink this step, just grab some thin floral wire and attach each branch to the dowel rod. Try to keep the wire somewhat inconspicuous.

That’s it! A pretty, simple wall hanging turned advent calendar that can easily be modified to fit your taste.


If you’re not a fan of olive branch, ask your florist silver dollar eucalyptus, or one of the many types of pine to make your home not only look festive, but smell festive as well.

Not sure how to fill up your calendar this year? Check out our Ultimate Guide to Tiny Gifts for ideas.
And for more advent calendar inspiration, check out our 35 DIY Advent Calendars to Make Now So You’re Ready For December.
Have a really great DIY project or tutorial that you want to share with others? Let us know! We love checking out what you’re making these days, and learning from our readers. When you’re ready, click here to submit your project and photos.