
Easy Home DIY Project: How To Sew a Table Runner
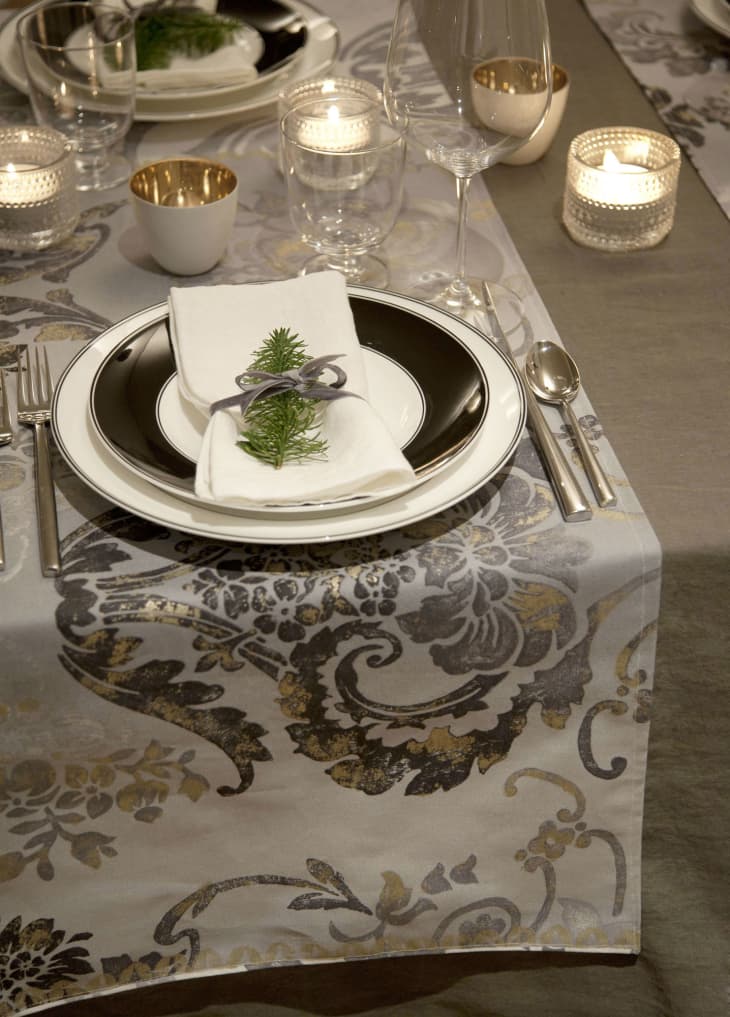
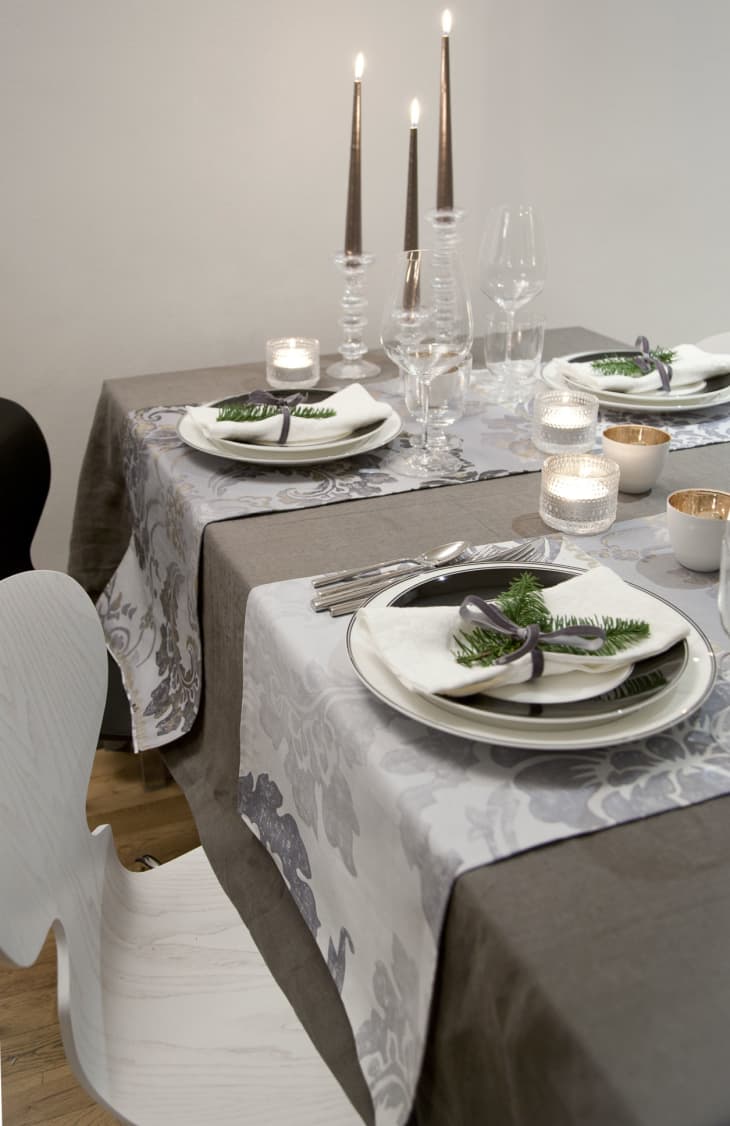
A table runner is one of my favorite ways to dress up plain tablecloths or bare tables. This is probably the easiest sewing project that you could take on, and the same steps can be used to make napkins, too.
For those who hoard designer fabric remnants found in the bargain bin like myself, the table runner project is a great way to put those pieces of fabric to good use. For this project, I created two table runners out of just one yard of Designers Guild Kashgar fabric.
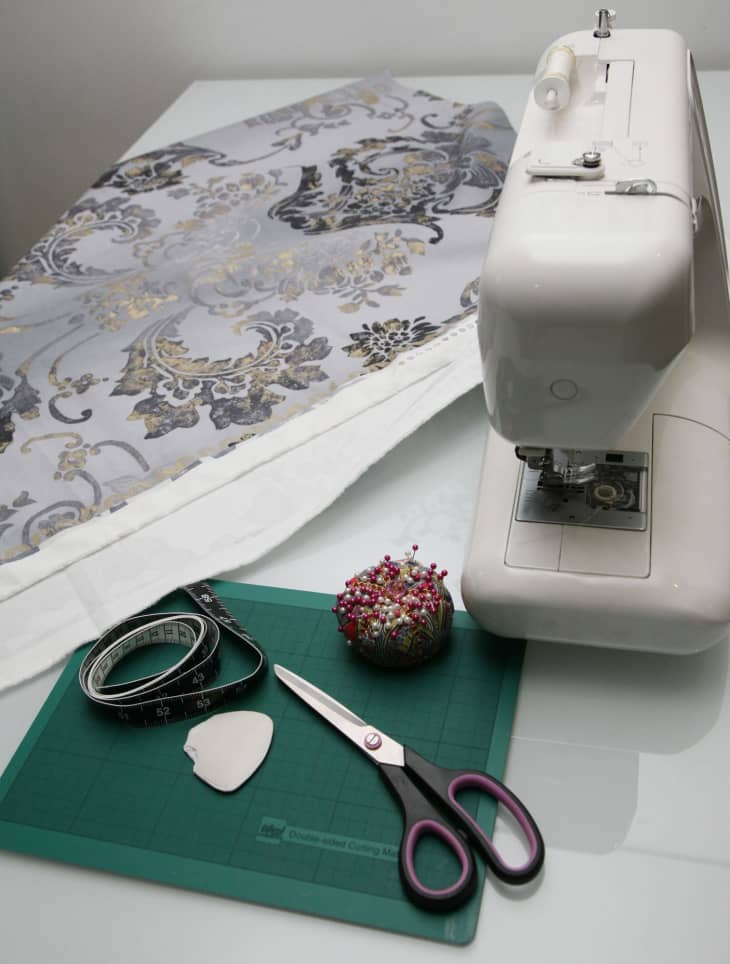
Materials:
- Fabric
- Thread
- Scissors
- Sewing Machine
- Iron and ironing board
- Ruler or Measuring Tape
- Pins (not necessary, but helpful)
Instructions:
Step 1: Figure out the width and length necessary for your finished table runner, and add one inch to both the width and length. I chose a 16″ width for my runner, but think about your table size and the tableware that you will be using to get your own measurement.
Step 2: Cut the fabric to the size required.
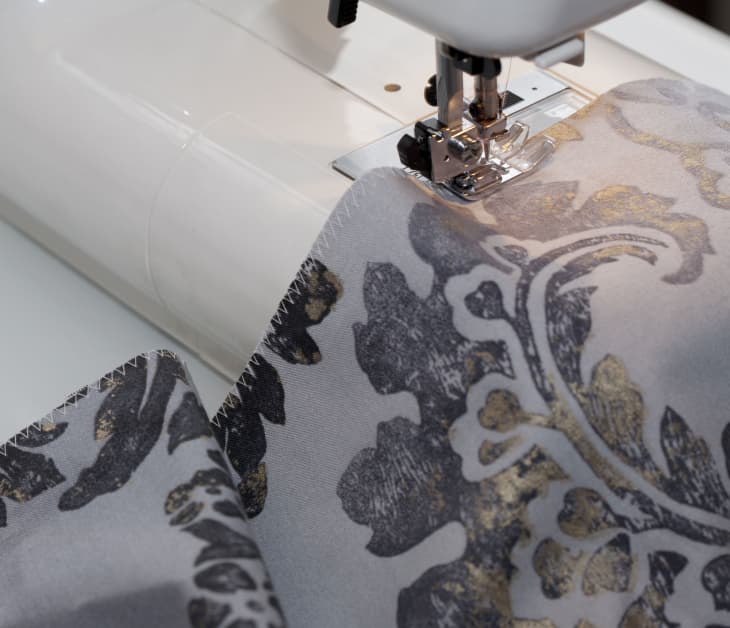
Step 3: Iron your fabric piece. After ironing I zig-zag stich around the entire edge of the fabric piece for a more professional look. The zig-zag stitch also prevents fraying.
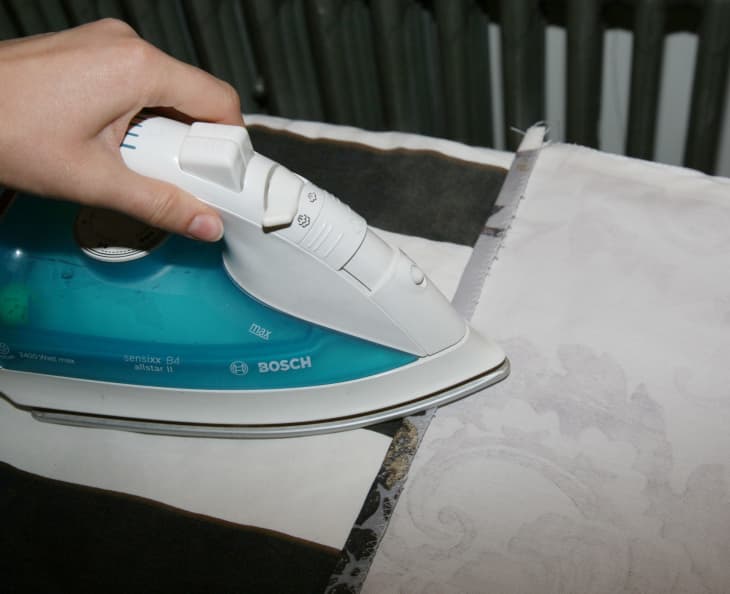
Step 4: Go along the length of the fabric, folding over 1/2″ and ironing the fold flat. I add a couple of pins to hold the fold in place as well, but if you are confident enough you may not need to use pins.
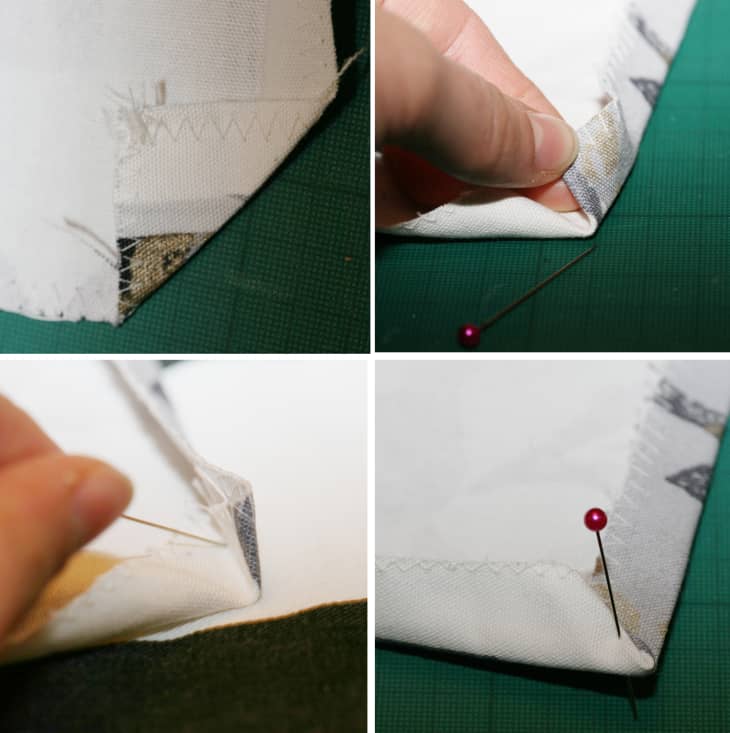
Step 5: The trickiest part of this whole project is when you reach the corners. As you pin the sides and come to the corners, there are a few tricks to creating the mitered corners. The images above should help illustrate the folding method that I use to create mitered corners. It helps me to think about wrapping a package, as it is the same concept.
Fold in the corner to create a 45 degree angle. Now fold each side over so that the two sides come together in the corner at a mitered edge. You can use your finger or a pin to tuck the excess fabric under the folded edge. I then use a pin to hold the corners together until they are stitched.
Step 6: Sew around all four sides of the runner. In order to keep the stitch running continuously around all four sides, follow this trick: when you reach a corner, stop, hand wind the bobbin down so that the needle goes into the fabric (this will hold the fabric in place), release the presser foot, and pivot the fabric so that you are now sewing the next length that needs stitching.
Step 7: Trim any excess threads and you now have a finished table runner ready for use.