
How To Make a Layered Jello Mold

Serves10 to 12
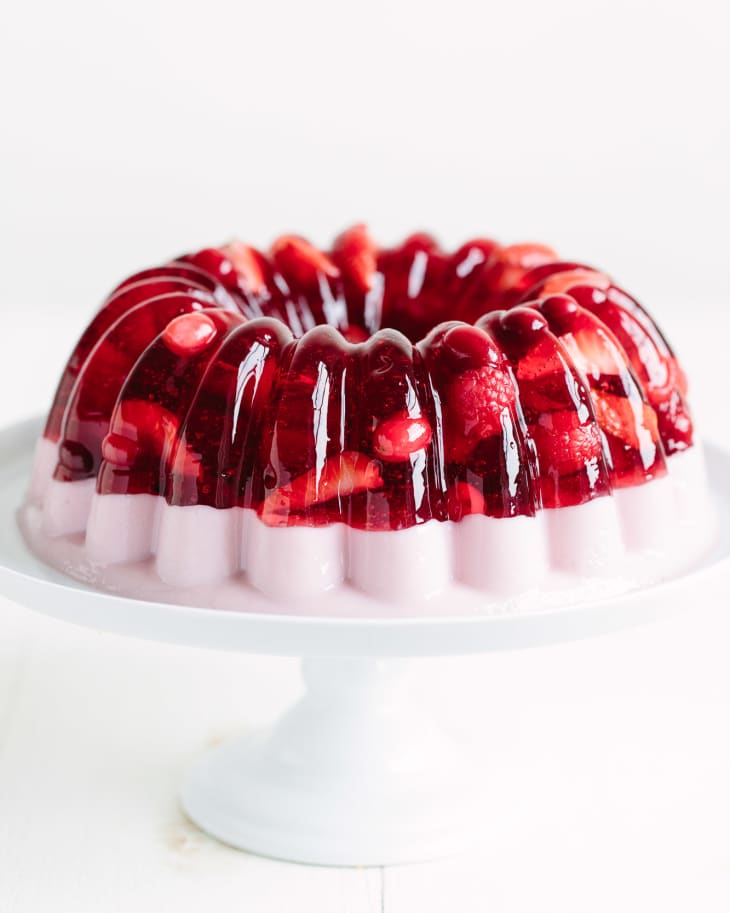
With a vibrant fruit layer bursting with juicy flavor and fresh fruit, and a rich and creamy layer made sweetened condensed milk, you’d hardly think we’d be talking about a jello mold, but we are. And we’re calling it! These delightful no-bake desserts are back. And it’s not just in celebration of retro kitsch.
Nope, these delicious desserts serve many practical purposes: They require few ingredients and even less time, they easily serve a crowd, and, most importantly, they are fun to make and eat.
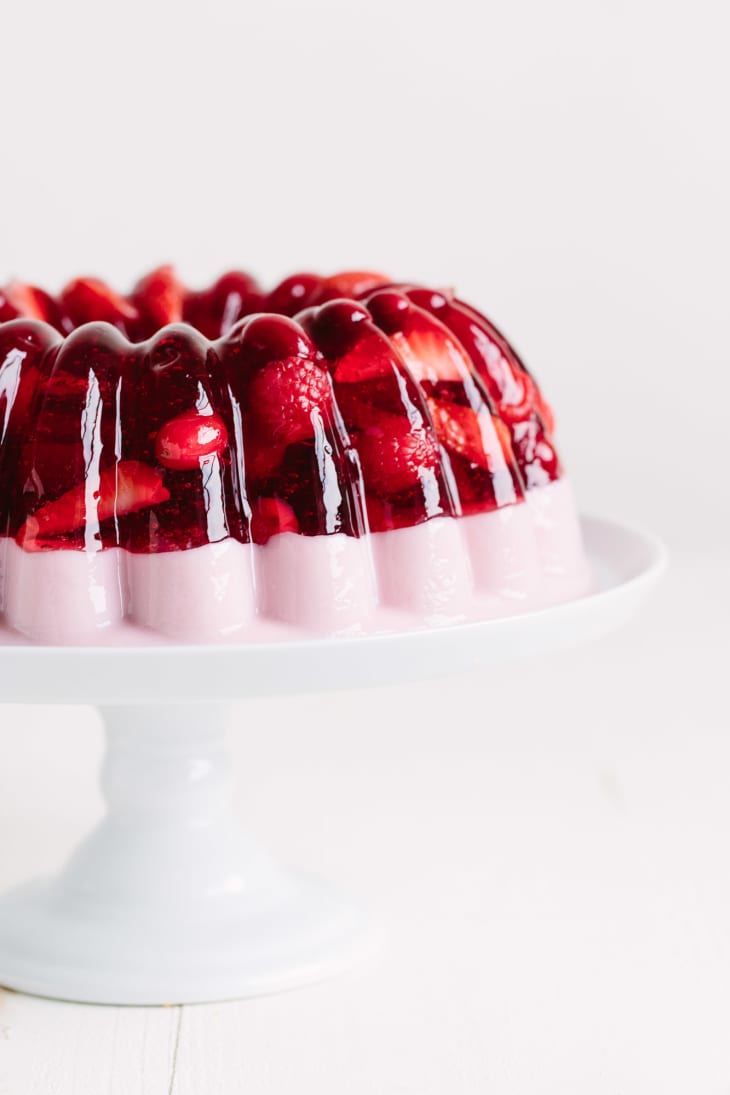
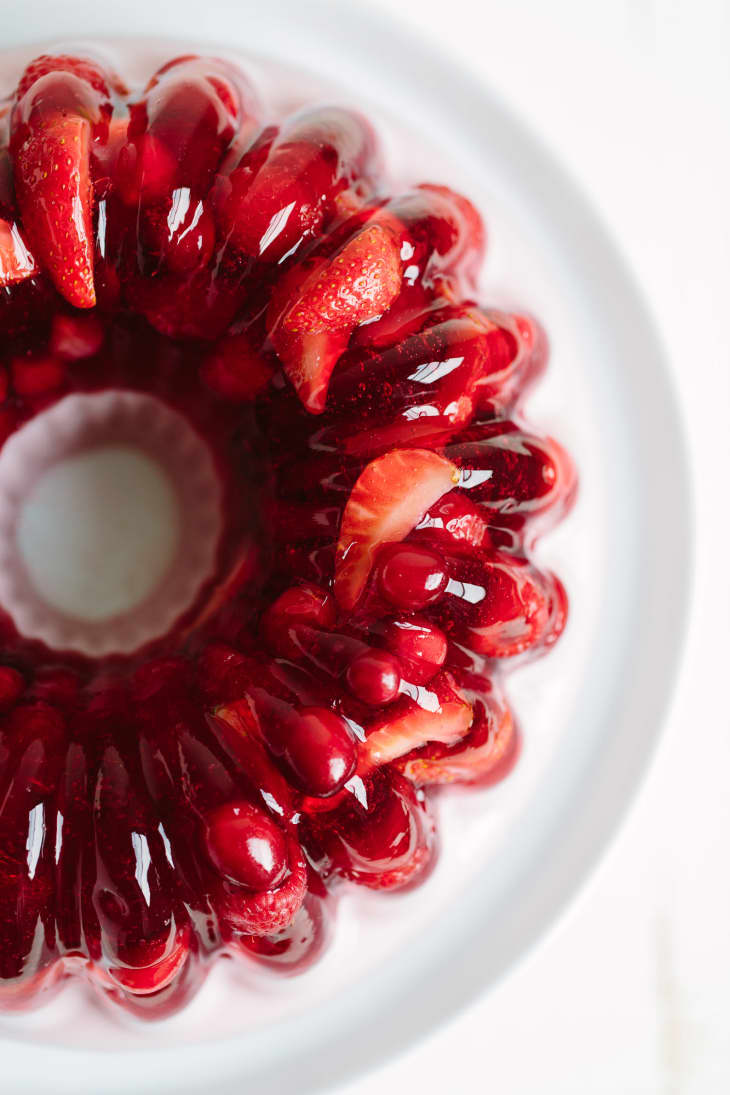
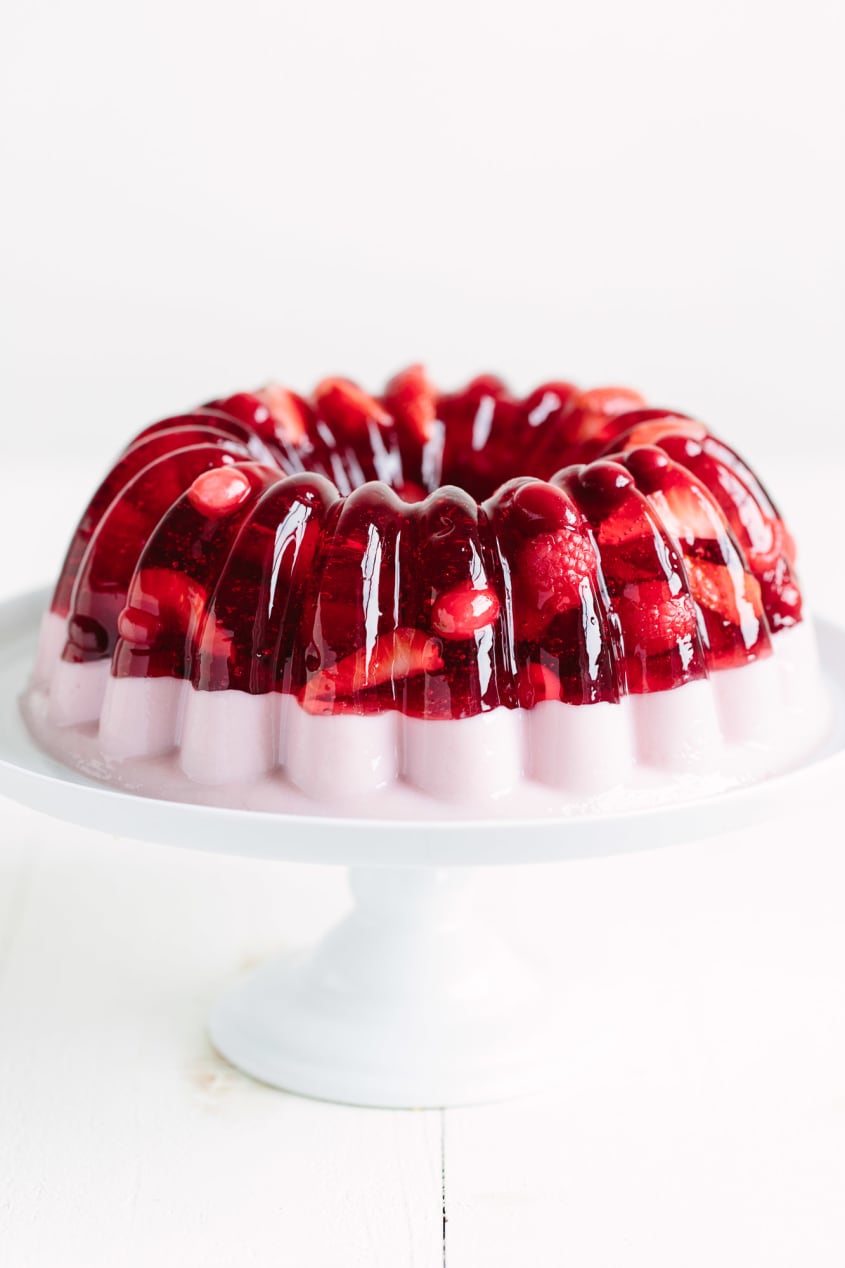
This two-tone number has a top layer made with tart cranberry juice and is packed with strawberries, cherries, and cranberries. The bottom layers is all dense, milky sweetness. Here’s how to make it and a few tips on how to make one of your own creation.
Tips For Making a Layered Jello Mold
- Boil and cool certain fruit juices to help deactivate the enzymes.
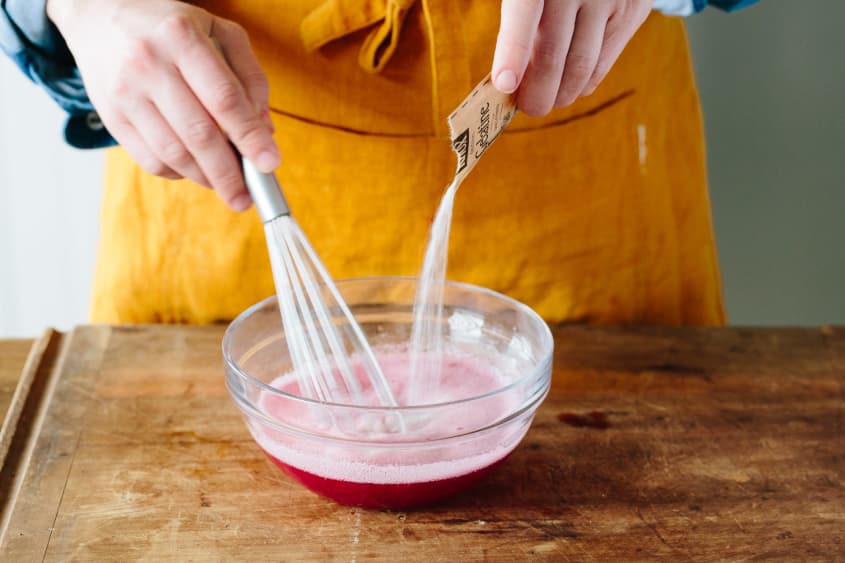
- Whisk the dry gelatin into the liquid so that the gelatin gets rehydrated.
- Remove the liquid from the heat before adding the bloomed gelatin.
- Freeze your empty jello mold before adding the gelatin mixture.
- Make sure the gelatin is set and quite thick before folding in the fruit.
- The first layer should be all set and the second layer’s mixture is cooled before pouring it onto the first layer.
Why Make a Jello Mold?
Making a jello mold is as simple as setting almost any liquid with a little bit of gelatin. You barely even have to turn on the stove. The ingenious part is that you can set almost any liquid — fruit juice, milk, even wine — sweetening them to your liking and adding fresh or frozen fruit to bedazzle the whole thing.
Even better, you can make one gelatin-fruit juice mixture and divide it, making one half a fruit-studded clear jelly and the other half a creamy opaque layer, then setting the two together to yield a dessert that’s both beautiful and delicious. Trick your guests into thinking you worked on it for hours, when you really only spent about 30 minutes of hands-on time.
Layered Jello Mold Rules
Once you understand some basic rules for working with gelatin and setting fruit juices and milks, you can easily adapt this basic recipe to other flavors. Here is everything that you need to know about making a layered jello mold.
- Cook mango, pineapple, guava, and papaya juices before gelling. These fruits have an enzyme (protease) that works against gelatin’s setting power. Some people suggest skipping these fruit juices all together, but boiling these liquids before setting deactivates the enzyme. Boil and cool these fruit juices before adding the gelatin. Avoid these fresh fruits in the fruit layer as well.
- Whisk the dry gelatin into some of the liquid to bloom. In order to gel, gelatin needs to be rehydrated before being dissolved. The easiest (and tastiest) way to do this is by pouring off some of the liquid you plan to gel and whisking the gelatin in to bloom for about five minutes. I suggest whisking the gelatin into the liquid to guarantee that all of the gelatin gets rehydrated.
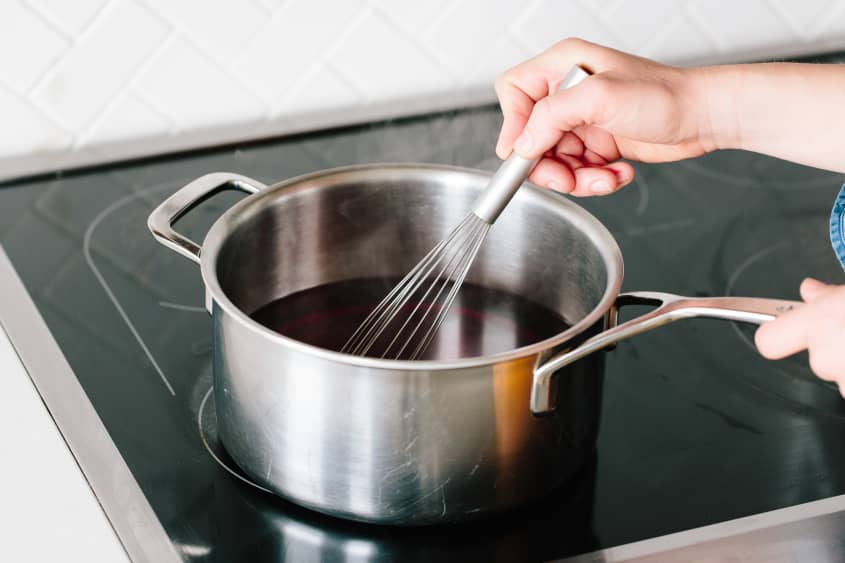
- Never boil gelatin. Heat the liquid you plan to gel to a simmer and remove it from the heat before adding the bloomed gelatin. Boiling weakens gelatin’s thickening power.
- Do not freeze the gelatin. It is super-tempting to place your gelatin dessert in the freezer to set faster, but this also weakens the gelatin’s setting power. You can freeze your empty jello mold before adding the gelatin mixture to give it a head start on cooling when it gets to the fridge.
- Cool the gelatin mixture before folding in the fruit. In order to suspend fruit in the gelatin, the gelatin needs to be almost set and quite thick. The easiest and fastest route to the right texture for setting fruit is to chill your gelatin mixture over an ice bath.
- Set the first layer before adding the second. Patience is key for the layering step. Make sure the first layer is completely set and that the second layer’s mixture is cooled before pouring it onto the first layer.
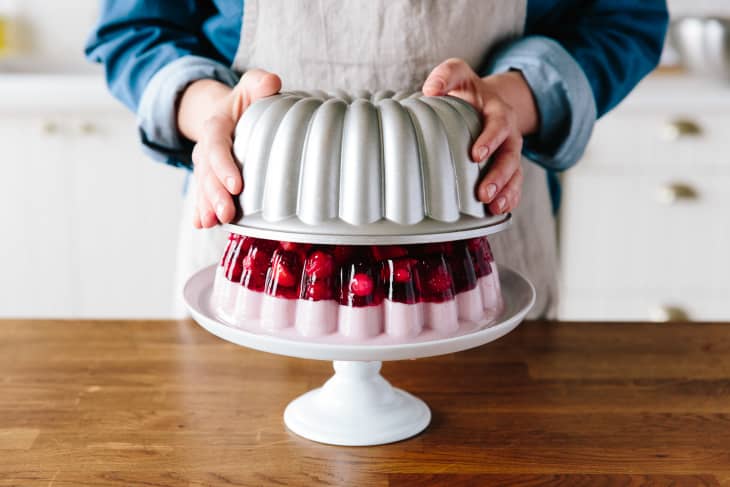
How to Remove Jello from a Mold
Once the mold has set — at least four hours but preferably overnight in the fridge — the only challenge left is removing it from the mold. Personally, I find this easier than removing a cake from its baking pan, but there are few tricks to ensure success.
- Pick a rimmed plate or cake stand for serving. This helps hold everything in place and catch any drips.
- Lightly oil the plate. Greasing the plate gives you room to reposition the dessert, if needed.
- Check the jello mold before un-molding. Just make sure you can pull the dessert from the sides by gently swiping the dessert from the sides. If the gelatin seems really stuck, you can briefly dunk the mold in a dish of warm water to release it.
- Invert the serving plate onto the mold. And line everything up before inverting.
- Wait and listen for the dessert to drop. It’s a wondrous sound when the gelatin gently releases from the mold and plops onto the plate with aplomb.

How To Make a Layered Jello Mold
Serves 10 to 12
Nutritional Info
Ingredients
Cooking spray
- 2 cups
mixed red fruit - such as berries, cherries, and cranberries
- 5
(1/4-ounce) envelopes unflavored powdered gelatin
- 7 cups
cranberry juice cocktail, divided
- 1 cup
granulated sugar
- 1
(14-ounce) can sweetened condensed milk
Equipment
Measuring cups and spoons
Mixing bowls
Small saucepan
10-cup jello mold or Bundt pan
Instructions
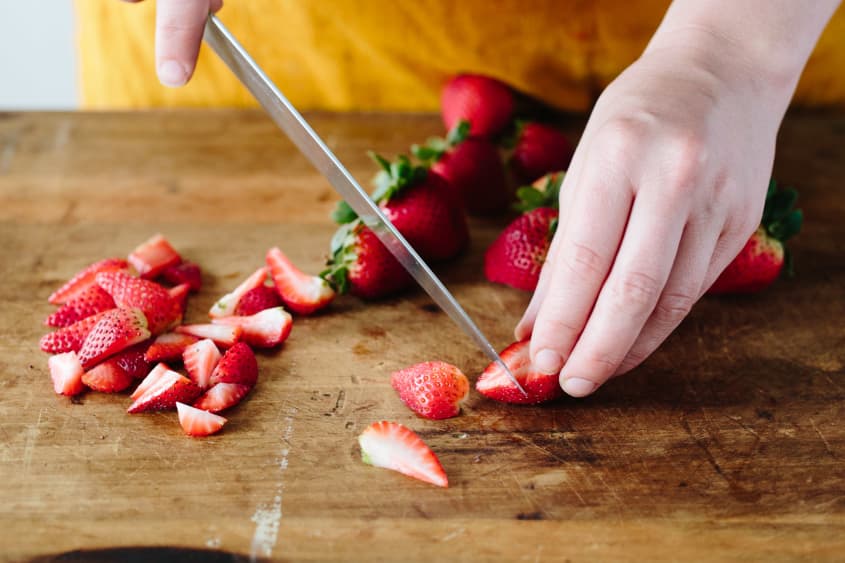
Prepare the mold and chill the fruit: Coat a 10-cup Bundt pan or gelatin mold with cooking spray. Wipe with a paper towel to make sure there are no puddles of spray and the pan is well-coated. Rinse, dry, and cut strawberries into quarters. Stem and pit cherries. Refrigerate the fruit until needed.
Bloom the gelatin: Place the gelatin with 1 cup of the cranberry juice in a medium bowl and whisk to combine. Set aside to bloom while preparing the rest of the mixture.
Heat the juice and sugar: Heat the remaining 6 cups cranberry juice and sugar in a medium saucepan until the sugar is dissolved and the mixture comes to a bare simmer.
Melt the gelatin: Remove the cranberry mixture from the heat, add the gelatin mixture, and whisk until the gelatin is fully dissolved.
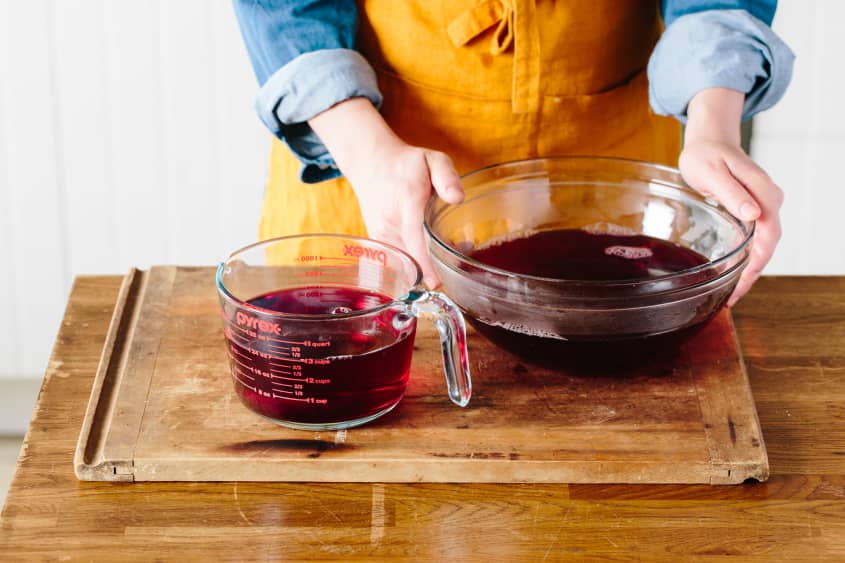
Divide the cranberry mixture: Measure off 3 cups of the cranberry mixture (a large glass measuring cup works best for this). Pour the remaining cranberry mixture into a large bowl.
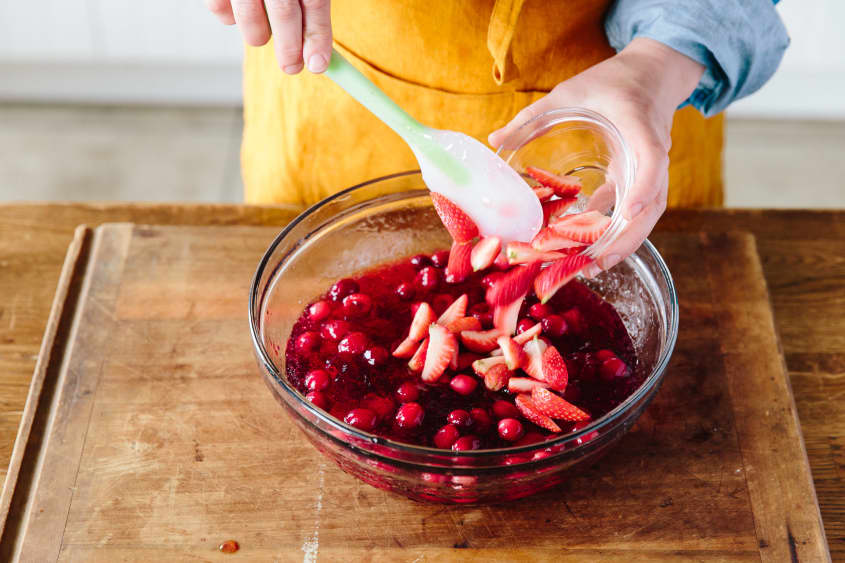
Cool the gelatin mixture and add the fruit: Place the bowl of cranberry-gelatin mixture over an ice bath. Cool the mixture, stirring regularly, until quite thick and it has a hair gel-like texture to ensure that the fruit doesn't float when added, about 30 minutes. Once thickened, carefully fold in the fruit.
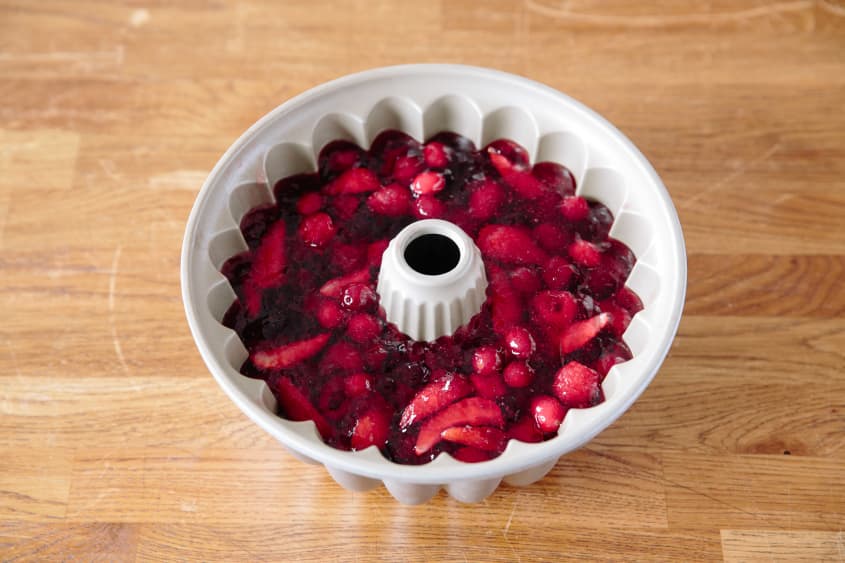
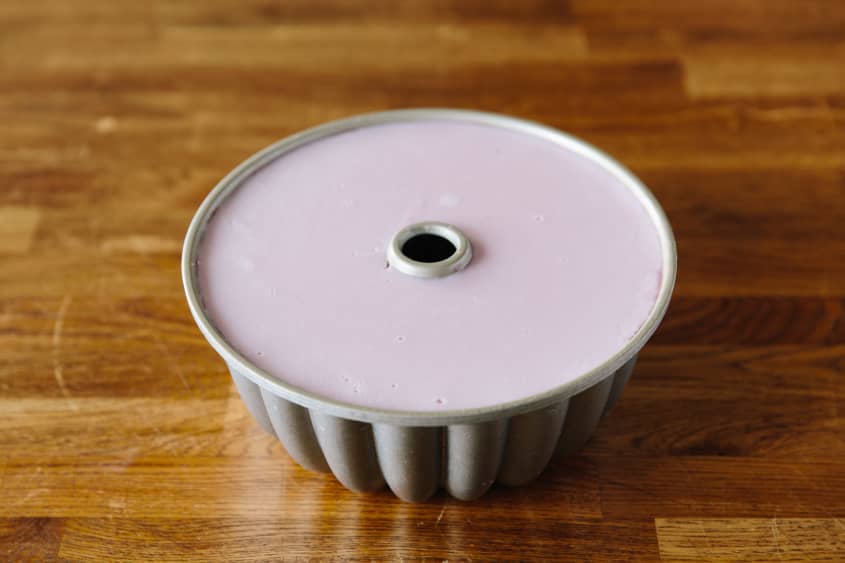
Refrigerate the fruit layer: Pour the gelatin-fruit mixture into the prepared mold. Refrigerate until set, about 2 hours.
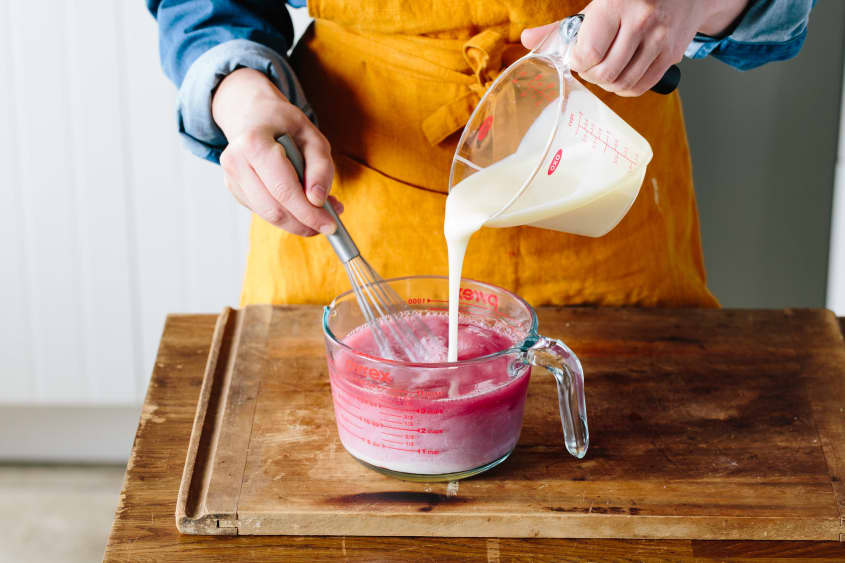
Make the creamy layer: Add the sweetened condensed milk to the remaining 3 cups gelatin mixture and stir to combine. Cool at room temperature until the fruit-filled gelatin sets.
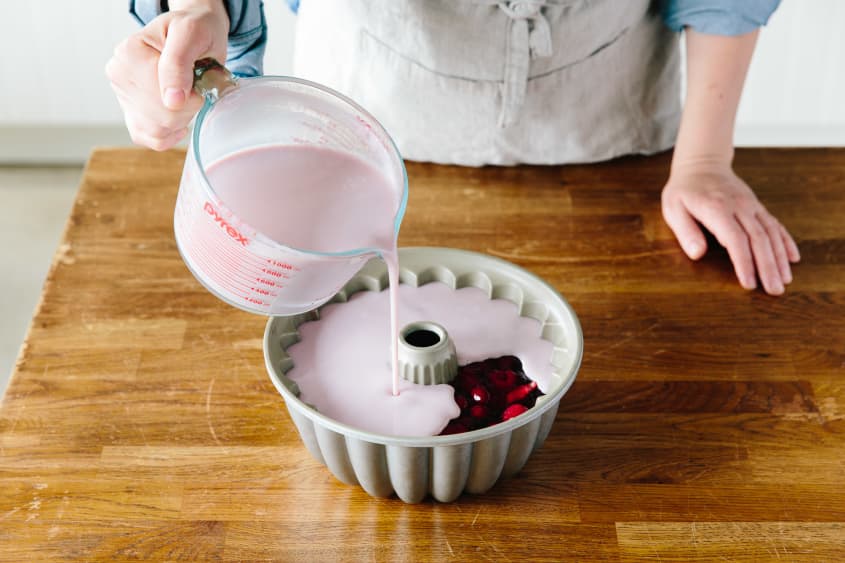
Add the creamy layer mold: Once the fruit-filled gelatin is set, carefully pour the creamy gelatin mixture into the prepared pan. Avoid pouring in one spot. Instead, steadily pour the creamy mixture in while turning the pan.
Refrigerate until set: Refrigerate the whole pan until set, about 4 hours but preferably overnight.
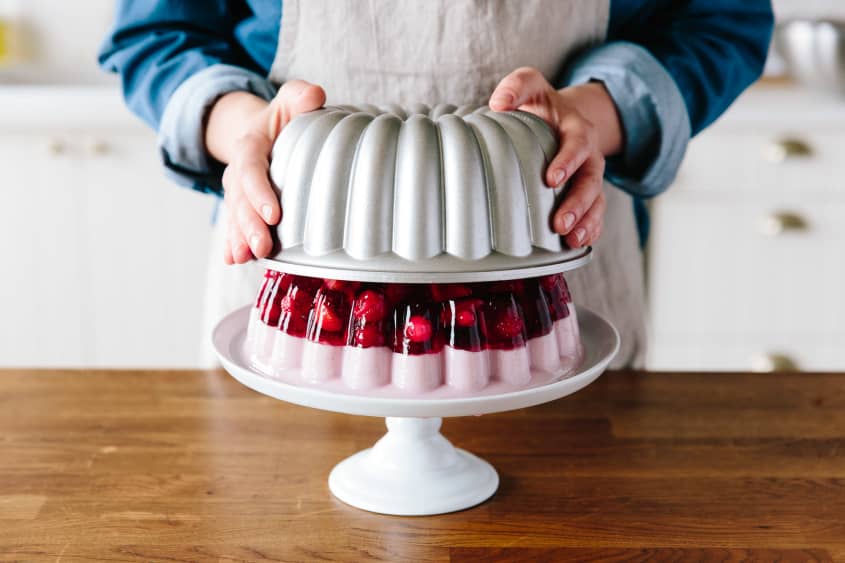
Unmold and serve: To remove the gelatin from the mold, carefully invert the mold onto a serving plate and let the mold fall gently from the mold onto the plate. This will take 2 to 3 minutes. (If it does not come out, fill the sink or large, wide pot — wider than your mold — with warm tap water. Dip the outside of the mold in the water for 10 seconds. Remove from the water, dry the outside of the mold, and flip out onto a serving plate.) Cut into slices and serve.