
How To Make a No-Sew Tote Out of a Pillowcase

Widowed pillowcases are just as common around our house as single socks. I have no idea what happens to them, but apparently the same monster that eats socks also has an appetite for pillowcases. You can imagine my utter delight in coming across this simple, useful, adorable DIY that tackles all three R’s (reduce, reuse, recycle) at the same time…
I seem to remember something about using a pillowcase to go trick-or-treating as a kid, and for good reason -a single case could hold a ton of candy! The idea here is the same, we’re just making the pillowcase look the part so you won’t appear to be attempting to smuggle leeks and carrots out of the produce section.
What You Need
Materials
- Pillowcase
- Paper for making a pattern
- Heat’n Bond (optional)
Tools
- Scissors
- Pencil
Instructions
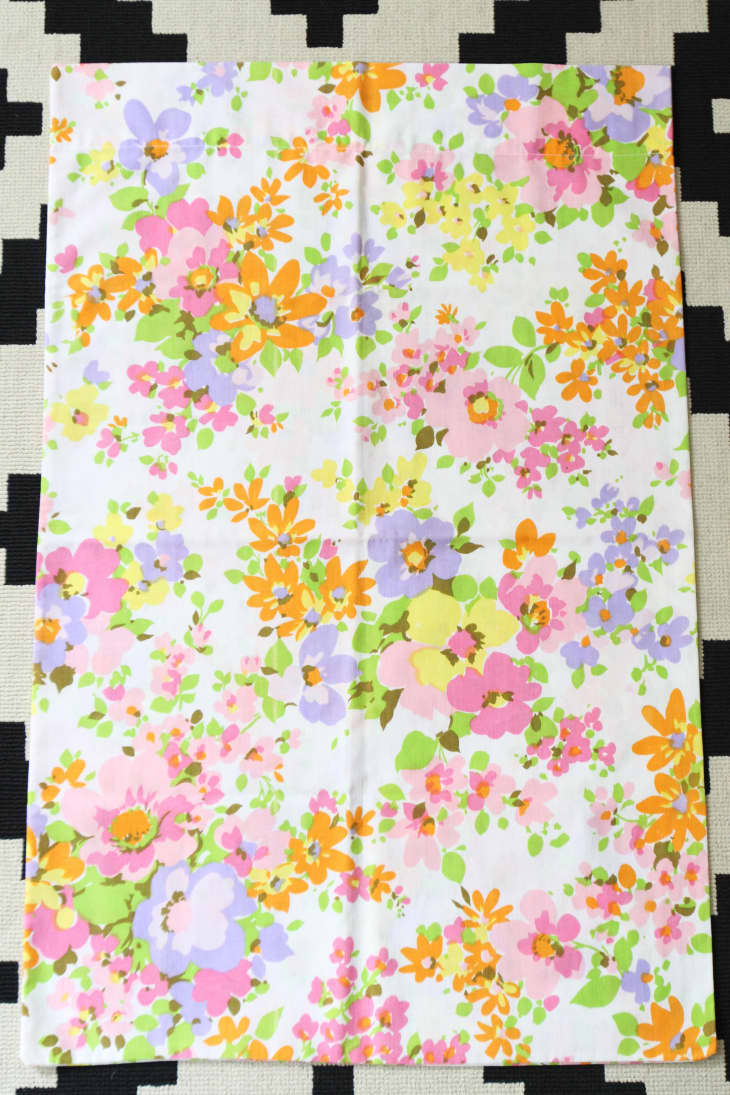
1. After laundering your pillowcase, lay it out flat, making sure the edges are matched up as closely as possible so when you make your cuts all sides will be even.

2. Grab a piece of card stock or newspaper and make a simple pattern to trace so your strap cut outs will be even on each side. I used a piece of cardstock and cut out half of a U shape. Play around with the length of the cut, especially if you plan to wear the bag on your shoulder. Add 3″ to the overall length for your finishing knot.
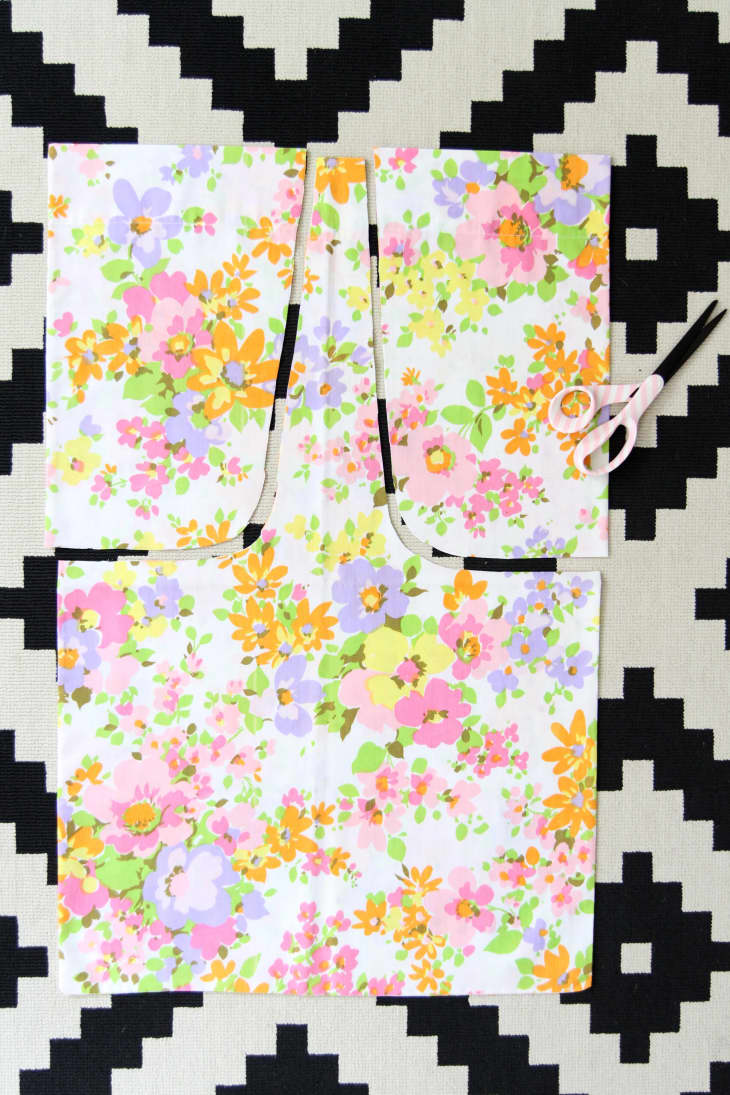
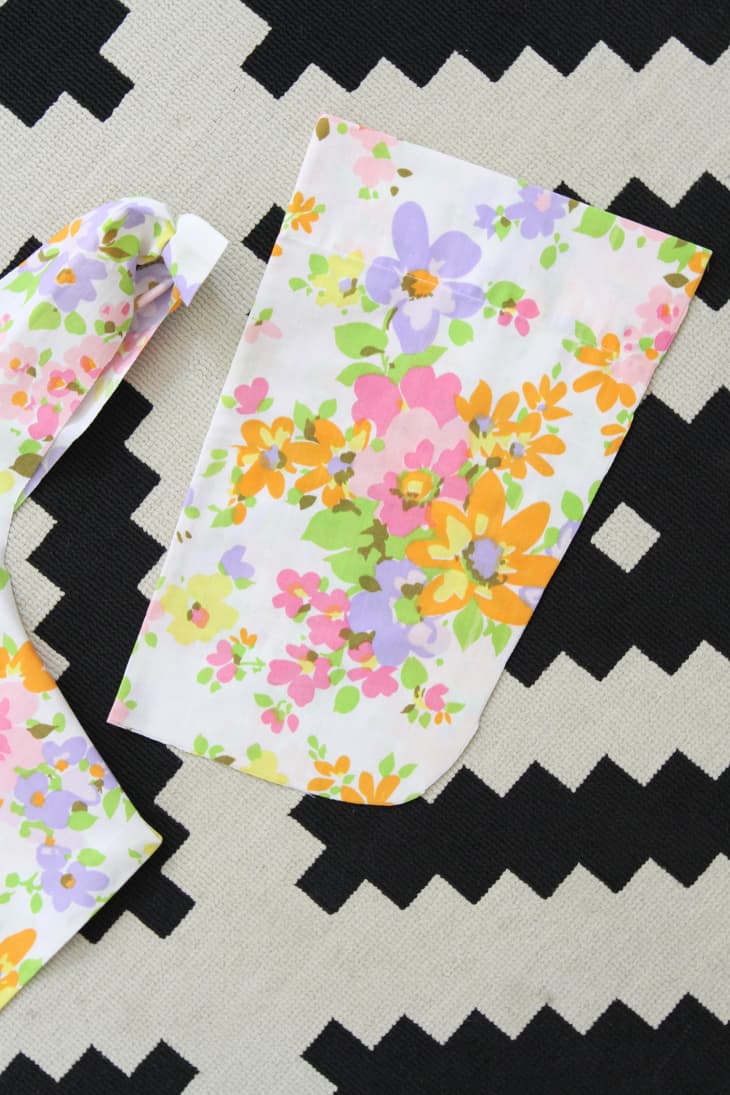
3. Keeping the pillowcase as flat as possible, cut through both sides of the fabric to make the cut outs for the arm hole.
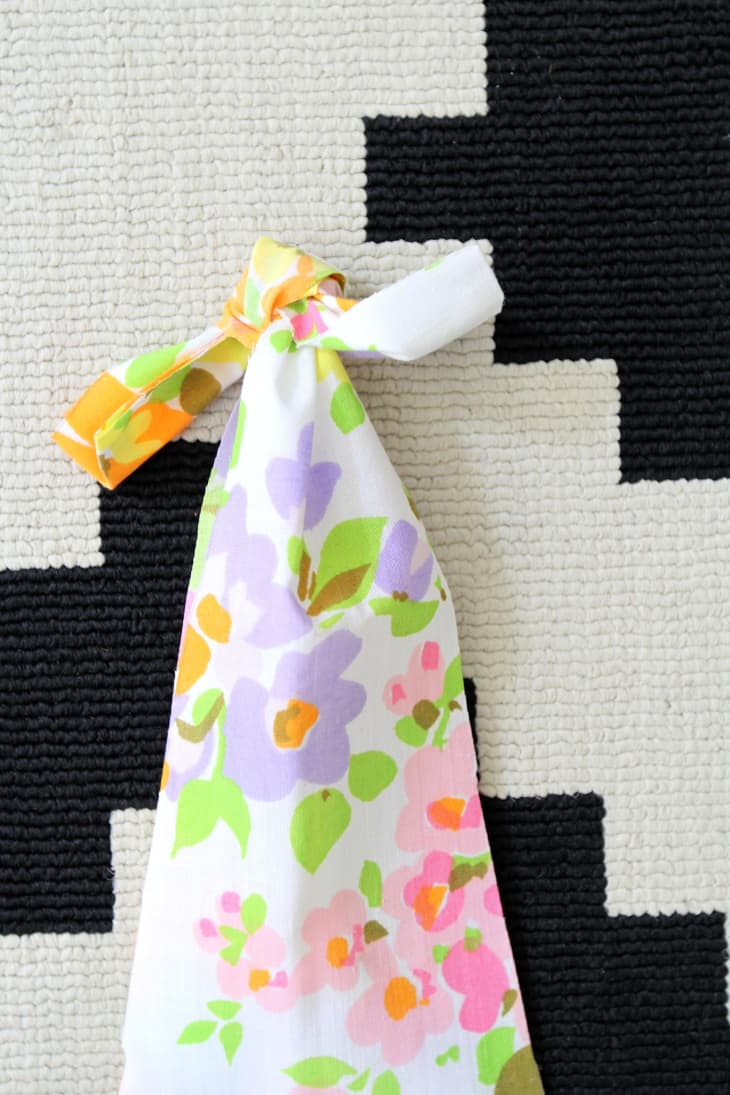
4. Tie up the open end in a tight double knot.
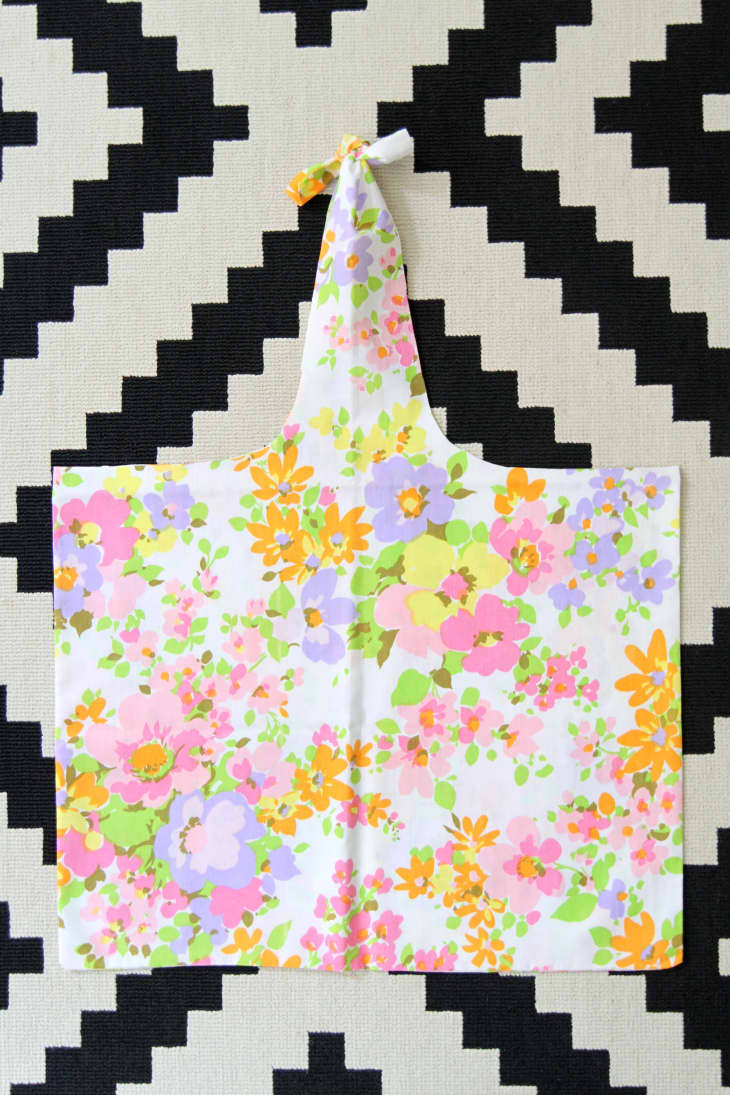
5. The edges of the tote will naturally fold in when in use, but if you want to go ahead and finish the edges, use a no-sew iron-on adhesive like Heat’n Bond. Launder regularly with like items.
6.Take things a step further and use your iron-on adhesive to seal the open edges of the pieces you cut out to make the arm hole. Run a drawstring thru the hems and use these longer bags for produce next time you’re at the grocery store!
Have a really great DIY project or tutorial that you want to share with others? Let us know! We love checking out what you’re making these days, and learning from our readers. When you’re ready, click here to submit your project and photos.