
How To Hang Fabric as Wallpaper
Applying fabric to a wall with liquid starch is a great solution for renters and commitment-phobes alike. A bit time-intensive, yes, but the results are just about as good as it gets. And unlike some wallpapers, you can take it with you when you move!
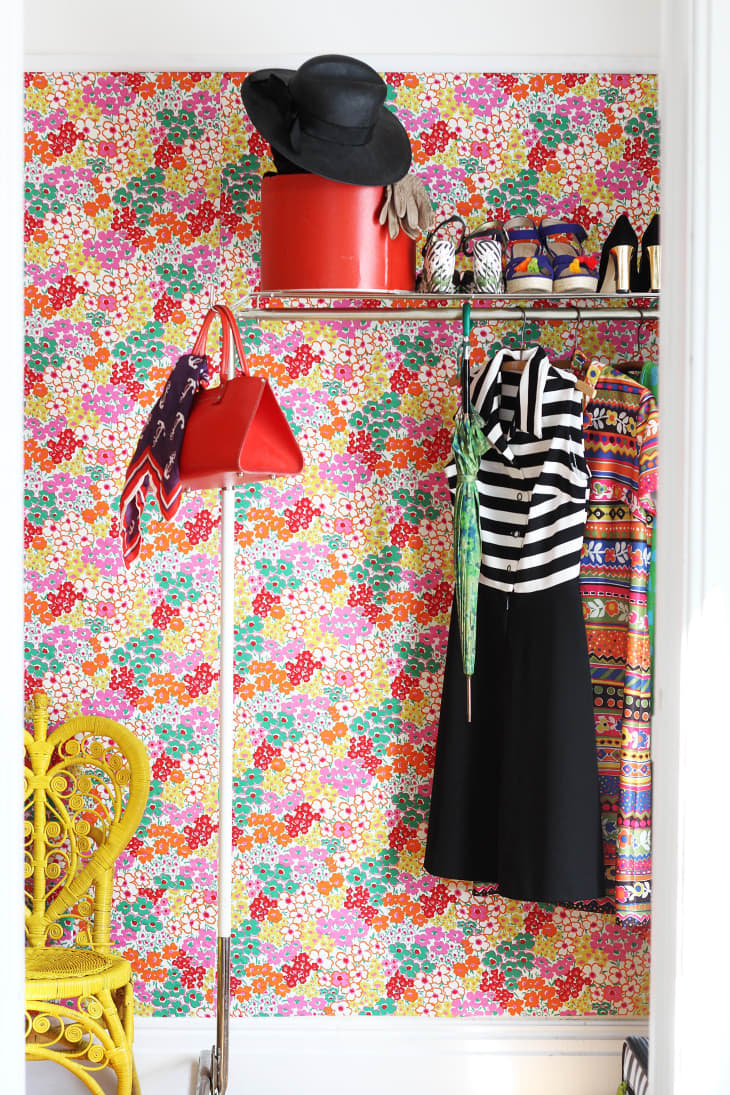
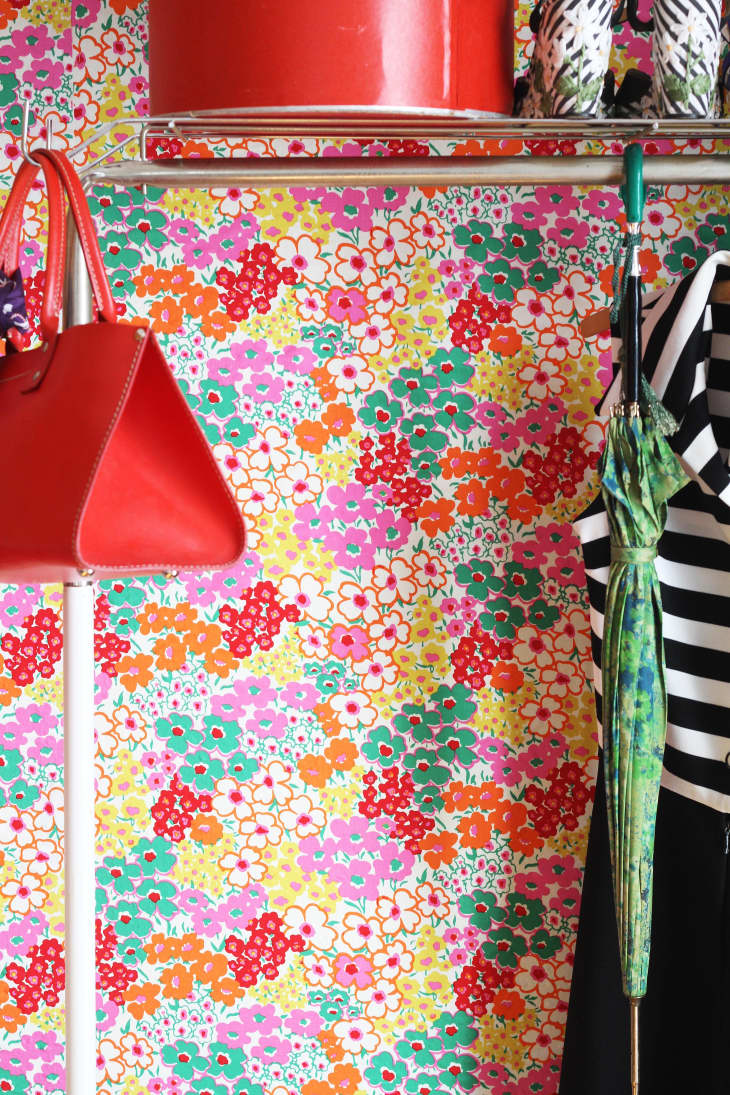
This kitchenette turned walk-in closet (old house, used to be multiple apartments..) had great light and was begging for some inspired design. I’m a big fan of print/pattern/texture/print (repeat) and decided my closet would be the perfect space to bring that design aesthetic to life.
And I must admit, I am a fabric hoarder that doesn’t sew… so this project is truly the most satisfying project ever. I got to use up that gorgeous fabric and didn’t even have to thread a bobbin thing.
Have a little extra fabric? Wrap a bouquet!
How to apply fabric as wallpaper
Ready to get started? Follow these instructions for great results and a fun DIY.
Materials
- Lightweight, cotton fabric
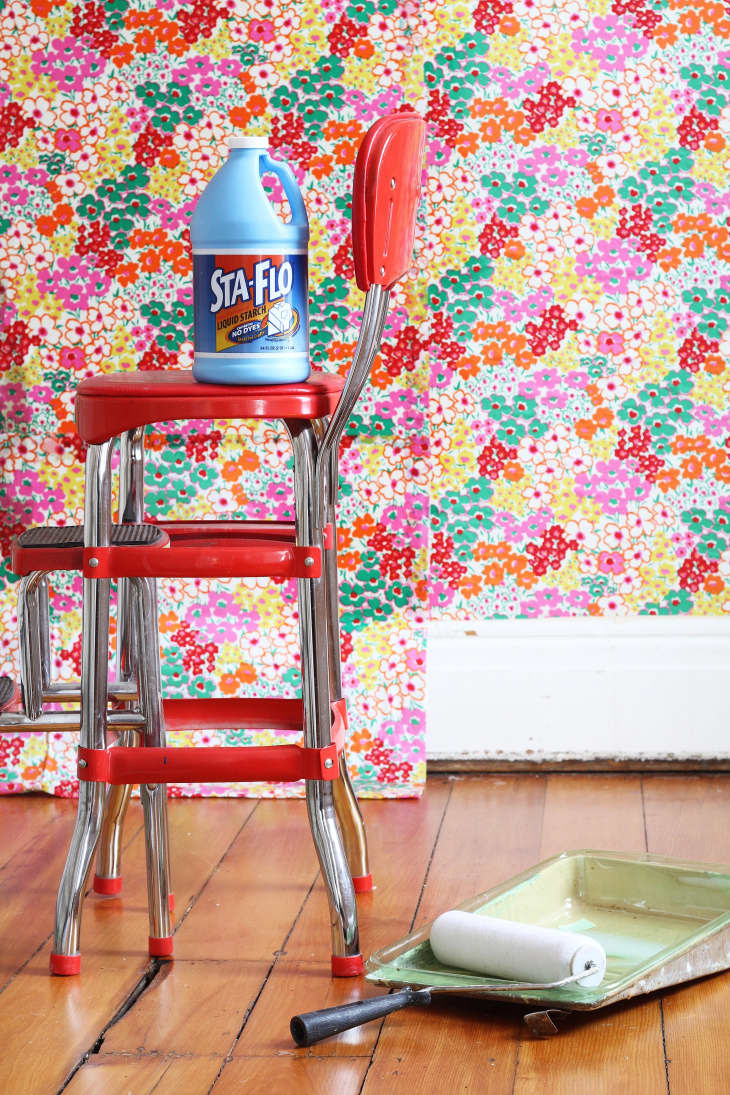
- Liquid starch
- Tacks or Tape (painters or duct)
- Drop cloth
Tools
- Paint roller
- Roller cover
- Paint tray
- Utility knife
- Step ladder
- Scissors
- Measuring tape
Instructions
Phone a friend or make this a team-building exercise with your favorite co-worker or cohabitor. You could go at it alone, but then no one would truly understand the effort you exerted, and where’s the fun in that?! I highly recommend an extra set of hands for this project.
1. Before purchasing your fabric, measure out the space you’re going to be covering to determine just how much fabric you’ll need to bring home. Most fabric is 40″-50″ wide and is sold in yards. After deciding what you’ll need, buy an extra yard. Trust me.
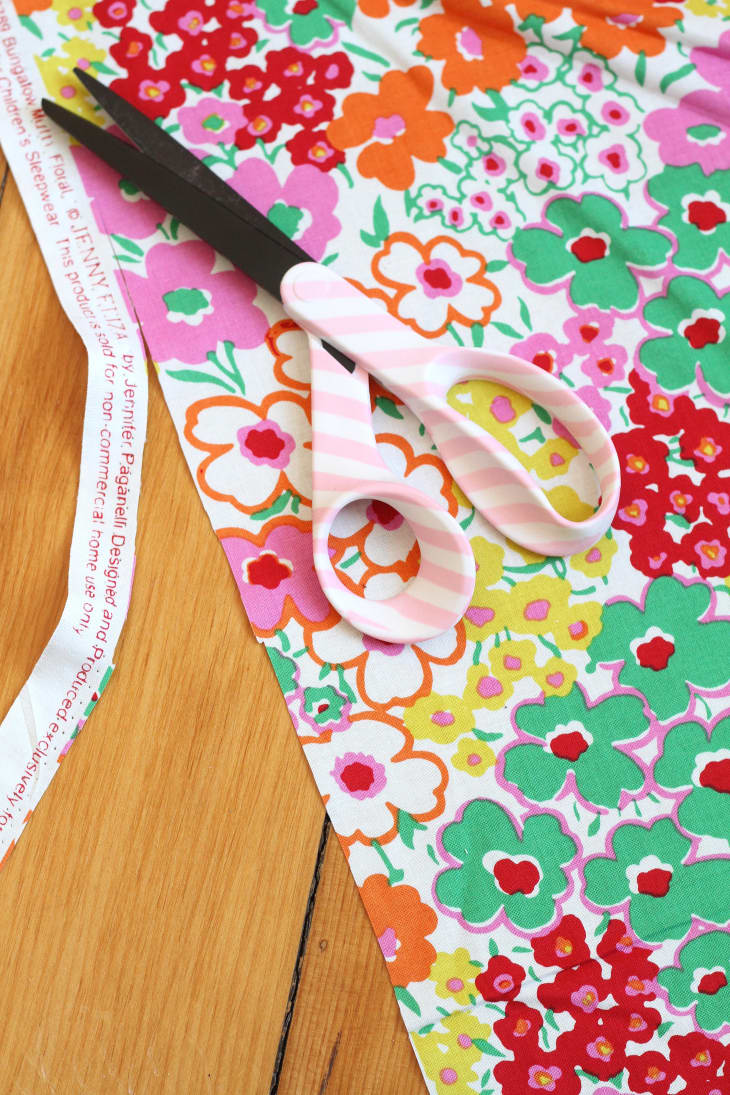
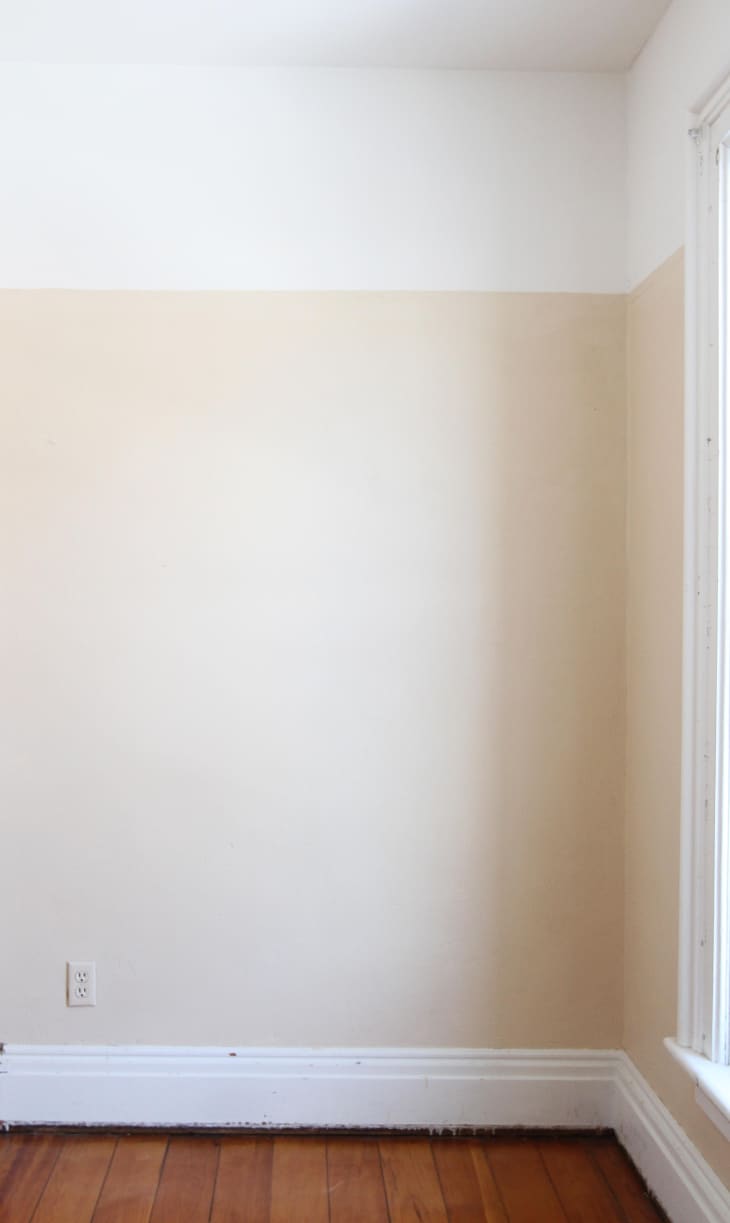
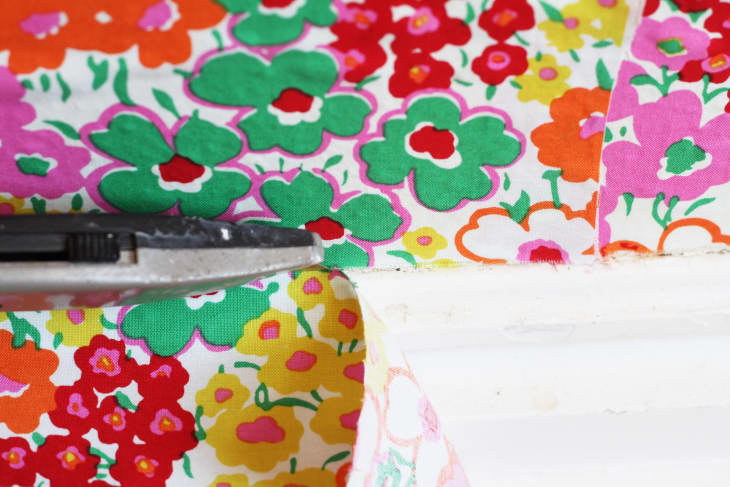
2. After pre-washing the fabric (don’t worry if it gets wrinkled), cut off the selvage edge with sharp scissors to avoid fraying the edges. Place a drop cloth under the area in which you plan to work. The liquid starch can get messy so be sure and protect your floors! Prep your wall by giving it a good wash and wait until it dries completely to move on to step 3.

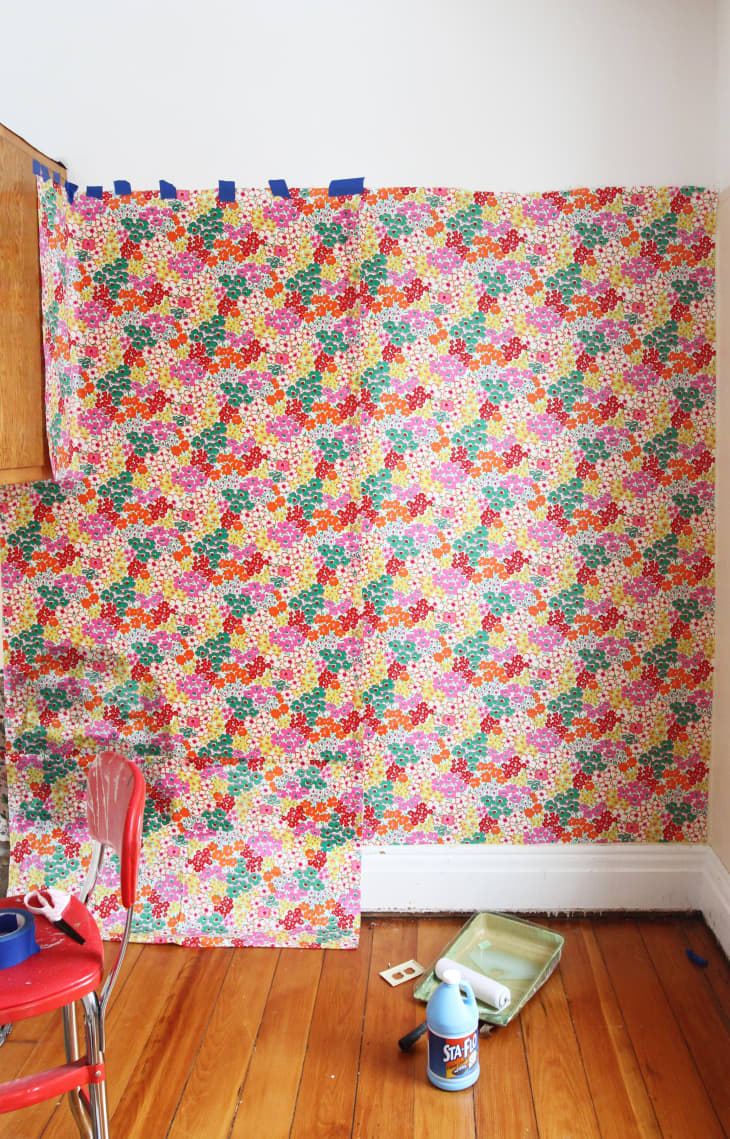
3. This next step can be done a few different ways, but the end goal is the same: place the fabric where you want it to be on the wall. You’ll need your buddy for this step. Have them place the fabric while you stand back and help them guide it into place. Using tacks or push pins will work great on sheetrock, but if you are attempting to cover a plaster wall or paneling, skip the tacks and grab the tape.
Be warned though: tape will fray the fabric if applied directly to the cut edge. To avoid this, fold the edge under and tape over the top. Be sure to leave an overlap at the corners, baseboard, and top of the wall for a nice clean finish. You’ll trim the excess at the very end with a utility knife. Cut around any outlets with your utility knife.
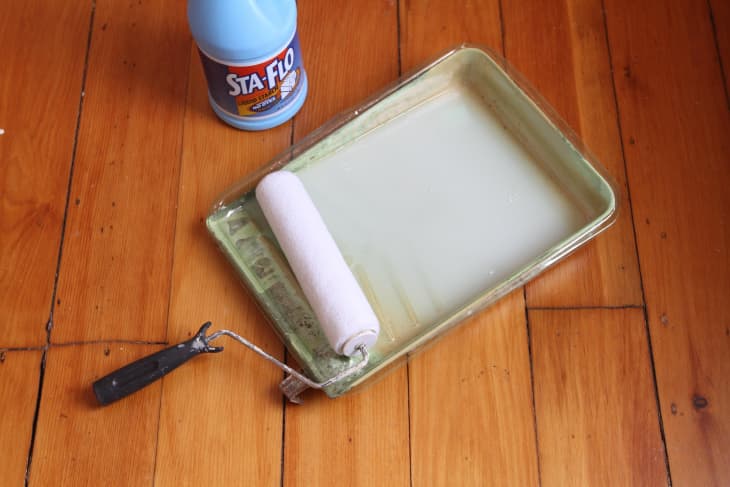
4. Coat the wall in fabric starch. Only coat the area that you will immediately be applying the fabric to—the starch dries fast! If it dries before you have a chance to stick the fabric, just add more.
There are two ways you could tackle this:
1. After you’ve completed step 3, have your extra set of hands lift the fabric all the way up for you while you reach under and coat the wall with starch. You won’t be able to reach right up under the edge of the fabric that is taped/tacked to the wall, but don’t fret— you can go back and get it at the end. (I had a tough enough time positioning the fabric the first go around, so I stuck with this method.)
or
2. After step 3, remove the fabric from the wall and coat the wall with your liquid starch. Reposition the fabric back on the wall and hold in place with tacks/tape.
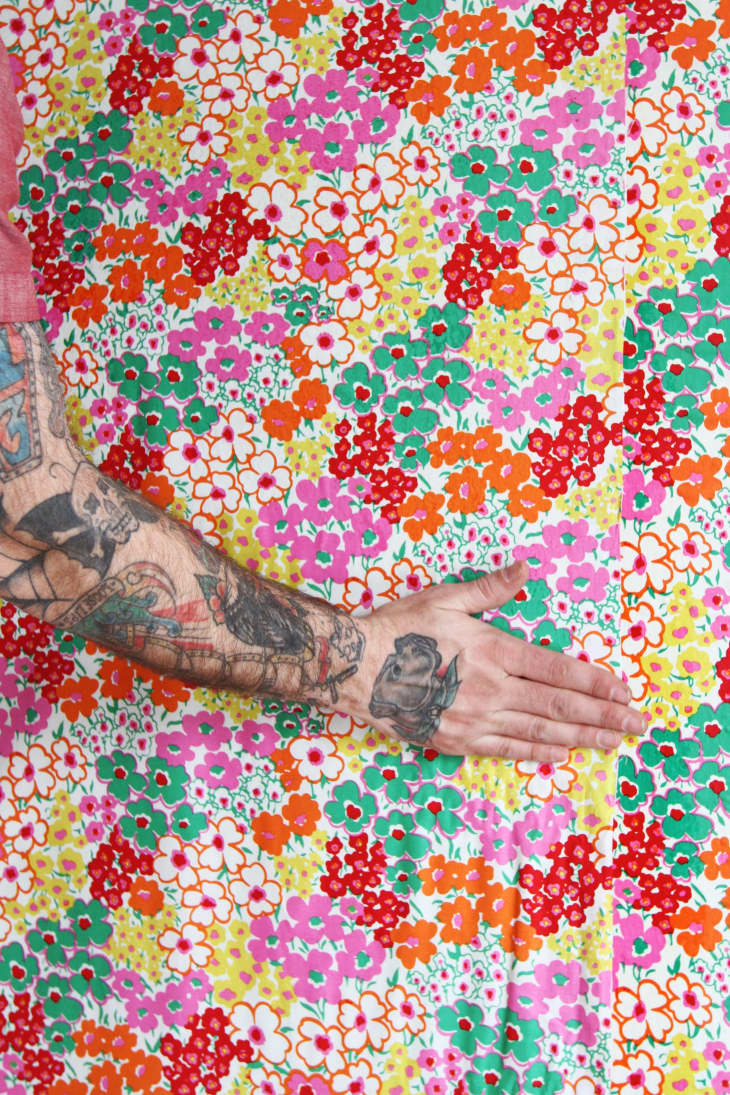
5. Smooth the fabric down over the wall until it starts to adhere to the starch. Start from the top and work your way down, smoothing out wrinkles as you go (if at the edge of your wall, work out and down from the corner). Don’t worry if it doesn’t stick in all places, the next step will seal the deal.
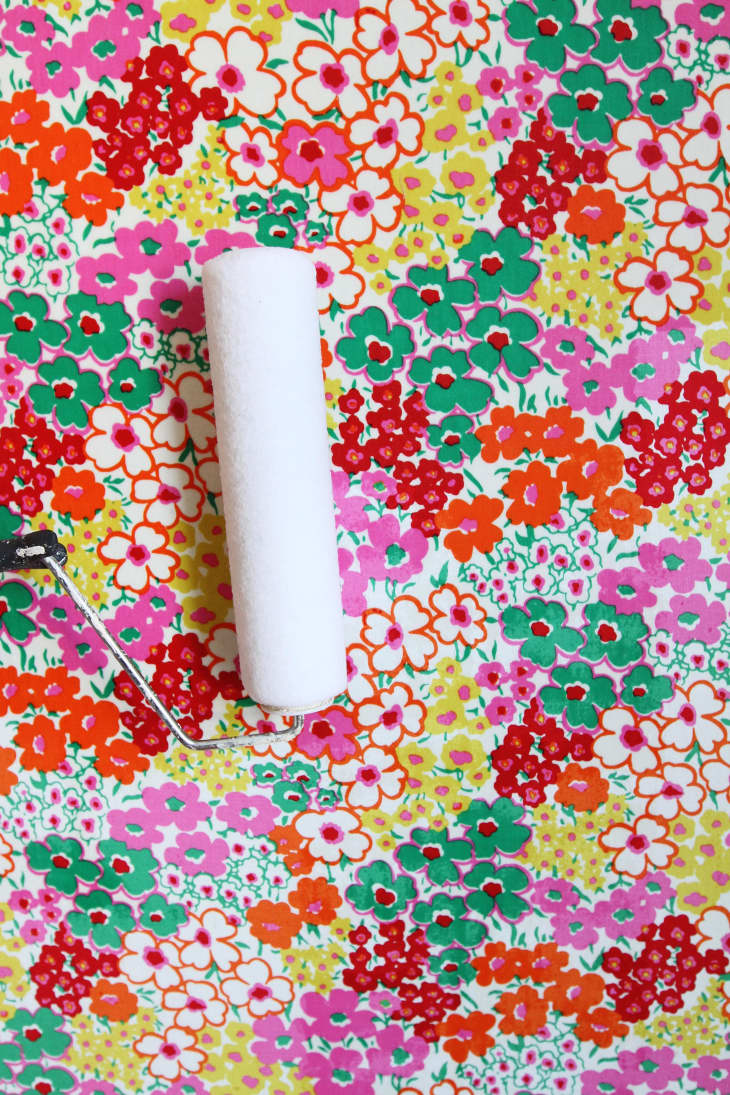
6. Roll liquid starch over the top of the fabric. You want to totally saturate the surface, making sure the starch goes all the way through to the wall.
Leave an overhang at your baseboards so you can cut it after it dries with your utility knife, giving it a nice, clean line. Be sure to get in to the corners with your fingers or a piece of cardboard to get everything to adhere.
I should also mention, if you look at the photo above, there is a really dark area in the lower left side of the frame. This is old wallpaper. I decided to leave it on the wall because our wall was slightly textured (bad paint/paint job) and the fabric seemed to like sticking to the wallpaper better than my old, crusty, plaster wall. It dried completely perfect—no discoloration, nothing showing through the fabric.
7. After your fabric has dried completely, remove the tape/tacks from the top and starch above and beneath that area.
8. Take a straight edge and a utility knife and cut any excess fabric from the wall.
9. To remove the fabric from the wall, simply soak a sponge in warm water and apply it to the fabric. The fabric will easily peel off the wall, and won’t bring any pre-existing finish underneath off with it!
More helpful tips for applying fabric as wallpaper:
If you’re wondering if you can cover over existing paint, wallpaper, paneling, etc, the answer is yes!
I followed the steps above and slapped a piece of fabric on the wallpaper liner (quite a few walls in our home are currently in design purgatory…) and guess what!? It stuck! Beautifully. Removing it was a breeze too!
Is that pink aquarium-themed wallpaper in your bathroom driving you crazy? If you wanted to put some fabric up over it with fabric starch, your wall wouldn’t complain! It would hold that wallpaper nice and smooth like. And it wouldn’t come down until you wanted it to with a nice sponge bath of warm water, undamaged!

A few more project notes:
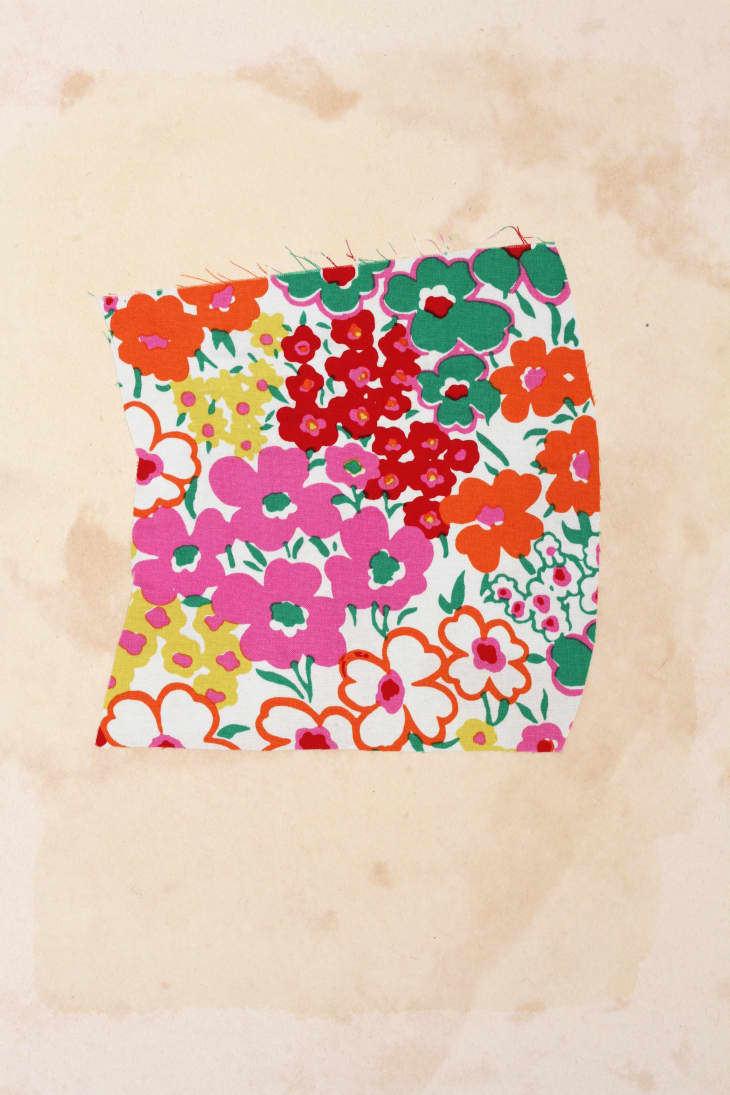
- This method is not recommended for textured walls. My walls weren’t “professionally textured” but were sort of bumpy —and it still worked. If you’re in doubt, grab a sample of the fabric you want to hang and try it before committing to the whole project.
- Expect a few ripples or bubbles once the wall dries.
- If the fabric gets dirty/dusty can you wash it? You might be able to spot clean here or there, but if it’s really dirty you might as well take the whole piece down, machine wash it, and start over from the top. If you get it too wet while it’s on the wall it might just come down on its own, so be careful!
- The fabric I used in the photos was “Bungalow Multi Floral”
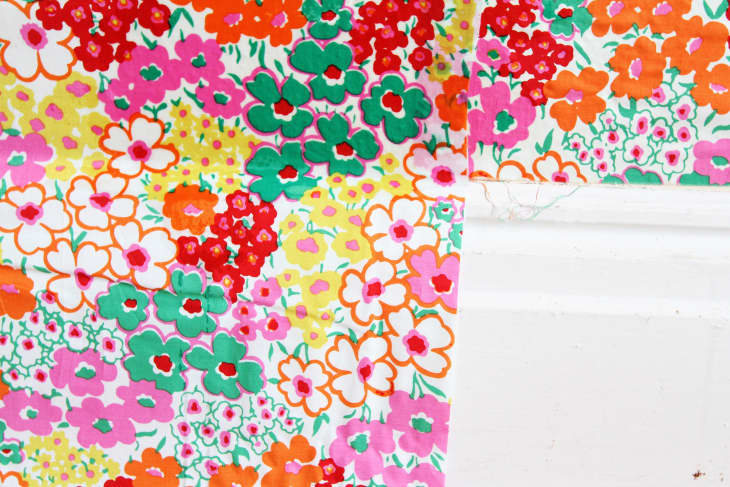
- You might noticed I put a piece of trim up at the top of my fabric line. It was the best way to get a nice, clean line without running the fabric all the way up to the ceiling.
Good luck!
Edited from a post originally published 1.21.09 – JL