
Luxe Look on a Budget: A Chic Idea for Customizing Furniture Using Leather Coasters
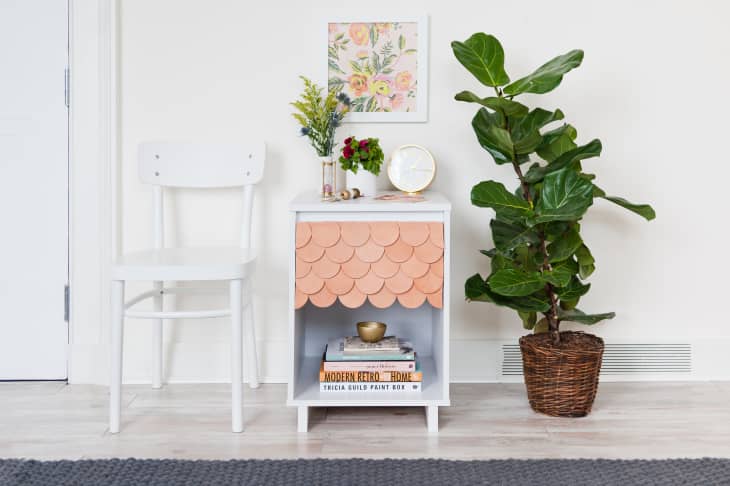
I first fell in love with leather scaling way back when I saw a gorgeous Sara Larsson Scandinavian piece featuring the technique. There was something about the way the pattern, texture, and neutral colors worked to make a fairly unassuming wardrobe feel substantial, luxurious, and covetable. With this easy tutorial, you can add that same bit of Scandinavia to your home and furniture using affordable pre-cut leather coasters. You heard me…coasters!
What You Need
Materials
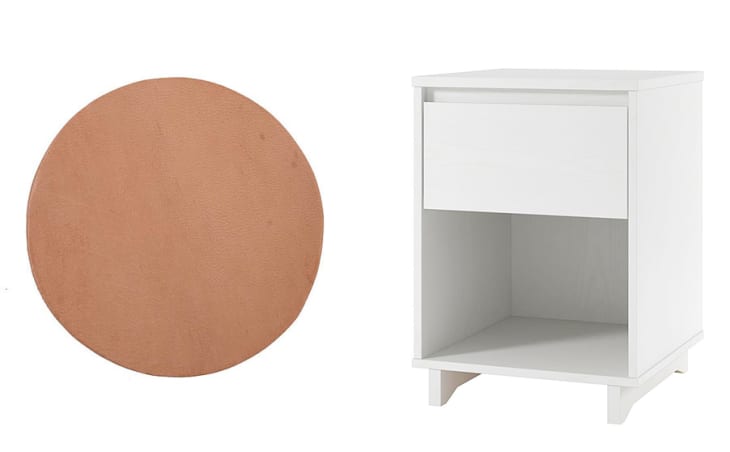
- A piece of furniture with a flat front and minimal or no hardware (I used this $50 Target nightstand)
- 3.25-inch Leather coasters or craft circles — 30+ depending on the size of the surface
- Staples/staple gun* OR
- Hot glue gun**
- Sharp scissors or leather cutting tool
- Cutting mat
- Straight edge
- Chalk or pen
*If you have space and aren’t at risk of a noise complaint from your neighbors, a staple gun is the fastest way to shingle your furniture.
**Grab a hot glue gun if you’re worried about noise, or if you don’t want to spend additional money on an automatic staple gun.
Instructions
- Clean the area you will be covering. This will ensure the best contact between wood and leather. If you’re working on a drawer or door, detach or remove it from the rest of the furniture for easier workflow.
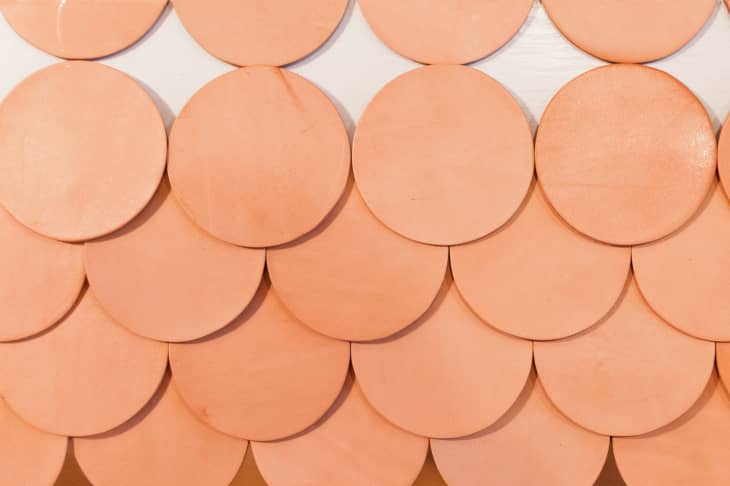
- Lay your drawer or door so the surface is flat. Lay out the coasters in a scaled pattern, starting from bottom to top. Make sure to overlap each row of coasters so that there are no gaps, and so none of the original surface shows through. Take a photo if you would like to have something to reference back to. Note how many coasters it will take, and which coasters will need to be trimmed to fit the size and shape of your surface.
- Mark and cut your edge pieces. You can mark them with chalk or a pen, and then trim them down to size with your leather cutter or scissors.
- Attach the coasters. Apply row-by-row, from bottom to top to get the scaled effect. If you’re using a staple gun, you can layout each row all at once to ensure they have the proper placement. If you choose to use a hot glue gun, apply each coaster one at a time, making sure to hold in place for 15-20 seconds while each dries. Pro-tip: When you get to the top of the drawer or door, you may have gaps left where the circles don’t overlap. I trimmed 5 more coasters and aligned them with the second to last row (as shown below). I applied them directly to the drawer face, and then added my final row on top.
Notes: If your furniture has hardware or handles to take into consideration, remove them before you begin. As you’re planning out your design, mark where you should add holes to later re-install the hardware. Use a leather hole punch to add holes where the screws will go and attach your coasters.

Have a really great DIY project or tutorial that you want to share with others? Let us know! We love checking out what you’re making these days, and learning from our readers. When you’re ready, click here to submit your project and photos.