
Hooray!: It’s Planting Day

Hooray, it’s planting day! Once you’ve prepped your space, finally being able to put all those seedlings and starts in the garden feels like a great accomplishment. Whether you’re transplanting your own seedlings started from seed or young plants purchased from the nursery, there are a few simple steps to take to ensure the little guys will survive the move.

Avoiding Transplant Shock
Transplant shock occurs when a plant is moved from one location to another, placing environmental stress on its system. This might happen if the roots are damaged during the transplanting process, or the plant is moved from shade to sun very suddenly, or an indoor-grown seedling isn’t hardened off before being placed outside.
A plant suffering from transplant shock may look sad for a few days or even lose a few leaves, but if the trauma was minimal, it can often bounce back on its own. If you suspect that your plants have transplant shock, the best treatment is to continue watering them (according to their needs) and waiting it out.
To minimize transplant shock:
- Transplant your seedlings and starts on a fair weather day: not too hot, not too windy, and preferably with no pounding rainstorms in the forecast.
- Unless the plant is severely rootbound, try not to disturb or dismantle the roots before transplanting.
- Keep the rootball moist (but not waterlogged) as you move the plant from one location to another.
- If you’re moving a more mature plant, trim back about 1/3 of the plant so it can focus its energy on growing its roots rather than its leaves.
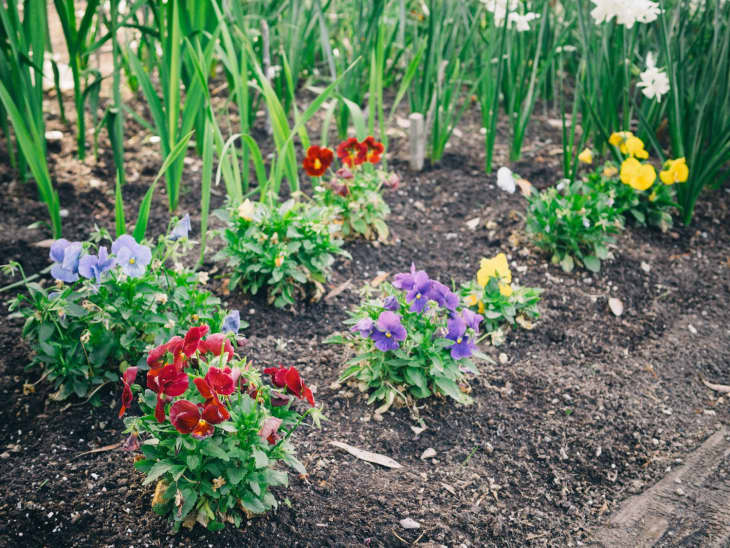
Spacing Your Plants Properly
Be sure to follow the guidelines on your seed packets or plant tags for proper plant spacing. Considerations to keep in mind are how far apart to plant your seedlings, as well as how much space to allow between rows.
Though you may be tempted to plant your seedlings close together for a more “filled in” look, know that your garden will flourish in short time and all those once-tiny seedlings will mature into much larger plants. Proper spacing also promotes air circulation and helps reduce pests and diseases among your plants.
Transplanting in 3 Simple Steps
- Start with moist soil. With a trowel, dig a hole about as deep and wide as the container you’re transplanting from.
- Water the plant to minimize shock on the roots. Gently knock, shake, or pull the plant from its container. If it’s severely rootbound, separate the roots slightly with your hands, taking care not to tear them apart. Otherwise, do not disturb the roots.
- Place the plant in the hole, making sure the base of its stem is level with the surface of the soil, and backfill the hole. When you are finished transplanting, water it in well.
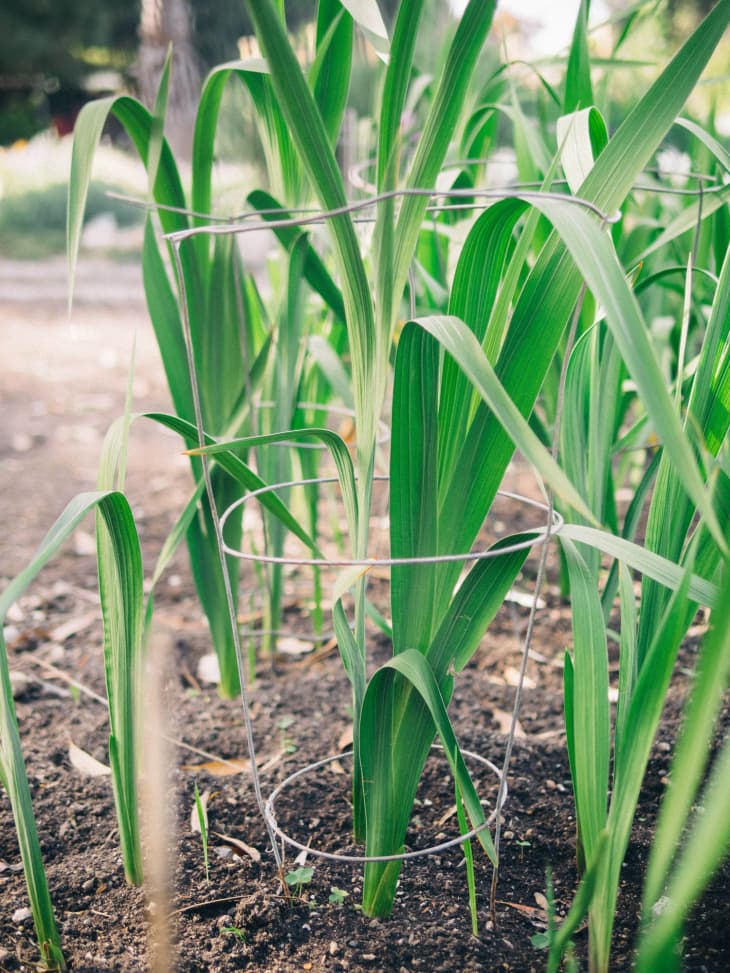
Installing Stakes and Trellises
If you’re growing very tall plants (such as dahlias and hollyhocks), climbing flowers (such as clematis and passiflora), or vining or lanky crops (such as tomatoes and cucumbers) that need vertical support, install the necessary stakes and trellises after you’ve transplanted them. Doing so when they’re young will reduce the risk of damaging their roots and stems if you try to stake them at their full height later on.
Metal cages and supports may look unsightly when the plants haven’t yet grown into them, so experiment with more natural materials like bamboo and jute to better blend in with their surroundings.
Expert Tip: Group plants with similar light and moisture needs together. If your transplants require specific care, such as salad greens that need to be shaded midday or seedlings that need more frequent watering, place them in the same bed to simplify your garden tasks.