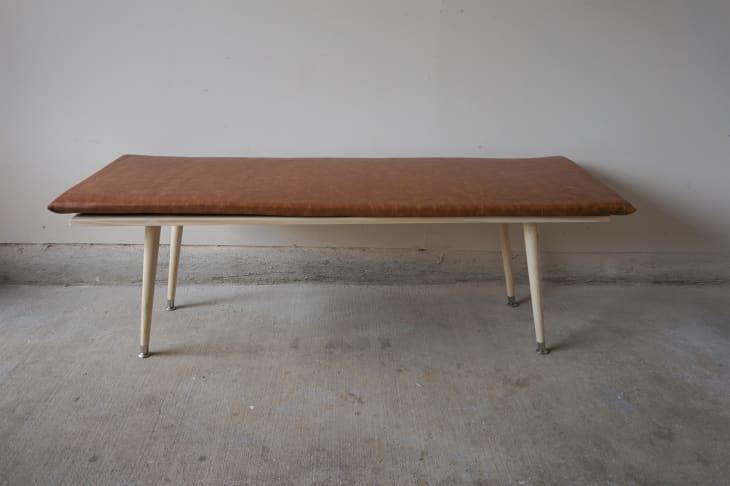
How To Make a Leather Bench with Only One Power Tool
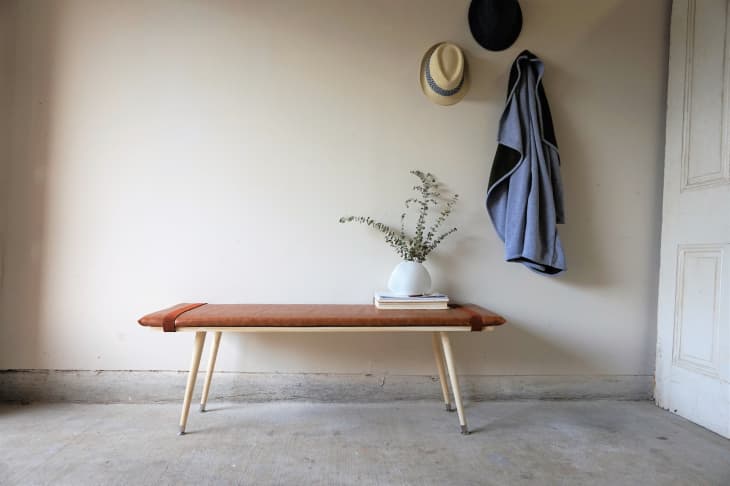
I have a confession: Sometimes using power tools scares me. I know – that’s embarrassing for a DIY-er to admit. But I also know, deep down, I can’t be the only one who feels this way. So, what if I told you that you could make this bench with minimal tools and minimal upholstery skills? Seriously, there is no sewing involved. A stylish bench like this one can go a long way, giving an entryway more definition, or finishing off a bedroom with that high-end, end-of-the-bed bench look. Either way, it’s furniture design at its simplest.
What You Need
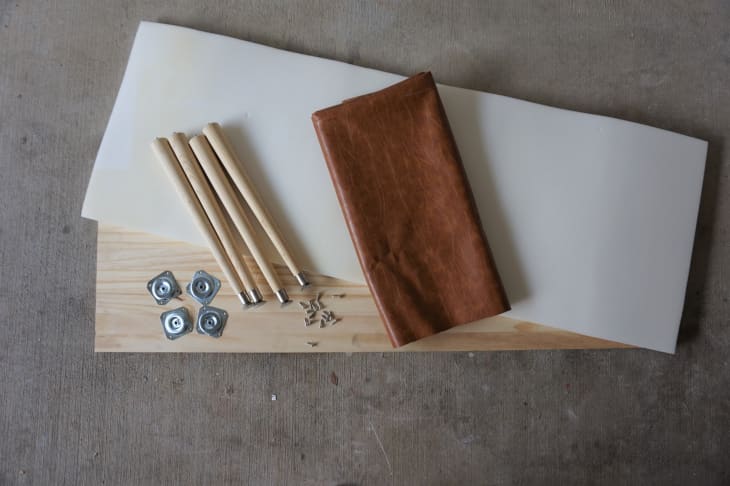
Materials
- 2 yards leather or vinyl in your choice of color
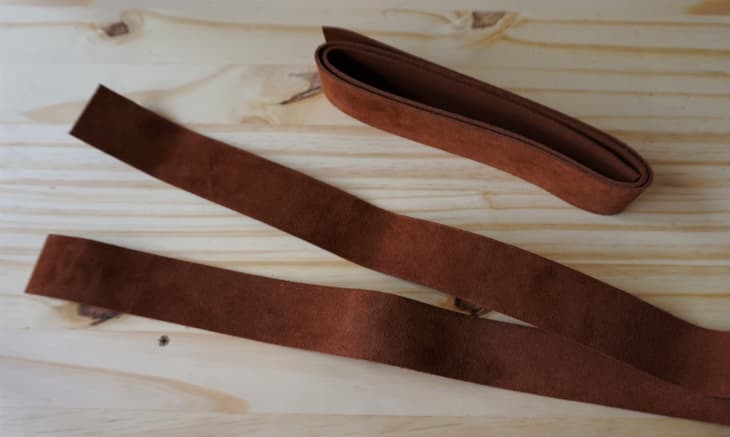
- Leather or vinyl straps in your choice of thickness – you’ll need at least 80″ in length
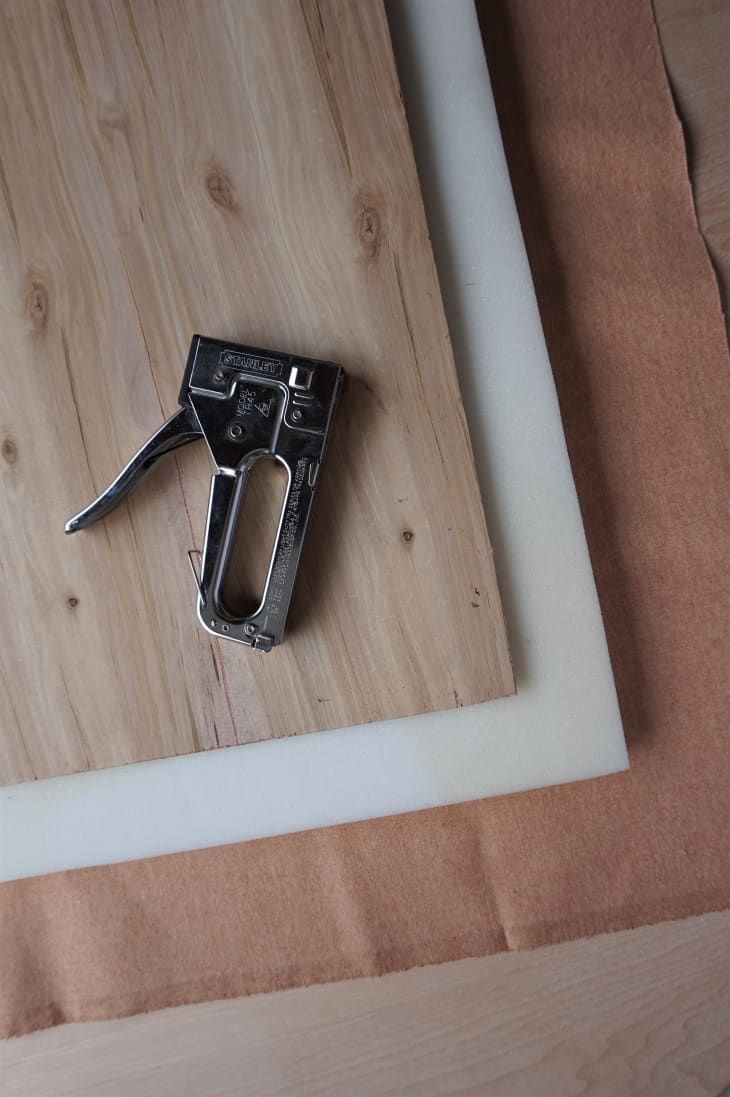
- Upholstery foam (18″W x 50″L x 1″H)
- 4 tapered furniture legs (15.5″H)
- 4 angled top plates
- Screws
- Laminated pine board (18″W x 48″L x 3/4″H) – you can buy a piece in these exact dimensions
- Thin piece of underlayment plywood (16″W x 46″L)*
*Most hardware stores can cut the underlayment to size on their big fancy machines for a small cutting fee, but if you’re more intrepid than I am, you could always cut the underlayment yourself.
- Staple Gun
- Scissors
- Drill
Instructions
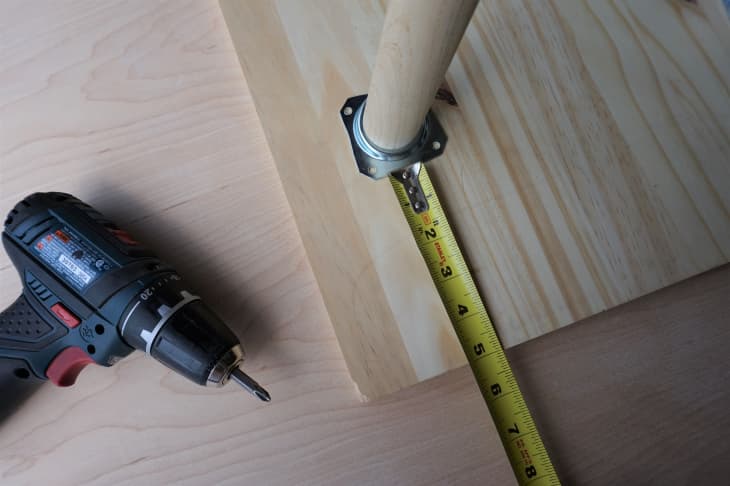
Step 1. Screw the tapered legs into the angle top plates and measure for placement on the underside of the 3/4″ laminated pine. I set my legs 5″ from the short edge of the bench and 2″ from the long edge.
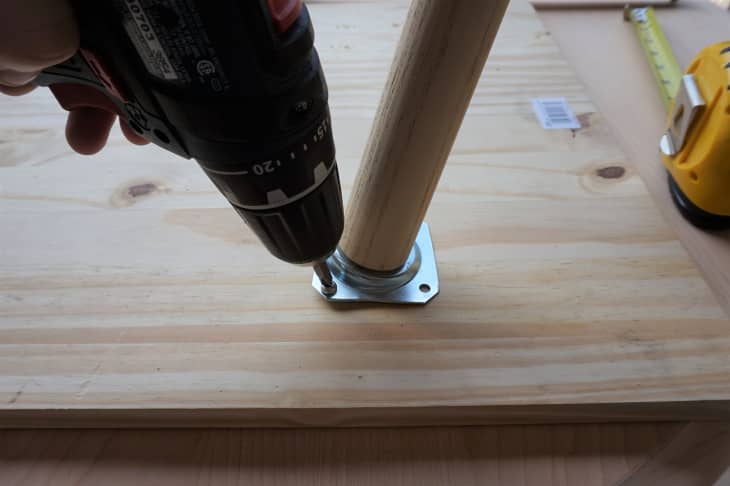
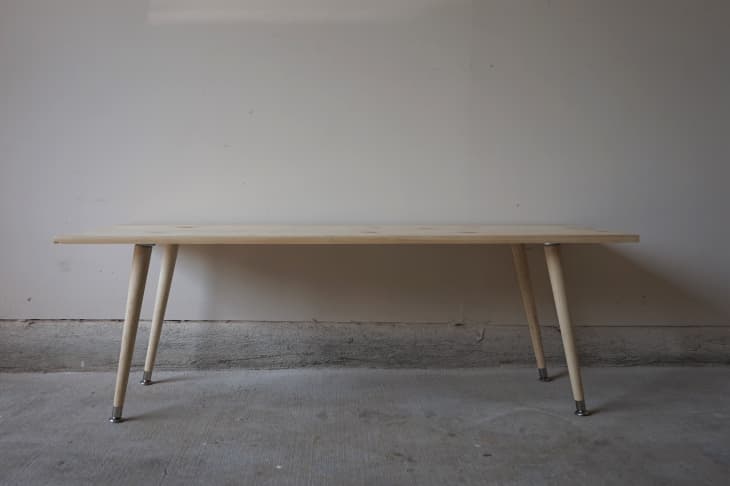
Step 2. Once you’ve finalized the leg placement, attach the legs by screwing down the angled top plate. I chose to have my legs angle outward so that when looking directly at the bench, the legs form a trapezoid shape underneath the seat. You could also attach the legs so that they form a trapezoid shape only when looking at the side.
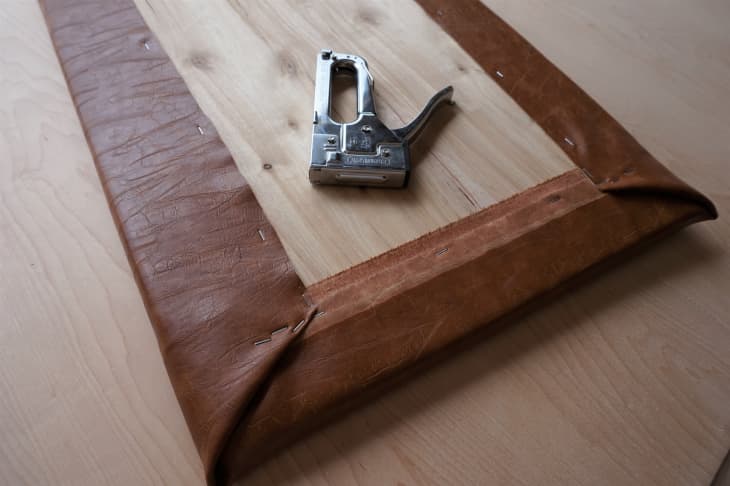
Step 3. Now that the base is made, it’s time to assemble the cushion. Lay your fabric upside-down with the foam cushion between your fabric and the piece of underlayment. Cut the fabric to size (you’ll want about 3″ of overhang or enough to wrap the fabric around the cushion and staple to the wood. Oh, and grab your trusty staple gun.
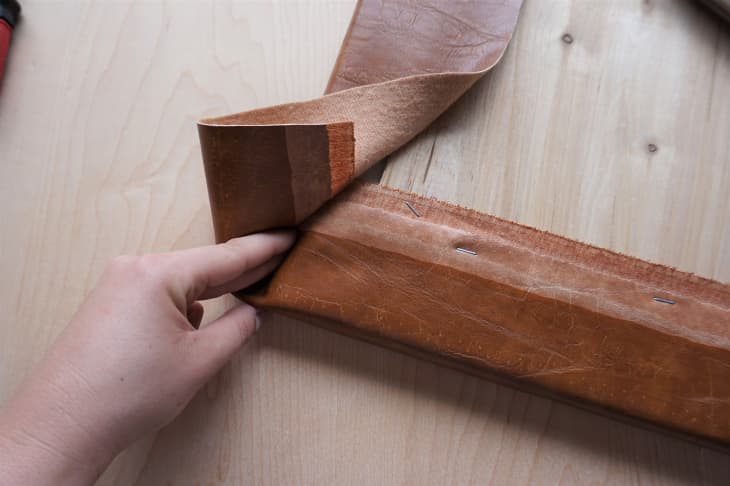
Step 4. Working in opposite sides, wrap the fabric over the foam and staple to the underlayment. Don’t pull too tight that the edges of the bench pucker — you’ll want to pull just enough to keep the fabric taut but still have a straight line down the edges of the bench cushion.
Step 5. When you get to the corners, use your fingers to tuck in the excess fabric and then fold the corners under and hold in place.
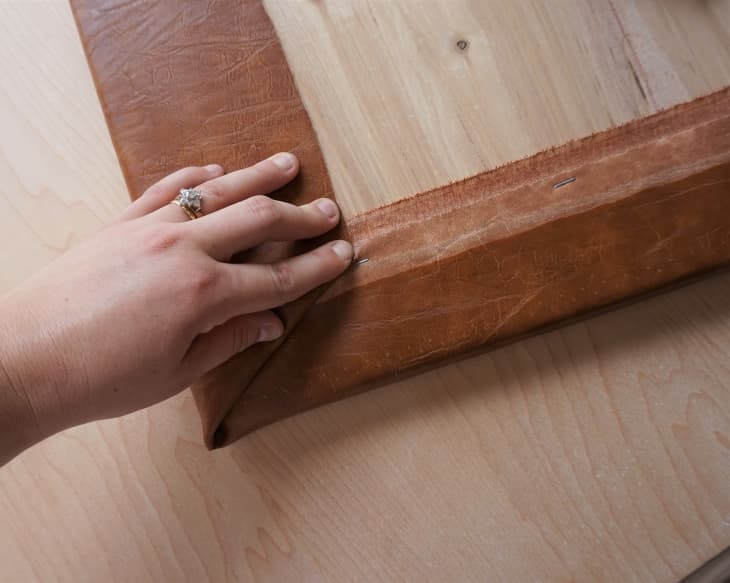
Step 6. Staple the corners down with your staple gun. Now it’s time to attach the cushion to the base.
Step 7. Center the base upside-down on top of your cushion so that the top of the wood base is touching the wooden underlayment of the cushion. Attach them together with a few screws – but be sure to use screws that are just long enough to reach through the laminate pine to the thin underlayment without protruding into the foam and ergo your arse when you sit 😉

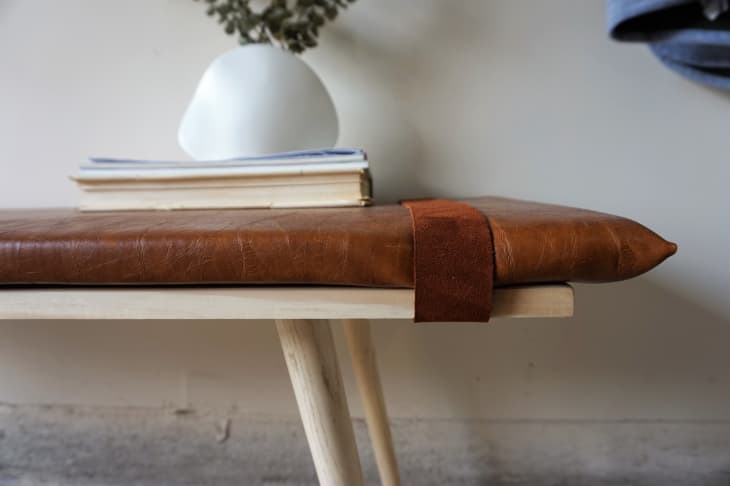
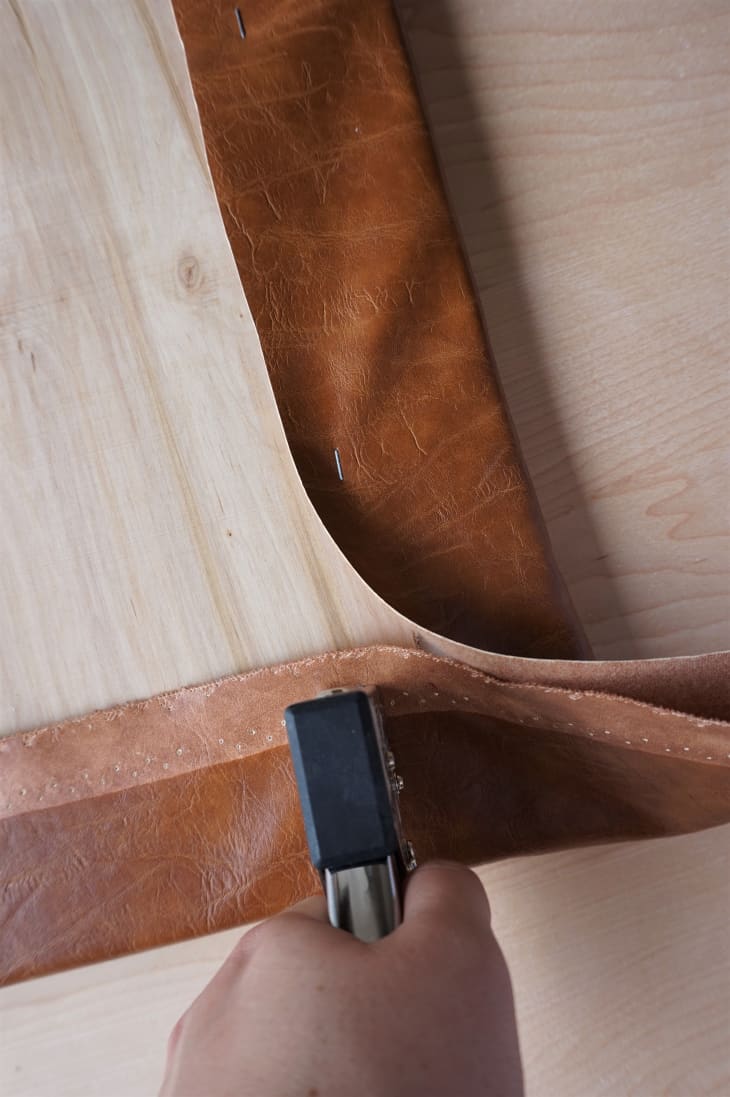
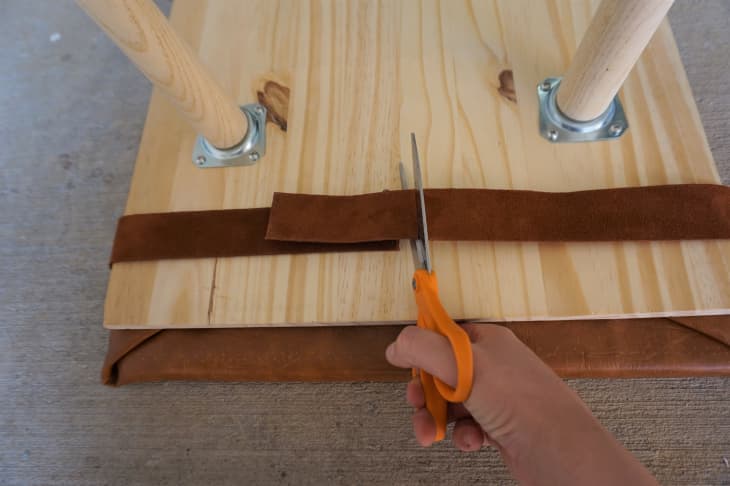
Step 8. Lay the bench base and attached cushion on top of the leather strap and cut to size so that it wraps all the way around the bench (approximately 40″ per strap). I placed my straps about 3″ in from the edge of the bench.
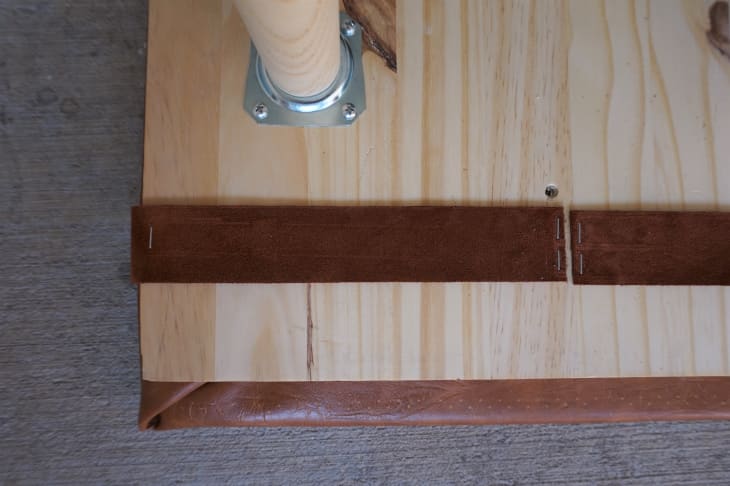
Step 9. Pull your straps tight enough to lie flat across your bench cushion (but not too tight as to pucker the edges of the bench) and staple them in place at the edge of the bench as well as the ends of the straps.
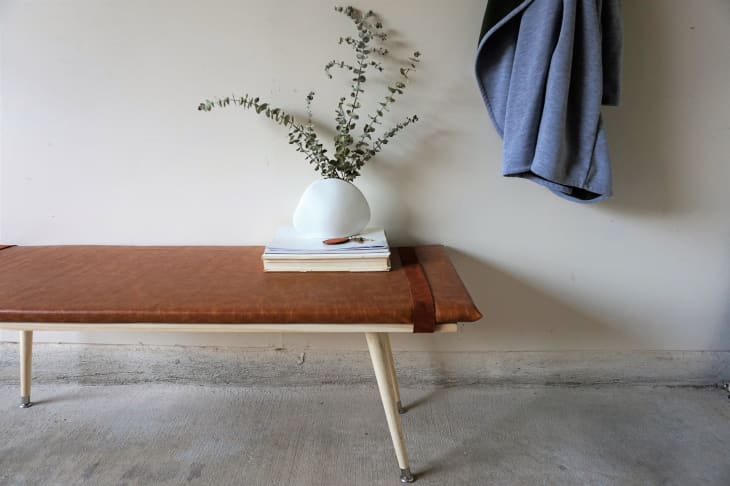
Step 10. Flip your finished bench back over and admire your sleek, minimal leather bench (that you made with minimal power tools).