
How To Patch a Hole in Drywall or Plaster Walls
Repairing medium to larger-sized holes in plaster and drywall isn’t quite as difficult as one might think. Wall and ceiling repair patches made from fiberglass and perforated aluminum are excellent solutions that help to get the job done in just a few simple steps. Did I forget to mention how easy they are to use? So easy.

Upon moving into our new (very old) home, we noticed that almost every wall had a dent or large hole in it from constant contact with a door knob. We promptly installed doorstops, but I have to admit I let the holes sit for quite a while because I didn’t quite know where to start with plaster repair.
So there the walls sat, looking sad and punched out, until that fateful day when I discovered “wall repair patches for drywall and plaster.” I picked up a pack, brought it home, and we got to work. The process was simple and very effective.
How to Fix a Punch in the Wall
As I mentioned, the process is quite easy. Here’s what you need.
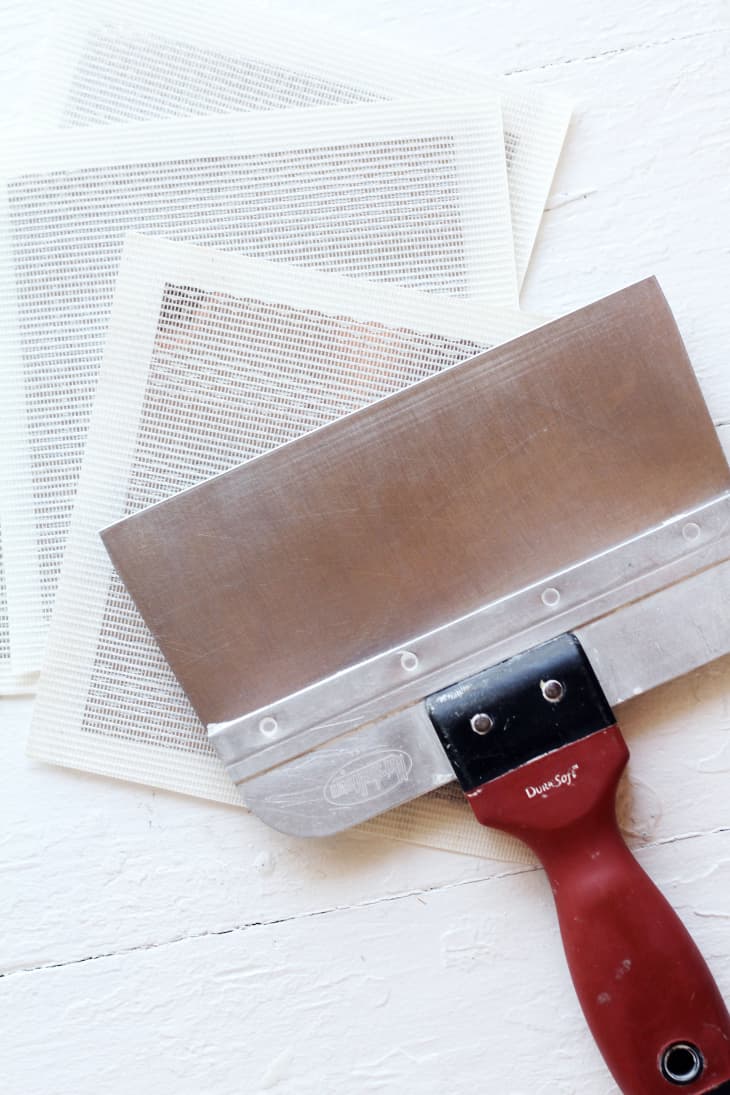
Materials
- 1 pack of wall & ceiling repair patches (verify the patch is for your wall type- not all brands are for both drywall and plaster)
- Joint compound
- Water-based primer
Tools
- Joint knife
- Sanding block (120-150 grit)
- Paintbrush or roller
Instructions
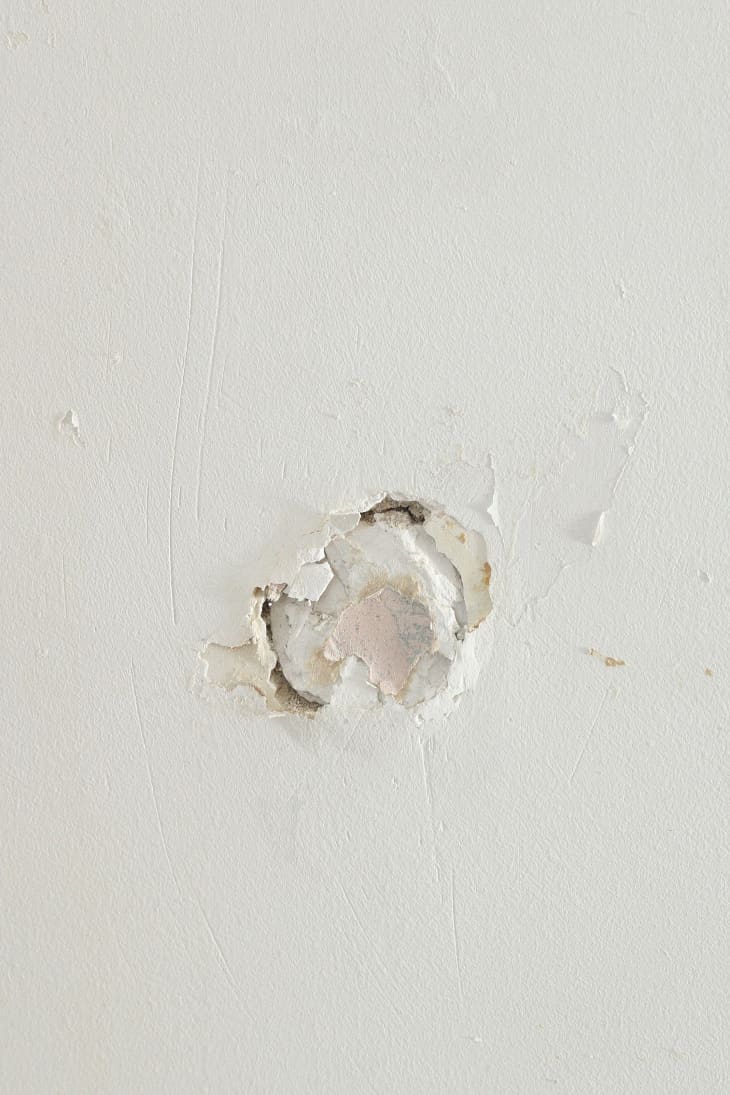
1. Start by clearing all loose debris out of the hole. Knock off any dangling pieces of plaster, or cut away any jagged pieces of drywall.
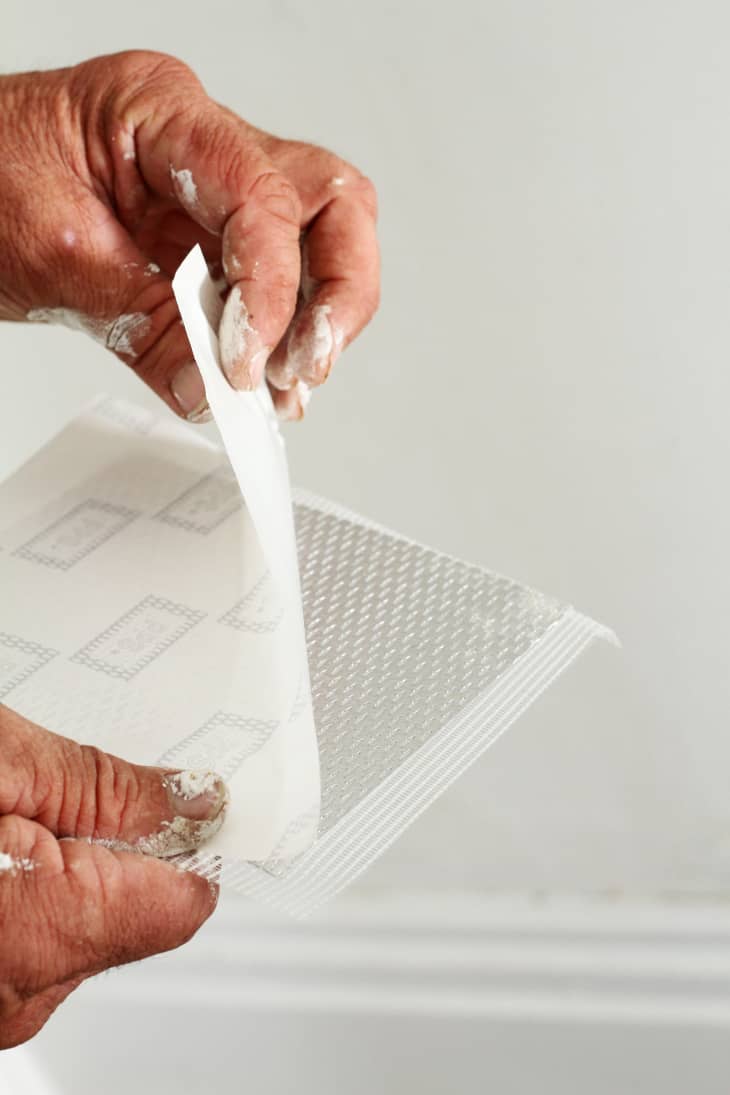
2. Remove the liner from the patch.
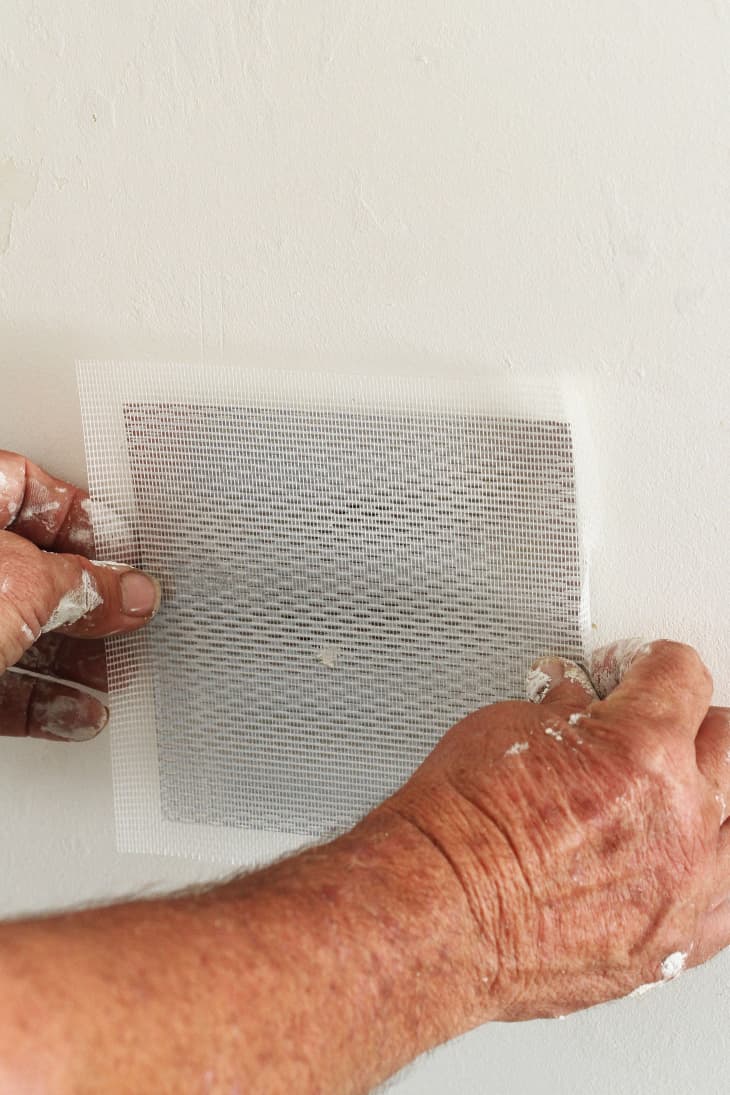
3. Center the patch over the hole.
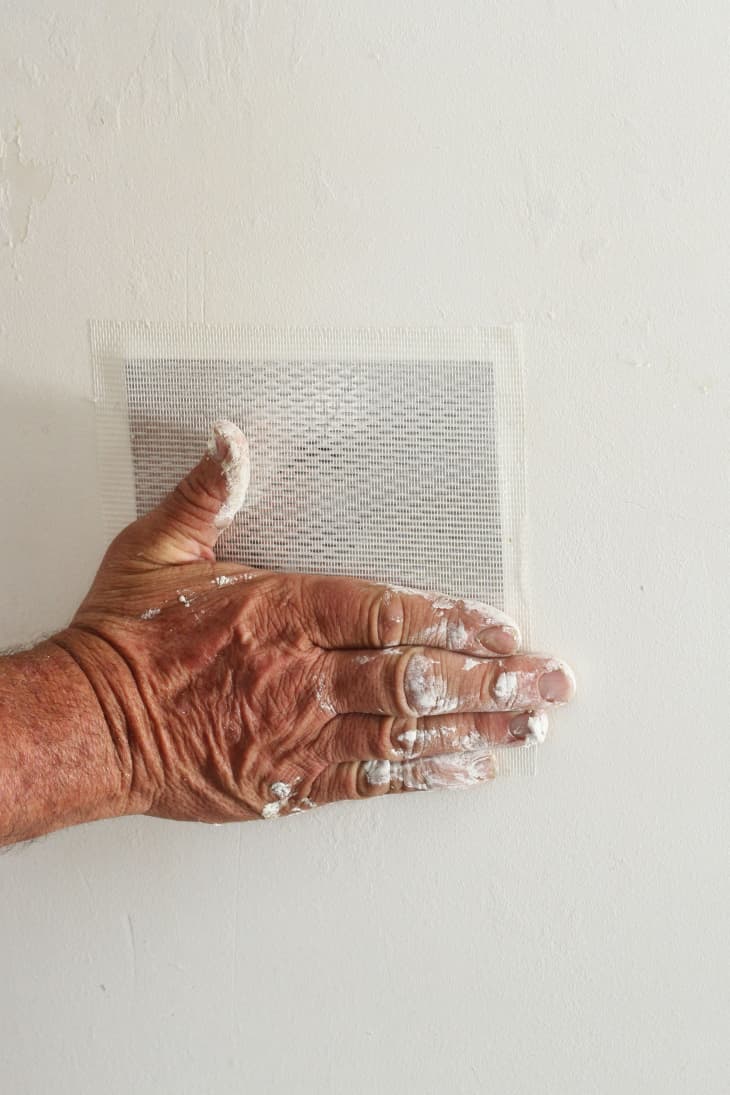
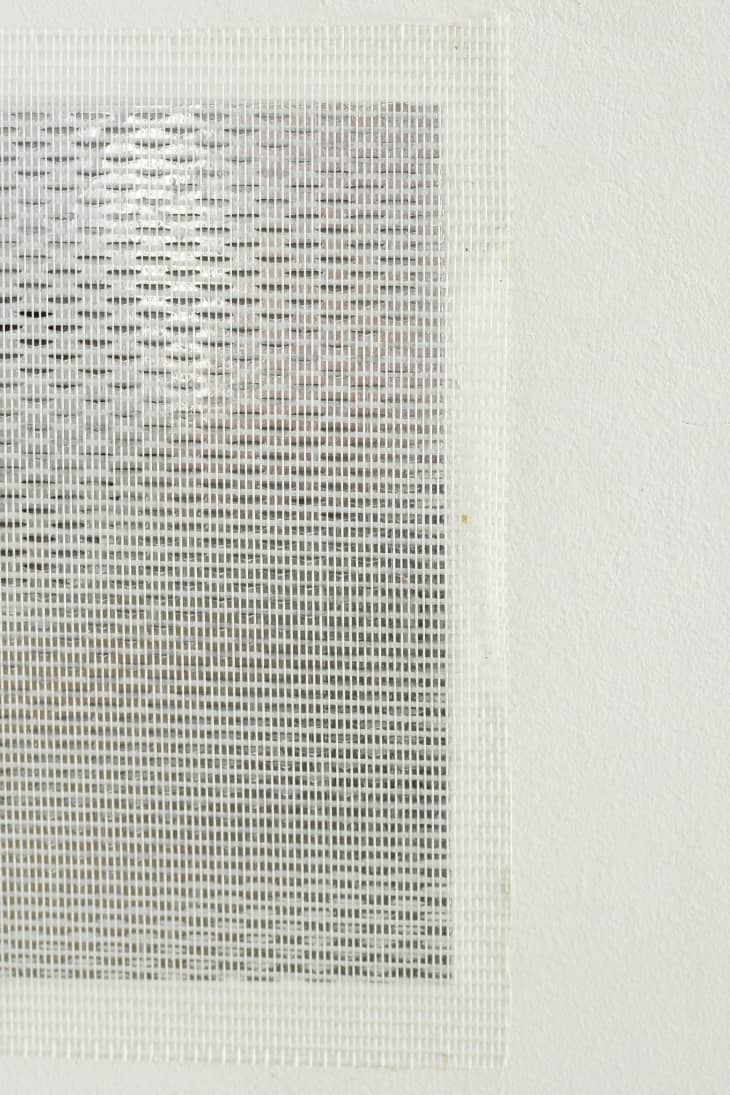
4. Press firmly, sealing the edges.

5. Apply the first coat of compound.
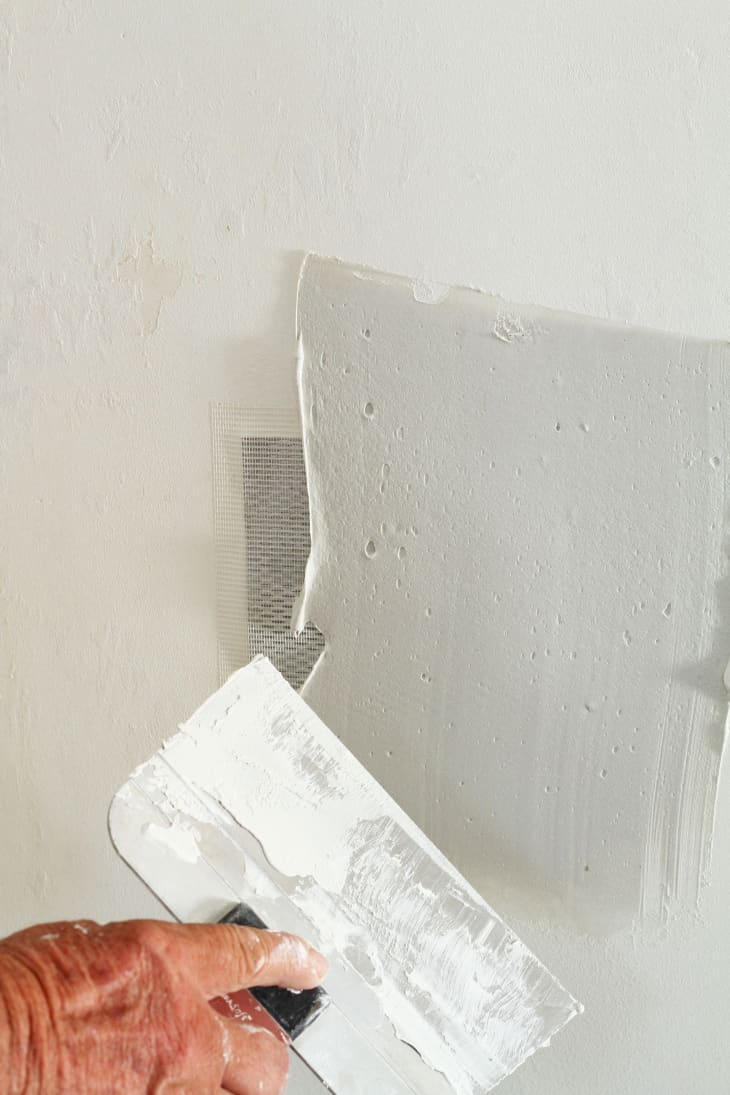
Make this coat just thick enough to cover over the patch.
6. Allow the compound to dry completely.
7. Sand lightly with 120-150 grit sandpaper, then apply a second coat of compound.
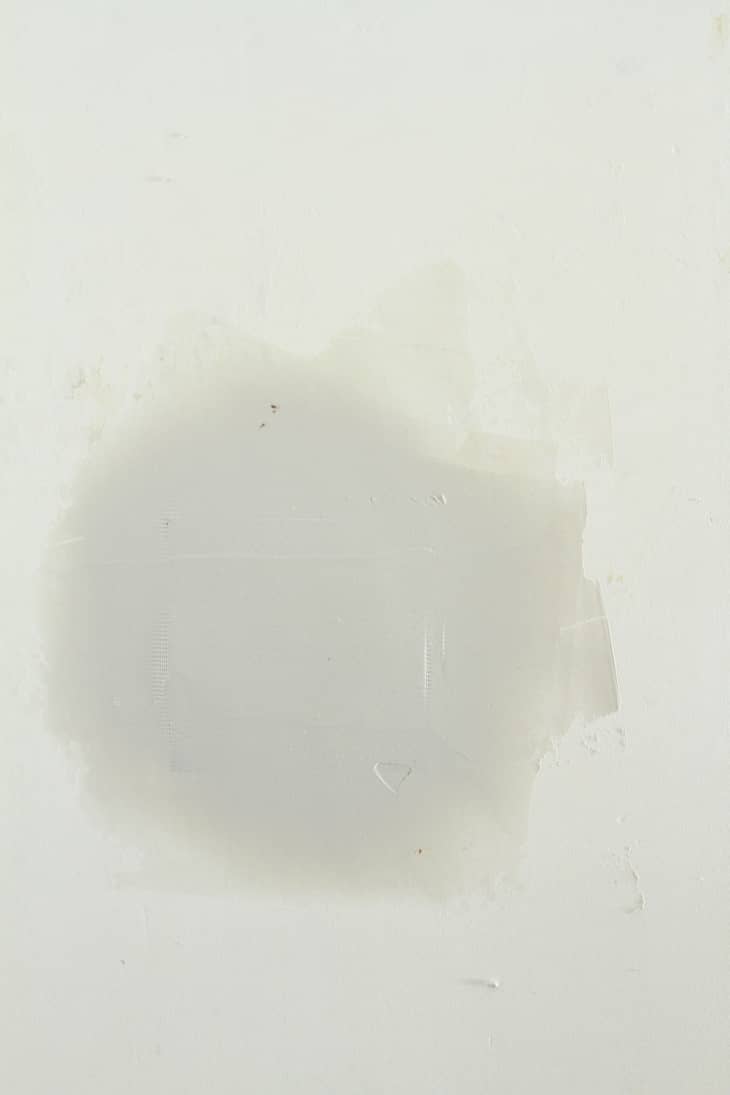
8. After the second coat has dried, sand again. This process should only require two- maybe three- coats of compound. Should you feel more are necessary, just keep repeating the steps until you’re happy with the finish.
9. Paint with a water-based primer and let dry before touching up with wall paint.