
Before and After: $130 and a Smart IKEA Hack Save This Entryway from Clutter
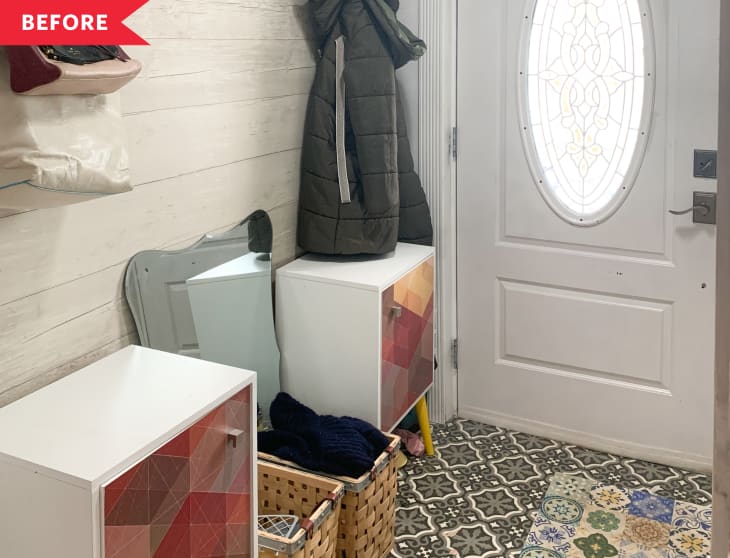
It’s nearly impossible to renovate every room of your home at once, so some spaces have to wait a little longer than others for a transformation. At Michela Andrioletti’s (@casa_in_newyork) home that she shares with her husband, that space was the entryway. “We put in the first things we could find at the most affordable budget when we moved here five years ago and then we just didn’t have time to fix it,” Michela says.
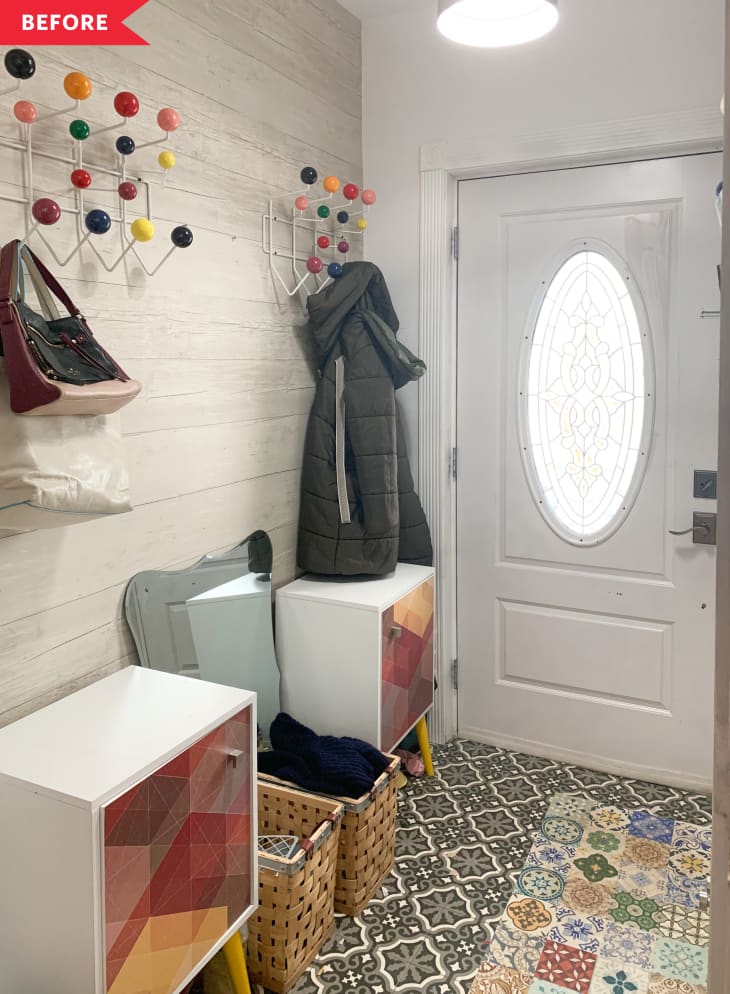
Since their style had since evolved, that meant the entryway lagged behind the rest of their home. “I was very disappointed that the most visible part of our home was the one who represented us the least,” Michela says. Not to mention, the space lacked the functional organization that Michela needed, so it became messy and crowded.
After the holidays, though, Michela was ready to get to work. “I felt strong and had plenty of energy and I finally decided to make a change. A big one,” she says. “I just couldn’t take it any longer.”
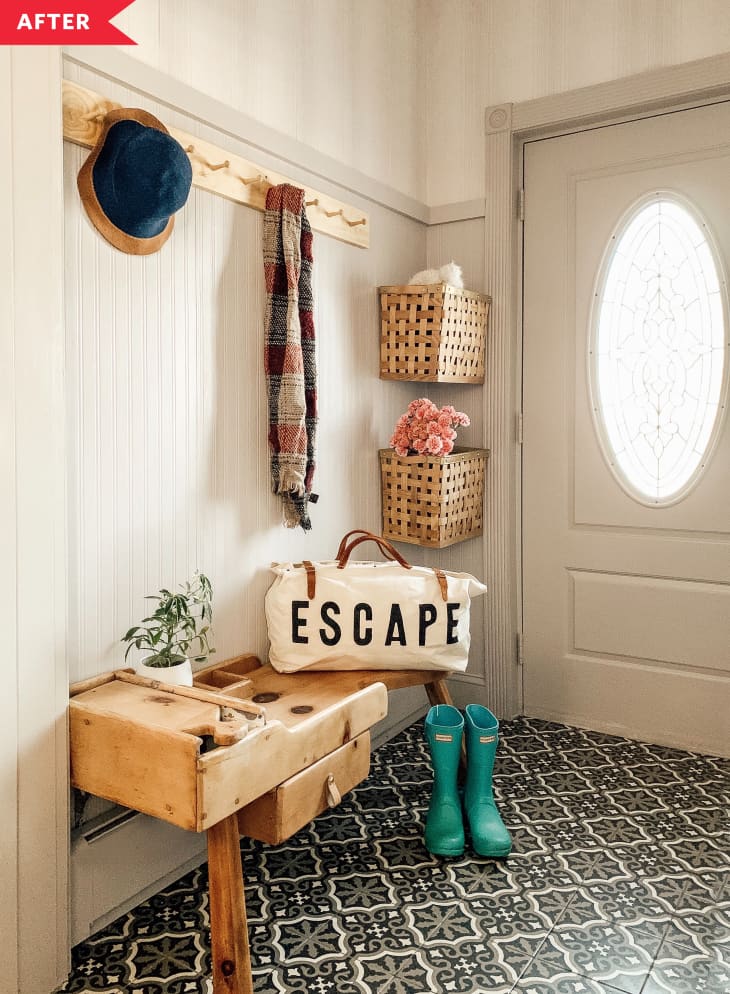
Over 15 days, Michela transformed the entire entryway herself. She started by applying beadboard to the walls, about two-thirds of the way up; above that, she added a subtly-patterned wallpaper.
The beadboard wainscoting helps the area feel like its own zone, even though it isn’t a separate room. Underneath the top rail, Michela added a wood-toned peg rail for hanging coats, bags, and hats.
Before, baskets were on the floor; hanging them on the wall helps keep them from taking up floor space while maintaining functionality. Michela also added a vintage bench to this side of the entryway, which she refinished from a shiny cherry tone to a more subdued honey color.
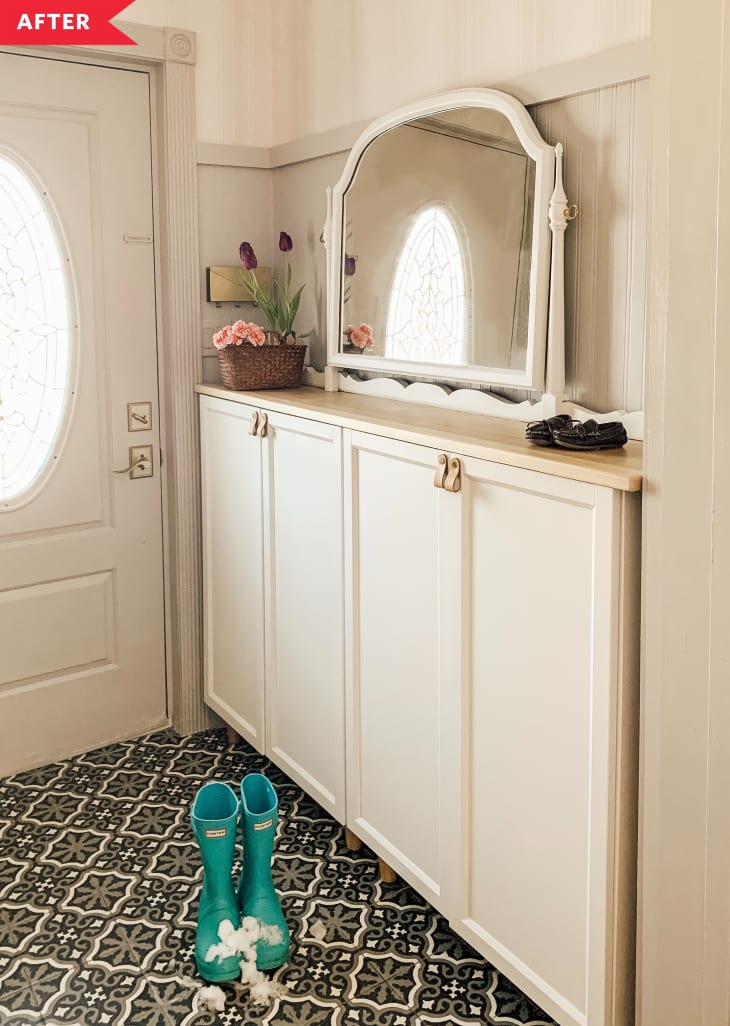
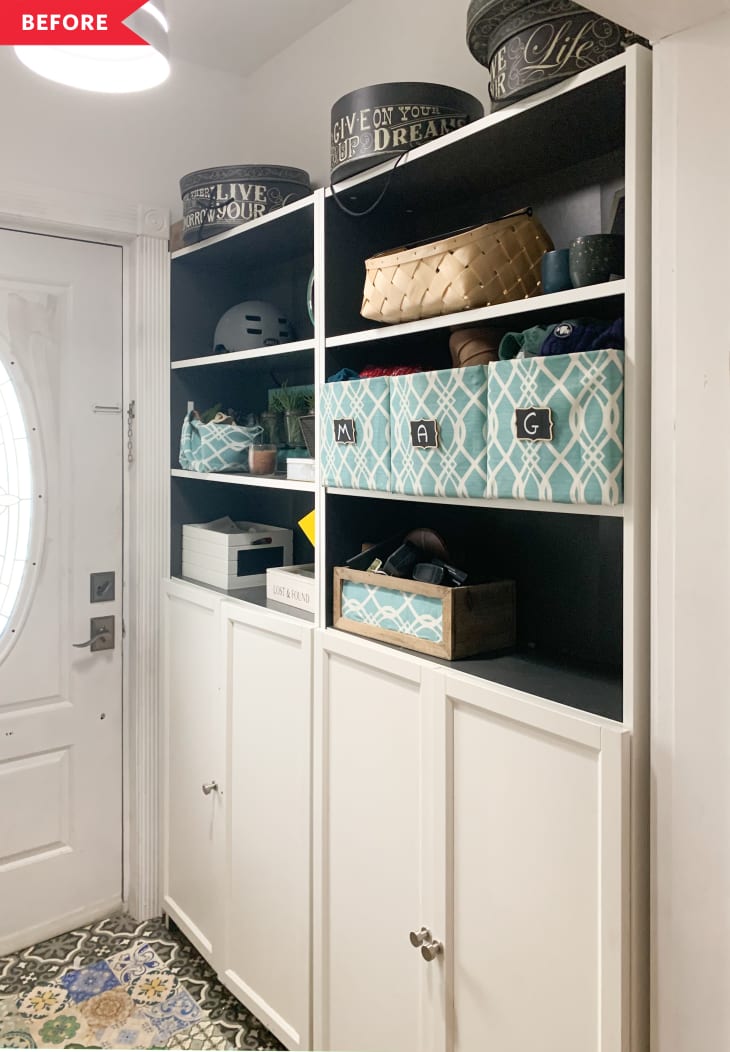
On the other side of the space, Michela kept the same IKEA BILLY bookcase that was already there — but hacked it to make it work better for her needs. Before, the bookcase’s height made it feel imposing; removing the top section helped make it look more at home. Michela also cut the bottom apron off the bookcase, which allowed her to attach natural wood-toned tapered legs to elevate the look. Finally, she swapped the ordinary pulls for leather tabs and mounted a mirror on top. “Making a BILLY look fancy wasn’t an easy task, but I think I succeeded,” she says. (She did!)
All together, Michela spent just $130 on this redo, which she says was money well spent. “I like how open and airy and neat it is,” she says. “I like that even with rain and snow and Amazon boxes back and forth it’s still cute, so I’m happy with the result.” And, she adds, “I’m proud that I did it all by myself.”
Inspired? Submit your own project here.