How To Make a TV-Hiding Sliding Art Accent Wall
Many of us love watching television but hate seeing that giant black rectangle become the visual centerpiece of a room. Creative couple Nicole and Dave put a lot of thought and effort into their beautiful, industrial live/work loft in South Baltimore, so naturally they didn’t want a big, ugly TV getting in the way of their style. So they came up with a pretty fantastic, artful solution for hiding their TV, and they’ve shared with us how they did it!
Dave walks us through their process:
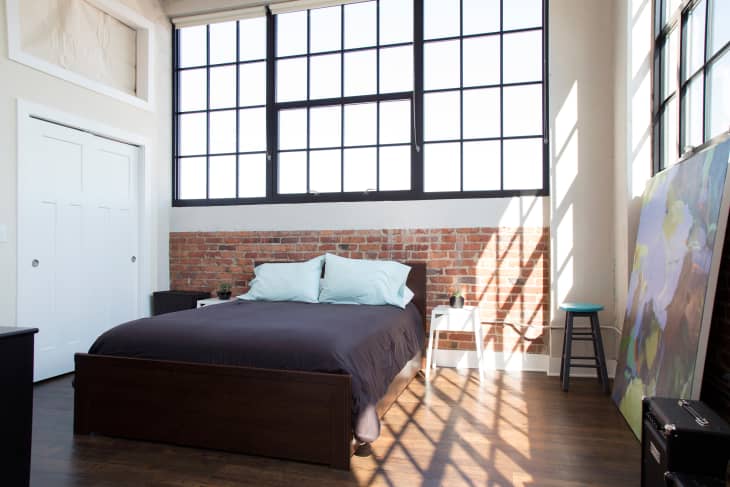
The accent wall project allowed us to accomplish two things. Celebrate Nicole’s large scale paintings and de-emphasize the television in our living room. The only wall large enough to support one of her paintings has a thermostat and electrical outlet right in the middle of it. That gave us more incentive to create a custom solution.
The inspiration:
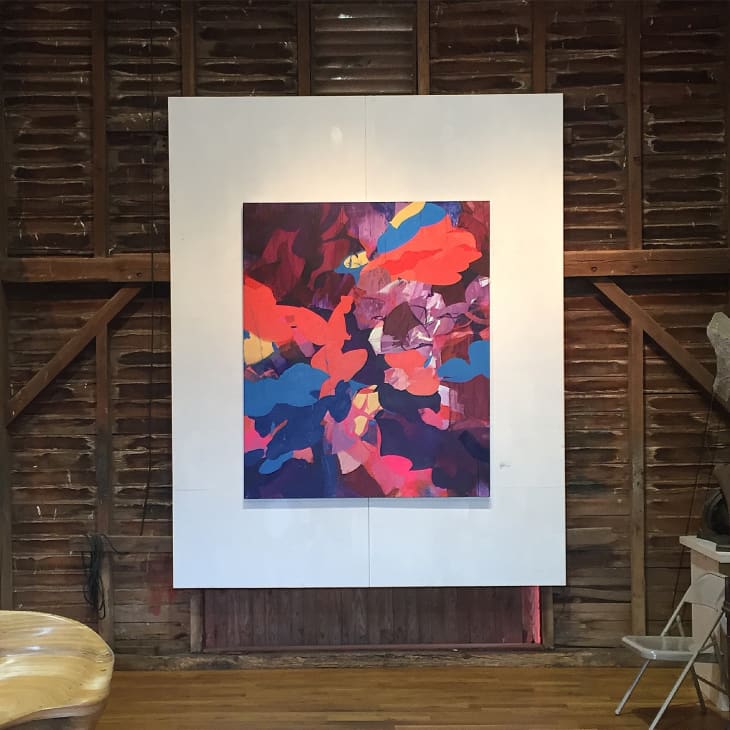
Nicole was included in a show at Artists Circle Fine Art in the Fall of 2015. Their North Potomac gallery is situated in a barn where each piece was supported on a large white panel. Seeing her work in that context left an impression and ultimately inspired more of the formal design of the wall where rustic meets the modern industrial interior.
Materials used:
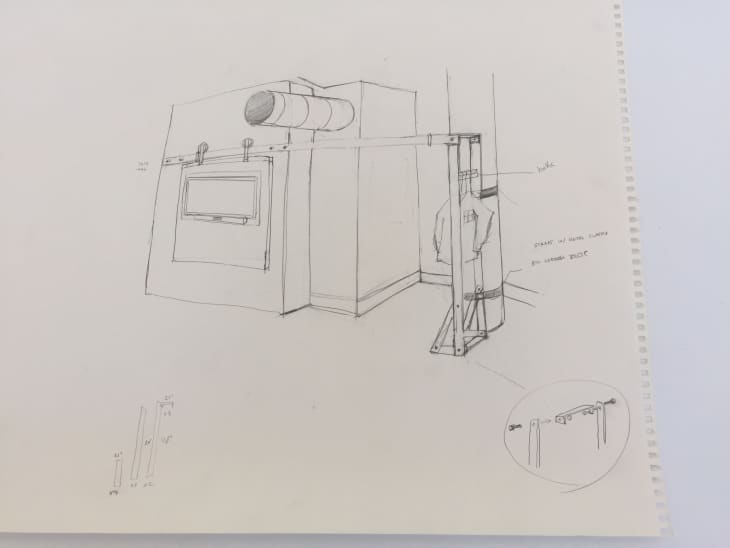
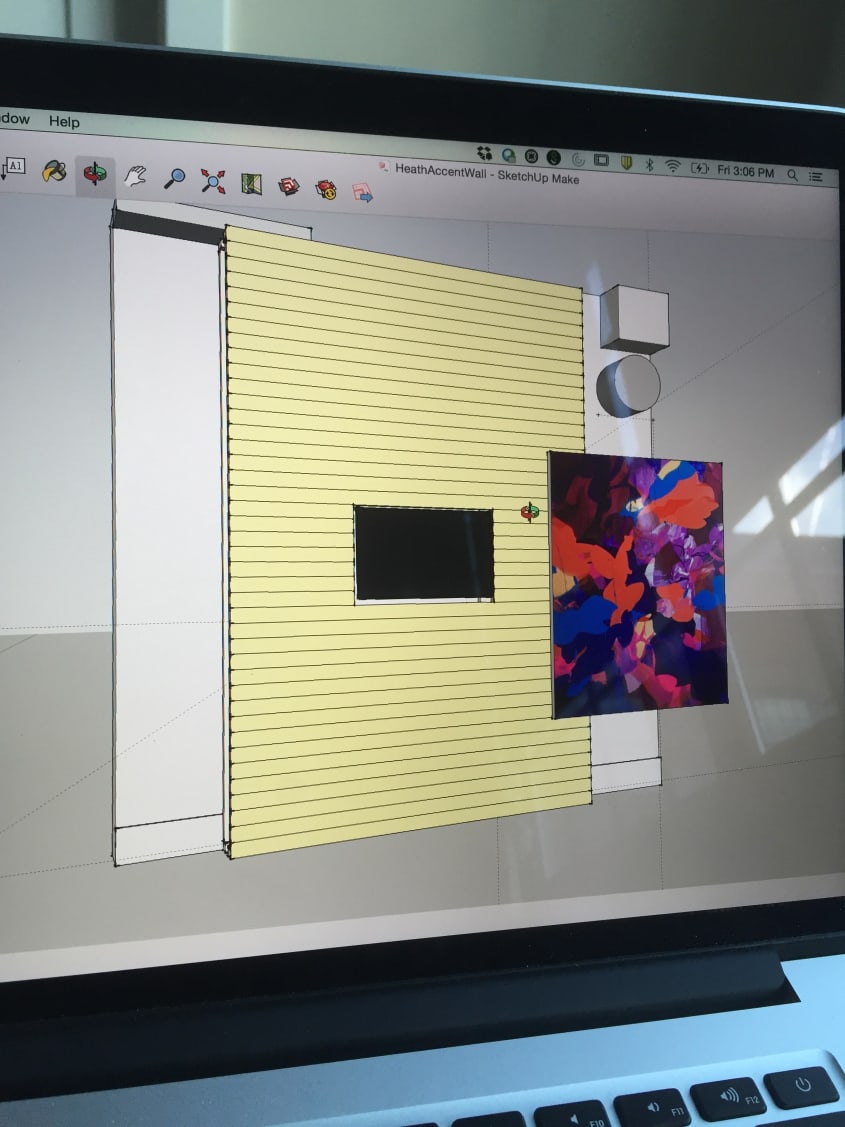
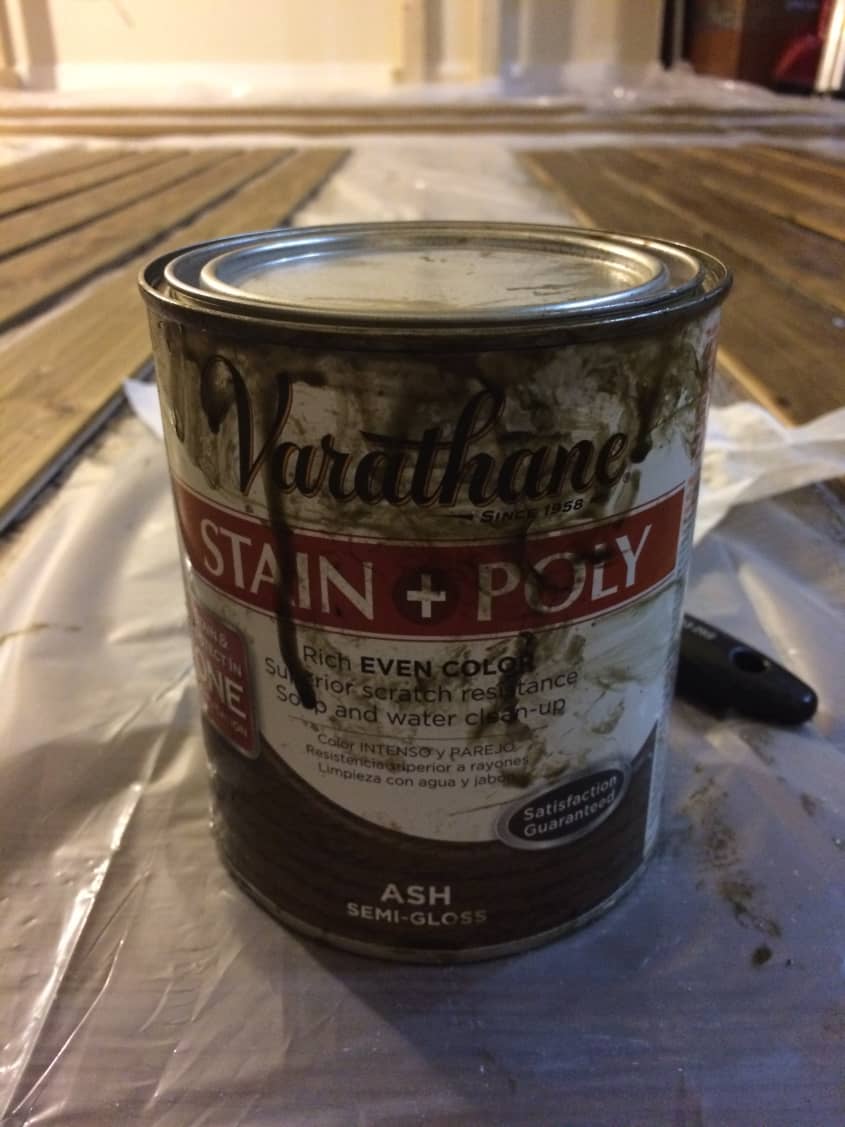
I sketched out some initial concepts and took them digital using SketchUp to accurately represent the scale and supplies that we would need. Once we had the ideal design we went to Home Depot and collected 2 x 4’s for the frame and packets of cedar for the facade. Nicole picked out an ash-colored varathane to bring out the natural wood grain and a white primer that we would use to white wash the cedar panels so her painting would pop.
The process:
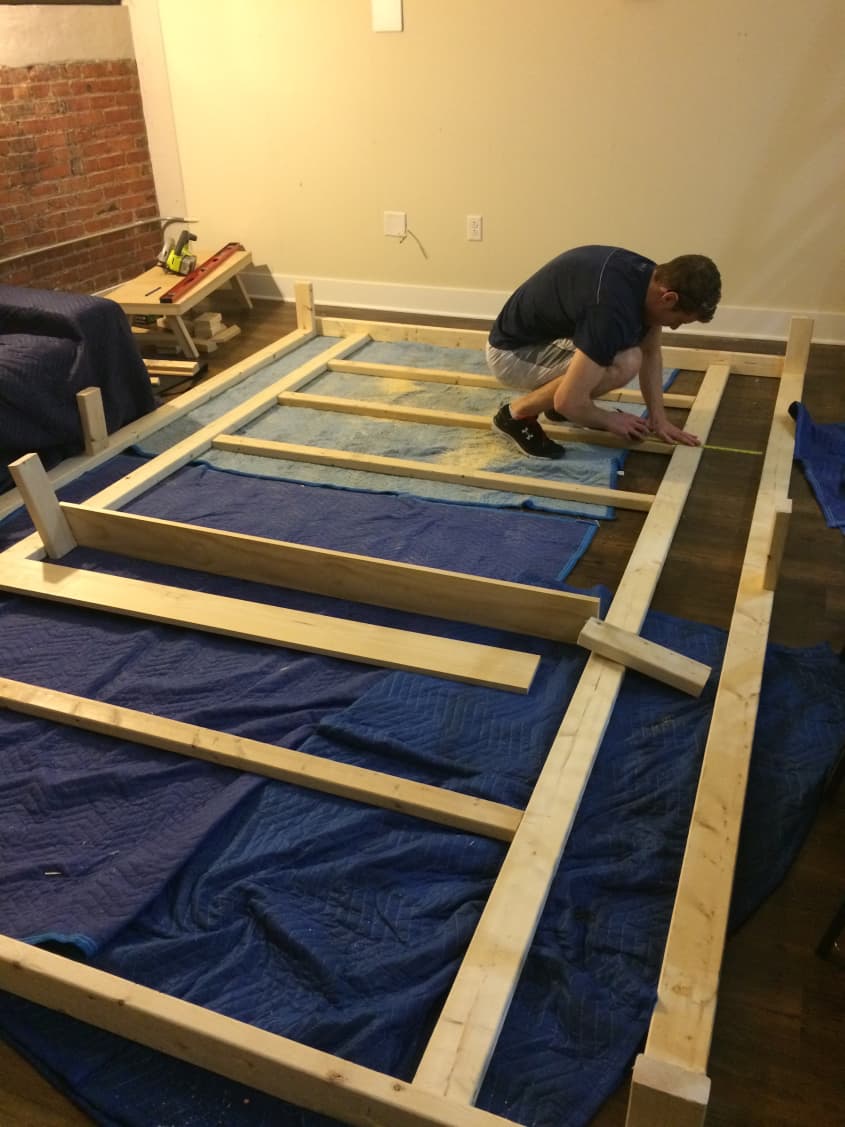
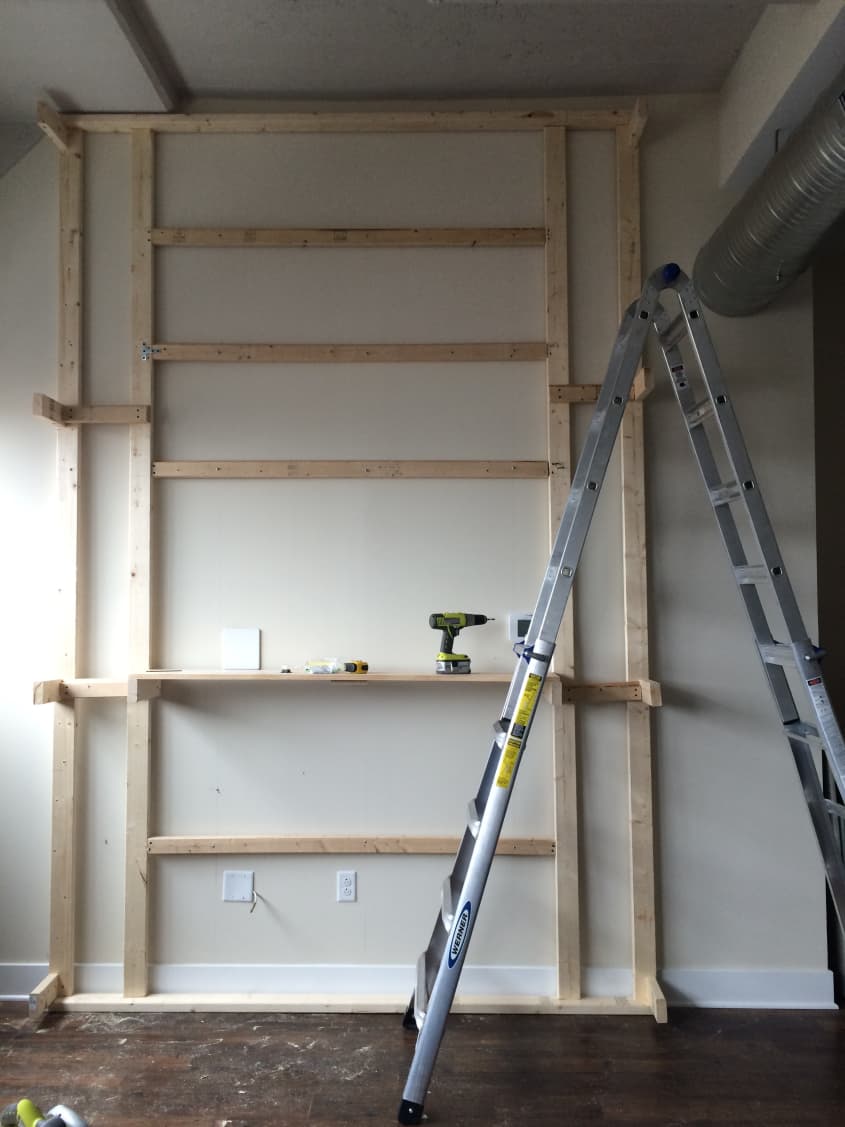
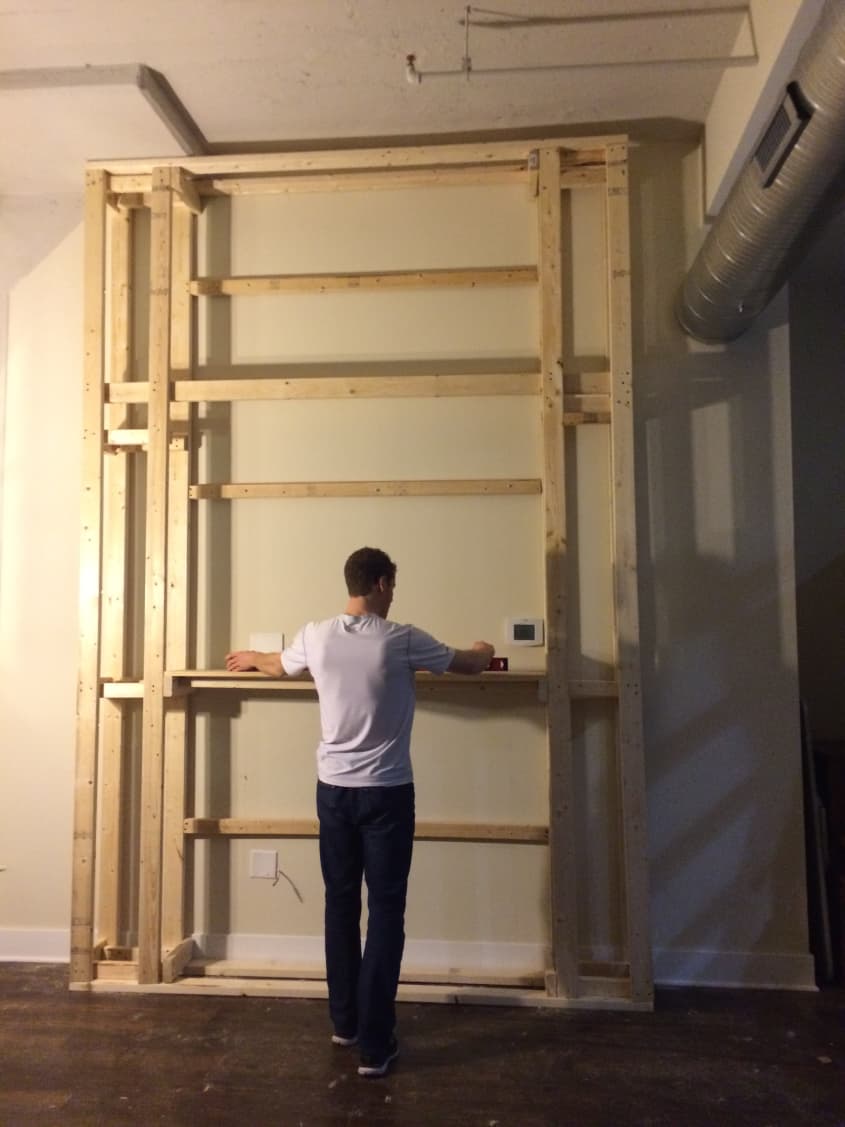
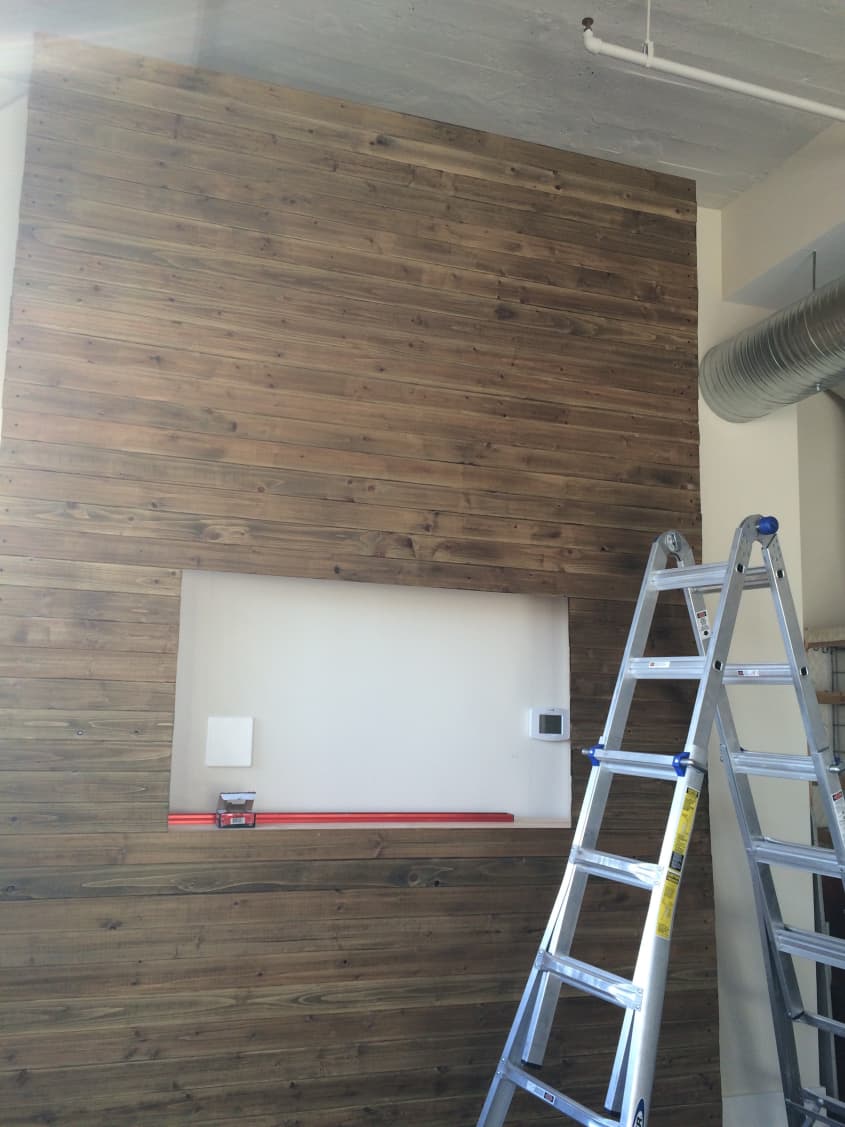
We got to work measuring and cutting the 2 x 4’s to create a frame that would connect to the studs in the existing wall. We purchased several 12 ft. 2×4’s and packets of cedar planks from the Home Depot, and rented most of our tools from Baltimore’s Station North Tool Library.
That process went smoothly but this is where we hit our first snafu. The second part of the frame that was measured and created to mirror the first frame didn’t line up because of a slight unnoticeable tilt to the floor that caused the first frame to settle in a crooked manner. We were forced to take apart the second frame and build it off of the first frame instead of simple drilling the two together. It was at this point we realized it was going to be a little bit more involved than we had planned.
Get the right finish:
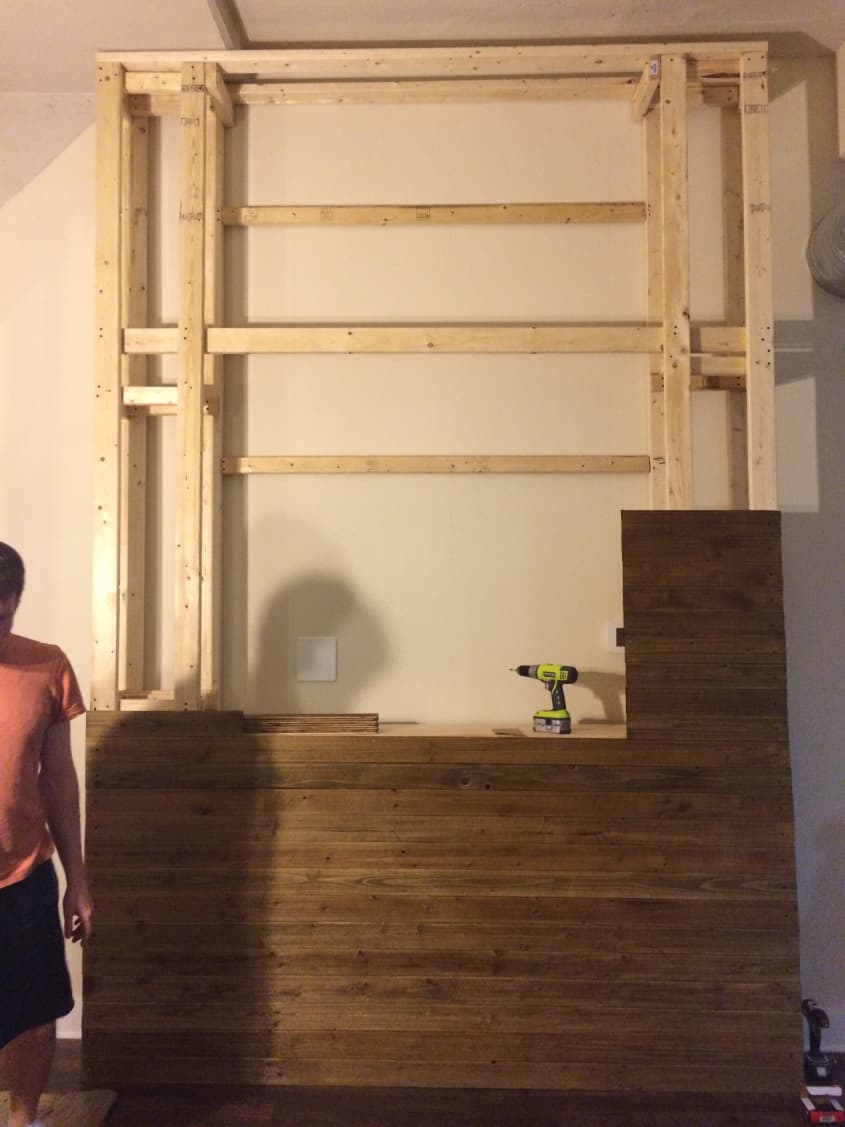
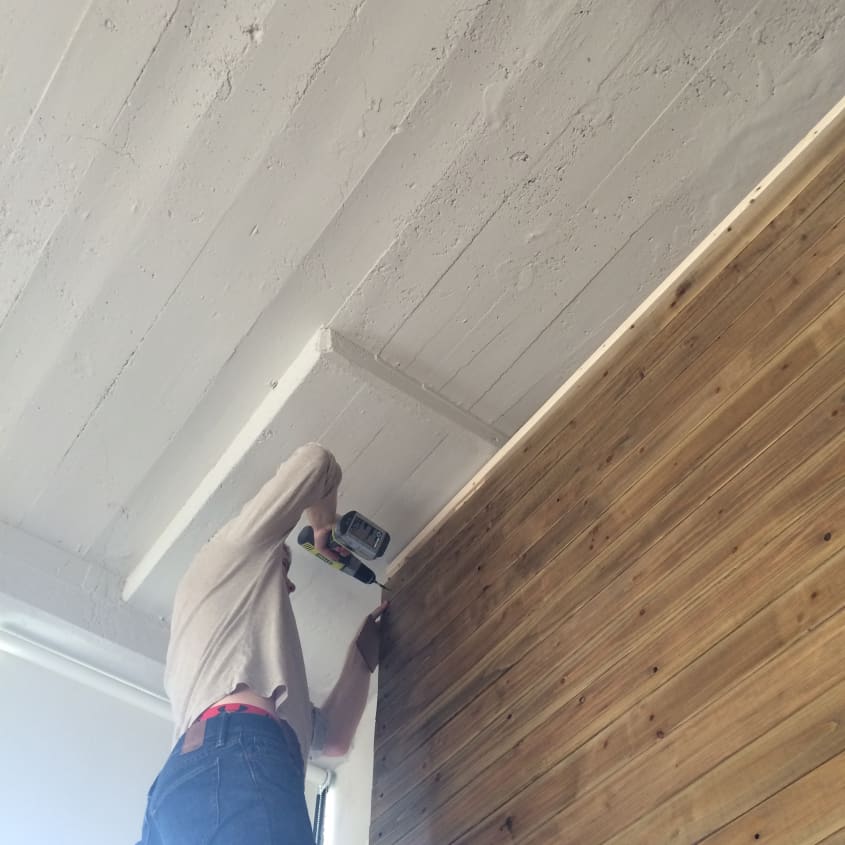
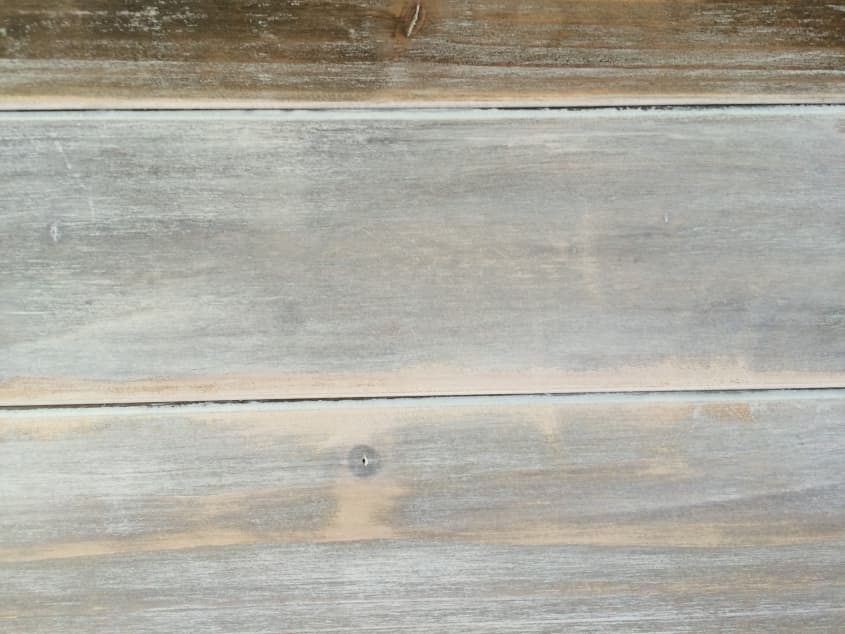
Nicole laid out a series of cedar planks on a tarp and stained them with the varathane. We then sanded them down so that you could see the wood grain through the white wash. They took a couple hours to dry but once we started drilling them onto the frame it began to feel like progress. Once the wall was covered we experimented with different techniques of applying the primer and capture the right amount of opacity to see the grain of the wood. We were able to white wash directly onto the wall with some covers to catch drips.

How they incorporated the TV
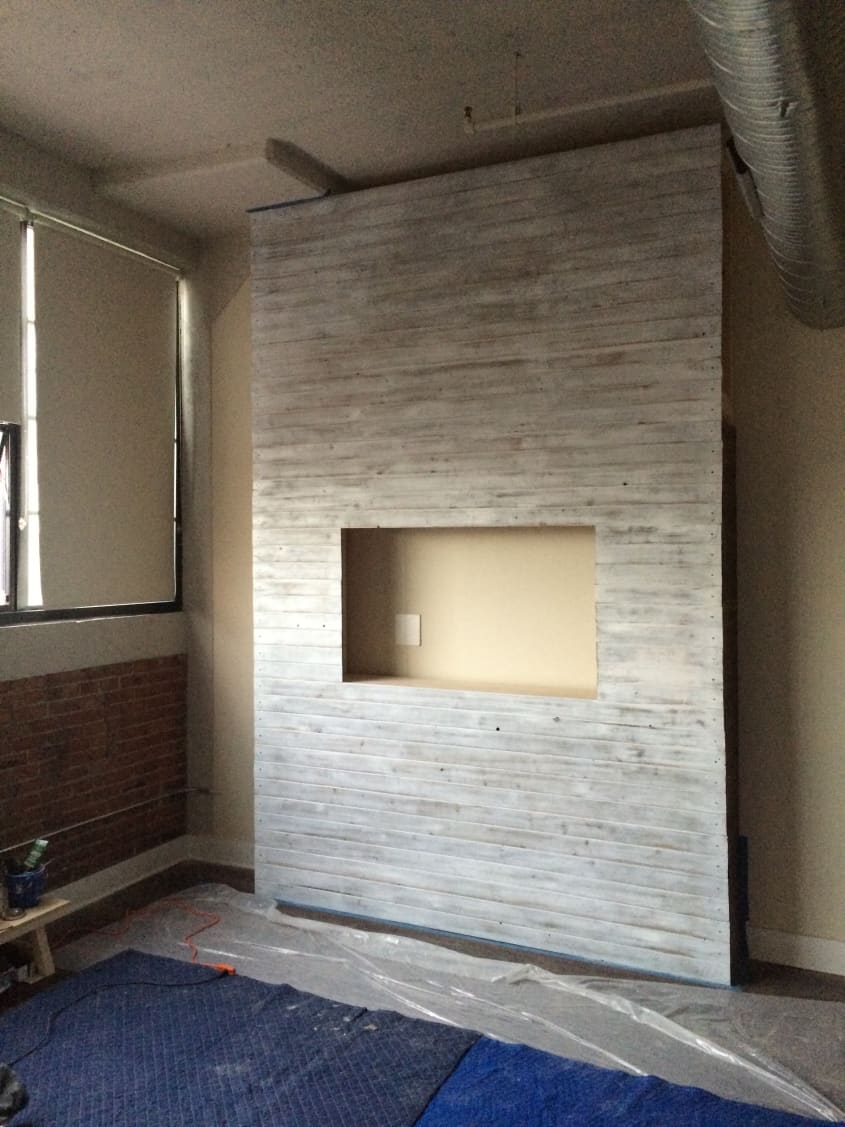
The TV was set up on a recessed shelf. This was easier than mounting it to the wall and allowed it do be almost flush with the exterior surface. To make it look finished I sealed off the inside of the recessed space with additional cedar panels at custom sizes.
How they made the sliding track
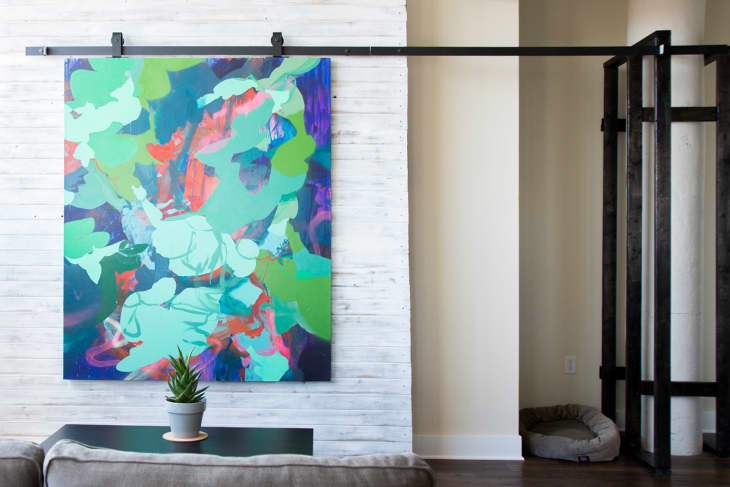
The the pièce de résistance was the sliding track and hardware which we ordered from Rustica Hardware in Utah. We also had to create a pillar to receive the track to the right of the wall so the painting could slide. Using a hammer drill from the Station North Tool Library we made our own holes in the steel track to align with the studs in our accent wall and pillar. Drilling through the steel was probably the most intense part of the project!
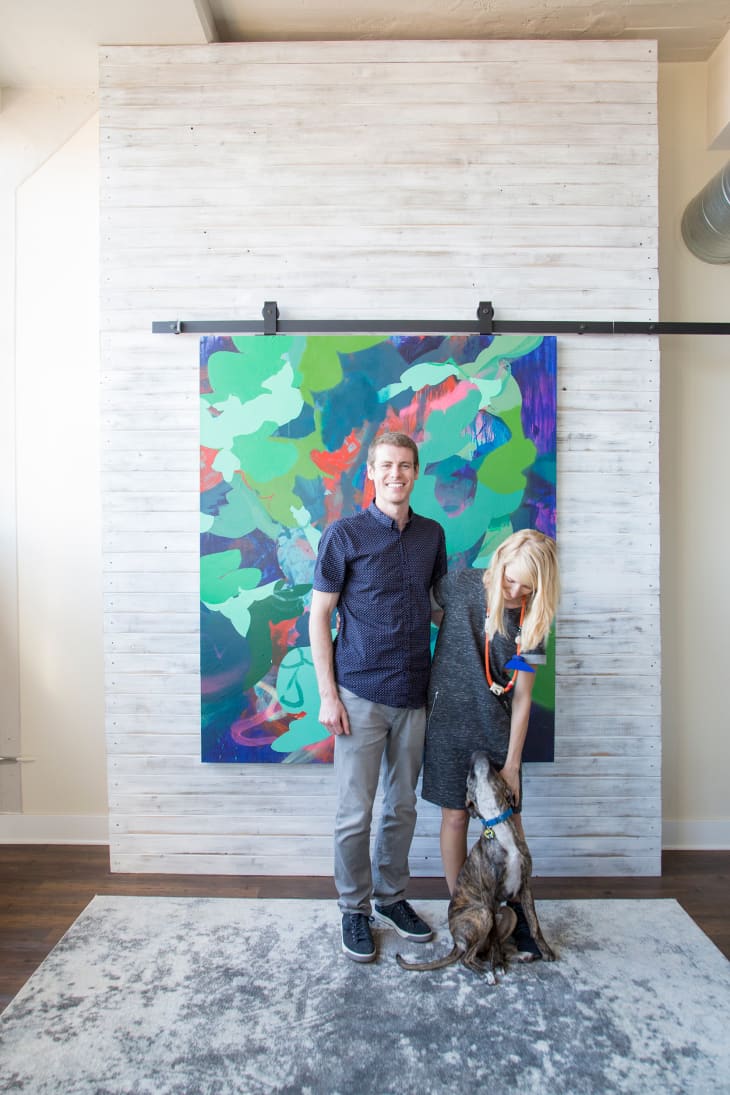
All the hard work had finally paid off. We attached the rolling hardware to the top of Nicole’s painting and rested it on the track. It sat less than an inch off of the wall and was large enough to mask the recessed space with the TV. With a push (and bated breath) we seamlessly slid the painting across the steel track. It sounded glorious. A pair of stoppers kept the painting from going off of the rails on either side. We’ve hid all of our wires and internet router in the wall for easy access but none of visual distraction.
Now we could enjoy our lovely home immersed in the colors and movement of Nicole’s work with the option of watching Netflix every once in a while. We’ve enjoyed having this feature to our home and especially love to see friends and family interact with it.
Thank you Dave and Nicole for sharing!