
How to Balance a Wobbly Ceiling Fan
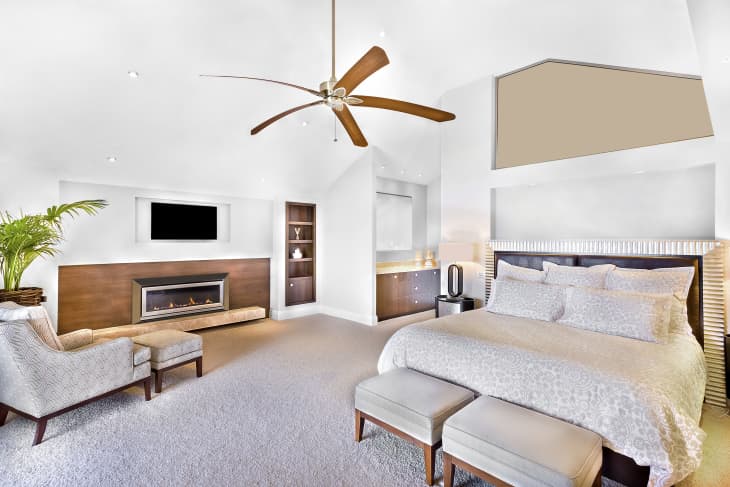
A ceiling fan is a great way to circulate the air in any room, no matter the season. It’s also a great way to keep your cooling costs down in the dead of summer. But there’s nothing more unnerving than a wobbly, rickety ceiling fan overhead. Is it one spin from crashing down on my head? you may wonder while sleeping with one eye open.
Not quite, says Kevin Busch, vice president of operations for Mr. Handyman, a Neighborly Company. Over time, an unbalanced ceiling fan can disconnect and fall if the source of the imbalance is the connection of the fan to the junction box, says Busch. More commonly, though, the problem stems from something less precarious—like a loose screw, excessive dust buildup, or a warped or damaged blade. “Still, it’s better to be safe than sorry and fix the issue immediately to avoid damage to the fan, blades, motor, or the connection,” he says.
If you hear a loud whirring or vibrating noise, it’s time to give your ceiling fan some attention, says Busch. Sometimes you’ll also notice the fan rocking while it’s running. A small wiggle—up to an 1/8-inch—is normal, but more than that can indicate a larger problem, says Christy Edwards, ceiling fans merchant at The Home Depot.
Sound like you have a new item on your to-do list? The good news: It’s generally an easy fix, and one that pros say relatively handy homeowners can tackle themselves. Here’s what you’ll need to balance a ceiling fan, and how to do it.
What you’ll need to balance a ceiling fan
- A clean pillowcase that you don’t mind getting dirty
- Ladder
- Screwdriver
- Balancing kit
How to balance a ceiling fan
Clean the blades
A wobbly ceiling fan is most often caused by slight weight differences in the blades, which can be caused by excess dust buildup, says Rusty Martin, owner and franchisee of Handyman Connection in Cumming, GA.
Before trying anything more drastic, give your fan a solid cleaning—especially if the blades have been in place for an extended period of time, says Martin. To minimize any resulting mess, clean each blade with a pillow case, says Busch.
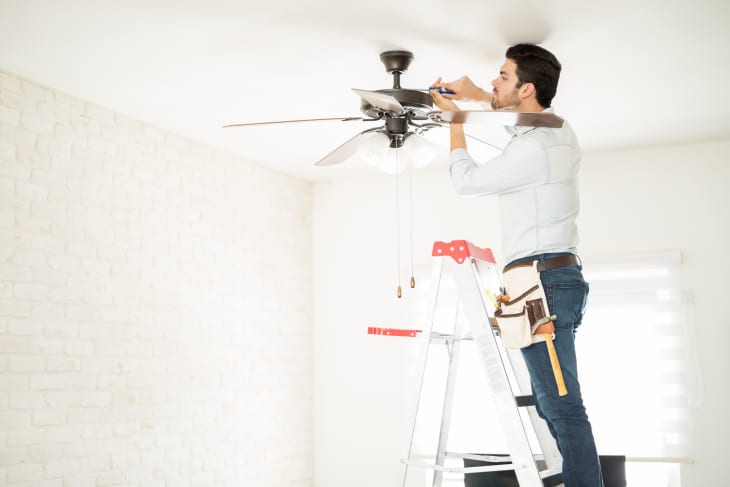
Using a secure step ladder to reach the fan, slip an old pillow case around one of the fan blades, taking care not to knock off any dust. With the pillowcase covering the length of the fan blade, apply slight pressure and slide the pillow case off of the blade.
Examine the ceiling fan structure
To be stable, a ceiling fan must be installed on the correct ceiling mount—either on a fan-rated electrical box mounted to an adjustable fan brace or to a 2′ x 4′ cross beam with lag screws, says Edwards.
To check up on the initial installation, climb up on a ladder and loosen the bracket housing. If your fan is attached to an electrical box designed for light fixtures only, it cannot support the added weight of the fan. This is the most dangerous scenario, since it can eventually cause the fan to fall. In this case, it’s important to remove the ceiling fan and reinstall everything correctly—a project that may require the help of a professional.
Tighten any loose screws
If the overall structure seems correct and stable, check for loose connections. Turn off the fan, then simply take a screwdriver and tighten any screws—both on the junction box and where the blades connect, says Busch. Once you’re done, turn the fan back on to see if it seems to wobble any less, or if there’s still an issue.
For extra precision, use a tape measure to measure the vertical distance from the ceiling to the tip of each ceiling fan blade, says Edwards. If all of the measurements are not the same, adjust the blades that are off by tightening the mounting screws that hold them to the motor housing.
Look for any warped or damaged blades
Blades that are warped, drooping, or on bent blade arms could cause wobble. This most commonly occurs if an indoor-only rated fan with MDF blades is installed in a very humid or outdoor area, says Edwards.
If this may be the case, examine each of the fan blades closely and replace any that appear damaged, she explains. Most manufacturers offer replacement parts for each fan—contact customer service, a number that can usually be found in the instruction manual.
“If you order new ceiling fan blades, be sure that they are compatible with your fan type and model number so that they are of similar length, width and weight as your old blades,” says Edwards.
Test the balance of each blade
If your fan’s issues still aren’t resolved, it’s time to balance the blades, says Martin. Almost every fan includes a balancing kit with instructions, but they can also be purchased separately.
Kits come with a plastic clip and up to five small weights, often with an adhesive backing to make them easy to attach to the fan blades, says Edwards.
Turn the fan off, then attach the plastic clip from the kit to one blade about halfway up its length. Turn on the fan to see if the instability has improved. Repeat for each blade until you’ve located the problem.
Once you identify the problem blade, slide the clip along the blade toward the end, about an inch at a time. Recheck the fan for improvement after each adjustment. When the fan seems stable, position one of the balance weights in the center of the fan blade, parallel to the clip, then stick or glue the weight in position. Remove the clip.
Replace the fan
If all else fails, it may be time to replace your ceiling fan altogether. As a general rule of thumb, according to Home Depot’s guide, any ceiling fan over 10 years old (sooner, if heavy use) may start to develop mechanical issues.