
Before and After: A $72 One-Wall Project Makes a Whole Living Room Feel Larger
IKEA’s square mirror tiles (called BLODLÖNNs) are some of the Swedish retailer’s most affordable products, which is why they make such a great base for projects and hacks. You get a lot of bang for your buck — see how a whole wall’s worth of them made this dining room feel more spacious and glam for $170, for example — and the stakes are low if your DIY doesn’t work out.
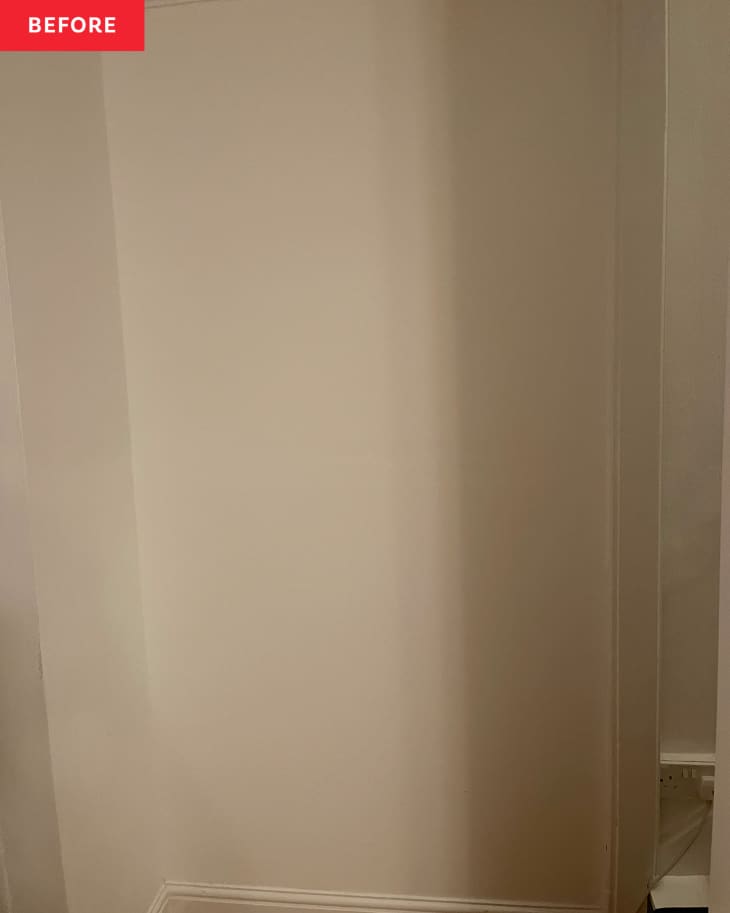
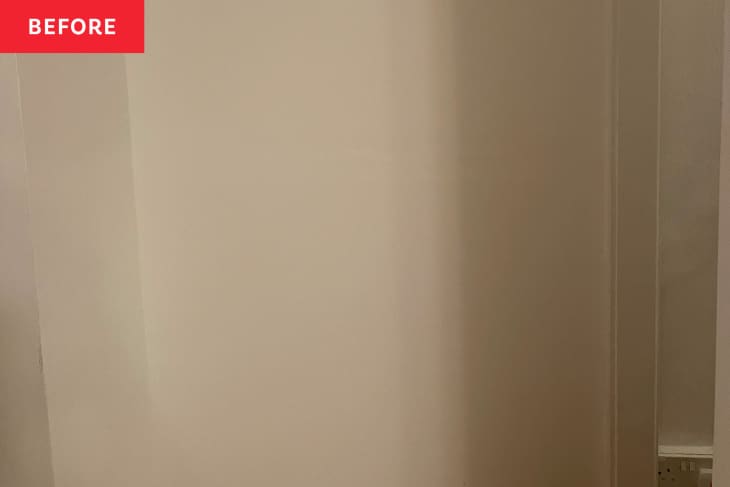
In Stacey Bettle’s (@stacey.b90) home, square IKEA mirrors were the basis for a redo that looks much pricier than it actually is. Before, this corner of Stacey’s home was a “blank slate,” she says, and kind of an awkward one at that. “I loved the fact that this wall corner space could be turned into anything,” Stacey says. At first she thought about adding shoe storage there, and then she considered a picture wall with framed family photos. What she learned, though, was that she would need something ultra-sleek because the door opens right into this space, and anything too bulky would prevent the door opening all the way or be at risk of breaking.
“We didn’t have any mirrors in our living room, and I thought, ‘I would love to have a long mirror with a black frame,’” Stacey says. “When I looked at prices, most were out of our budget, so I said to my partner, ‘Let’s make it ourselves, we’ll buy small mirrors and black paint to create an illusion of a full-length mirror for a fraction of the price!’” Plus, before, the plain wall “felt like it needed a ‘glow-up’ and actually made the living room appear smaller and more closed in,” she says.
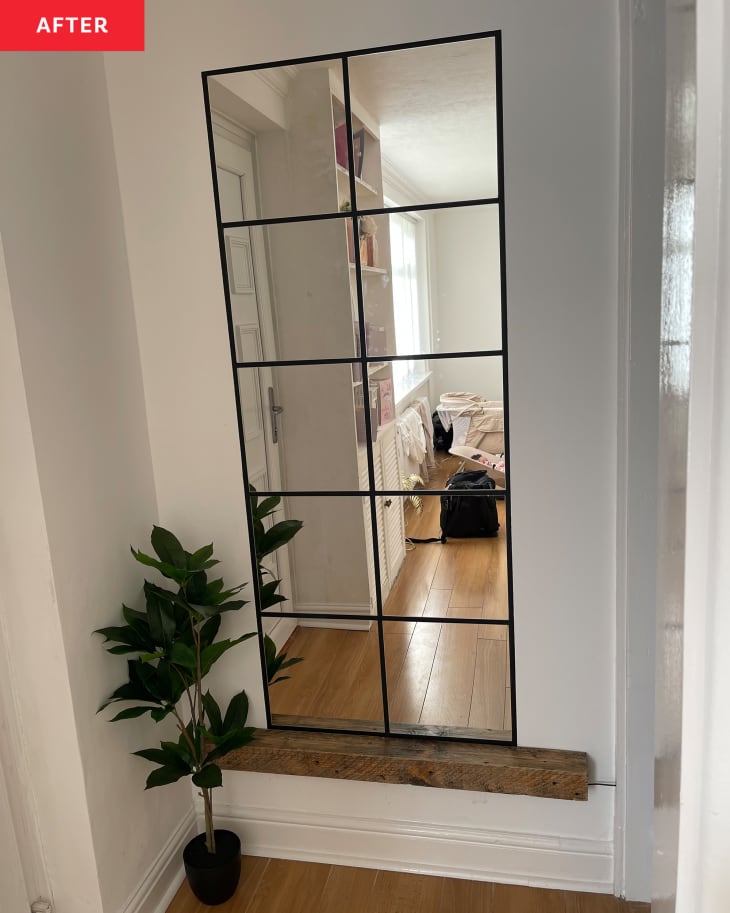
Stacey used 10 BLODLÖNNs and Dulux’s Rich Black paint to create the windowpane-style look. “We already had this paint, as we are painting other areas of the house,” she explains, so that made her project extra budget-friendly. (Her total for the space was about £58, or $72.)
The walls in Stacey’s apartment weren’t totally flat, so she sanded the area down before she started the project. Then, she painted her black rectangle before sticking her mirrors onto the newly flush wall. “The most important step on this project is to measure out the gaps between the mirror on the floor before you start the painting process,” Stacey says. “Once you have your measurements, to ensure it is even, you then mark it in pencil on the wall, and this will avoid your mirrors being wonky or an uneven-sized frame around the whole project.”

After she was done with the mirrors and paint, Stacey felt the corner was still a bit dark and a bit stark, so she added a plant, and a slim wood shelf (a stained scrap sourced from a carpenter friend, still with a low profile so the door can open) with a ledge light (sourced from eBay) underneath it, all of which are included in her £58 total.
“I didn’t think it would be so easy to turn my vision into real life,” Stacey says. “It looks exactly how I’d imagined it, which is so rewarding. I don’t think I’d change anything. If anything, I’m thinking where else in the house I can recreate this look with different decor.”
Inspired? Submit your own project here.