Painting a Rental: Tips and Tricks

Painting is one of our favorite quick decor fixes. It’s such a reliable way to personalize a home, to add character, sophistication and depth to a space. But easy as it is to buy paint and rollers and get color up on the walls, painting is not without its challenges, especially for renters who are often faced with reluctant landlords or stuck with previous tenants’ color choices.
This month, we worked with Glidden Paint to bring color into three Apartment Therapy readers’ rental homes, and now they want to help all our readers feel confident about taking the painting plunge! Read on to find some of their favorite painting tips and tricks, from how to talk to your landlord to how to choose your finish to how best to paint a wall. They’ve even built a tool to help you turn your favorite image into color inspiration. Let’s get rolling!
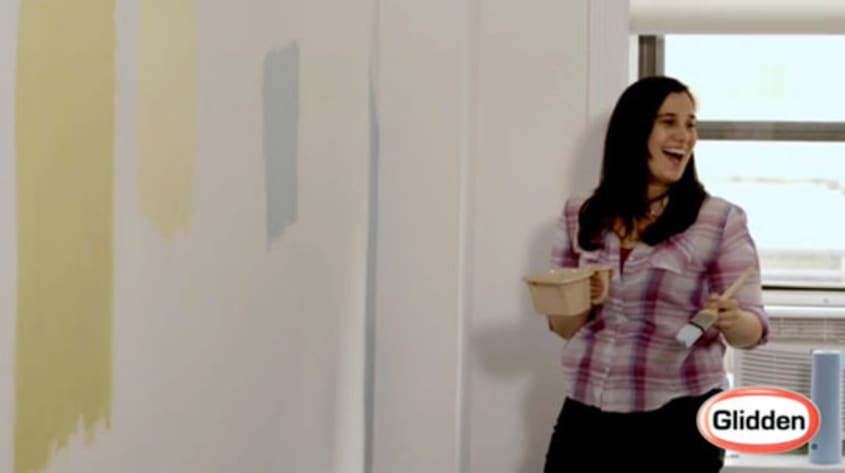

Finding Color Inspiration
For a lot of us, the main obstacle to painting is choosing a color. We love the new My Image Inspiration tool on MyColortopia.com that allows you to upload an image of something you love — a pillow, a favorite shirt, a sunset — and generate paint recommendations. You’ll get suggestions on a main color plus two complementary colors based on your inspiration upload, helping you feel confident about your color choices so you can get to the fun part! Check out the My Image Inspiration widget:
<iframe class="smart_sizing_iframe" frameborder="0" scrolling="yes" id="iframe_canvas" name="iframe_canvas" src="https://s3.amazonaws.com/mycolortopia/sycwidget/widget.html" width:468="" height="532" style="height: 532px; width:468px;">
Landlords
Many renters are afraid to paint because they’re not sure their landlord will let them. Landlords are usually concerned when renters paint with colors that make it harder to rent the next time. If your landlord is reluctant, try to strike a compromise. You can offer your landlord approval on the paint color, where you come up with several alternatives and the landlord picks one. Or you can offer to repaint with the landlord’s choice of color when it’s time for the apartment to go back on the market.
And getting approval may be easier than you think. Our Renters Get Rolling renters each asked their landlords for permission to paint, and they each got immediate permission, proving that sometimes, you just have to ask!
Prepping Walls
Before getting started, you’ll want to dust the walls and maybe gently sponge them down with a solution of baking soda and vinegar diluted with warm water. If you have any cracking or peeling, you’ll want to spackle and sand. To find out if you need to sand down your walls at all, experts recommend sticking tape on the wall and then yanking it off. If paint chips off onto your piece of tape, you’ll know you need to do some sanding. Click here for Nicole’s tips on prepping your walls.
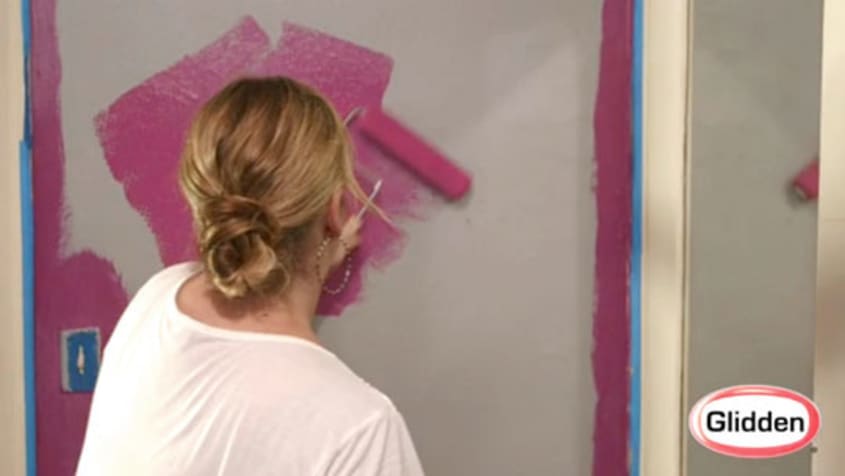
Primer
So you got your landlord’s approval, you picked your paint color, and it’s finally time to make it happen. But wait! You may need to prime first. Primer is an important base coat that can help your paint roll on smoothly and color-true. When don’t you need primer? If your walls are smooth, painted white or light grey, you should be fine. Nicole didn’t use primer for Cassandra’s apartment, and the color came out beautifully.
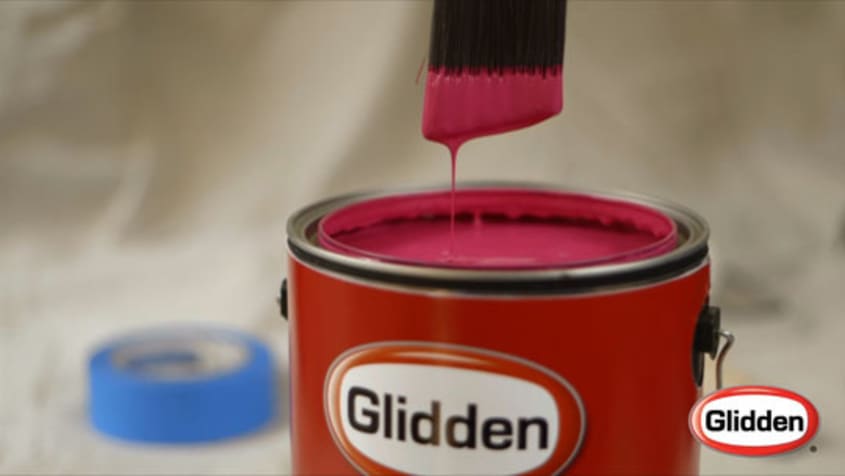
On the other hand, if the walls are uneven, patched a bunch, or already painted a color, you’ll need primer. If you’re painting a vivid color, particularly in the red family, you’ll want to use a grey primer even if your walls are pristine, in order to ensure a that your color goes on evenly. Nicole used grey primer in Lisa’s foyer as a base coat for the deep berry color, to avoid any white peeking through. It helped the color roll on smoothly and evenly, yielding a richly saturated finish. For Eliza, Nicole used a Glidden Paint and Primer in One, which offered powerful coverage and a wonderfully smooth finish.
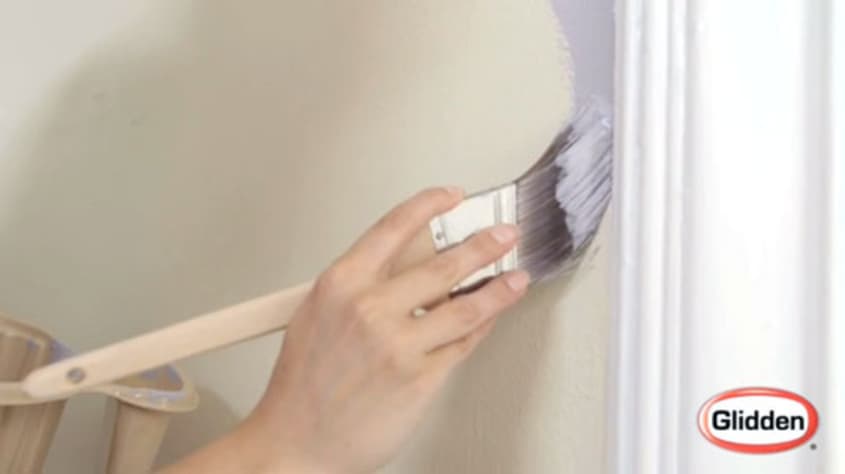
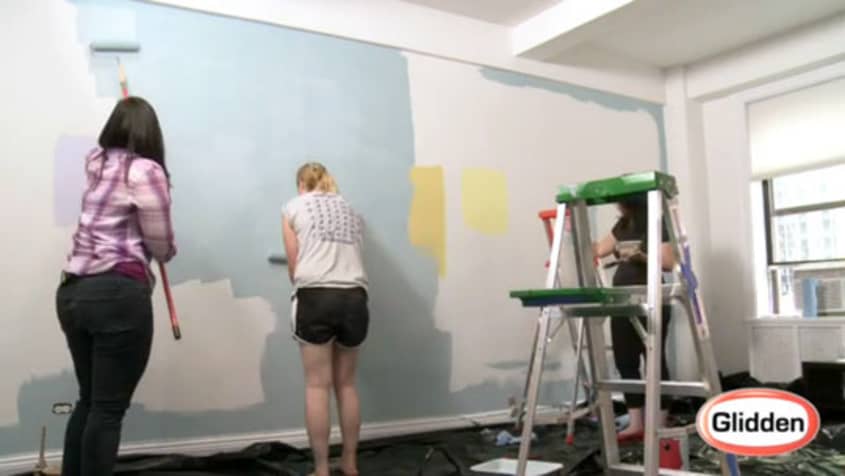
Cutting In
It’s tempting to break out those rollers immediately, we know. But the first step to any good paint job is to “cut in,” painting the corners and edges of the walls with a brush to ensure clean lines and to prevent gloppy bubbles or drips. First, dip no more than a third of your brush into your paint color. Next, angle the bristles about a half-inch away from the corner, pressing the bristles in so they just fill the space to the corner, and stroke the brush out. Watch Nicole give a demonstration on how to cut in for Eliza and her friends here.
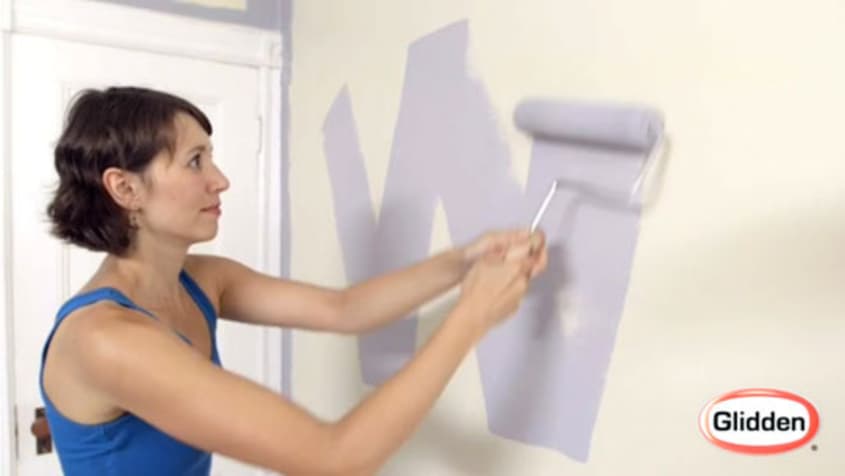
Let’s Get Rolling!
Finally we’ve gotten to the best part of painting: the rolling! Painting with a roller is not only fun and easy, but it’s quick, so you can watch the transformation as it happens. Nicole and the experts at Glidden recommend rolling in a “W” pattern, so you spread out the paint more evenly than if you just roll up and down. You can see Cassandra paint a perfect “W” in her Before & After video here.
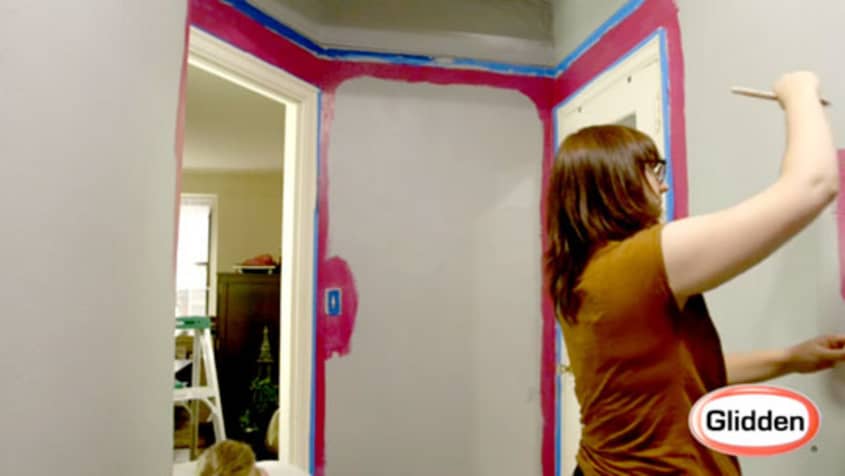
Painter’s Tape
Unless you’re an experienced painter with a steady hand, you might want to use painter’s tape to keep your edges straight. This will make your prep time longer, but will help the painting part go much faster. If you do use painter’s tape, it’s best to remove it when the paint is still slightly wet, like Lisa did, to minimize the risk of peeling off more than you intend.