How to Be a Cook Who Cooks Tender, Juicy Meat Every Single Time

- Today’s Lesson: Meat
- Enroll & See All Lessons So Far
We’re covering meat today. Red meats like beef, lamb, and pork are among the most expensive and luxurious ingredients we use in the kitchen, and if you eat meat, you probably don’t want to waste a scrap. If you find all those cuts of beef confusing, if you’re never sure how to handle a raw steak, or if you’ve ever faced a dry, tough cut on your plate and wondered what you could have done better, today’s lesson is for you.
Why Meat?
Meat is more loved, and more reviled, than perhaps ever before in history. Despite a huge rise in the popularity of a vegetarian lifestyle, about 95 percent of Americans still eat meat on a regular or semi-regular basis. Red meat is a staple source of protein, and a foundational ingredient on many plates. Low-carb and ketogenic diets are still rising, with their focus on fats and animal proteins. And yet we know that meat production is resource-intensive, and we try here at Kitchn to be thoughtful in our uses of animal protein, using it wisely and wringing the most flavor out of a smaller amount. If you want to use red meat well, as a cook, without waste or ever feeling like you’ve ruined a good chop or roast, it all starts here.
Start Here: The Basics of Meat
An Anatomy Lesson in 3 Parts
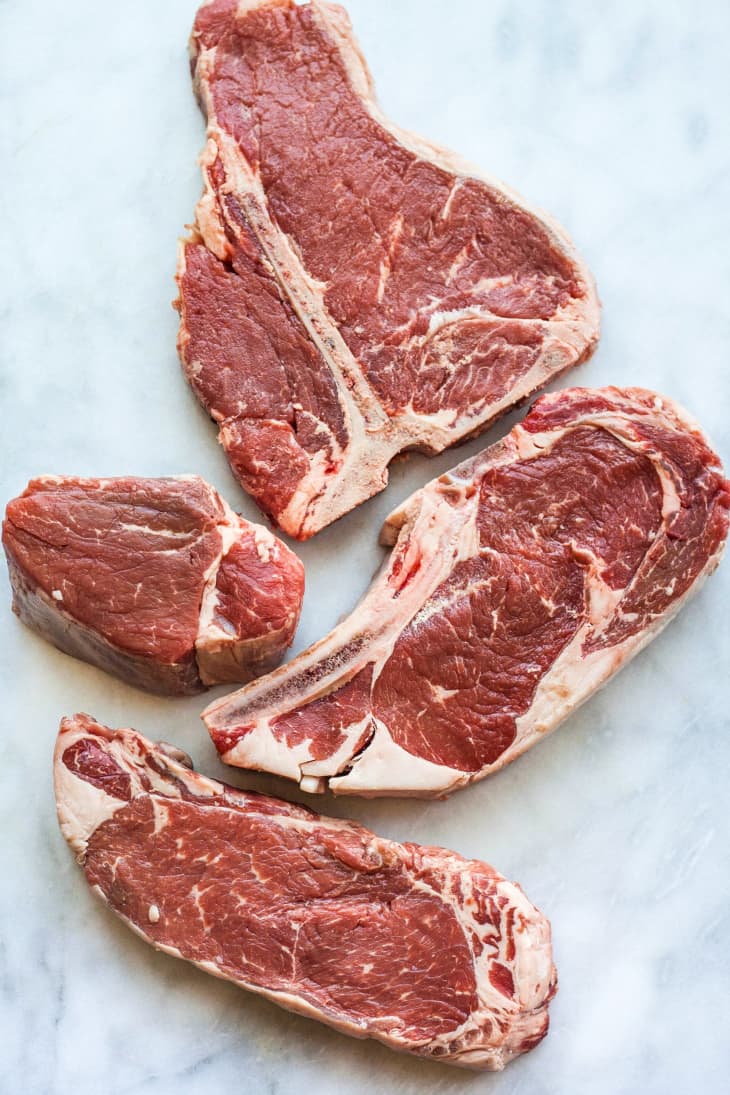
Whether we’re talking about cows, lambs, or pigs, there are three major areas, or cuts, that meat comes from: the shoulders and legs (or shanks), the loin and ribs (or middle area), and the haunches (back thighs and legs). These main cuts break down into smaller cuts — too many and diverse to mention individually — but the area the meat comes from tells you a lot about how to cook it, and how it will taste.
- Legs, shoulders and back legs/haunches tend to be tougher but more flavorful, since they’re doing more work and getting more exercise (this will make an even bigger difference on pasture-raised and grass-fed meat).
- The loin and ribs tend to be much more tender (filet mignon comes from this area) but usually offer milder flavor.
Tender Cuts of Meat: Cook Fast!
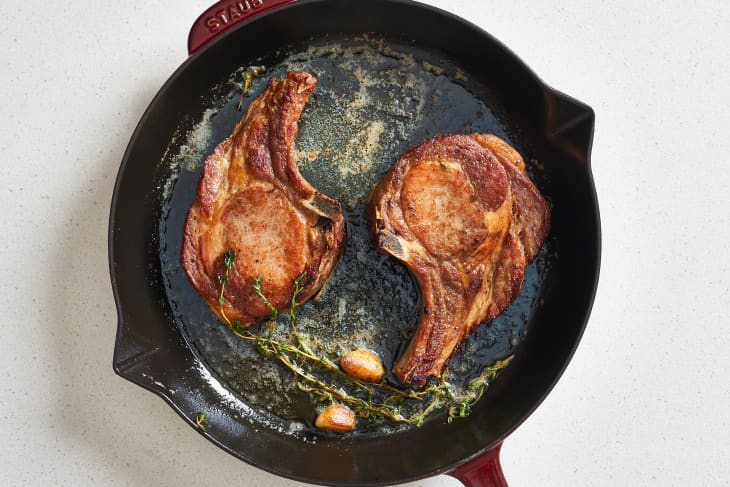
Tender cuts from the back (loin) region are quick-cooking cuts. These are cuts like ribeye, sirloin, strip steak, pork chops, and tenderloin. These cuts don’t need much cooking to make them taste awesome.
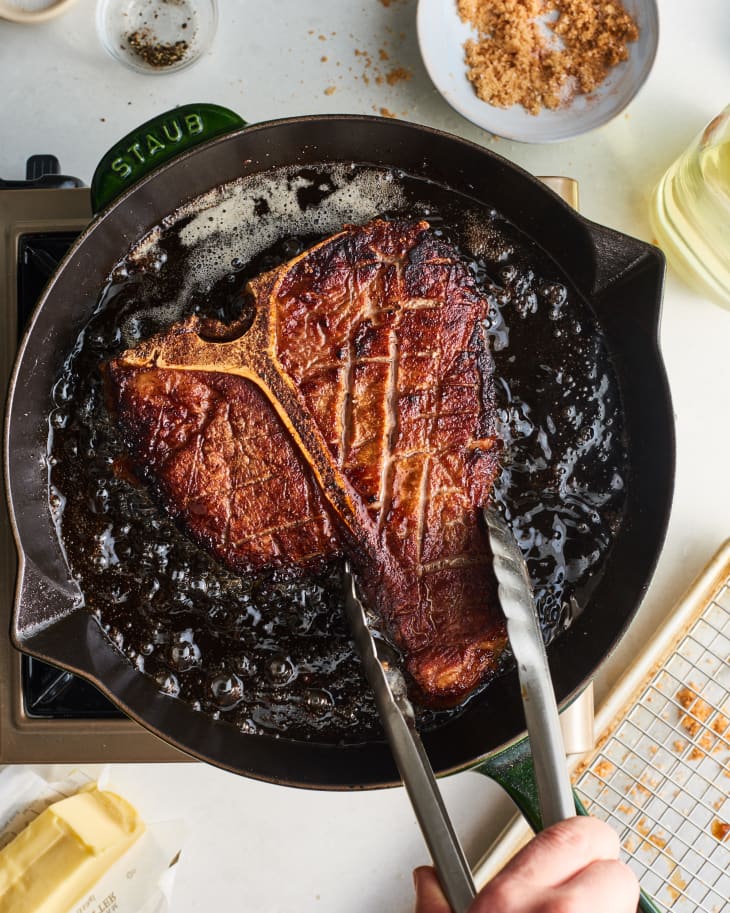
One of the best things you can do with cuts like this is to sear the outside of the meat over high heat, with a cast-iron pan or on a grill, and then continue cooking it just long enough to be safe to eat, but not so long that the proteins begin to seize up and the meat turns tough. This is why most chefs and restaurants tend to recommend steaks medium-rare over well-done.
It used to be believed that searing meat could “seal in the juices,” but that’s not true. (Otherwise you could cook it however long you want after it was seared and it would stay juicy!) Searing actually creates a chemical change where the protein touches the pan or the fire — essentially caramelizing it. It adds all kinds of complicated flavors to the steak, but the important thing to note is that it makes meat really, really yummy.
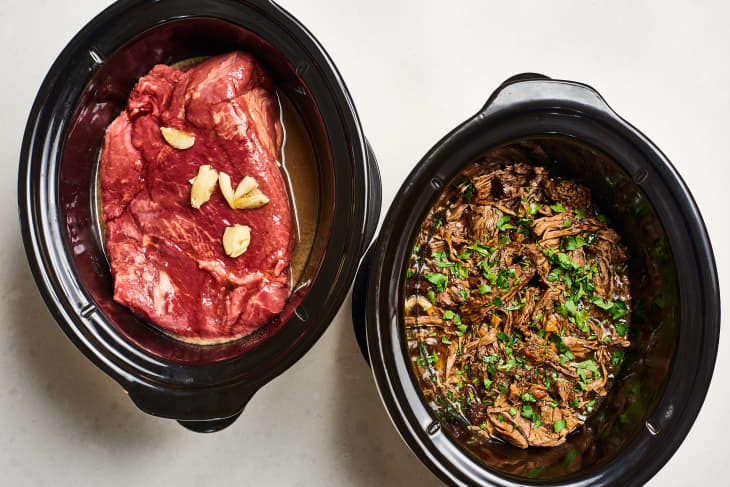
Tougher Cuts of Meat: Cook Slow.
Cuts from the shoulders and rear of the animal (beef chuck, round roast, pork shoulder, and pork butt among them) will taste dry and chewy if you don’t let them cook long enough — usually at least an hour or more. They’re often seared first, then braised or otherwise kept moist in a slow cooker, soup, or stew. The slow cooking might cause the meat to become slightly tougher in the very beginning, but over time the connective tissues break down and the meat becomes tender and delicious.
If You Learn Just One Thing Today …
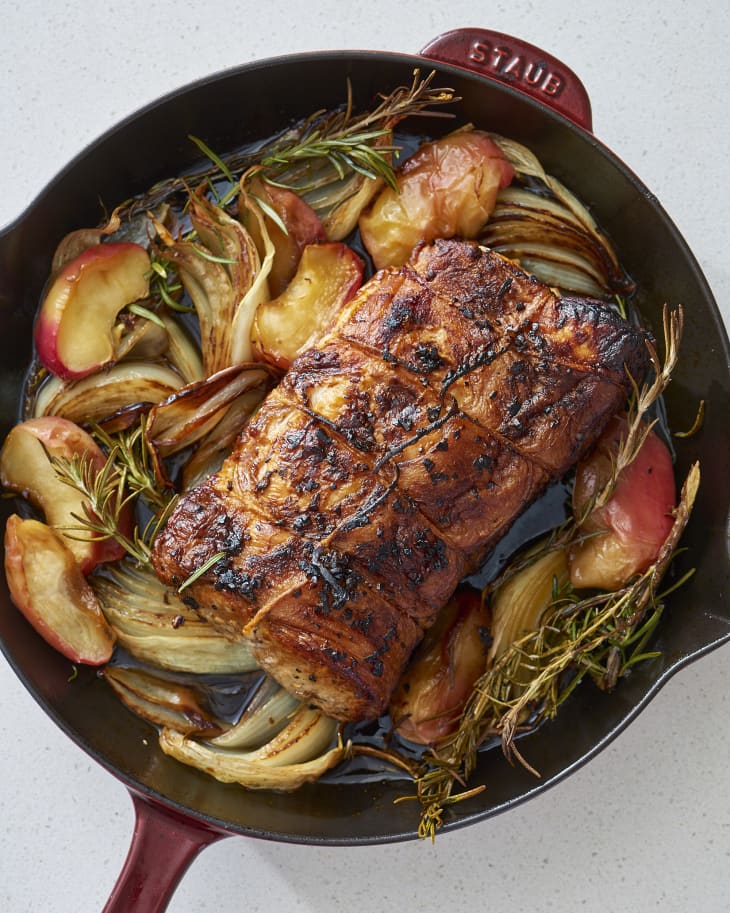
Any meat that you want to be delicious should be bravely, boldly, nearly recklessly seared, going for broke and riding a ragged edge between browned and burnt. Timid searing and browning is absolutely no good. You want a hit of HEAT on that meat, so be a brave soul and lay it on whether it’s a New York strip steak, chunks of stew meat, a pot roast that’ll braise for hours, or even just ground beef going into a weeknight dinner. To do this, you want to do several things.
- Make sure the meat is thoroughly dried. Water will keep the meat from getting hot enough as it touches the pan. If it’s not ground, pat it dry with a paper towel or clean dish towel.
- Get the pan hot. Really hot. This doesn’t mean you need the highest flame — medium-high can work — but let the pan sit there for a little while, so it comes all the way up to an unflagging hot temperature.
- Lastly, and potentially the trickiest step, let the meat cook totally undisturbed. Once the meat hits the pan, you should hear it sizzle. (If it doesn’t, remove it immediately — the pan is not hot enough.) Once that happens, give it a few minutes for the searing to actually take place (really! Use a clock!), and for the meat to darken and brown. Flip when the meat smells caramelized and dark — this is a place to use your nose. Nudge the meat with a spatula; if it sticks it probably hasn’t developed a good crust yet. When it releases cleanly you’re getting there.
What You Don’t Need to Learn
Boneless top blade? Sirloin chop? Bottom round roast? There are more names for cuts of meat (beef, pork, or lamb) than anyone other than a trained butcher can keep track of. And, confusingly, some cuts go by several names. They’re not worth memorizing. Instead, ask your butcher where on the animal the cut is coming from, and maybe ask for a recommendation on how to cook it.
Failing that, here’s a good rule of thumb: If it’s a smaller, thinner piece or has lots of marbling, cook it quickly on the stove. If it looks big enough to serve a crowd — or if you see lots of tough-looking chewy tissues — plan on roasting, braising, or slow cooking.
Level Up! Meat Cooking Pro Tips
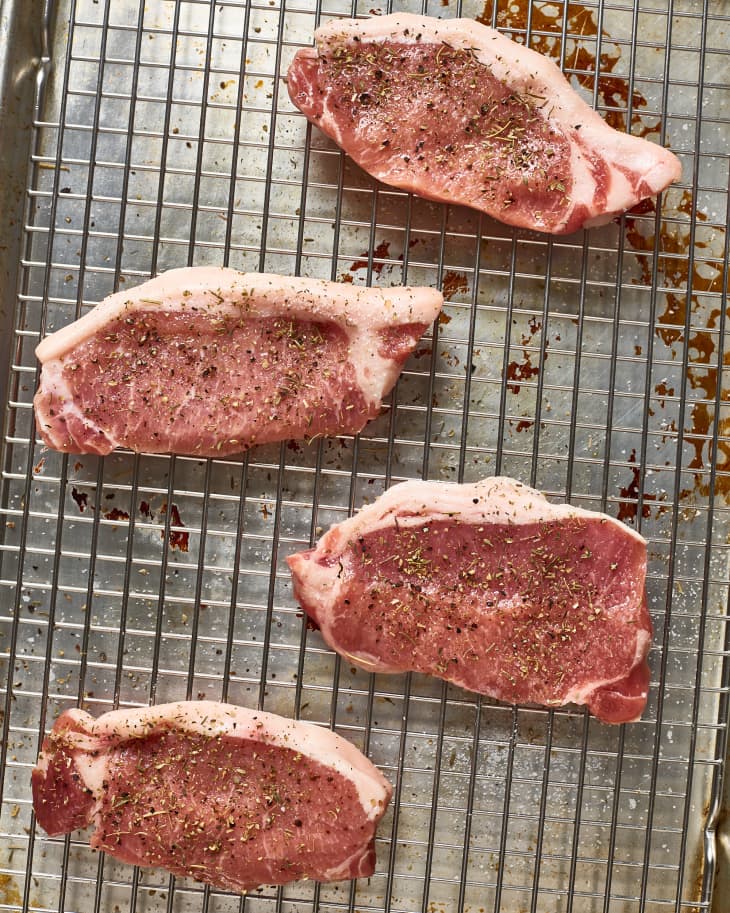
Dry Brining
Dry brining is a simple technique that can lead to ethereal results. Simply rub salt (and any herbs you want to use) into the meat and then place it on a rack (so air can circulate) on the bottom shelf of a fridge for several hours, and up to a day or two. This achieves three important things: The salt draws out juices from the meat, which then reabsorb the (now salty) juice, so the seasoning isn’t just on the surface. The salt also breaks down some of the proteins, tenderizing the meat. And finally the cool air dries out the surface of the meat — and as we noted above, this helps create a superior sear.
Testing for Doneness
The last thing you want, especially when pan-searing or grilling a steak, is overcooked meat. But some folks are squeamish about undercooked meat and you don’t want to be constantly cutting into a steak to see how pink it is in the middle! What’s a cook to do? You have two options. The first (and frankly, the safest) is to invest in a good meat thermometer. We have a recommendation in our gear guide below, but as long as it’s accurate and easy to read, any one will do. The FDA recommends that the internal temperature for any meat besides chicken should be at least 145°F (yes, even for pork). At this temperature, steak will be done medium-well. A medium-rare steak is only about 125°F internally. Here’s a chart comparing doneness and temperatures. (You don’t have to memorize all the temps — just the ones for your favorite level of doneness.)
But for steak in particular, if you’re somehow without a thermometer, there’s a neat little trick for knowing when the meat is rare, medium-rare, medium-well, or well-done: It’s called the finger test, and it involves pressing on the steak, and comparing the firmness to the fleshy part of your hand under your thumb, when your thumb is touching each of the other four fingers on your hand. You can read this explanation or just watch it in the video above.
Slicing and Serving
Finally, when slicing up a steak to serve it (on a salad, for instance) or simply to eat, try noticing the grain of the steak — the direction in which the muscle tissue runs — and then cut perpendicular across the grain, so you’ve got lots of short fibers, and not parallel along the grain. This will help the meat fall apart as you chew, making it taste more tender and less chewy.
Our Favorite Gear
We have recommendations for basic gear on our equipment checklist, but here are a few more tools specifically for vegetables that can save time, and frustration.
- An instant-read thermometer will help you cook everything from chops to shoulders to the exact temperature you need.
- If you only have a nonstick skillet, it won’t work well for searing steak. A cast iron pan works best for this kind of cooking.
- We’ve recommended them before, but tongs are also particularly useful for flipping a steak or chop.
- A cooling rack that fits into a sheet pan will help dry-brine meats.
5 Essential Meat Recipes

All of our assignments have three options, depending on how much time you have today. Do what you can; come back for more later!
15-Minute Assignment: Watch & Read
If you haven’t yet, watch the crash course video above. After that, read these basic primers. If you could pick just one thing from all this information, what would you like to try first?
30-Minute Assignment: Practice!
Read our guide to cooking stovetop steak, and then make a pan-seared steak. Use a nicely marbled cut of steak if you can get it. If possible, delay this assignment for a night (or wait until the weekend) and season your steak 24 hours ahead. If not, season just before cooking. Let the pan get properly hot, and then sear it on both sides, and cook it to your desired doneness. If you have a thermometer, use that, if not, use the finger method (watch the video to see how).
Check your work: Before cutting it, inspect the steak: How crispy is the exterior? Now remove a slice (against the grain). Is it done to the degree you were aiming? Compare it to this doneness chart. And finally, taste it. Write down your best description of the flavors.
90-Minute Assignment: Stretch Yourself
Make a beef stew from scratch. This is a longer project, so you may want to approach this on a Saturday or Sunday afternoon. Use flavorful, tougher chuck roast, or another shoulder or leg cut. Practice the searing technique, making sure the beef is properly dried and the pan is hot. Follow the rest of the recipe closely.
Check your work: During step three, inspect the seared meat. How crispy is it? How well is it seared? After the stew has cooked, bite into the meat and write down your best description of the flavors. How tender is the meat? How chewy?
What It Takes to Be a Steak Expert
Cooking meat well takes practice. It’s not easy to get every technique perfect the first time, so if the assignment didn’t turn out the way you hoped, don’t lose heart. Keep practicing, when you can, with the same recipe, until you feel comfortable with it. And be brave! Learning to be bold enough to get your pan very, very hot, and to leave meat long enough to properly sear before moving it can take time.
Meet Your Classmates
You can also join your Kitchn Cooking School cohort in our Kitchn Facebook group, which is devoted to all things Cooking School this month.