
Christmas DIY Craft Project: How To Make an Etched Snow Globe
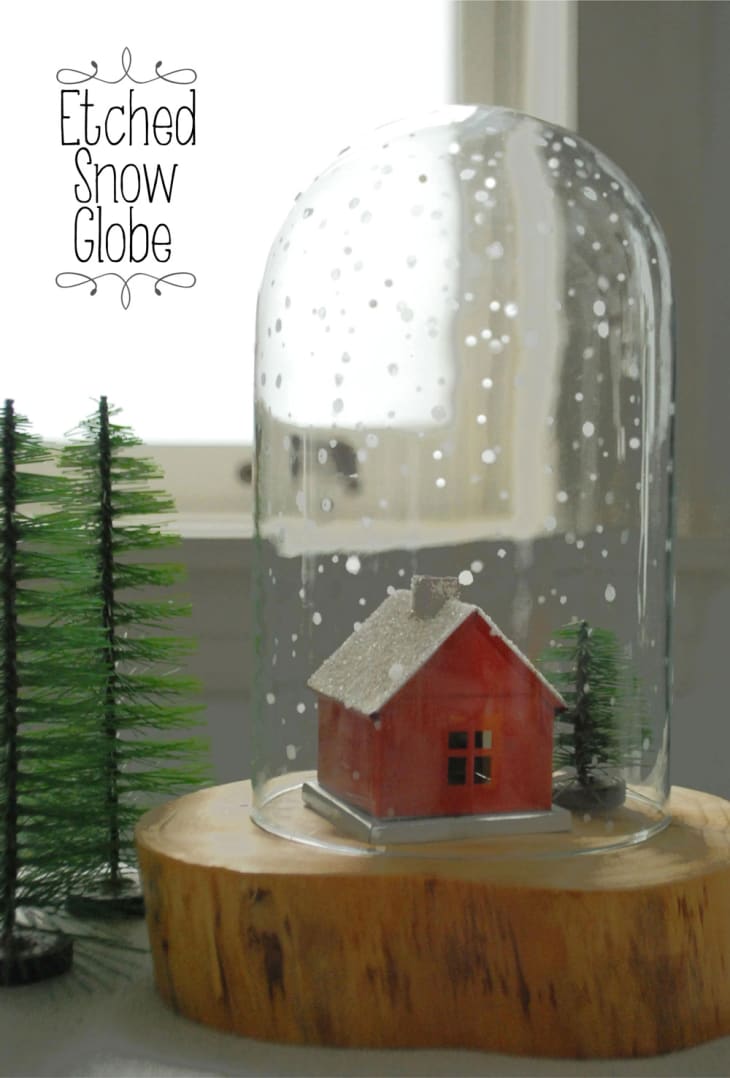
Has it snowed yet where you live? No? Then here’s a quick and easy project to create your own Winter Wonderland, using glass etching cream and some tape. Faux snow globes are great for mantel decorations or the table. You get all the snowfall, without the boots or mittens! Here’s how to make one yourself…
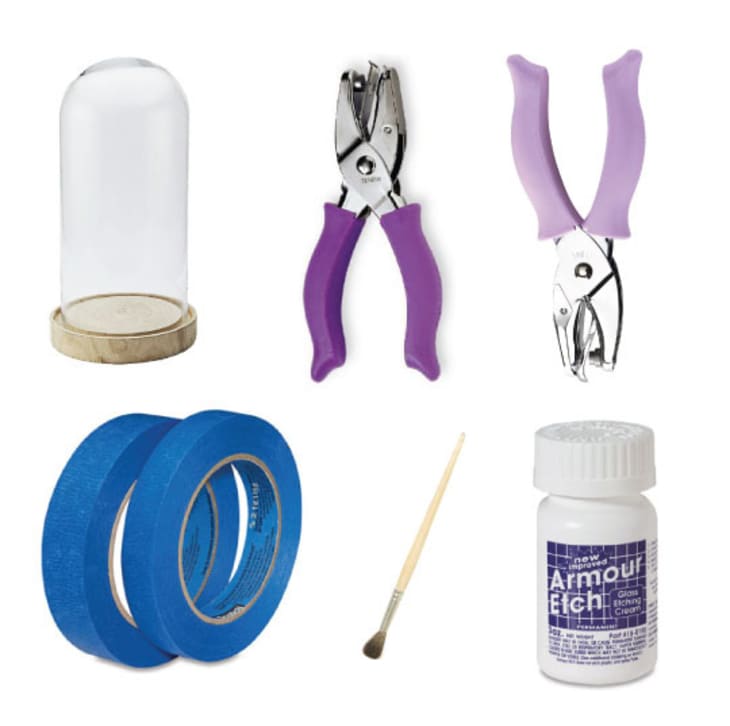
Materials

- Glass dome or cloche
- Etching cream
- Paintbrush
- Painters tape
- Hole punches (at least two sizes is ideal)
Instructions:
1. Wash the glass dome thoroughly with soap and water, and set aside to dry. Try not to get fingerprints all over it as you move it around.
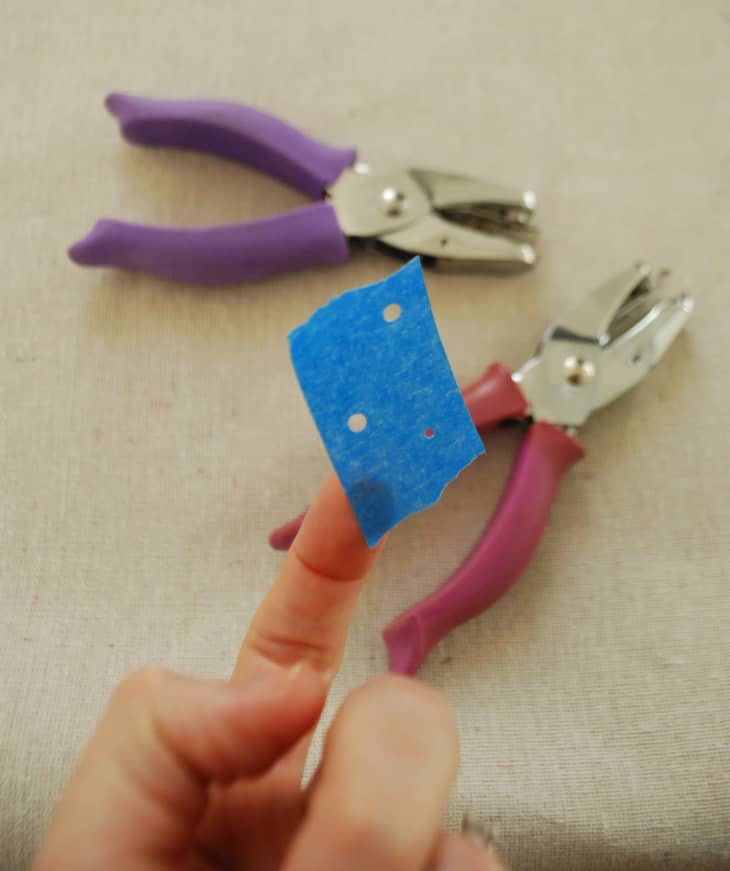
2. As the glass dries, start tearing off small strips of paper — less than two inches is ideal. Using the punches, start making holes in the tape, as randomly as possible.
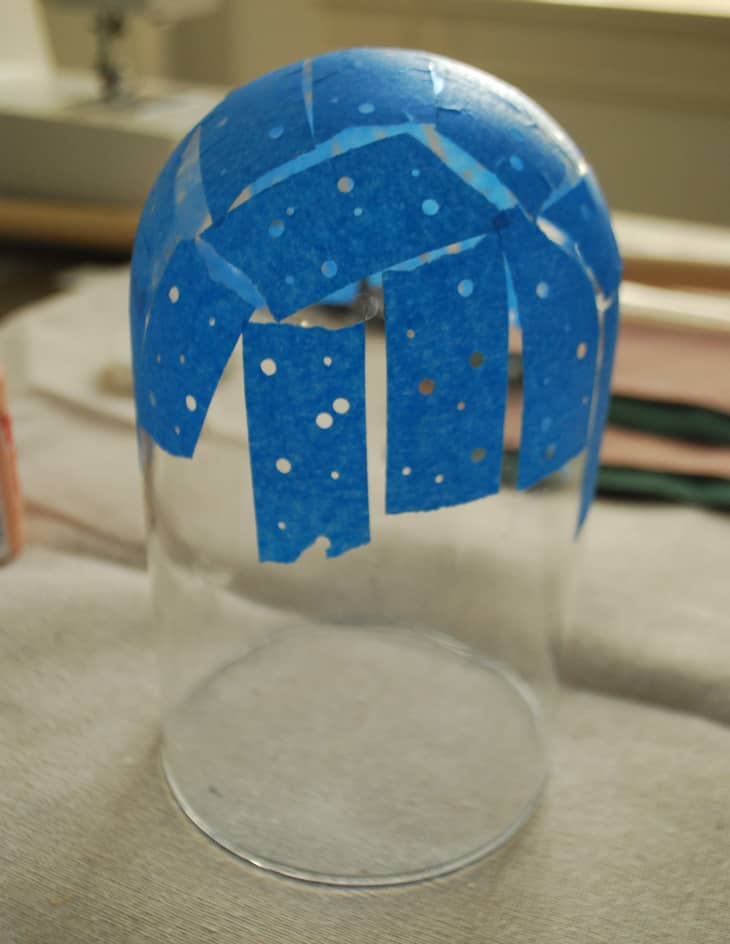
3. Start sticking the tape on the glass dome. Don’t worry about placing it perfectly; snow is random and this should be too. Try to get all the wrinkles out of the tape as you go. (This is when the smaller strips of tape come in handy.)
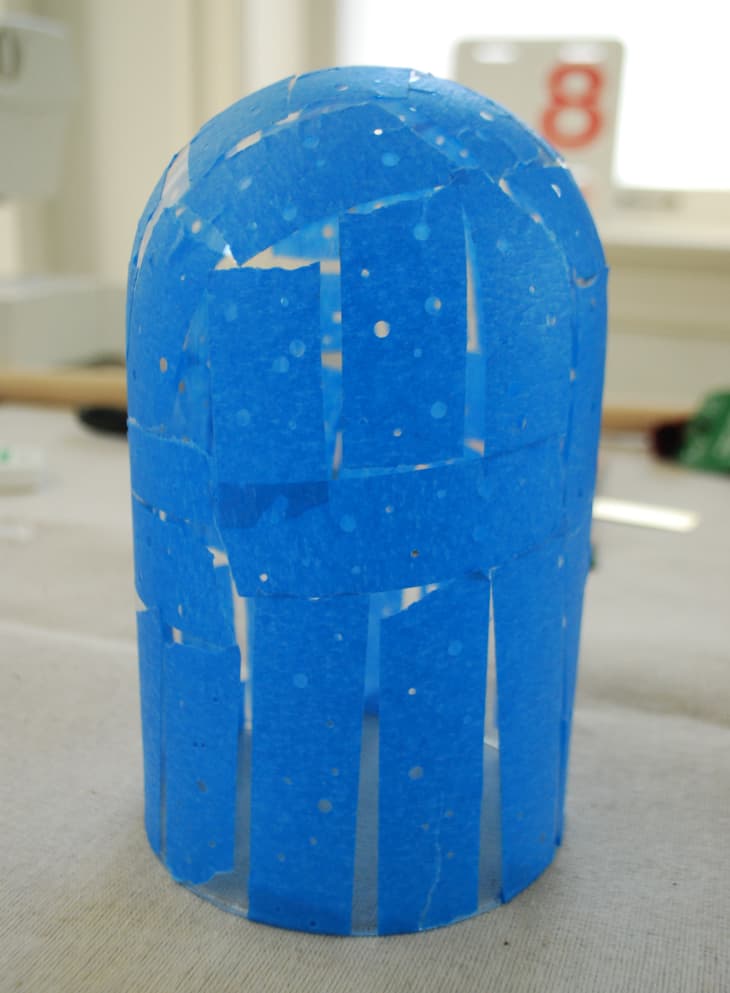
4. Keep going until the entire glass is covered with tape. Take an extra minute to press the tape down securely. You don’t want the etching cream to seep places where it shouldn’t be.
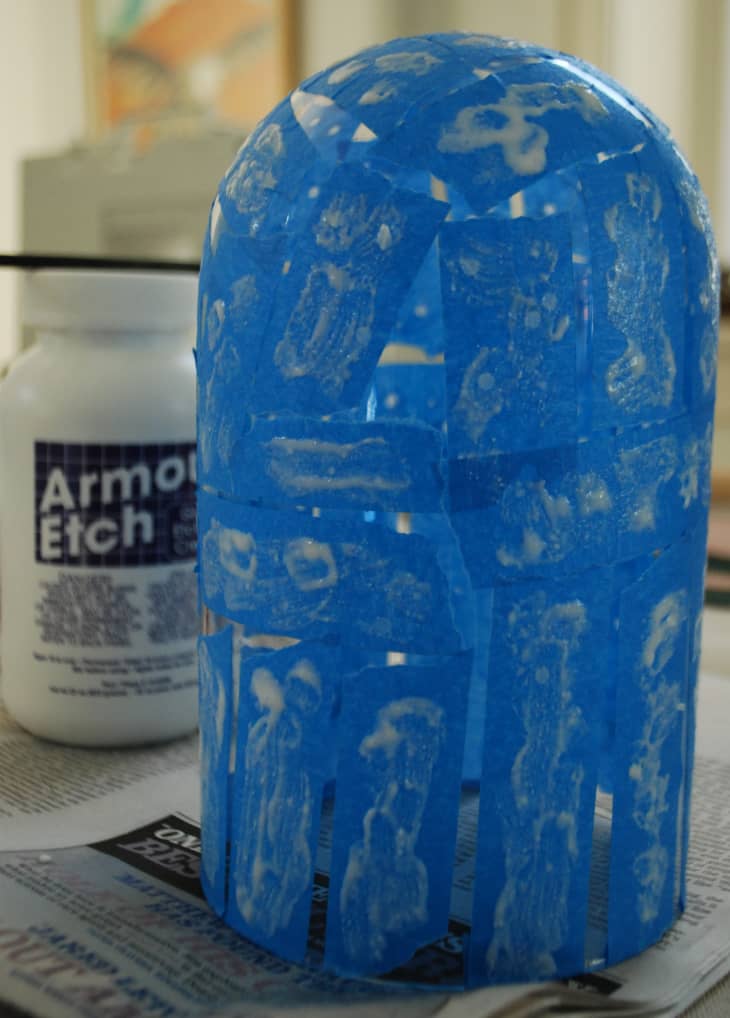
5. Using the paintbrush, dab etching cream onto all the punched holes. You want to apply enough cream to entirely cover the glass, but not so much that the cream oozes into other places.
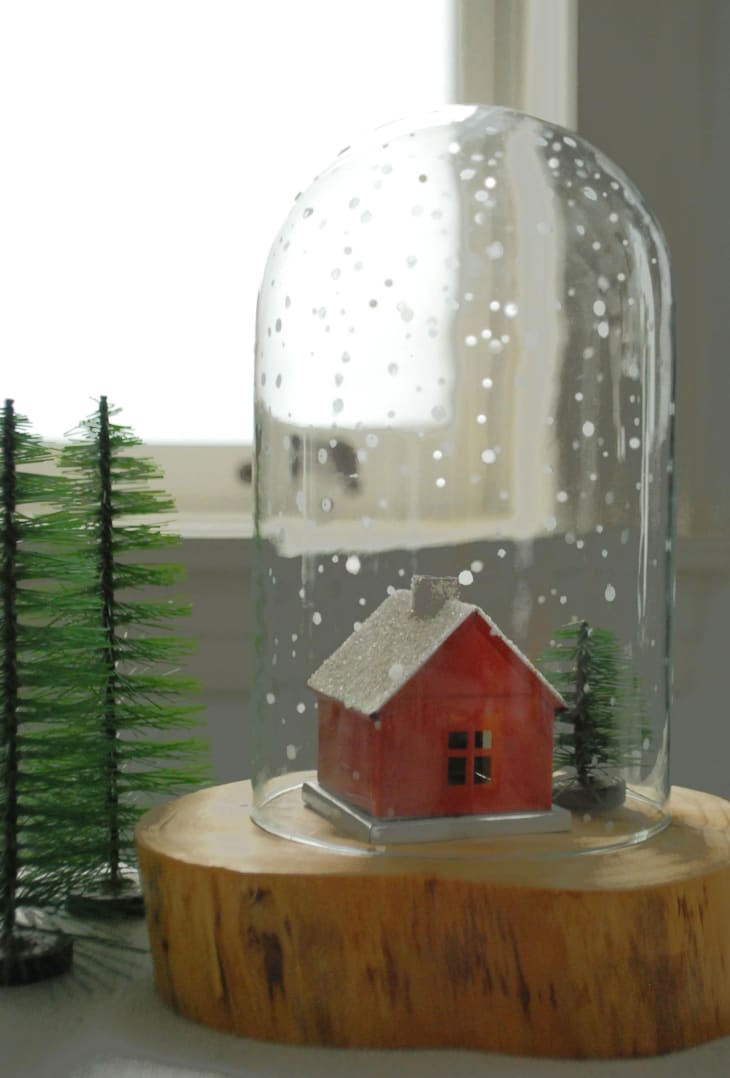
6. Wait about 10 minutes (or the time recommended by your brand of etching cream) and wash all the cream off. Style with whatever you have in the house, like mini houses, or bottle brush trees.
Place where everyone can see it, and receive your due praise.