
10 Darling DIY Toys that You Still Have Time to Make!

I don’t know about you, but for better or worse I’m a last minute kind of person. I tend to work best under pressure and when faced with a deadline can suddenly be more productive in one hour than I was all week. As a result, I’ll be spending much of my weekend making a few last-minute DIY gifts for my family (because, you know, we’re on a budget!) In case you’re in the same boat as me, here are a few of my favorite DIY toys that you still have time to make:


ROW ONE
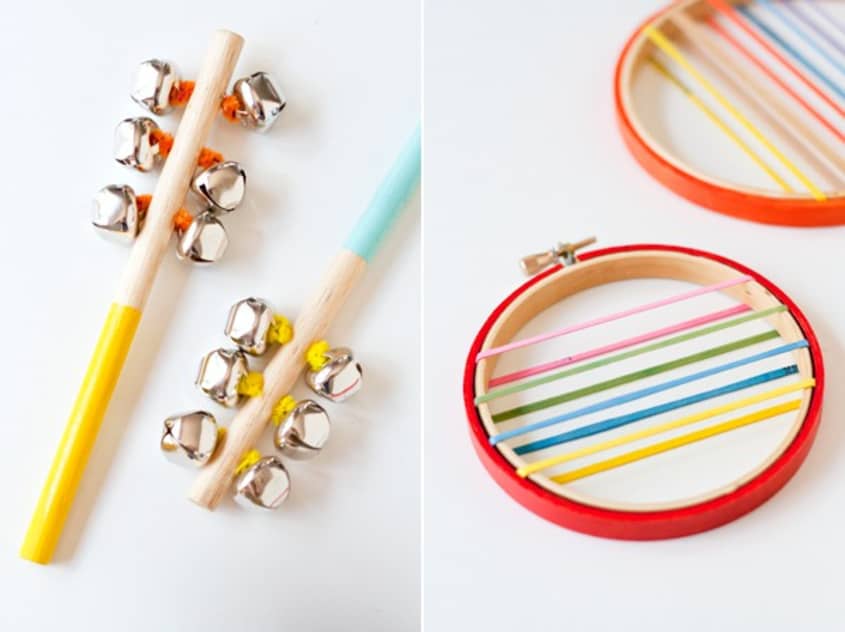
1. Wooden Instruments: Hellobee
2. The Little Theatre: Bleubird
3. Felt Dress Up Book: Swoon Studio
4. Shower Curtain Play Mat: Filth Wizardry
5. Children’s Flannel Story Board: Little Green Notebook
ROW TWO
6. DIY Drums: A Beautiful Mess
7. Constellation Flashlight: Handmade Charlotte
8. Eric Carle-Inspired Board Book DIY: Cakies
9. Nesting Puppets: Made by Joel
10. Mismatched Sock Snake: Grosgrain