
Erin & Ken’s Backyard: Let’s Get This Reno Party Started

Name: Erin & Ken
Type of Project: Backyard Redesign
Location:Upper Tangletown — Minneapolis, Minnesota
Type of building: 1930s Tudor-Style Duplex
The Renovation Diaries are a collaboration with our community in which we feature your step-by-step renovation progress and provide monetary support towards getting it done in style. See all of our Reno Diaries here.
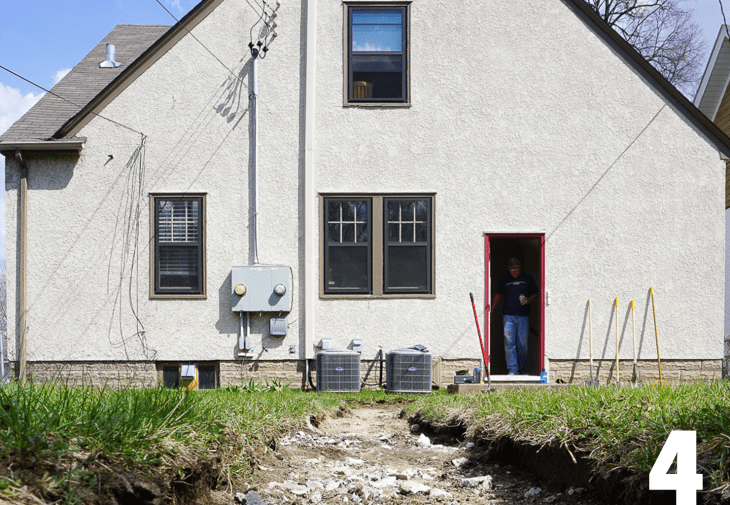
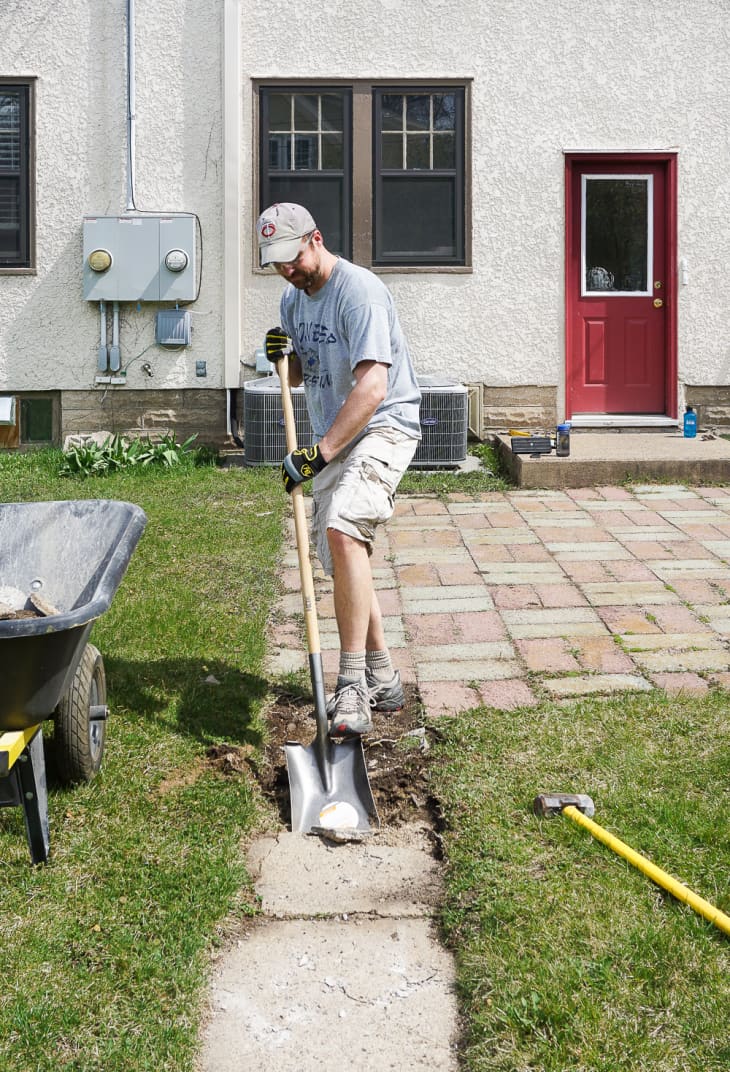
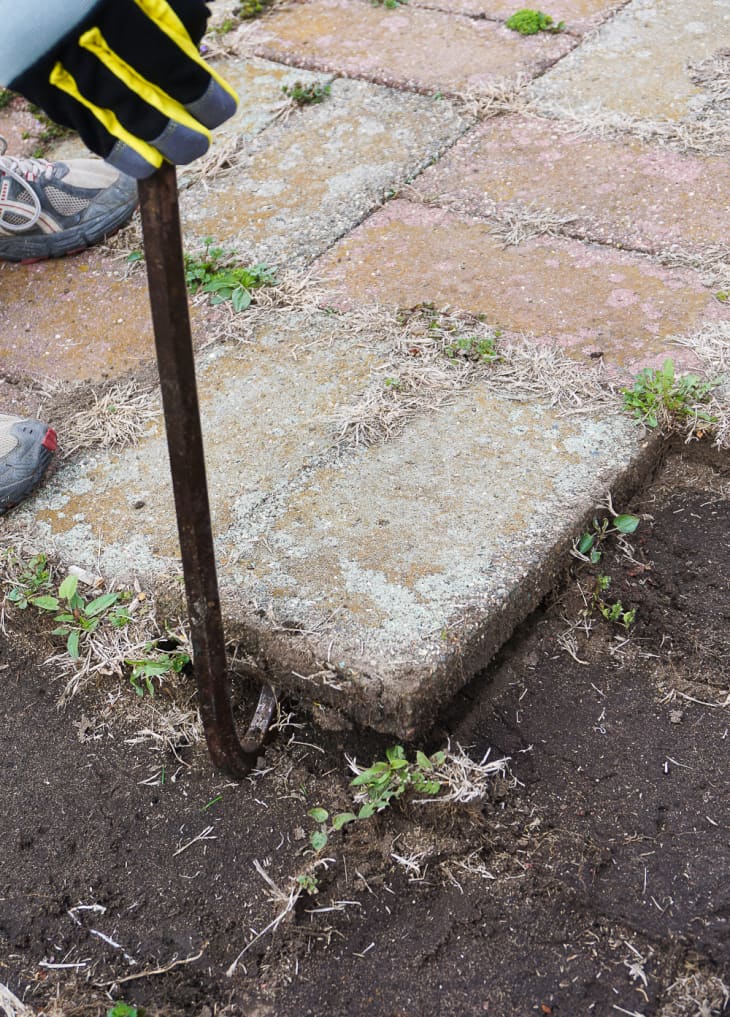
As soon as the month of April rolled around, Ken and I grabbed our demo gear and began removing the old paver patio and sidewalk in our backyard. The idea behind starting in early April was to be able to get through most of the strenuous paver-laying work before the weather turned too hot. However, it ended up to be an unusually warm spring, and we were out there sweating in tees and shorts anyway! The other thought behind starting the project in early April was to have it wrapped up in time to enjoy throughout the summer.
Removing the patio went relatively quickly, and we had three Bagsters on hand to collect the torn out pavers and concrete pieces. However, after filling up the Bagsters, we ended up calling the City of Minneapolis to pick them up (instead of the Bagster Company), as the City was much more cost effective with multiple Bagsters. If you plan on using more than one Bagster at a time, I’d recommend checking with your city to compare removal pricing.
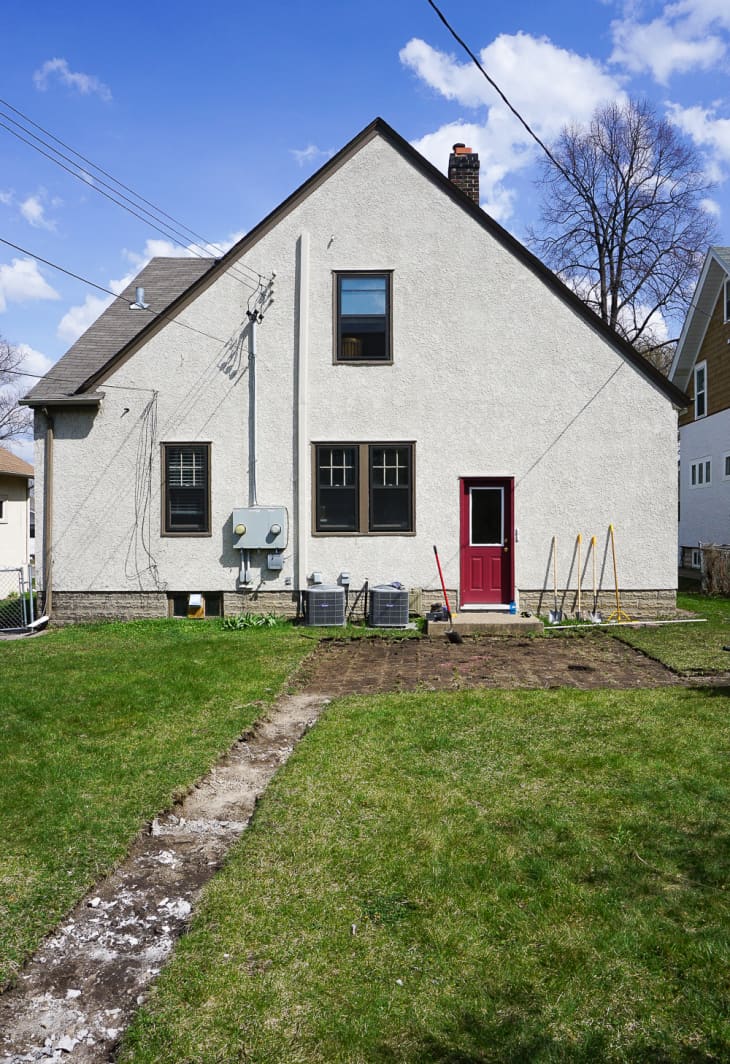
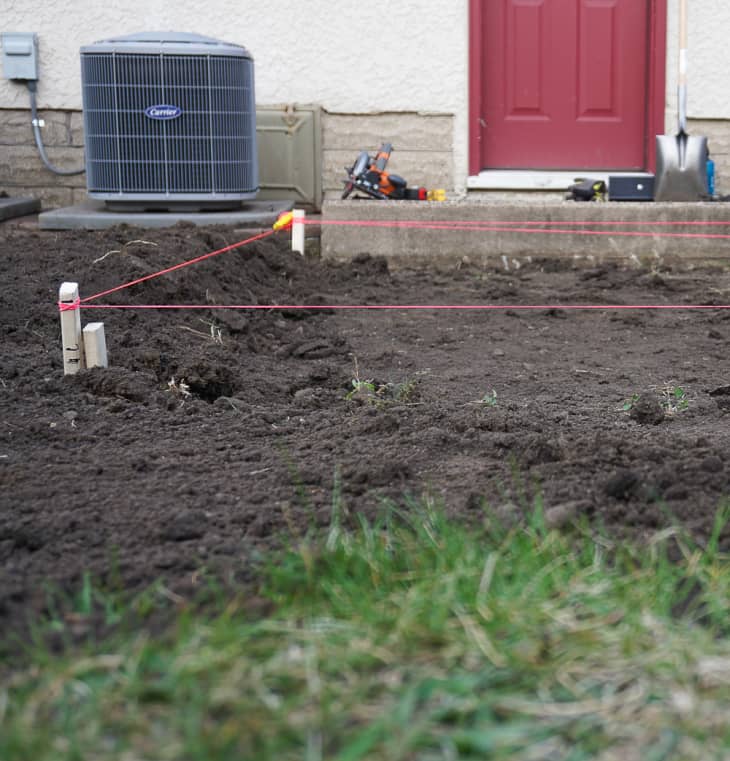
After the patio and sidewalk were removed, Ken’s handy dad, Craig, came over to help us with staking, grading, and leveling the ground for the patio. It’s important to assess the slope of the future patio area and dig down/build up areas as needed to create a relatively flat and level surface. At the same time, if your patio will be next to your house, you’ll want to make sure it slants slightly away from the structure for drainage reasons. Neither Ken nor I had experience with grading and leveling, so we were thankful to have Craig there to guide us in the process!
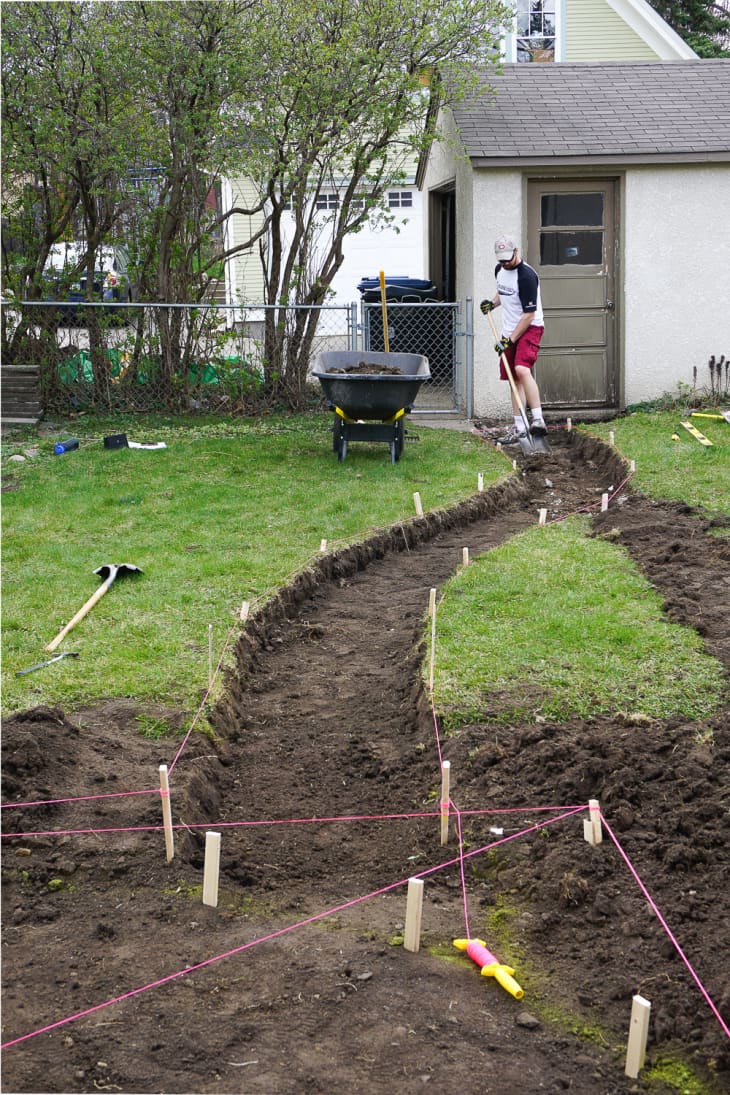
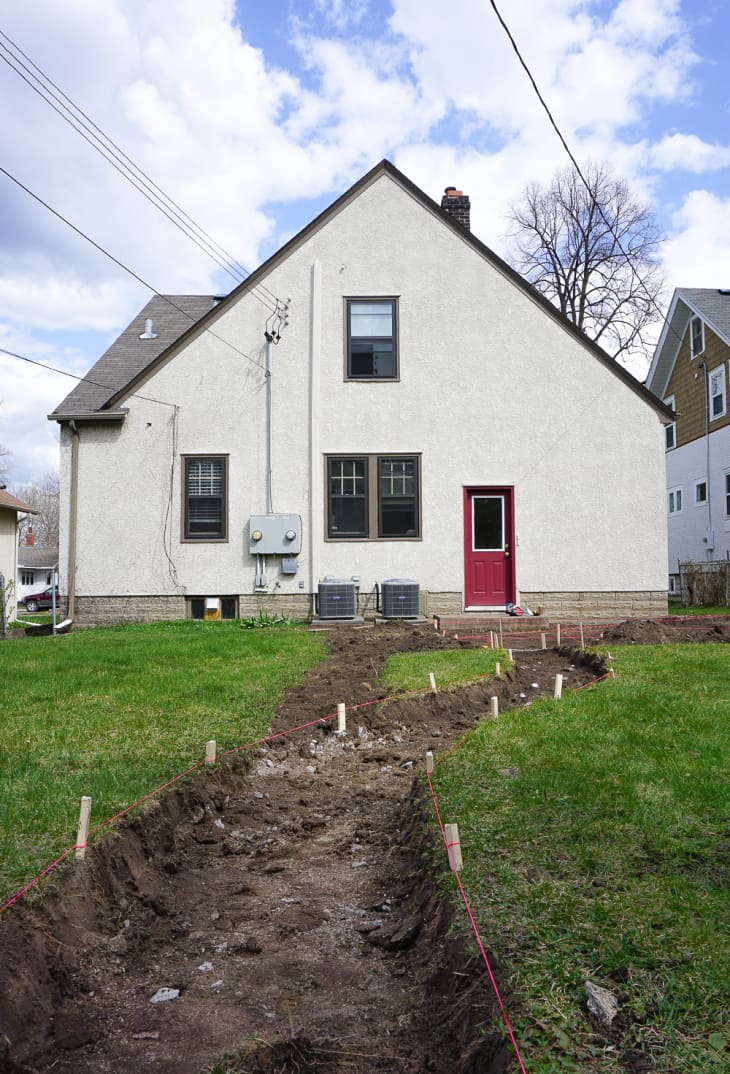
The following day, Ken and I staked and dug out the winding sidewalk that connects the patio and the garage. I had read online that it’s helpful to use a garden hose to layout and visualize curves. However, our garden hose isn’t the newest garden hose on the block, and thus it didn’t hug the curves well enough. So after an half hour of wrestling with the garden hose, I finally switched over to simply laying the hot pink staking string on the ground, and then adding stakes inside the string line. It worked MUCH better.
The pavers, rock, and sand will be delivered later in the week, so we’ve rounded up a crew of friends and family to help us lay the patio next weekend. Stay tuned!
Estimated time for project: 7 weeks
Time remaining: 6 Weeks
Perecent Done: 15%