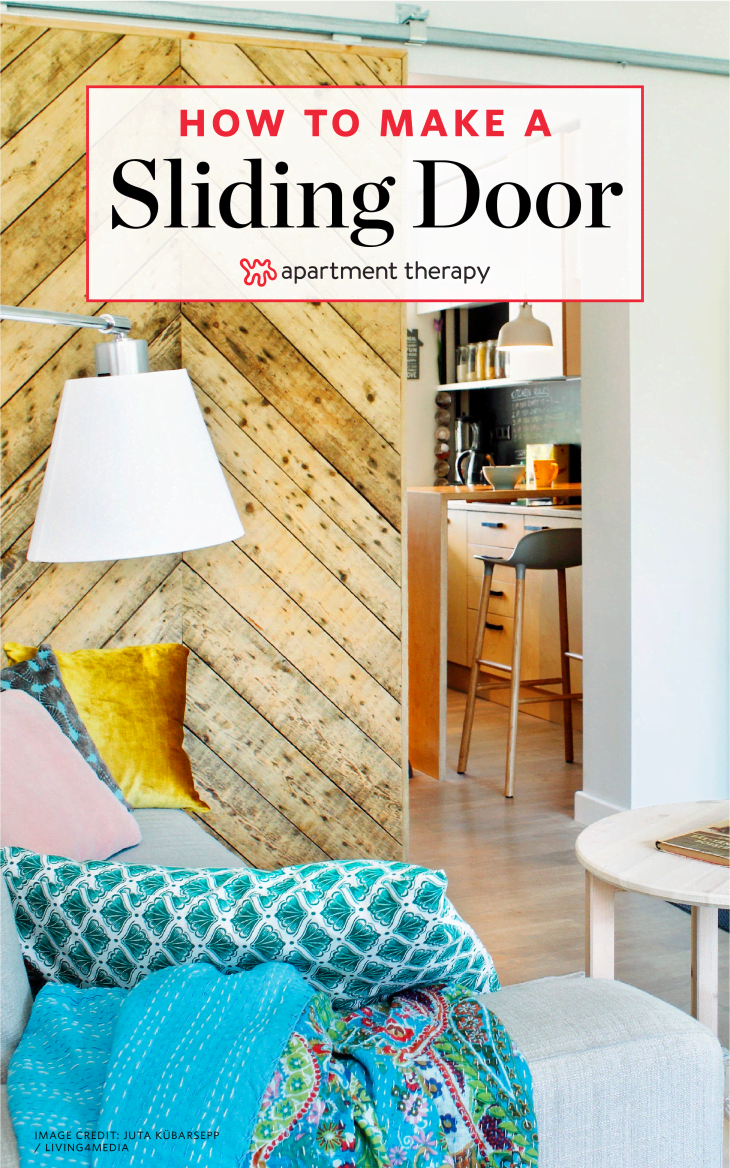
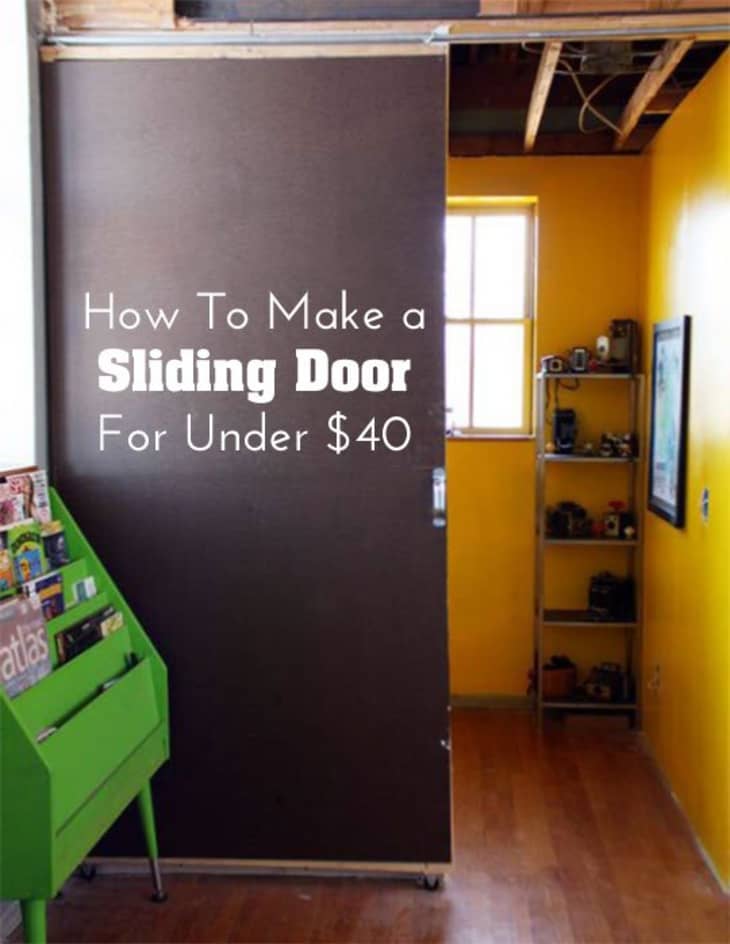
DIY Home Decor: How To Make a Sliding Door for Under $40
Do you know what kind of looks you get when you go to the hardware store and tell the clerk you want to DIY a sliding door? When they point in the direction of “Doors & Windows,” you know it’s time to take matters into your own hands.
Related Video: In a DIY mood? Learn how to make an end table from scrap wood
I needed a door for a lofted space above our living room, and wanted the sliding effect. However, since it was a temporary solution, its construction needed to be simple and easy to do. Materials come in right around the $35 price point (depending on finishing accessories like handles and such) which makes it a win in the style category and for your pocketbook! Here’s how we made it:
What You Need
- 2 plumbing flanges
- 1 (possibly 2) plumbing angle brackets
- Length of plumbing pipe
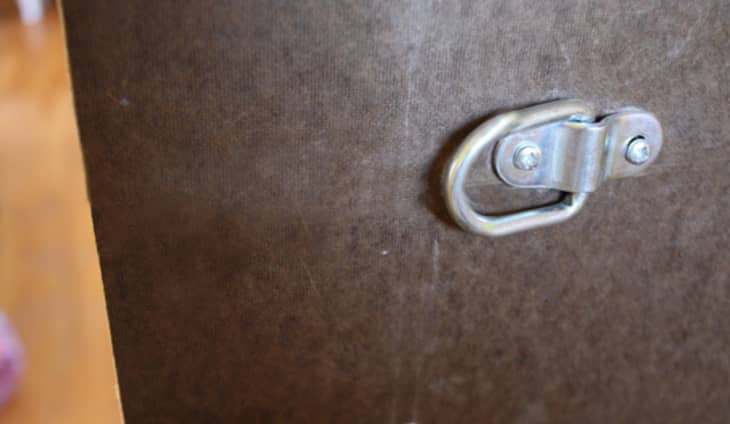
- 3 “hinged loops”
- 2 full sheets of masonite
- 1 bundle of 2×2’s
- 2 small wheels
- Assorted nails/brads
- 20 wood screws
- Nail gun or hammer
- Screw driver
- Level
Instructions
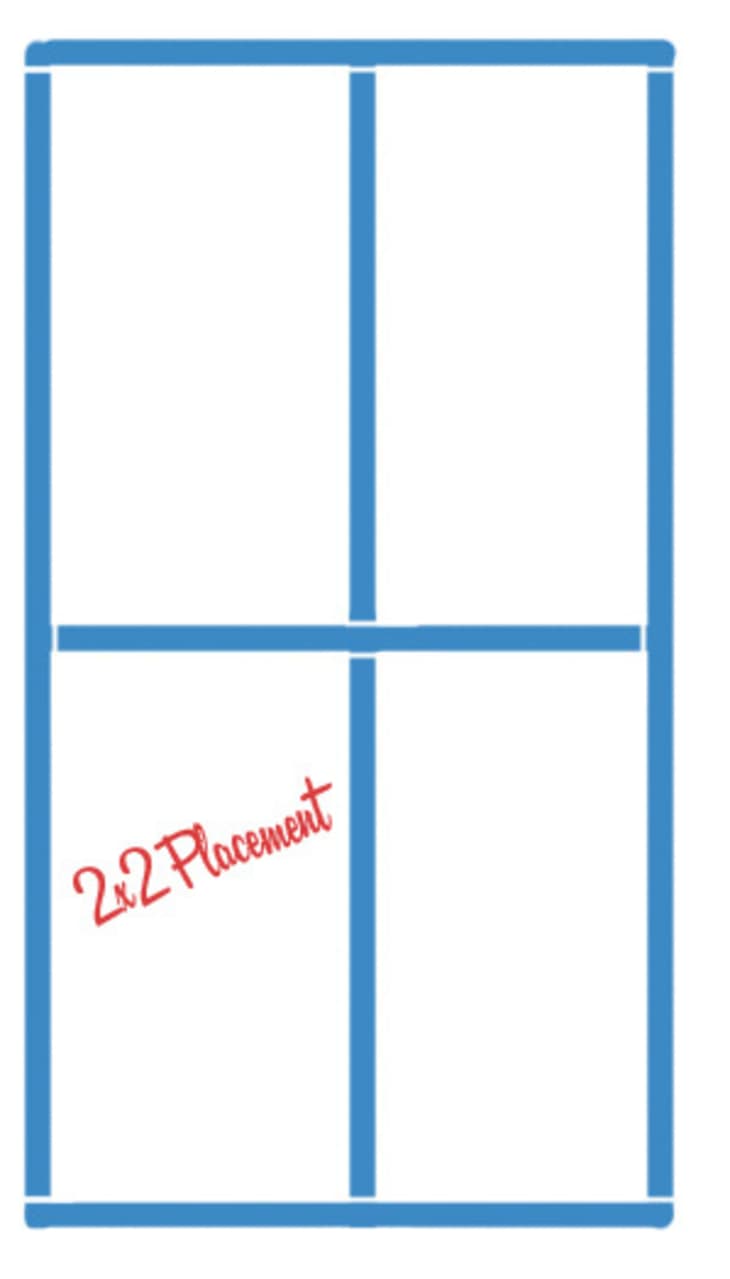
1. Build The Frame
You don’t need an architect’s plans to build a door, you just need a drill, or even less — a screw driver. First, make a wooden frame that is the same dimension as your masonite, using the diagram above to assemble your 2×2 boards (with one screw joining each board). The structure will feel flimsy and wobbly, but that’s okay.
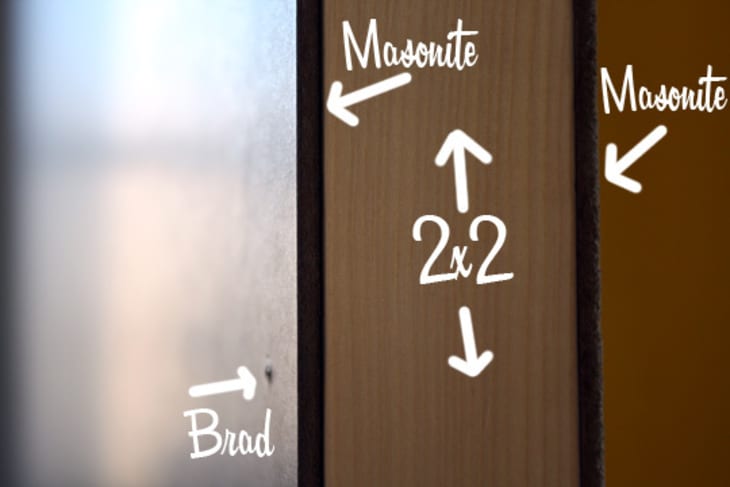
2. Cover It Up
Either nail your masonite on to your frame, glue it with adhesive, or tack it down with brads. If you glue it, allow to dry overnight undisturbed. If it was nailed, carry on to the next step!
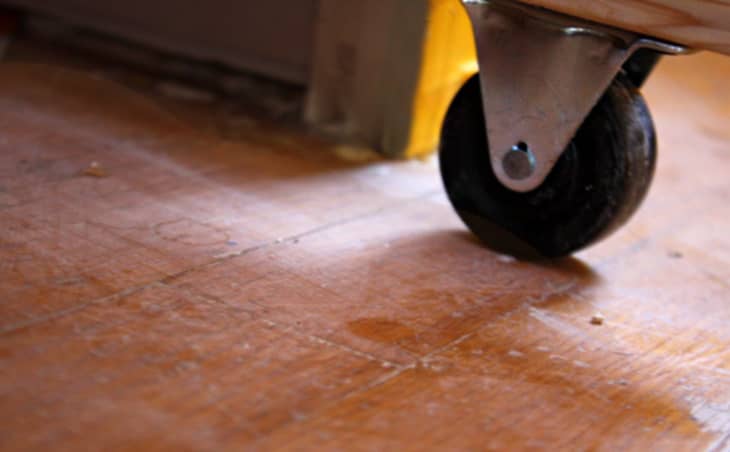
3. Add Wheels
Determine which end of your door will be the bottom and attach your wheels. I wanted the door to roll side to side, so I bought wheels that went in only one direction. (Bonus: they’re also cheaper!)
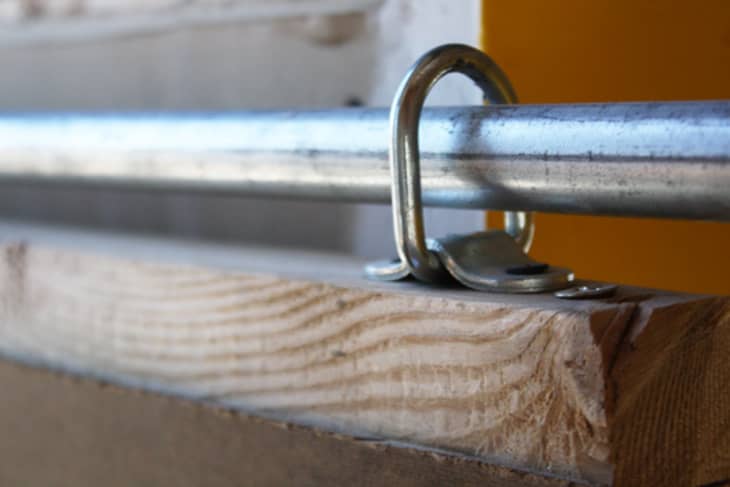
4. Add Hinged Loops
I’m sure these pieces have a real name, but they’re the product of wandering around the hardware store looking for something that was the right size. I finally found them over with the flashlights, tie downs and other hardware. We suggest drawing a picture before you ask where they’re located, as you might get some puzzled looks. Once you find them, attach them to the top of the door with wood screws.
5. Add Pipe
The first step to assembling the hardware is to slide the pipe through the hinged loops on top of the door. This pipe should be cut at the hardware store and its size will be determined by the size of your space.
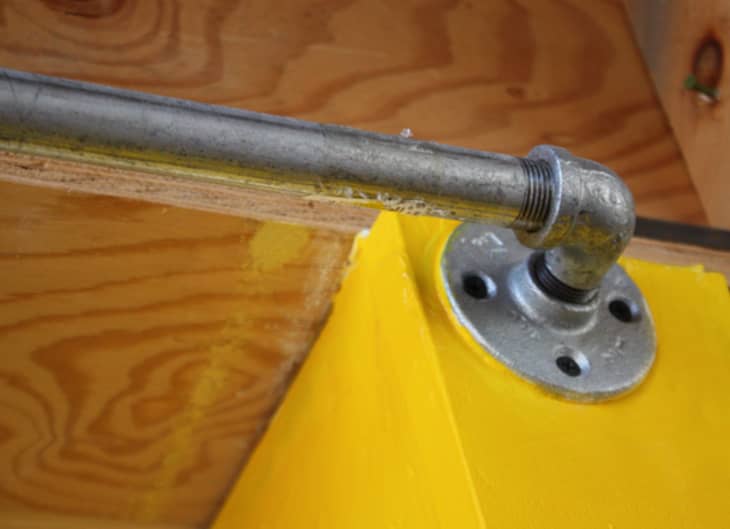
6. Add Angles & Flanges
Add any angled pieces required and flanges to the end of your pipe.
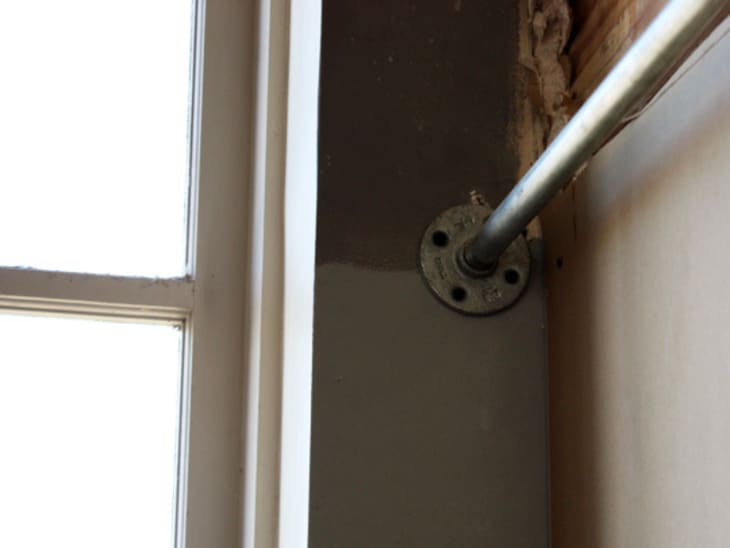
7. Level & Mark
This step is best done with two, if not three, people. It seems like it will be easy, but in all reality, the more hands the merrier! Place the level on top of the door. Hold the door in place and mark holes for your screws to attach the plumbing pieces to the wall (you don’t have to mark them, but if for any reason the door shifts, it’s easier to know where things line up). You want the pipe to be just under the loops when they’re fully extended up.
8. Screw Baby Screw
Attach the plumbing hardware to the wall.
9. Check Your Work
Try sliding the door open and closed. If all was square and level, things should roll just perfectly along the floor.
Tip: If you like, you can add a small loop on the inside of the door for pulling the door open and shut.
Additional Notes:
This project works especially well on floors that are level. If your space is old and has a good dose of “character,” there’s a good chance they might be off slightly. You can raise the plumbing pipe inside the loops to help balance this out. Check to see how much your floor is un-level by to determine if this fix will work for you before beginning.
– Edited from a post originally published on February 22, 2011 – DF
See all of this month’s do-it-yourself projects over at
28 Days of DIY Home Decor!
Have a really great DIY project or tutorial that you want to share with others? Let us know! We love checking out what you’re making these days, and learning from our readers. When you’re ready, click here to submit your project and photos.