
How to Clean a Humidifier Using Only Vinegar
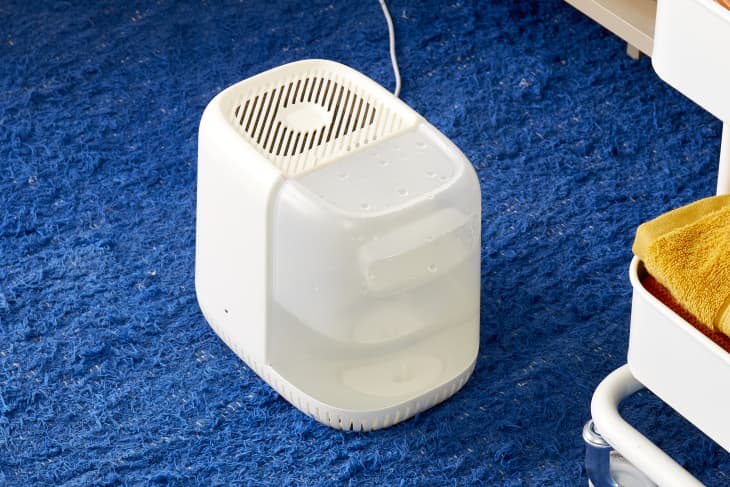
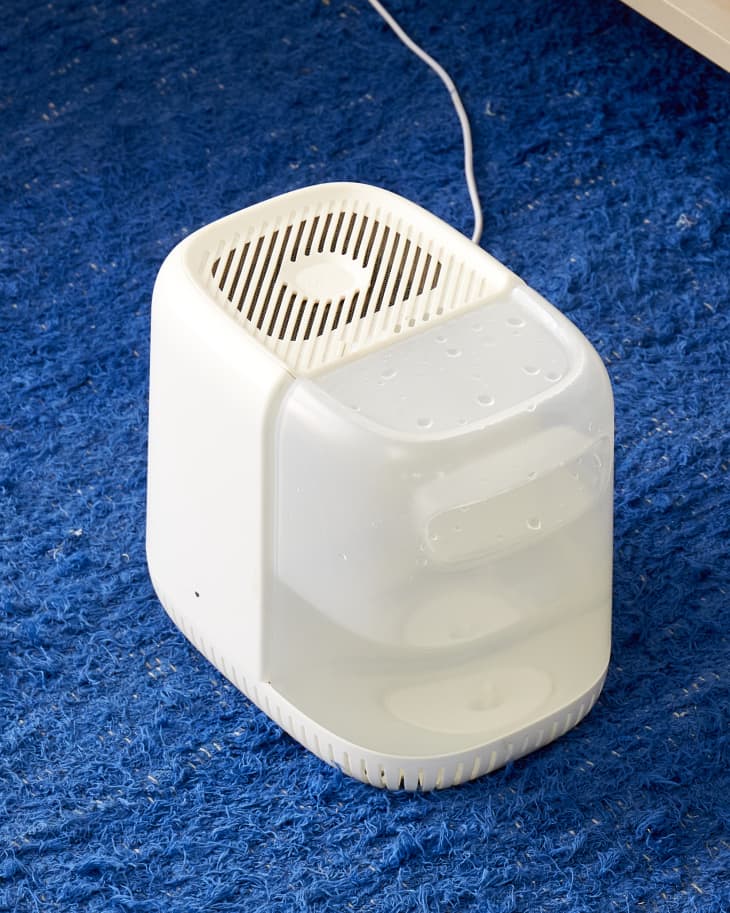
Humidifiers are a godsend during dry winter months. They not only help eliminate dry skin, but also reduce airborne illnesses. But do you know how often you should be cleaning yours — or how to go about it? It’s easier than you think.
How to Clean a Humidifier with Vinegar
Start by taking your humidifier apart. Add vinegar to the water tank and base and soak any removable pieces in a bowl of vinegar. Use a bottle brush, if needed, to remove deposits. Rinse all the vinegar from the water tank, base, and pieces. Repeat vinegar soak and rinse as needed.
How Often Should You Clean a Humidifier?
Properly cleaning your humidifier is important not only in prolonging the lifespan of your device but also in minimizing bacteria and mold growth. The Environmental Protection Agency recommends cleaning portable humidifiers every third day, and when not in use, cleaning and drying the humidifier before and after storing it away.
What You’ll Need
- White vinegar
- Tap water
- Bottle brush (if required)
- Bleach (optional)
How to Clean a Humidifier
Below, five simple steps on how to clean a humidifier. This is a general guide, but you should always refer to your manual first, before starting to break it down and clean.
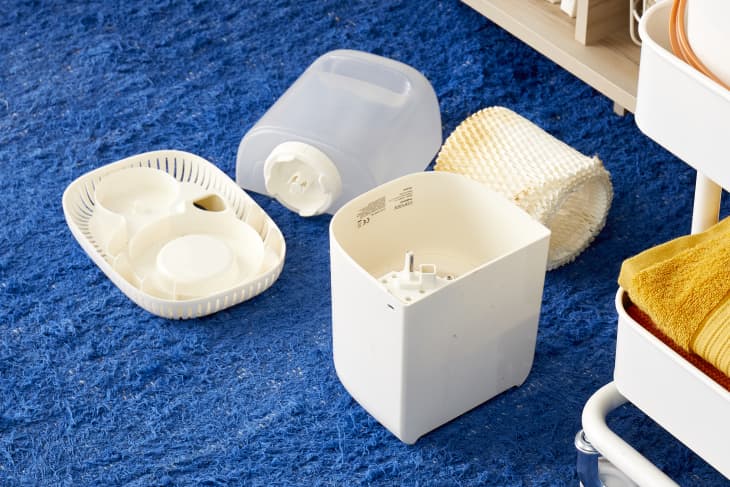
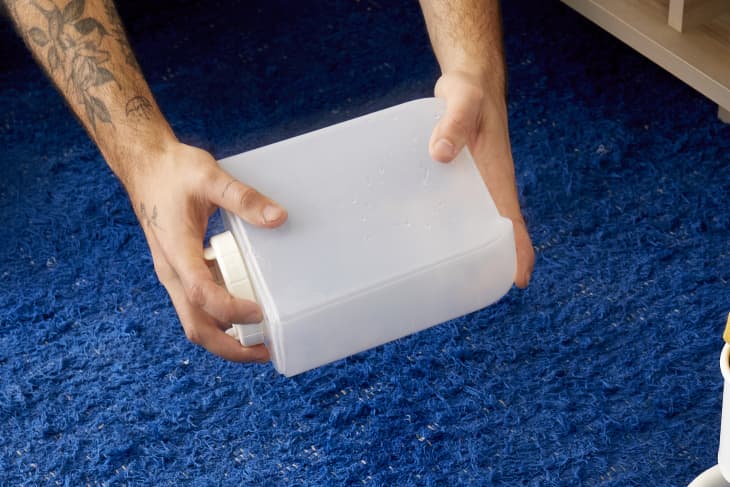
Step 1: Break it down.
After pouring out any remaining water in tank, take apart your humidifier and lay the pieces out in front of you. Most humidifiers will have a lock or catch to remove a piece over the heating element, so if it feels like it should break down a little more, chances are it will. You’ll quickly see which areas need attention.
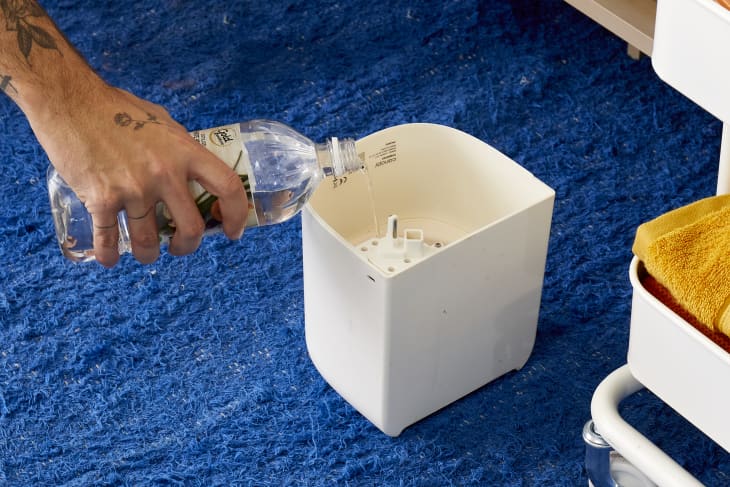
Step 2: Add vinegar.
Vinegar is your best friend when it comes to humidifiers. It eliminates the need for bleach (though some still like knowing their unit is extra clean and add a teaspoon or so to the following mixes) and cleans things on the cheap. Add vinegar to two separate places: the water tank and base. If you have removable pieces, place them separately in a bowl and soak with vinegar to help eliminate deposits. Or, check your manual to see if they can go straight in the dishwasher!
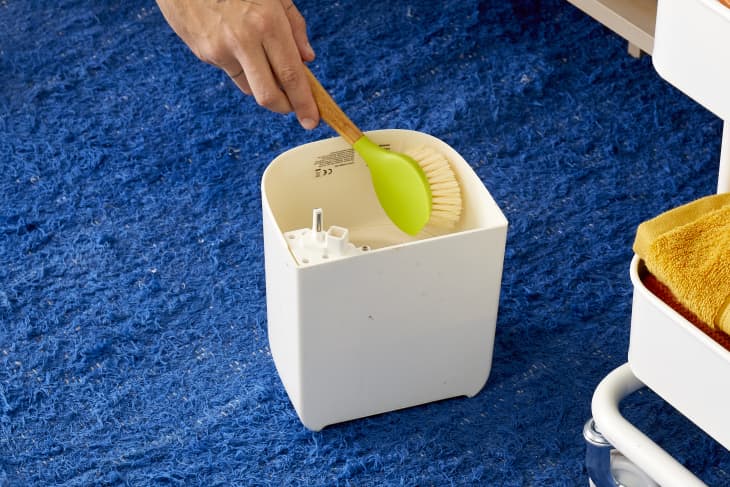
Step 3: Brush if needed.
Some humidifiers come with its own brush for cleaning. Otherwise, use a bottle brush to dislodge any deposits. If the vinegar does its job, you shouldn’t need to use anything else besides the brush.
Step 4: Rinse.
Once you are satisfied with the level of clean, rinse all vinegar from the bottom and the tank with tap water. Shake to dislodge any remaining deposits and to rinse out the lovely smell. It might take a few fills and shakes to get rid of all the smell. Once each piece air dries fully, the vinegar smell should dissipate.
You might have to do more than one vinegar soak for tough spots. If that doesn’t work, change your vinegar out. If your build up is “fizzing” then the vinegar is doing its job of breaking the gunk down and tearing it away. If it’s not fizzing, changing out your vinegar can be more effective than using sharp objects to scrape it away.
Step 5: Maintenance.
Regular cleaning should only involve a quick swish and shake, but once a month it doesn’t hurt to go through this whole process again.
Re-edited from a post originally published 2.22.10 – DF