
Use the 57″ Rule To Hang Pictures at the Perfect Height
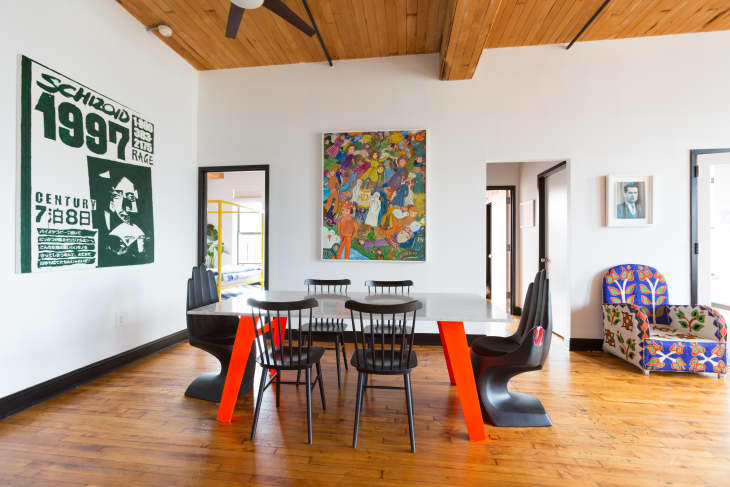
After you’ve figured out what to sleep and sit on and where to cook and eat, I believe having art in your home is the most important finishing touch. It doesn’t matter if it’s a framed letter from your mother on your 21st birthday, a poster from a concert you went to, or a rare print or large painting by a friend — art is personal and it’s the main medium where personal expression and your heart forces are on display and reminding you of who you are and what you value.

But hanging art can be challenging, and getting it right makes a huge difference in how you feel about it in a room. So I’ve got a tip that will help you never screw it up that has served me well for years. It’s simple. Feel free to adapt it. Here it is: hang anything you like, any size you like, but hang it at 57″ on center.
What Is the 57″ Rule for Hanging Pictures?
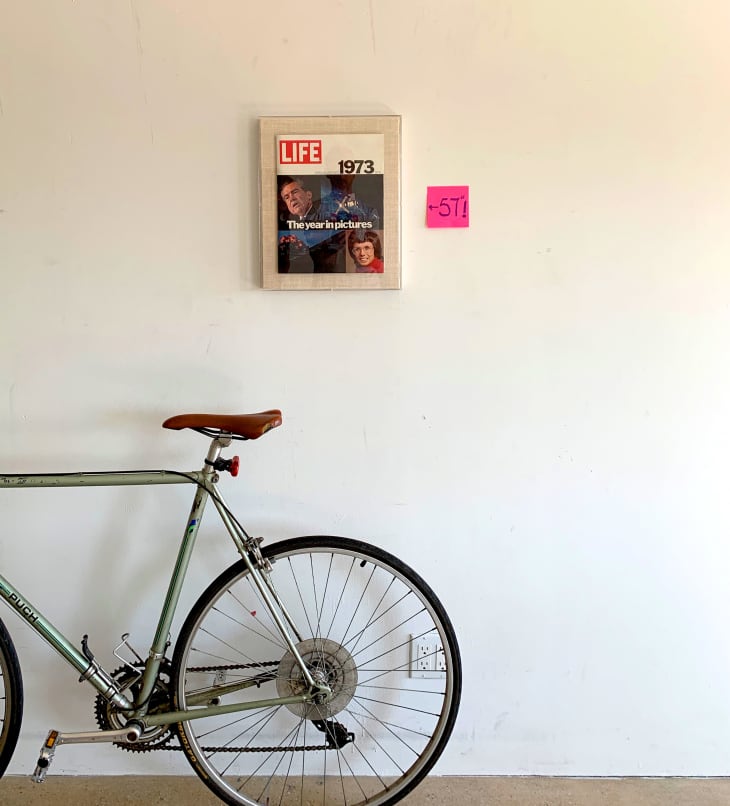
“On center” means that the middle of the artwork is always at 57″ above the ground (obviously, this only applies to hanging art on an open wall or above lower furniture rather than over taller features like a fireplace). Interestingly, the 57″ standard represents the average human eye-height and is regularly used as a standard in many galleries and museums.
I was relieved when I discovered this guidance because it gave me a tool to help others with, as well. With clients, I often found that pictures, lovely as they could be, were often shockingly randomly hung.
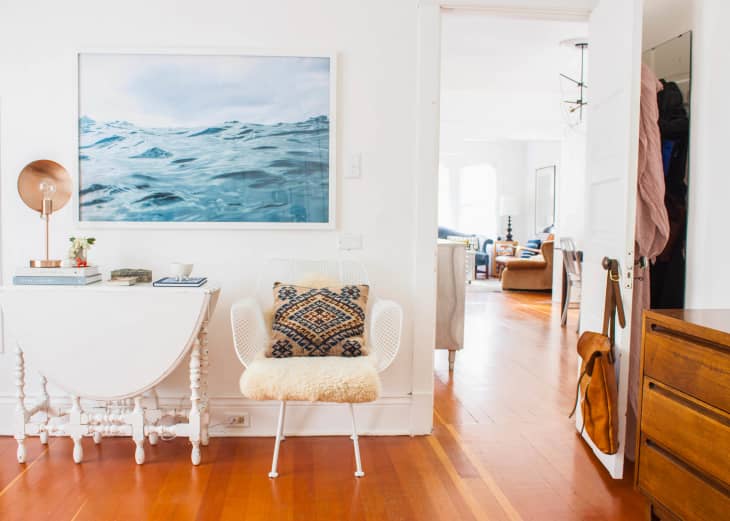
In addition to being a pleasing height and the average human eye level, 57″ on center tends to be a lot lower than most people naturally hang their artwork. People hang things too high (I don’t know why they do this). Putting things at 57″ also means that your artwork is going to hang in closer proximity to the other elements of your home, such as furniture, rugs, lighting, etc., and will therefore “talk” to everything better and have a closer relationship, which is a good thing.
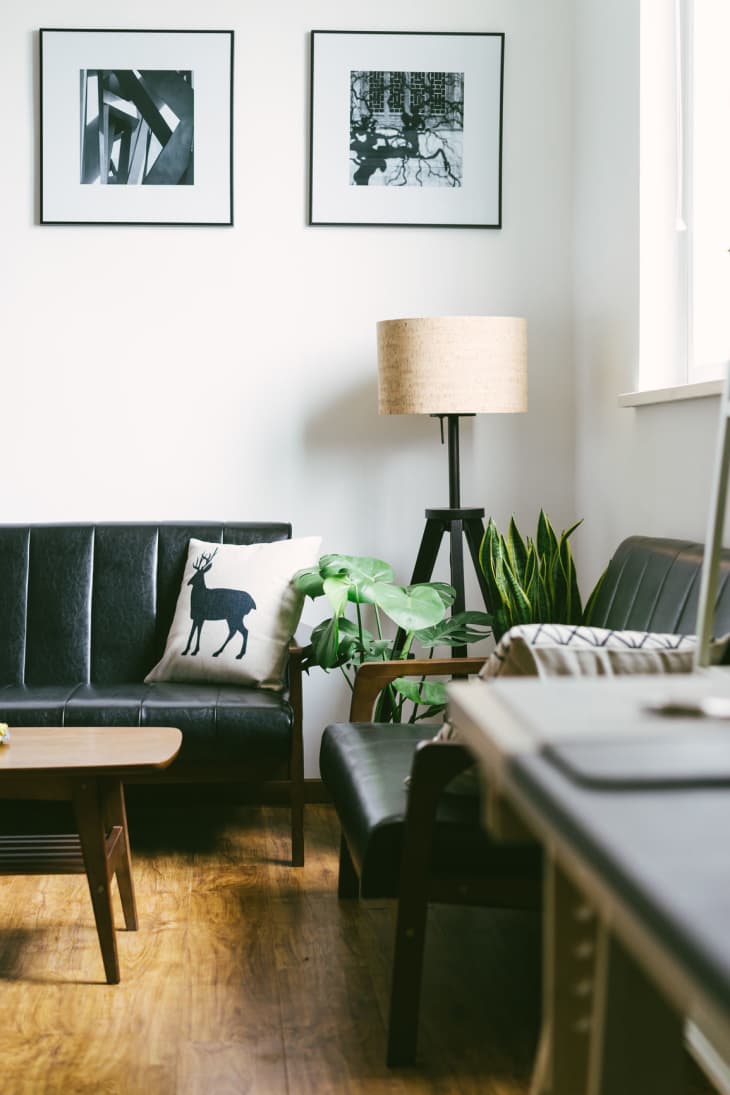
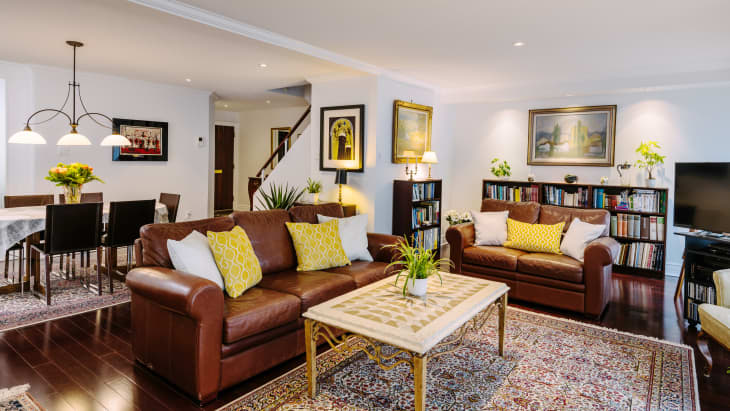
In addition, I have discovered that if you stick to this standard, you create harmony among all the pictures in your home, as they will all share a midline as you look around your spaces, no matter what outside dimensions may be. This creates harmony and is also very good.
How to Hang Art (The Right Way)
Now, let’s take a look at some specific, step-by-step directions to help you on your art-hanging journey:
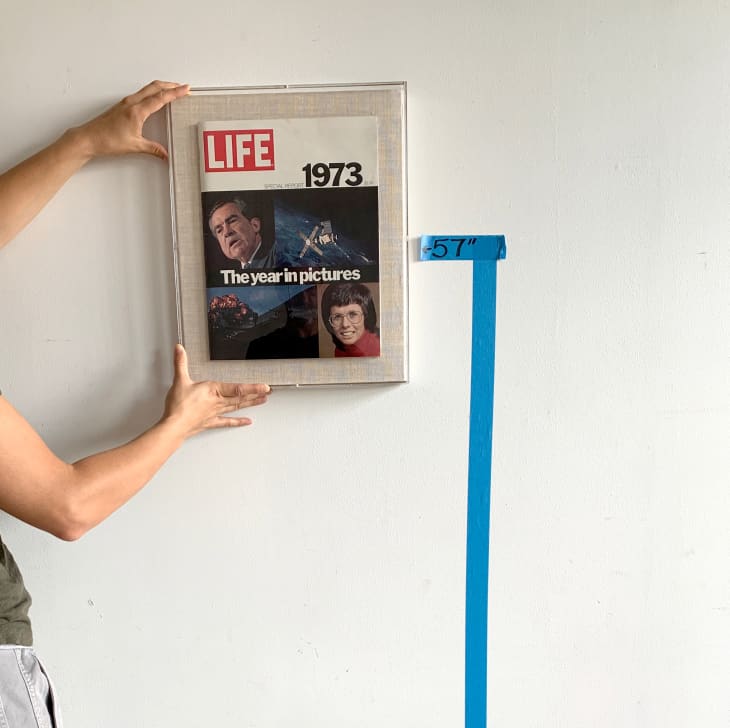
- Measure and lightly mark 57″ on the wall, measuring up from your floor.
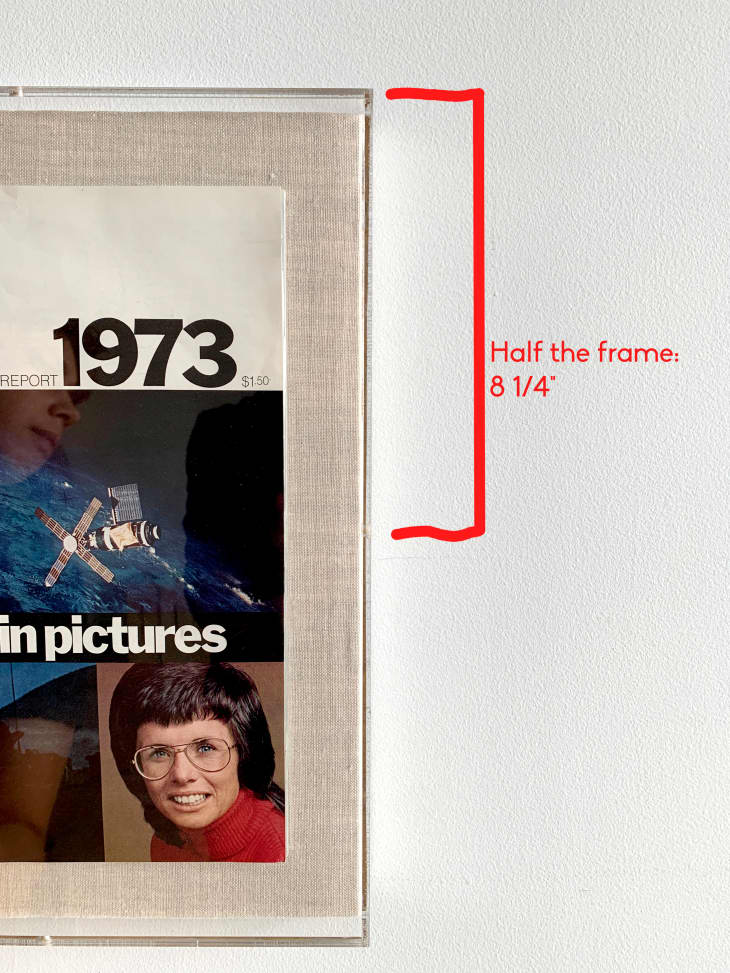
2. Measure artwork and divide by 2 (this gives you the center)
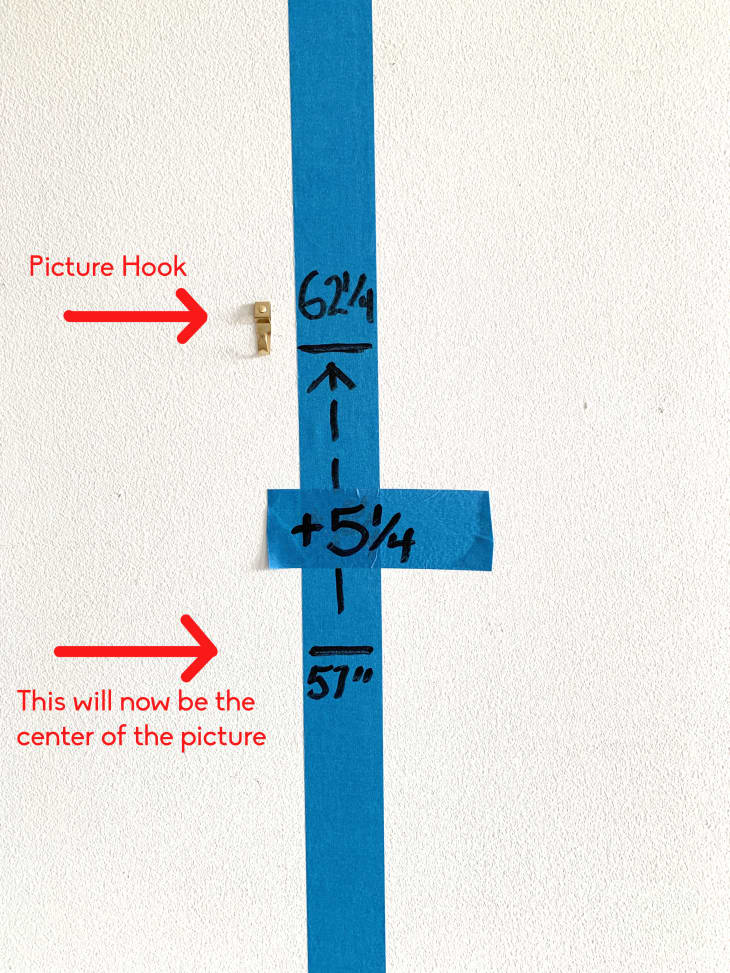
3. Measure top of your picture to the tightened wire (or wherever you’ll hang it from). This should be a pretty small amount, depending on your frame or canvas.
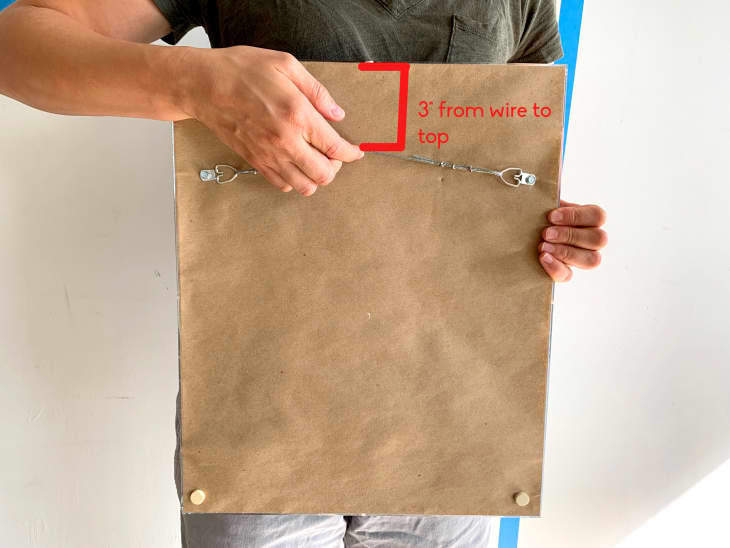
The hook will not be at the top of the picture! It will now simply be 5 1/4"up from our center mark.
4. Subtract that “tight wire” amount from the number you figured out in step 2. This will tell you how far above 57″ your hook should go. In our case, we subtract 3″ from 8 1/4″ to get 5 1/4″, which means we’ll put our pin in at 62 1/4″.
5. Lightly mark the wall just above 57″ with the “to the hook” amount you figured out in step 4.
6. Hang that art with confidence!
While that might sound a little confusing, we promise it’s easy! Here’s an example:
1. Picture is 20″ tall
2. Middle is at 10″ (this mid point should rest at 57″ from the floor)
3. Wire comes to 2″ below the top
4. 10″ – 2″ = 8″
5. Lightly mark 8″ above your first mark or 65″ on the wall
6. Hang up your art!
Though this may seem complicated to read, it is quite simple when you do it. The thing to always remember is that the center of all your pictures should be hanging at the same 57″, and you are just figuring out where the hook goes above it.
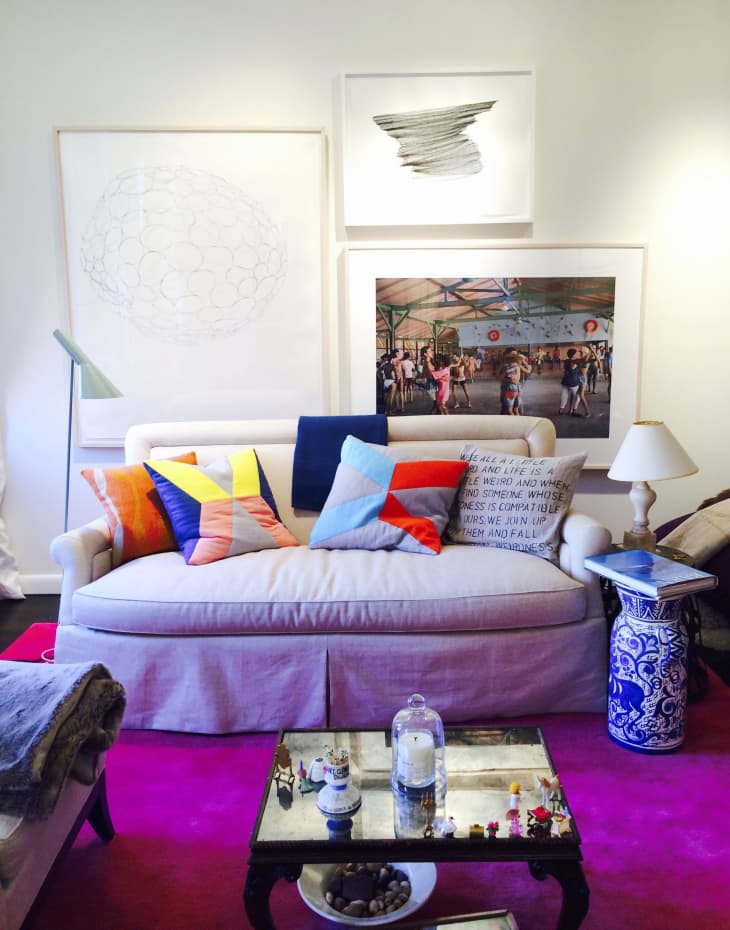
What About Hanging Art in Groups, Like a Gallery Wall?
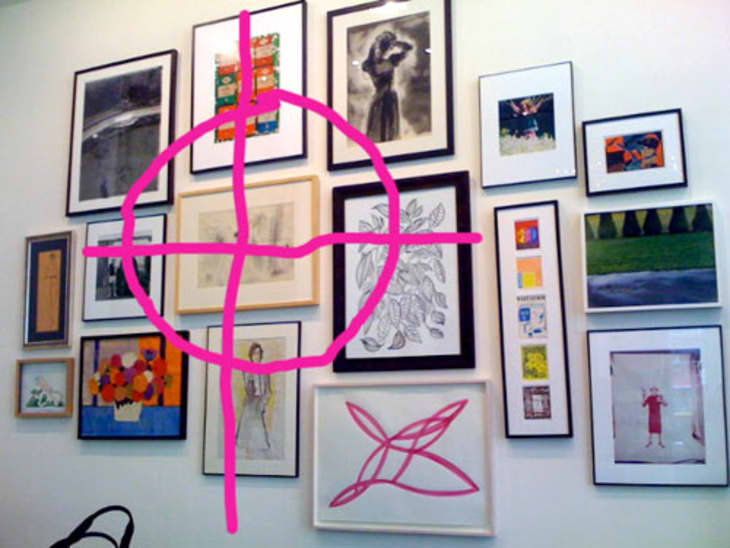
This 57″ also applies to groups of pictures. The pic above is a lovely example from a Kate Spade store that I wrote about. They did an AWESOME job of hanging art in their stores.
Think of a group or gallery wall as one giant picture. After you arrange how you want them all to hang (doing this on the floor with paper cut outs makes it so much easier), start with the center picture/pictures and hang each of those are 57″ on center on the wall. From there, fill in with the rest of the group however you like! You can also just choose one main focal art work and keep that at 57″ on center, and arrange from there.