
How To Make a Candle Out of a Pumpkin
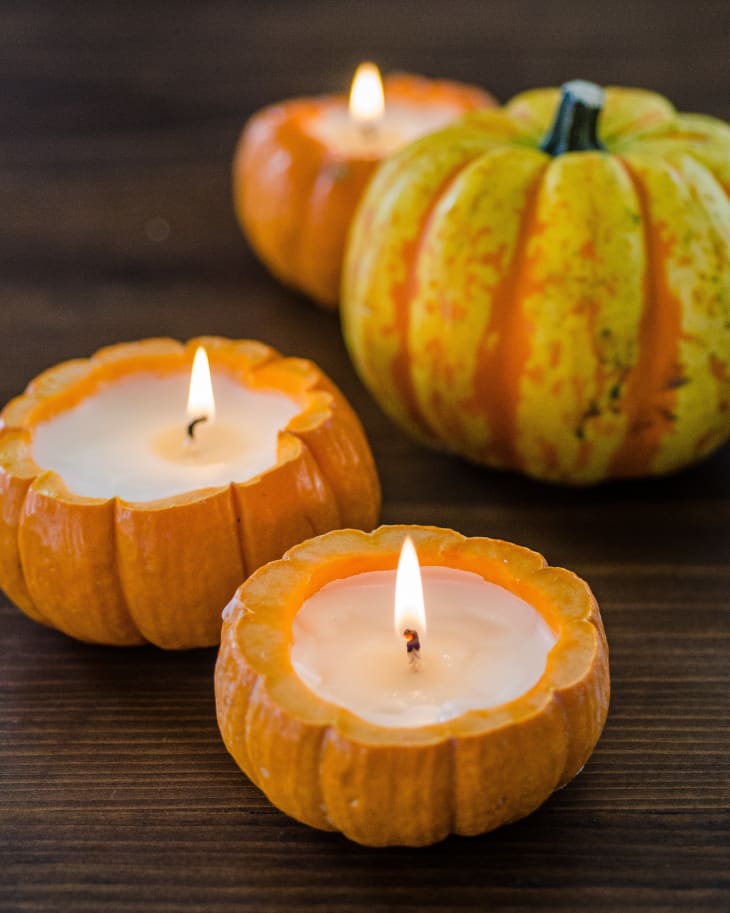
I am not a crafty person. I can’t sew, I don’t scrapbook, and the scope of most Pinterest-inspired projects is so far beyond my skills they may as well be on the moon. But even I can make candles out of little pumpkins, and given how cute and seasonal these are for the Halloween and Thanksgiving table, I wanted to show you how too. If I can do this, anyone can.
A Project with Benefits!
This project really couldn’t be simpler, and it works with foodstuffs, which I am certainly more comfortable with than needle and thread. The process is simple: hollow out a mini pumpkin, melt some candle wax, and pour inside.
And it has a side benefit: pumpkin seeds! We don’t usually eat these little pumpkins; they get used as decorations then tossed out with the Thanksgiving compost. But in this project you pull out all the innards. The pumpkins still get used as decorations, but you also get to eat the seeds.
→ Roast some pumpkin seeds: How To Roast Pumpkin and Squash Seeds

Wax & Wicks
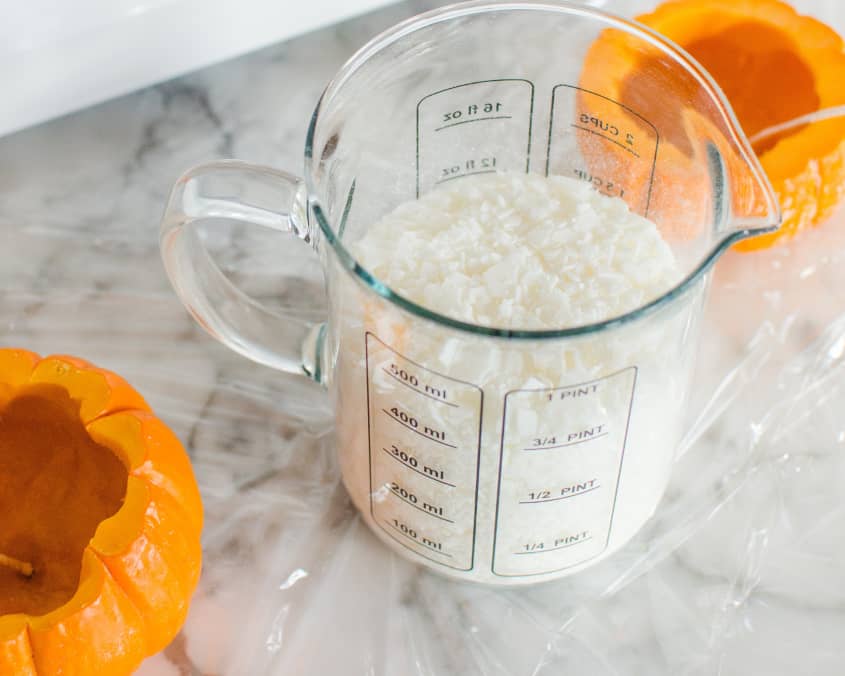
I make these candles with soy wax flakes and cotton wicks. The flakes melt quickly and easily. I find that melting the wax in the microwave is the easiest option, although you can also do it on the stovetop. Regardless of how you do it, it’s important to be careful as the wax is quite hot.
If you’re looking for wax and wicks, I’ve found that the best prices are online (as opposed to at a craft store).
Note that 1 pound of wax flakes will melt into about 2 1/4 cups of wax.
Candle-Making Resources
- CandleScience Soy Candle Wax, $11.99 for 2 pounds at Amazon
- CandleScience Natural Candle Wicks, $8.97 for 50 at Amazon

How To Make a Candle Out of a Pumpkin
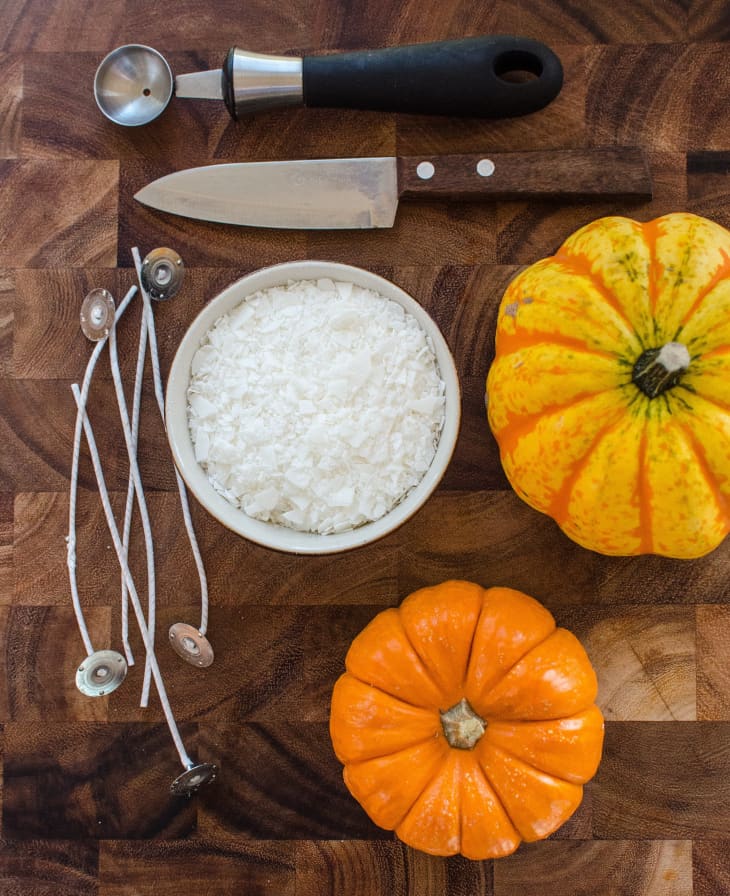
What You Need
Materials
Small pumpkins or decorative gourds
Soy wax flakes
Cotton wicks
Equipment
Plastic wrap
Cutting board
Chef’s knife
Paring knife
Melon baller
Bowl
Microwave-safe container
Microwave
Hot pad and trivet
Instructions
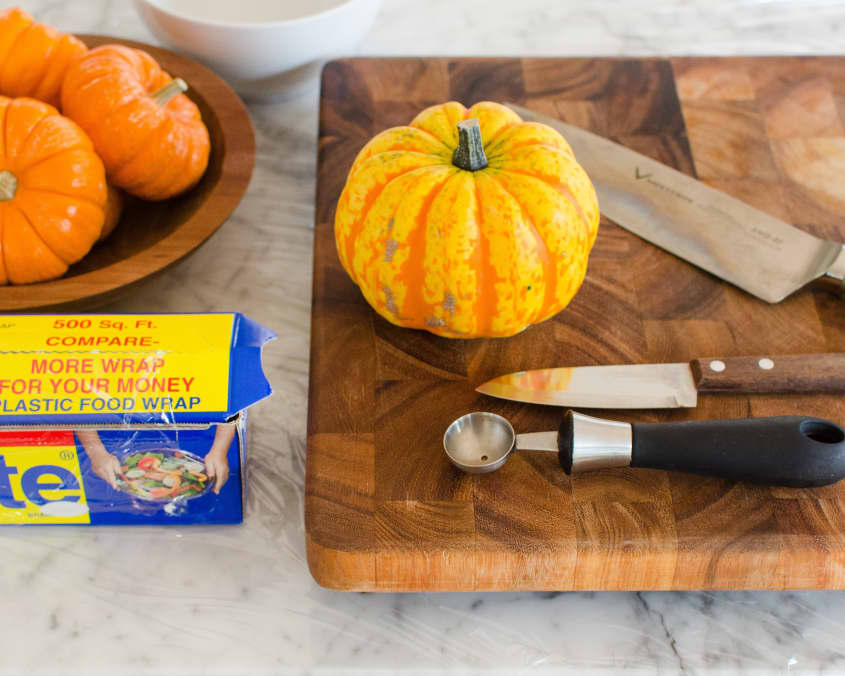
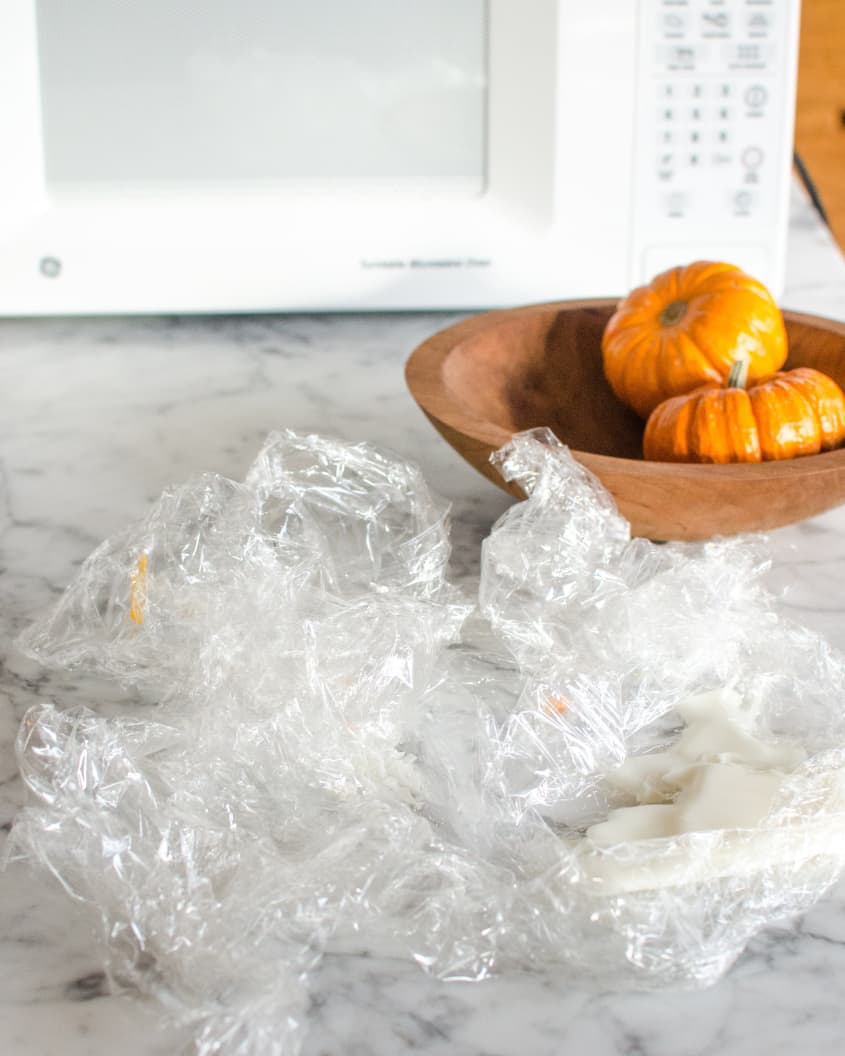
- Prepare your workspace: Line the countertop or a work table with plastic wrap. Set out all your supplies.
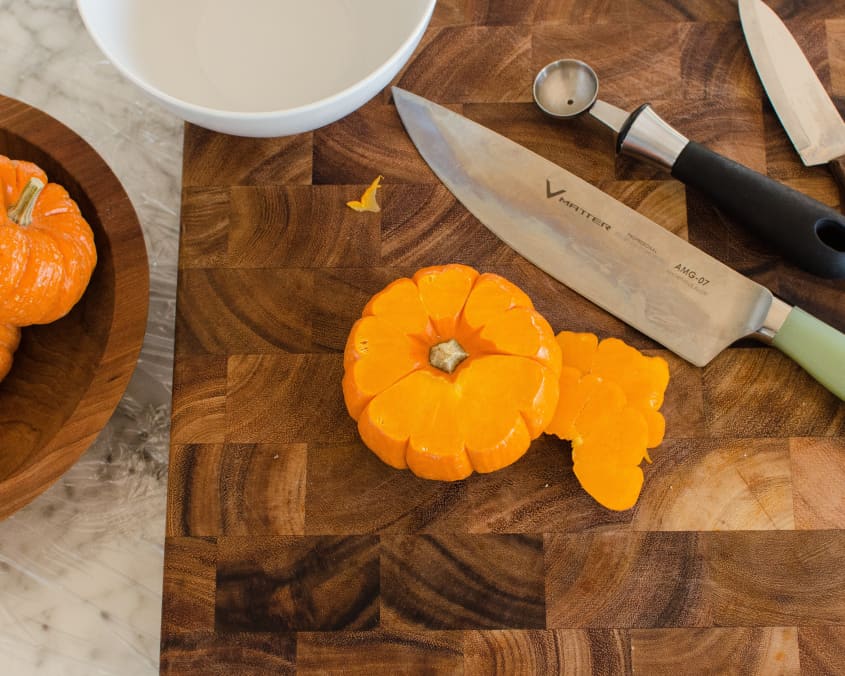
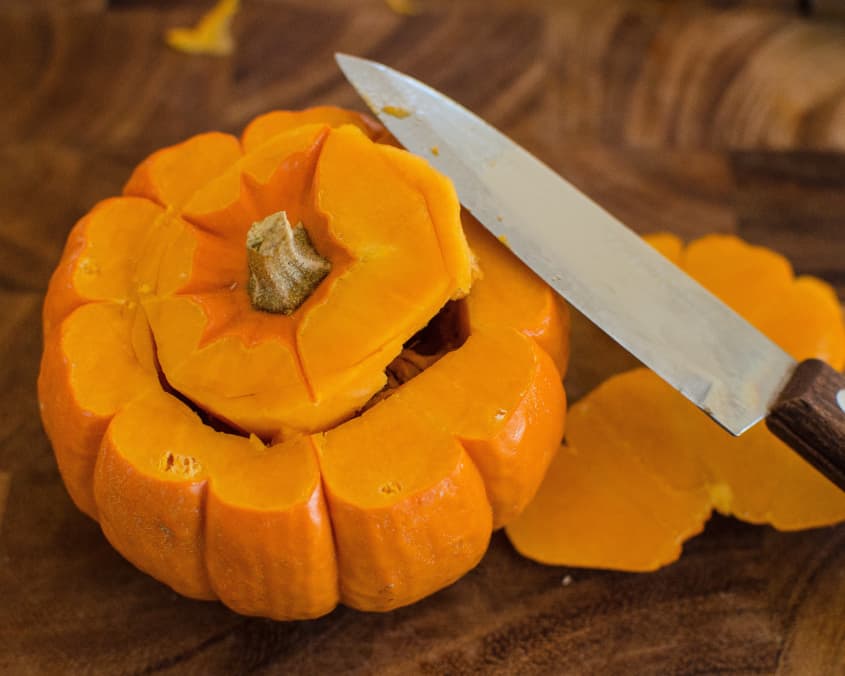
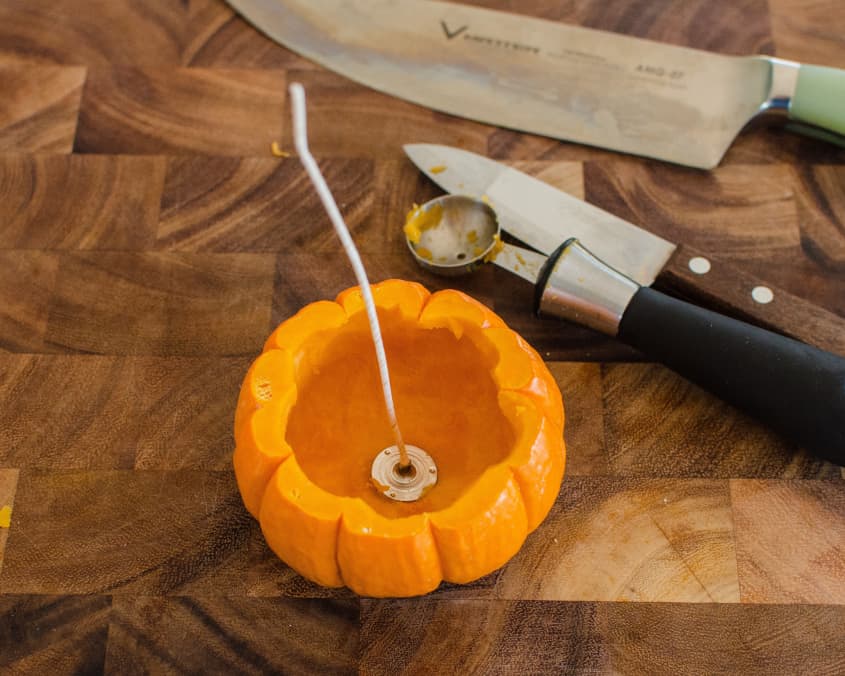
- Cut the top off the pumpkin: Use the chef’s knife to slice off the top of the pumpkin and its stem.
- Hollow out the pumpkin: This is the trickiest part. Carefully make an incision in the top of the pumpkin, cutting a circle with the paring knife. Use the paring knife or melon baller to remove the top and hollow out the pumpkin.
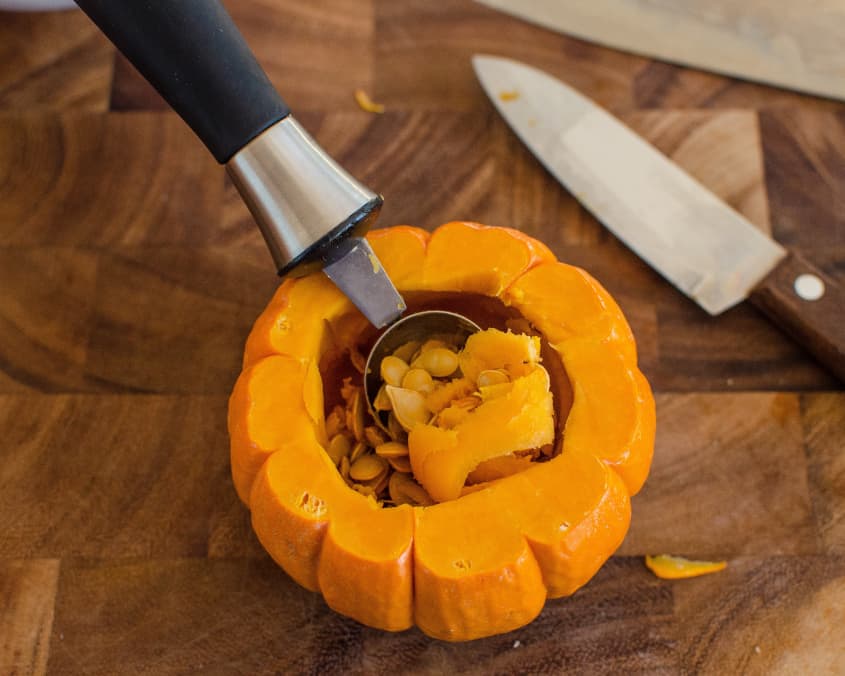
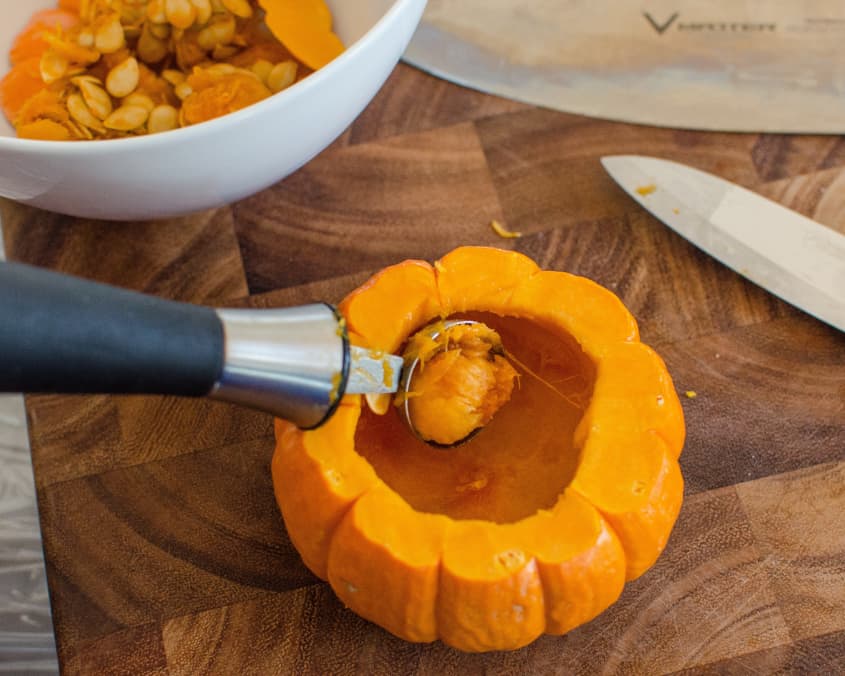
- Scrape out the seeds and strings: Use the melon baller to scrape out the pumpkin and remove all seeds and strings. Put the seeds in a bowl (clean and roast them later).
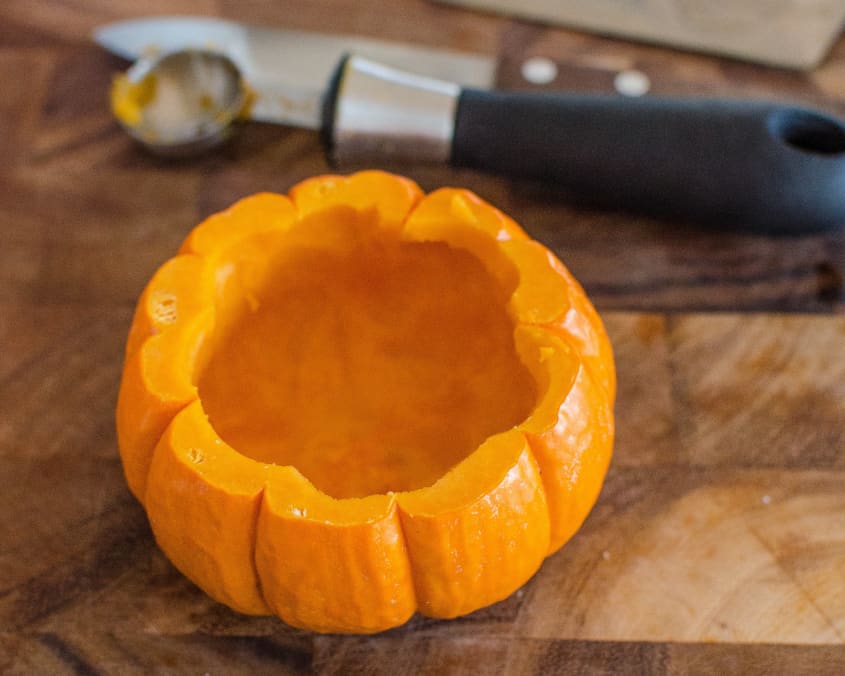
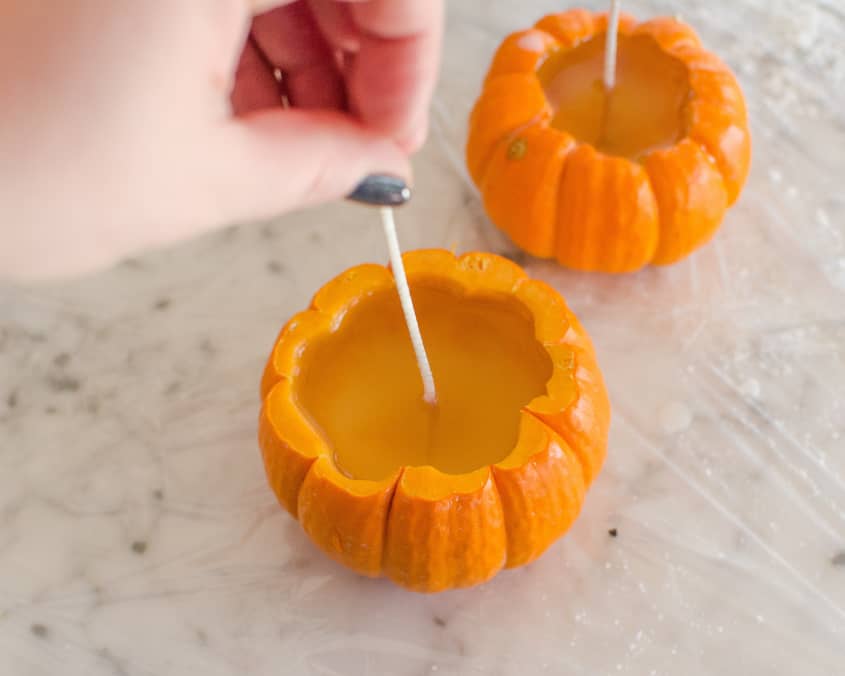
- Place the wick: Press the base of the wick into the hollowed-out pumpkin. Depending the type of wick you have it may not stick to the slippery surface of the pumpkin. This is OK; you can adjust it later after the wax is in the pumpkin.
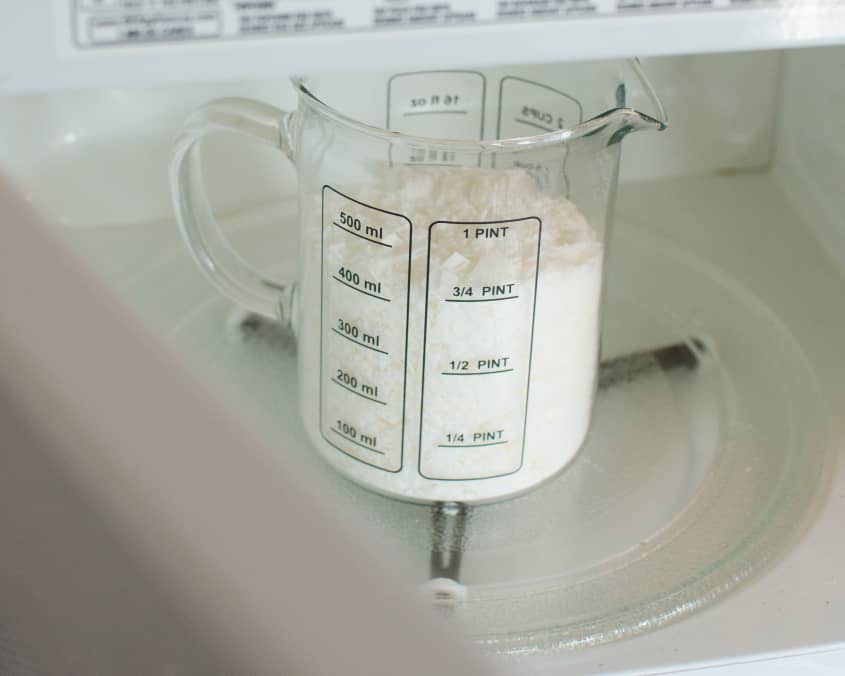
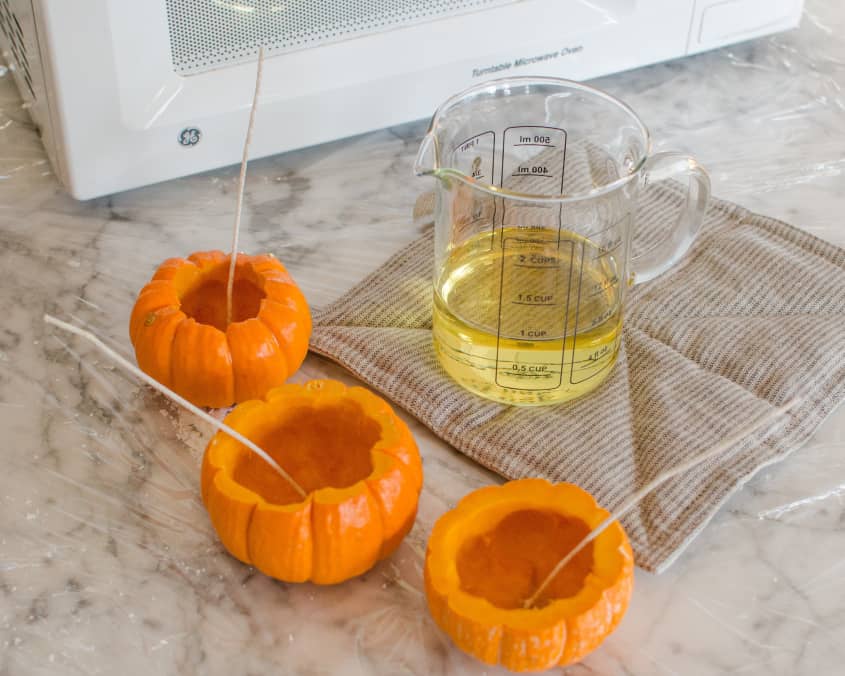
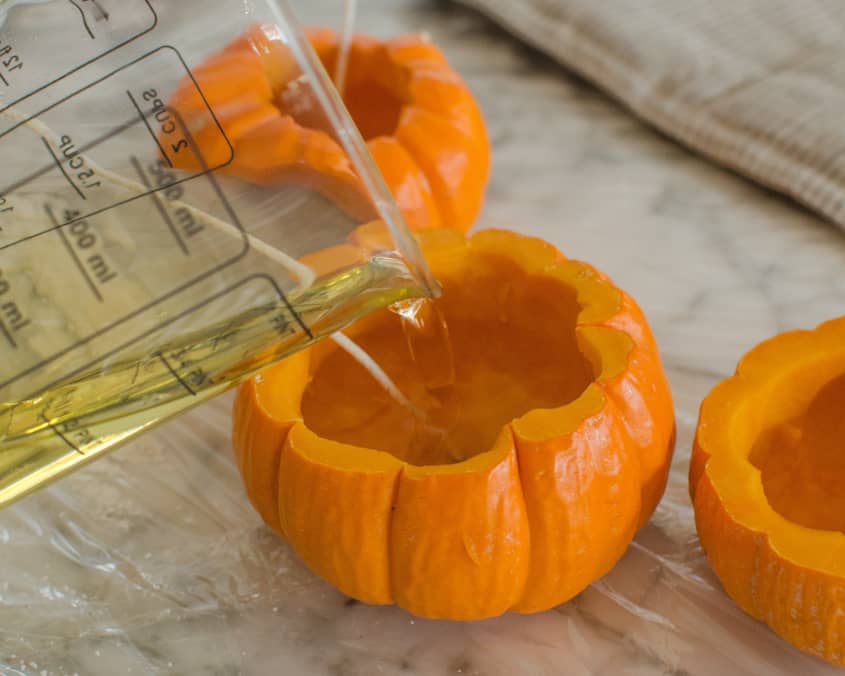
- Melt the wax: Fill a microwave-safe container halfway with wax. Microwave in short bursts of low to medium power until it is completely melted. It will be clear and totally liquid. Use a hot pad to remove from the microwave and set the container on a trivet.
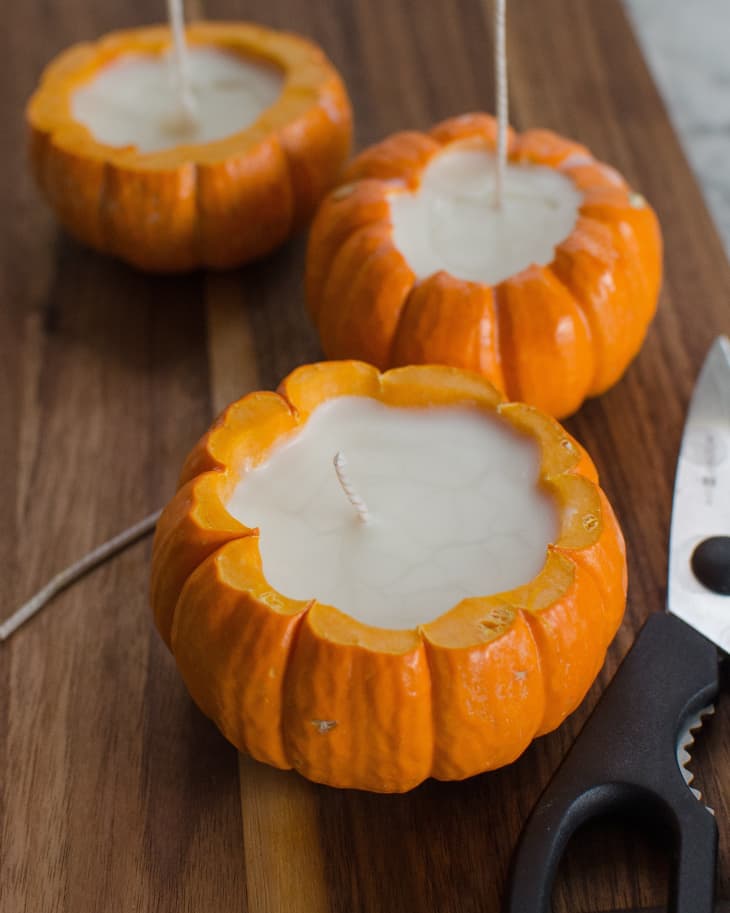
- Pour the wax: Carefully pour the wax into the pumpkins. Hold the wick upright as you pour.
- Let cool for 15 minutes, then reposition wick: Let the wax cool. It will look cloudy and begin to turn opaque. If necessary, pull the wick up straight and make sure it’s centered.
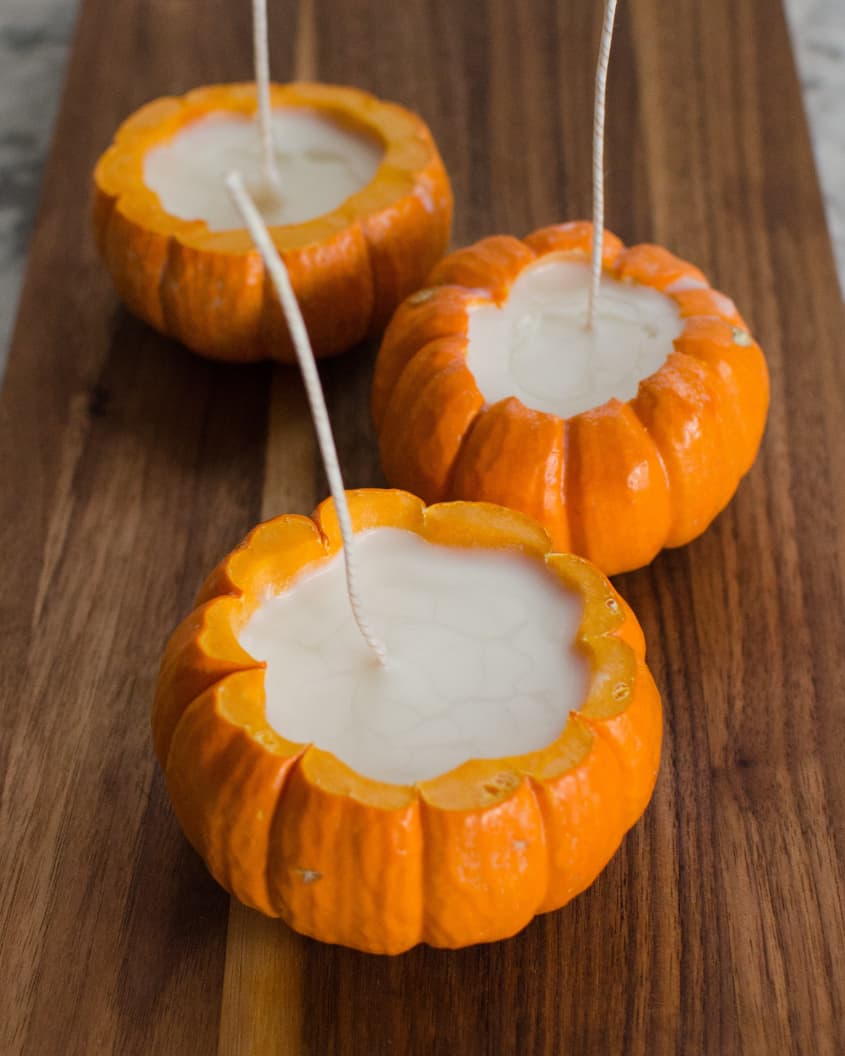
- Let cool and cure overnight: Let the candle (and any others you make in this session) cool for at least 2 hours or overnight.
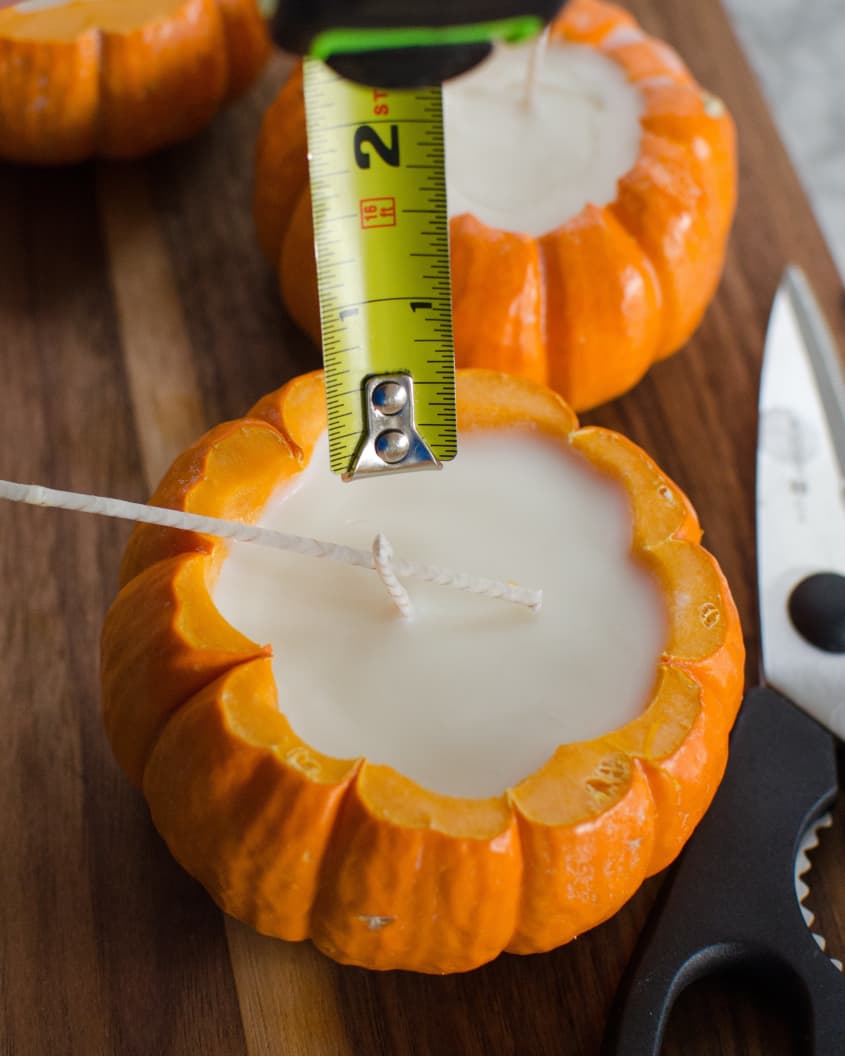
- Trim the wick: When the wax is cooled completely, trim the wicks to about 1/2-inch in length above the wax surface.
Notes
- Easy clean-up: Just pull up the plastic wrap and take any leaked wax with it!
- Cleaning the melting container: You can use a semi-disposable container, like a plastic storage container, and discard it after making candles. Or use a glass container and, to clean it, pour in boiling water. Let cool, removed the solidified wax, then wipe the container out with rubbing alcohol to finish cleaning it.
- Go beyond pumpkins: Why stop at pumpkins? I want to try this with firm fruit, too, like apples. And maybe a turnip!
Want more smart tutorials for getting things done around the home?
See more How To posts
We’re looking for great examples of your own household intelligence too!
Submit your own tutorials or ideas here!