
How To Make a Colorful, Inexpensive Floor Cushion
Floor cushions are hot items right now. They make great alternative seating to accommodate extra dinner party guests and they’re perfect for back patio garden parties during the summer. Every shop from West Elm to Serena & Lily offers plenty of options, but depending on your budget they can be a little on the pricey side. For DIY types, I’ve put together a tutorial that will help make you the queen or king of your next party, and still leave you a little cash for a few extra cheese plates.

What You Need
Materials:
- Enough fabric to make two 18″ circles
- One 9″ x 52″ strip of same or contrasting fabric
- 1-2 yards of Welt Cording (pre-made welt cording is available in most fabric stores. Or if you’re experienced in sewing, you can create your own as I did)
- Cotton, foam, polyfill or any material of your choosing to stuff the cushion (I used 100% cotton, about 3 bags)
Tools:
- Sewing Machine
- Scissors
Instructions:
1. Cut two 18″ circles out of the fabric of your choosing. I traced my circle pattern using the form from a previous pouf cushion, but if you don’t have a pre-cut pattern, break out that trusty compass and begin to draw a circle that is 18″ in diameter. Or you can make whatever size you would like. (I have a new baby nephew so I made mine a bit smaller for him.) If you don’t have a compass, or your compass isn’t big enough to draw a circle that large, try drawing your circle using this method.
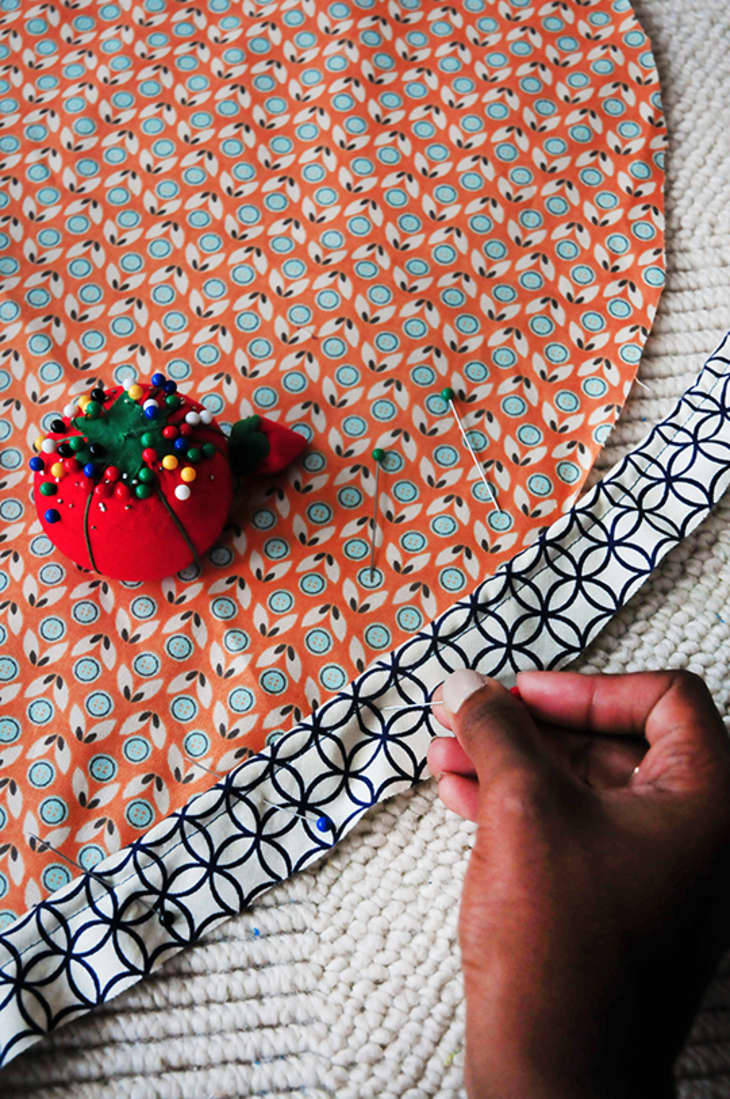
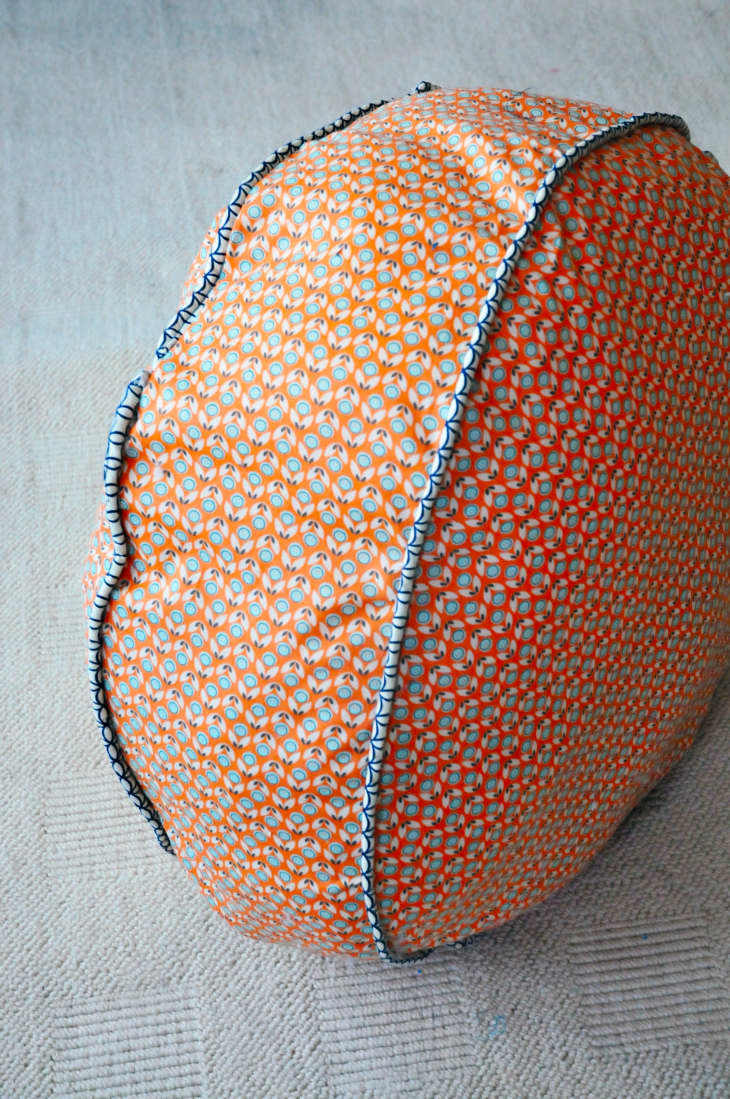
2. Take your welt cord and line it around the edges of the circle, with the “right” side of the fabric facing up — the right side being the side you want to eventually have on display. A good way to make sure your welt cording is aligned properly is to line up the rough edges of your welt with the edges of the circle.
Pin your edges in place using sewing pins.
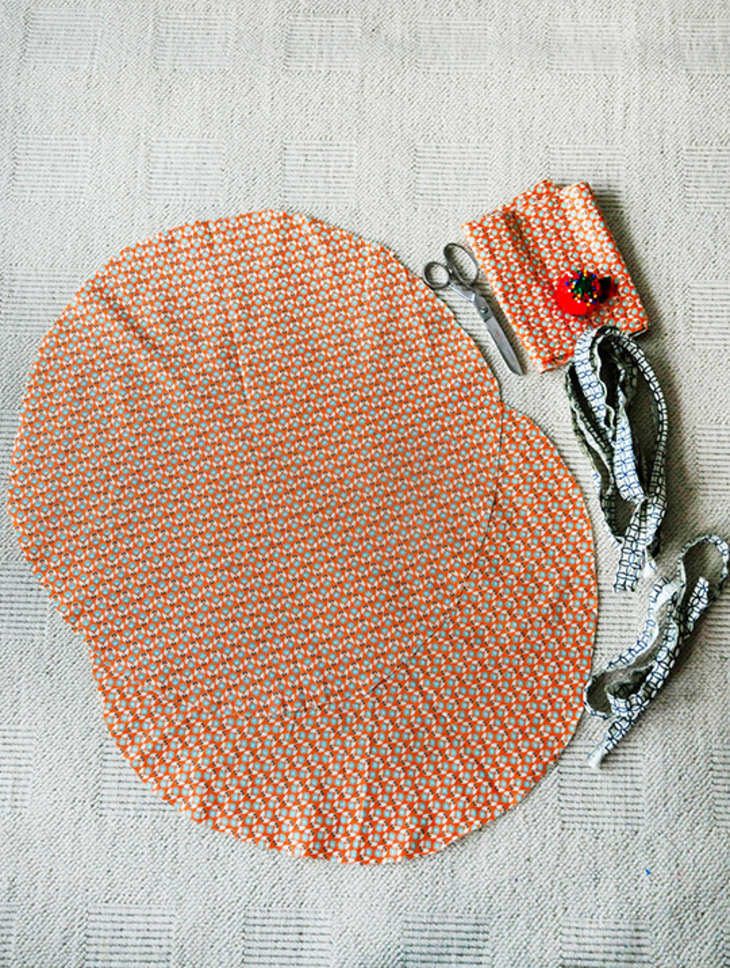
3. Head to your sewing machine and sew the welt cord to the circle all the way around as shown here. Cut off any excess welt cord and set aside.
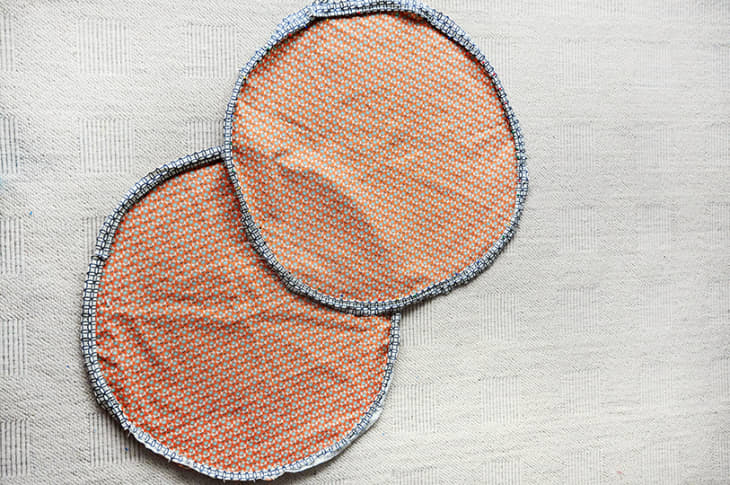
4. Repeat steps 2 and 3 for the other circle.They should look identical.
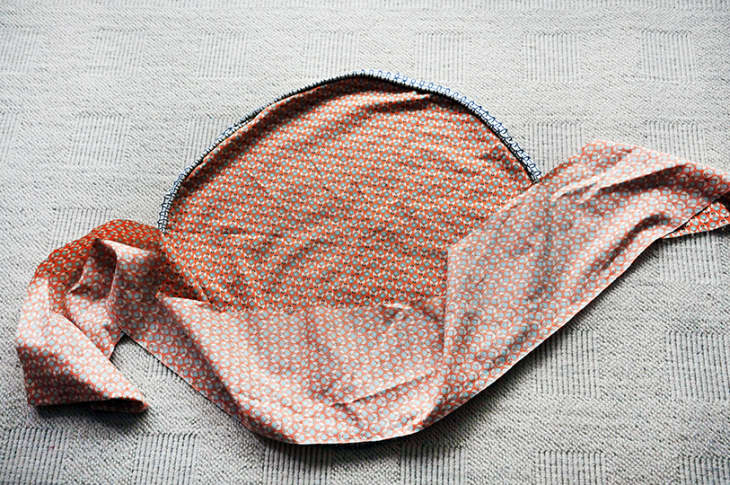
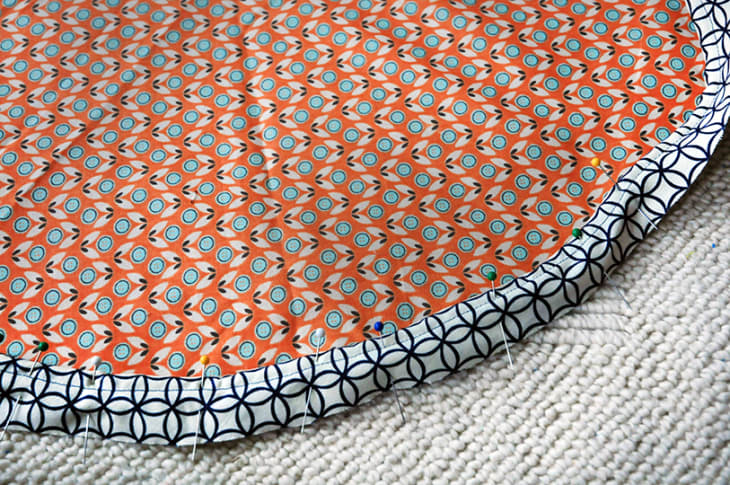
5. Take the 52″ strip of fabric. Turn the strip on its “wrong” side, or the backside, and pin it all the way around the “right” side of one circle, remembering again to be sure you line up the edges. As you pin around you’ll see the ends of the strips come together; pin the two ends to each other. You’ll need to scrunch and bunch the fabric to make sure it’s pinned fully around the circle.
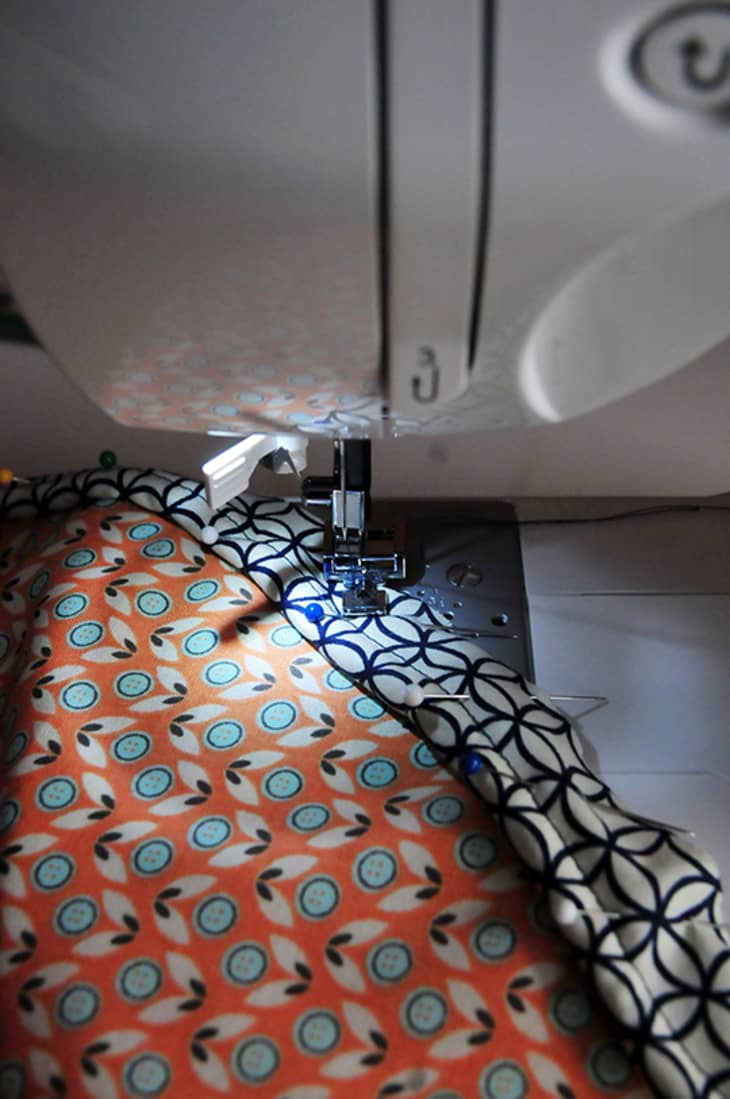
6. Carry this section to your sewing machine and sew all the way around, making sure you stay closely along the edge of the welt cord. Glide your finger along as you sew to be sure you’re staying right against the welt cord — if you sew too far away from it you’ll notice a gap at the end of your project.

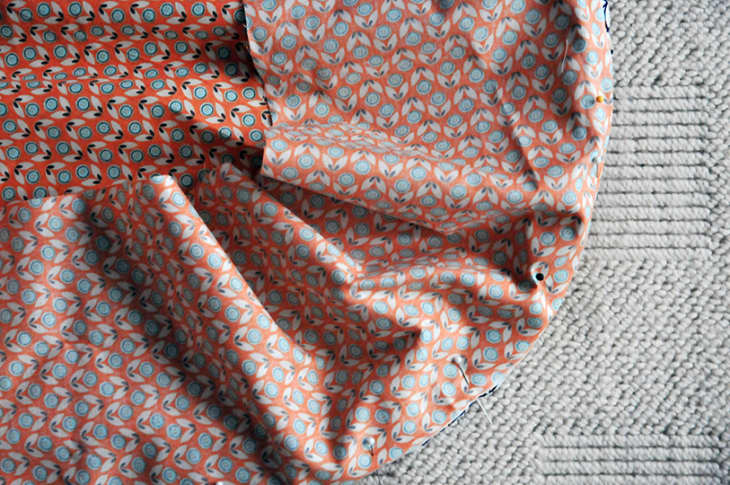
7. Turn your partially completed pouf completely inside out and line up its edges with the other circle you created. Pin the edges together and sew around just like in Step 5. But this time don’t sew all the way around. Leave an opening so you can stuff the pouf at the end. It may get a little wonky here because you’ll have to work the fabric around the circle, but keep at it.
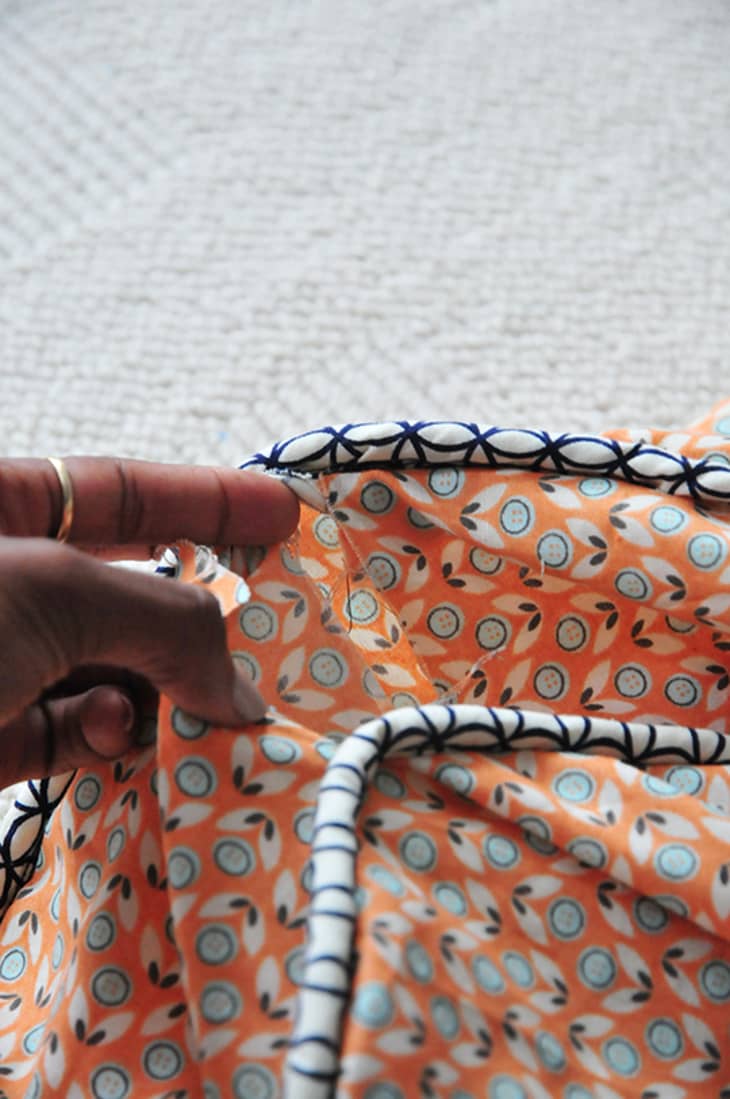
8. Turn your pouf inside out, stuff it, and hand sew the opening closed.
You’re all done!
Total Cost: I had some leftover fabric at home, so I didn’t need to purchase anything. But the pouf fabric was initially $5/yard, and I purchased 2 yards. The welt cording is about $3.69 per package at Joann Fabrics. I used three bags of polyfill I already had at home, but if I were buying it new it would be around $8/bag. So this project cost me roughly me $44 to make and could be a bit more or less for you depending on what materials you may already have.
Re-edited from a post originally published 9/24/2013 – AB