
How To Make Your Own Shade Sail
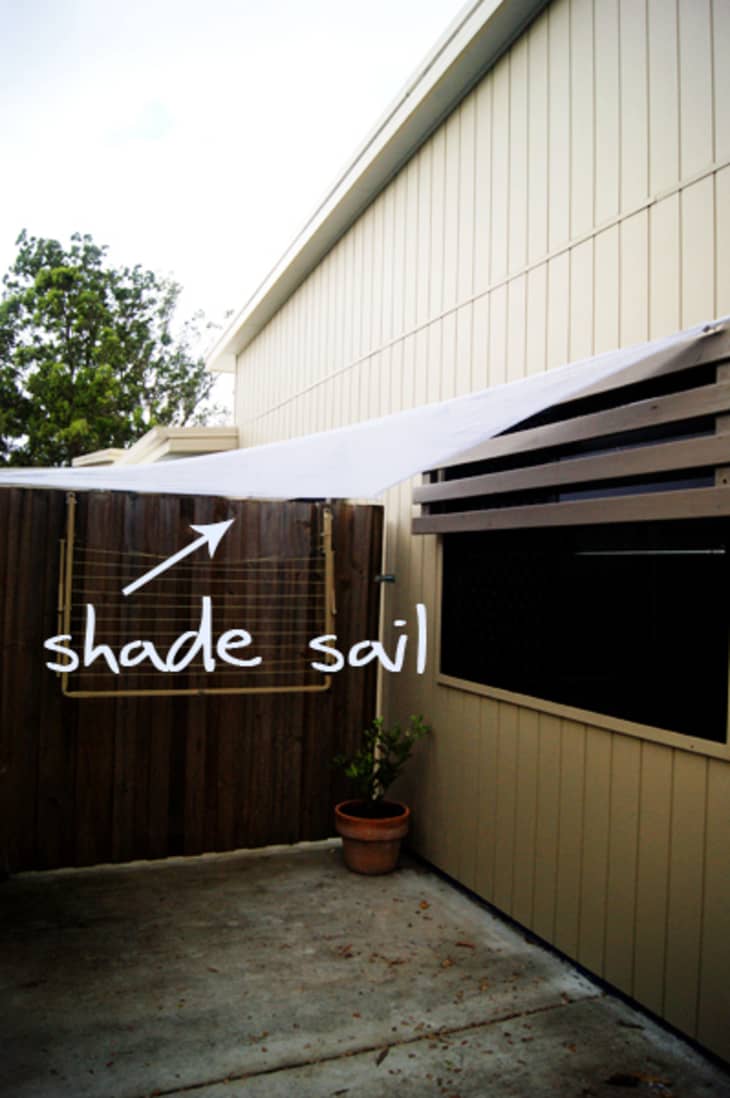
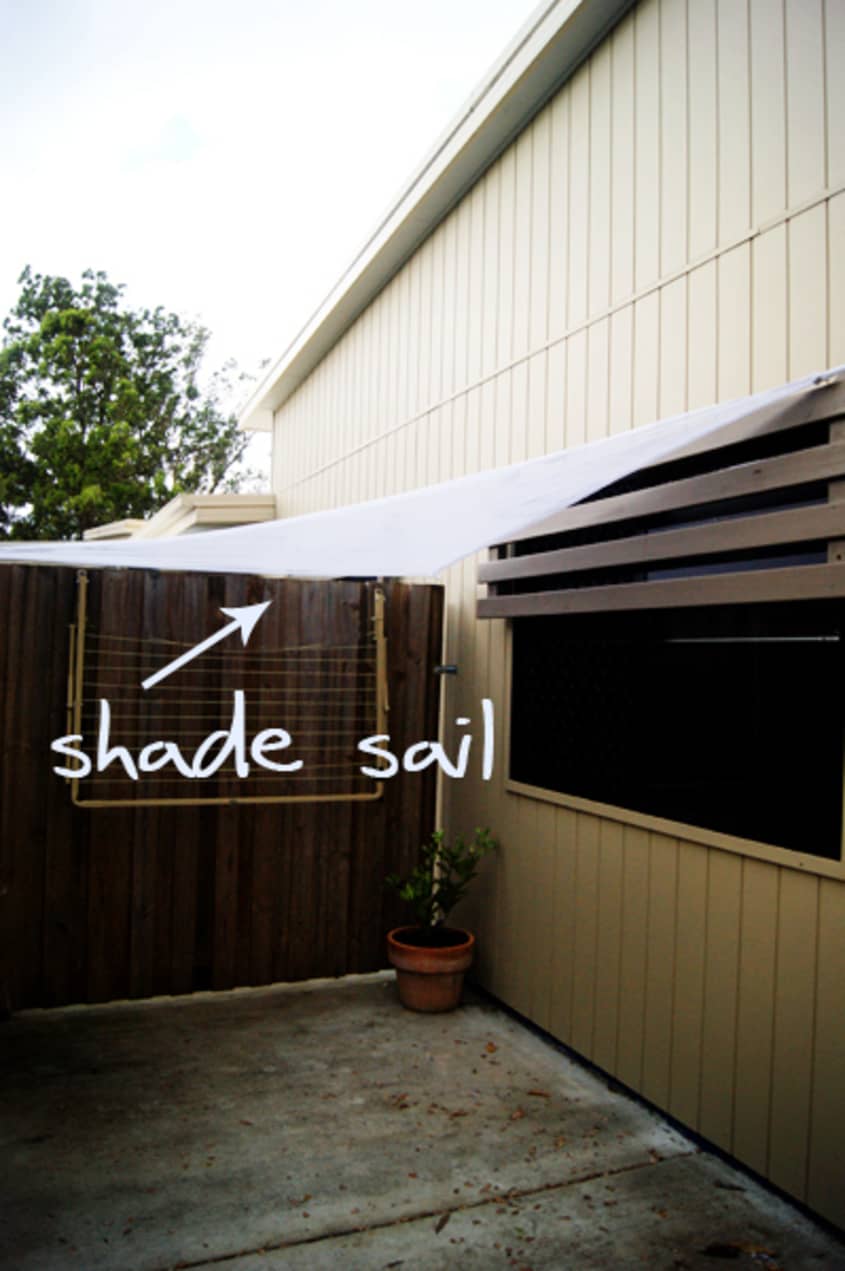
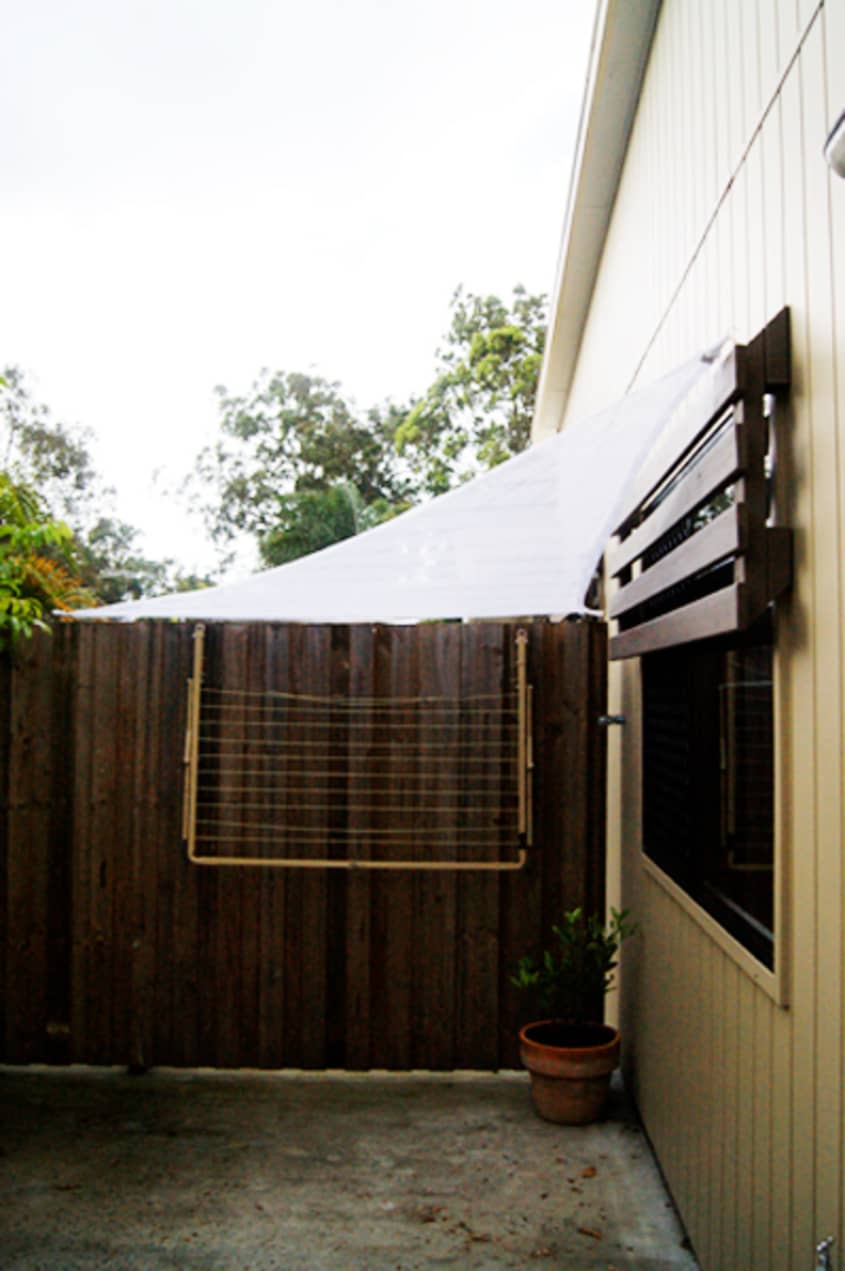
I’m sure in certain parts of the world people are looking forward to the start of Spring and warmer days, but here in Australia it is hot hot hot and there is never enough shade. So I’m making my own! No heavy plasticky shade sails for me… I’m opting for light white muslin to let the light in but take the edge off.

What You Need
Materials
As much fabric as you need to cover your chosen area. (As mentioned above, I used muslin.)
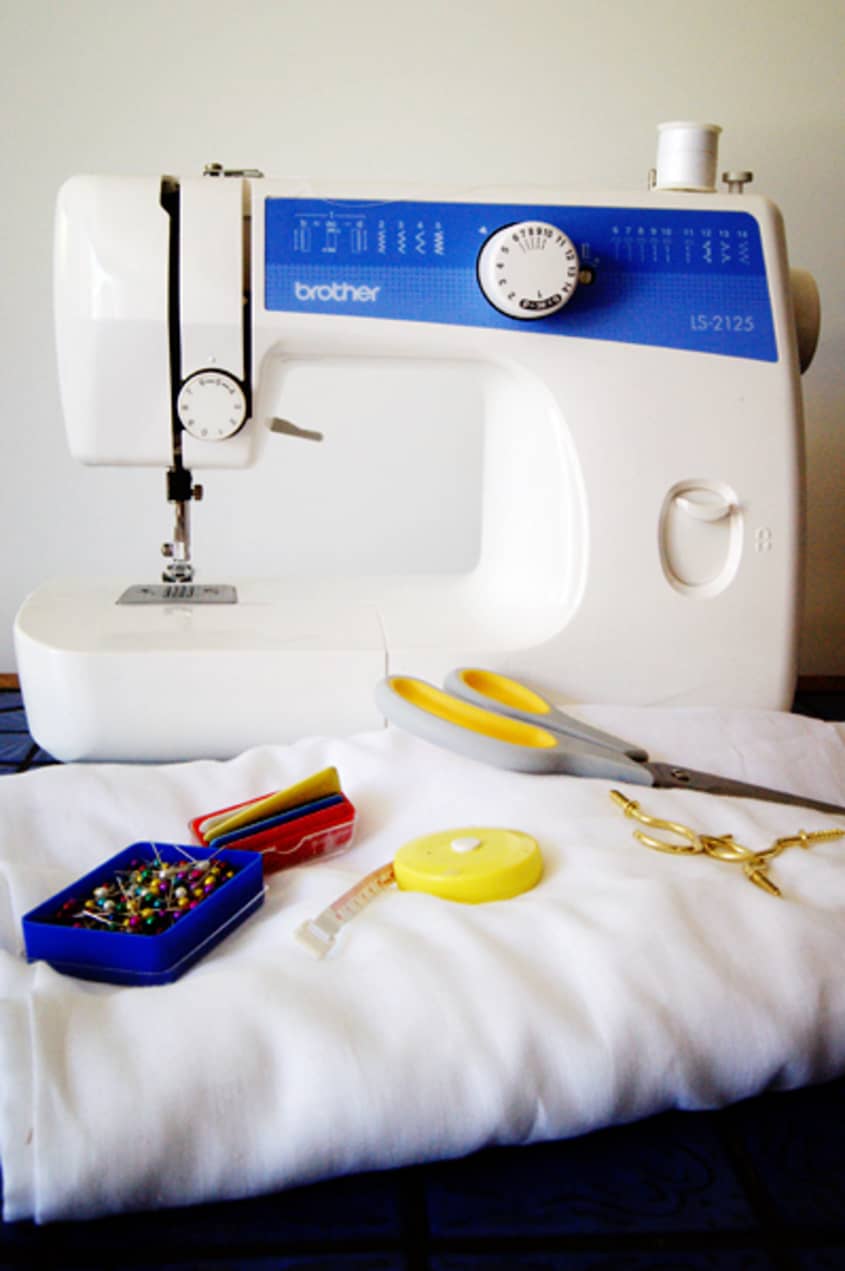
Equipment
Sewing machine
Pins
Measuring tape
Ruler
Fabric markers
Scissors
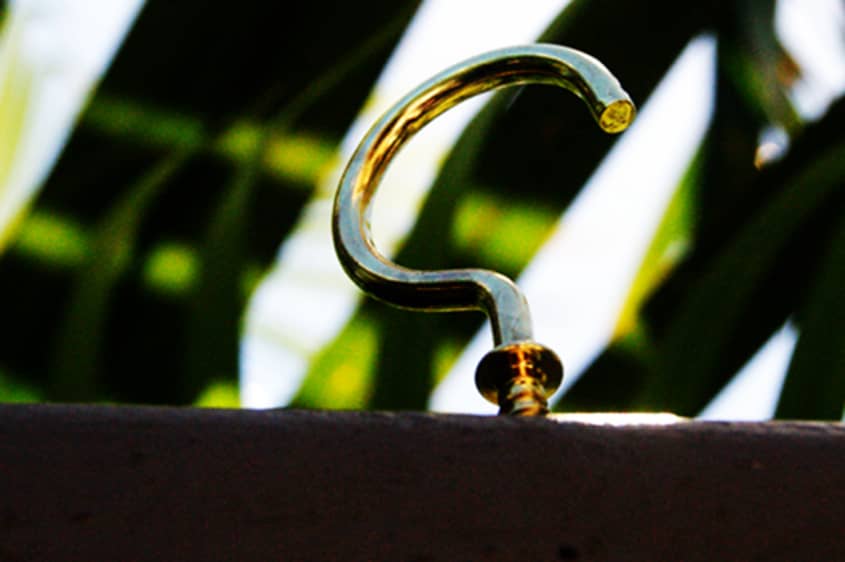
Hooks
Instructions
1. Measure and plot the area you want to cover. Check what surfaces you want your sail to join as this will determine what hooks you need. Secure your hooks tightly as they will hold your shade sail tight. We were working with wood so the hooks just screwed in
2. Once you have your fabric, lay it out. You will more than likely be working with a big piece of material so you’ll need a lot of space. Mark out your sail with measuring tape and fabric markers.
3. Cut your triangle from the material.
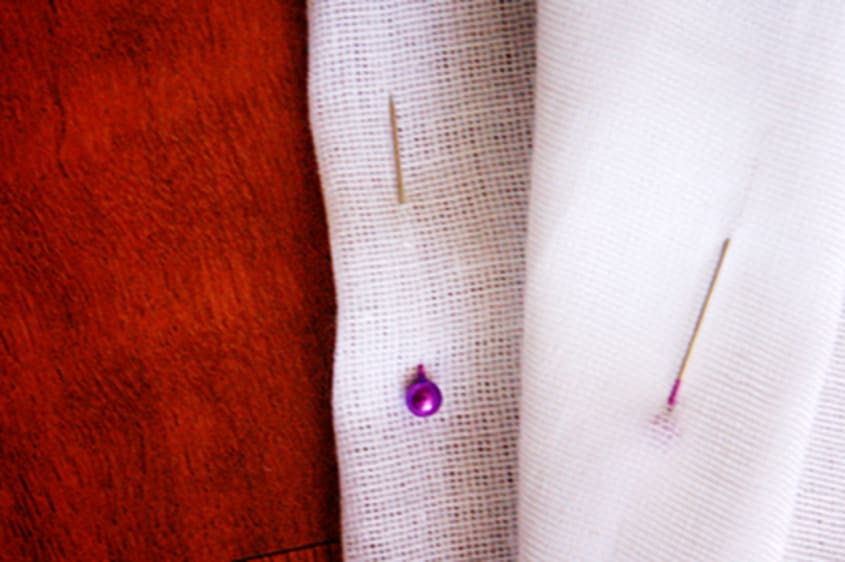
4. Fold your hemline and pin it in place.
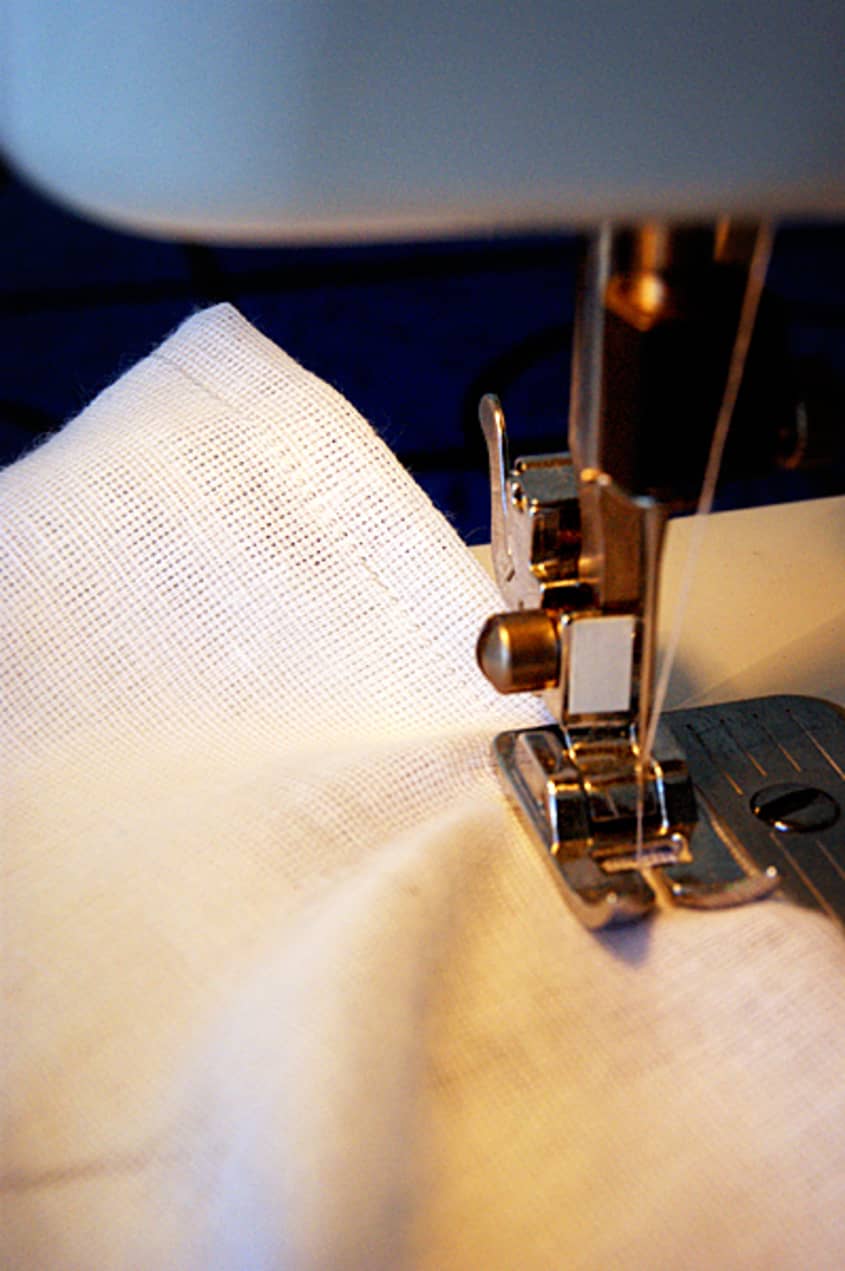
5. Clear space around your sewing machine and get sewing! Follow the hem and sew all the edges.
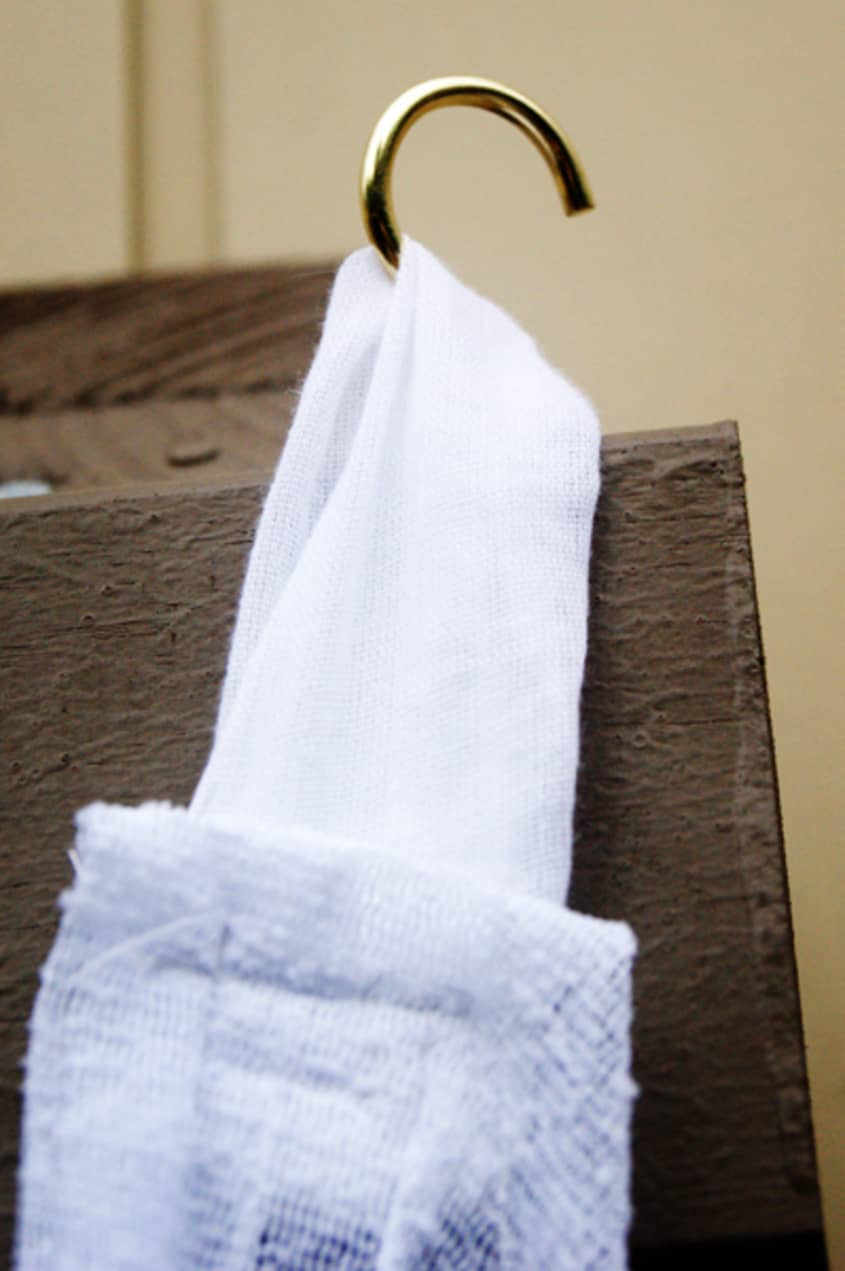
6. Set the sail aside and cut strips from your excess material. Fold the strips in half lengthwise and sew the join. This is your inside out connector loop! Turn it inside out so the seam is on the inside. Then cut to the desired length (this will depend on how far your fabric edge is from its support.)
7. Sew the loops to the points of your sail. They need to be sturdy so be generous with your stitching.
8. Place your loops over your hooks and your shade sail is ready to go! Easy to wash, easy to put up or take down and easy to move.
Additional Notes:
This is a super light weight shade sail that won’t handle all weather conditions. But it is perfect for long hot summers when heavy shade sails just don’t cut it.
Want more smart tutorials for getting things done around the home?
We’re looking for great examples of your own household intelligence too!
(Images: Sarah Starkey)