
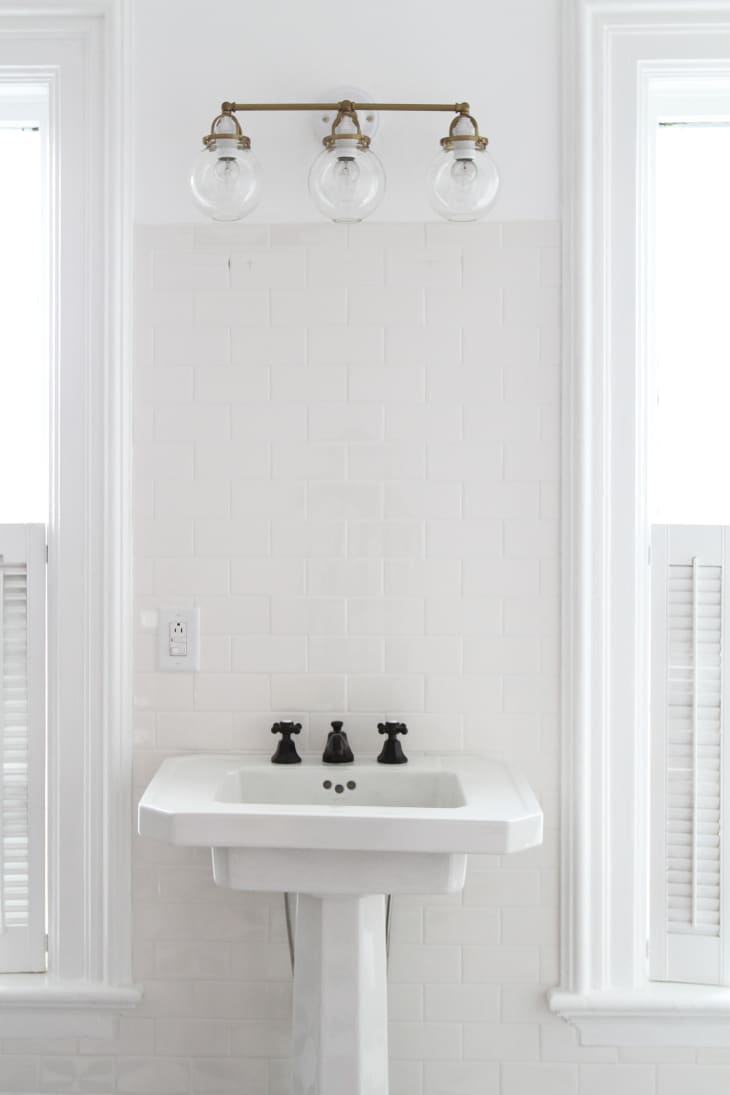
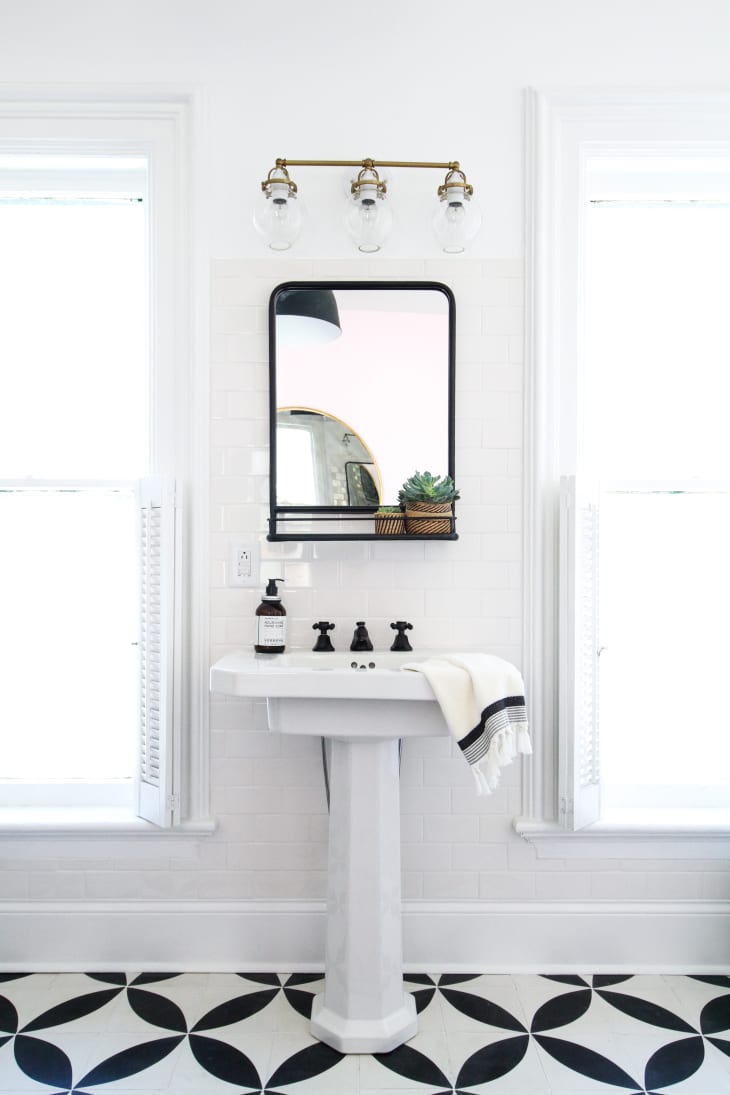
How to Hang a Bathroom Mirror on Ceramic Tile
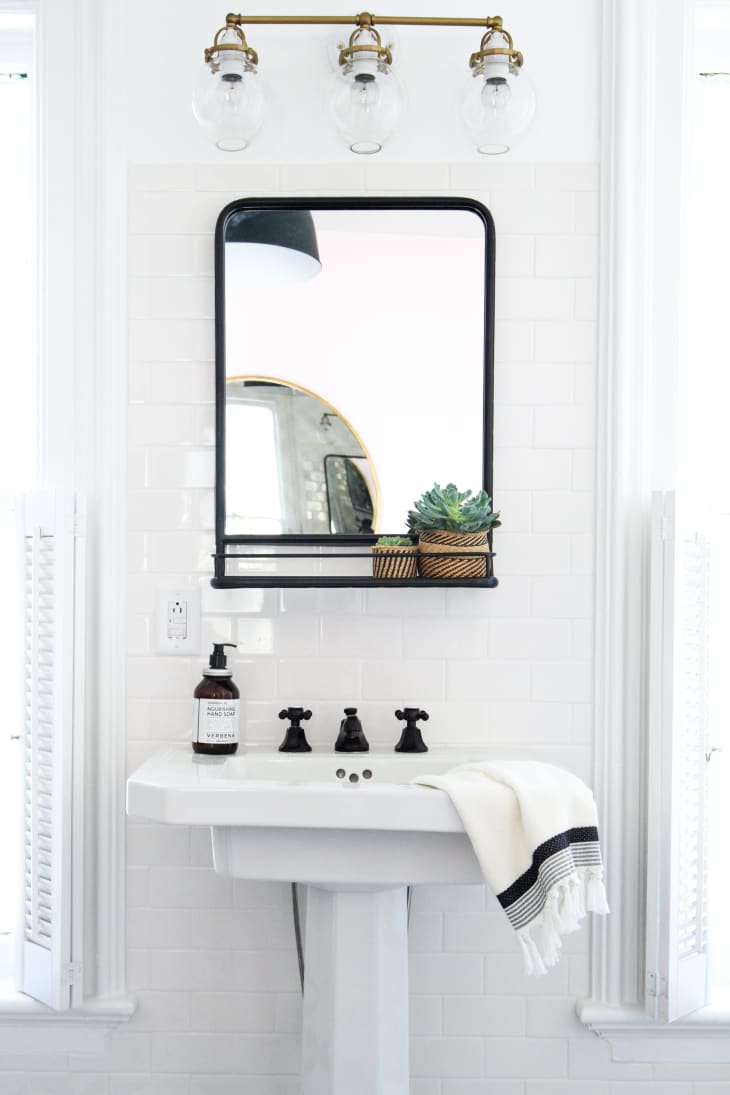
All this week we’re talking about bathroom renovations, starting with Ashley’s recent remodel, and following up with tons of helpful posts about the process!
The process of drilling through ceramic tile is easy as pie — as long as you use the right tools. The hardest part? Taking the plunge wondering whether you’ve marked the right spot where you’ll soon drill into your pristine new tile.


What You Need
Tools
- Glass & Ceramic tile bit
- Drill
- Spray bottle + water
- Anchor
- Rubber mallet
Instructions
1. With a pencil, lightly mark out the area in which you want to drill a hole. Make sure you’re sure this is exactly the area you want to drill your hole. Different mirrors are hung in different ways, so determine if yours uses a long wire across the back, or has specific mounting hardware.
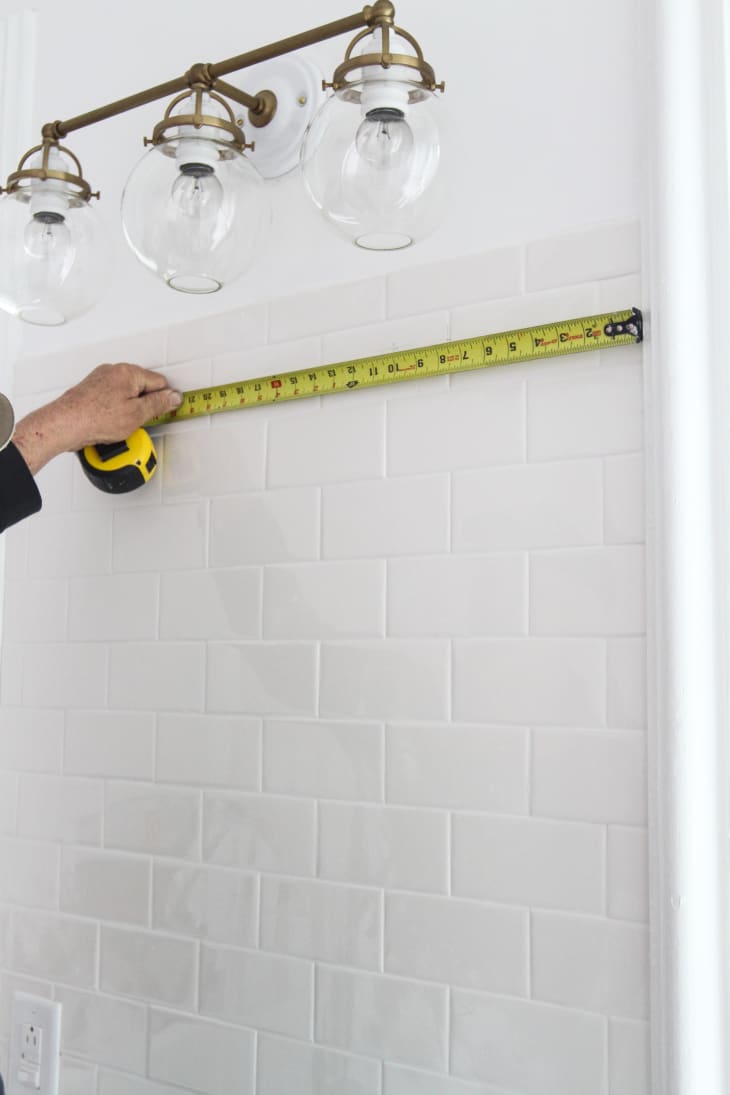
For good measure (pun intended), have someone else come in to verify your measurements before you commit to drilling the hole.

2. Attach the special glass and ceramic bit and slowly begin to drill your hole. Have someone spritz the drill bit and tile with water while you are drilling to keep the bit cool (or stop periodically and do it yourself).
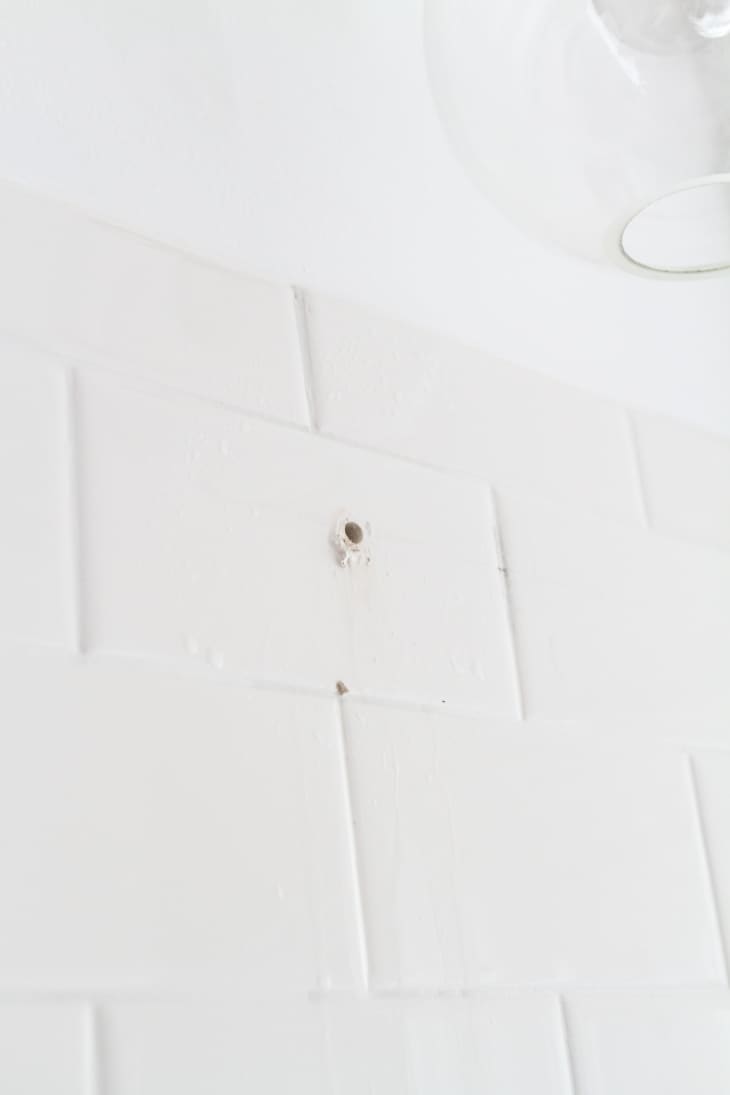
3. Brush away the debris.
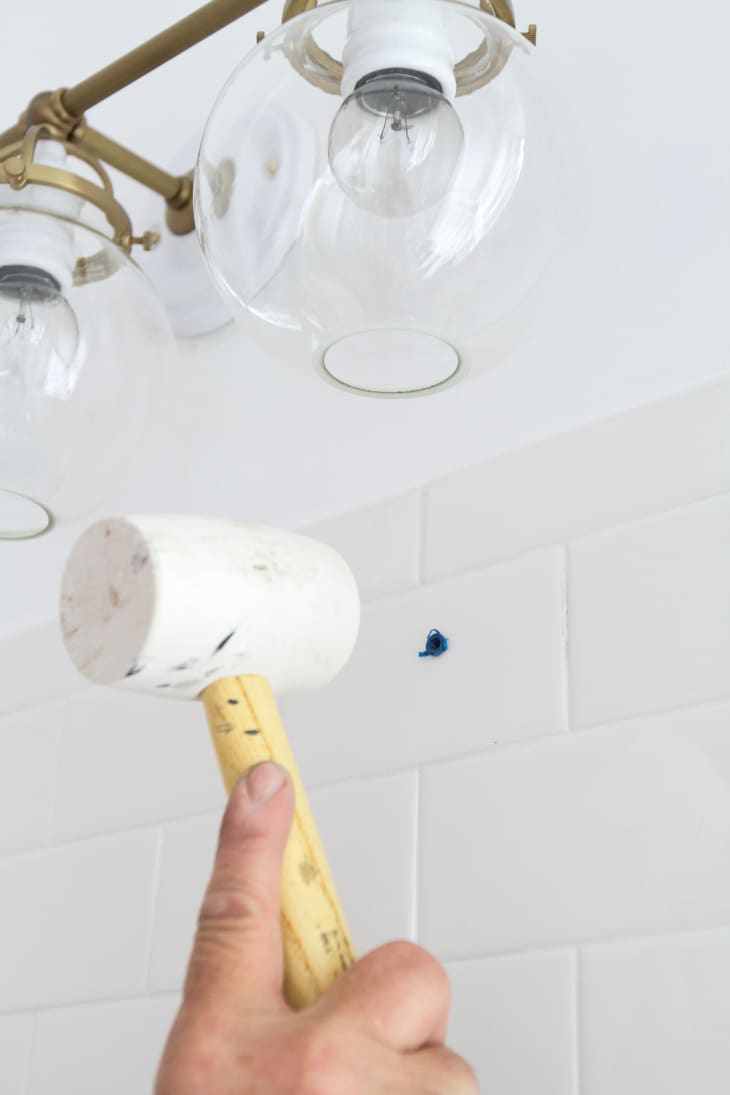
4. Install a plastic anchor by lightly tapping into the tile with a rubber mallet.
5. Run your screw into the anchor and hang your accessories. That’s it! Easy as pie.