
Before & After: An Ottoman Overhaul for under $25

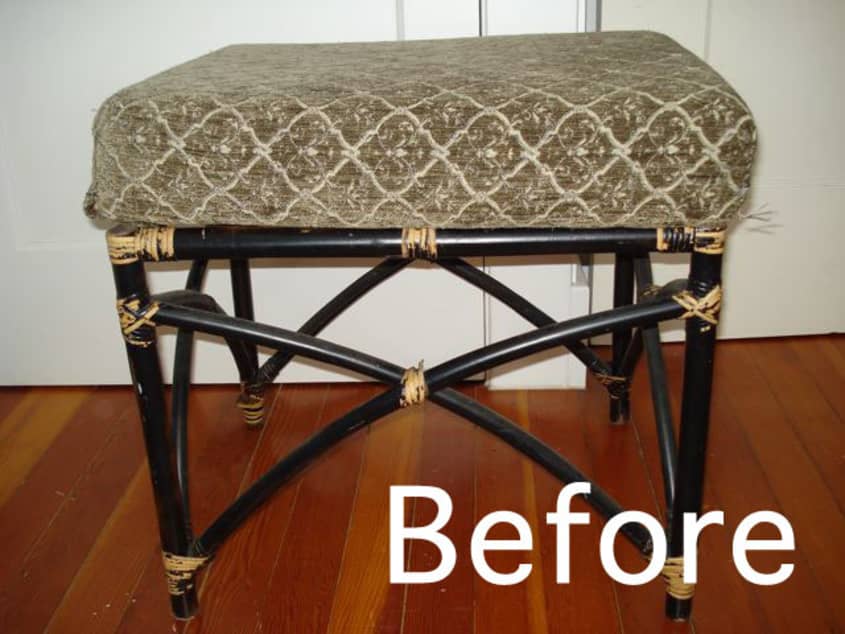
Do you tend to bring home project pieces from the thrift shop simply because you can’t pass up a good deal? We must be related. I adopt pieces of furniture even if I don’t have space for them. When I saw this unloved little ottoman, I knew I had to bring it home. See how this ottoman went from sad to glad after the jump!

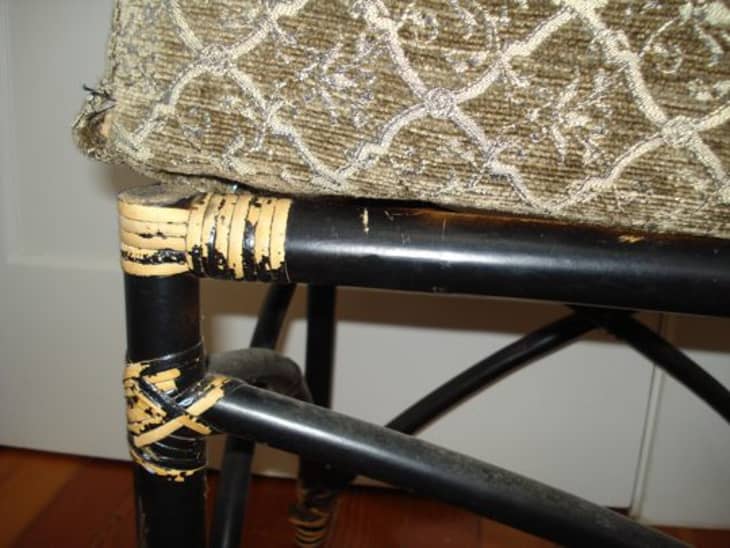
A close-up of the ottoman before it’s overhaul.
Supplies:
1 Old Ottoman-$15
1 Can of Spray Primer-$2.99
1 Can of Sunburst Yellow Spray Paint -$3.29
1 Borrowed Staple Gun with 20 staples-free!
1/2 Yard of Vintage Fabric-$1.50
Total $22.78 plus tax
The Process:
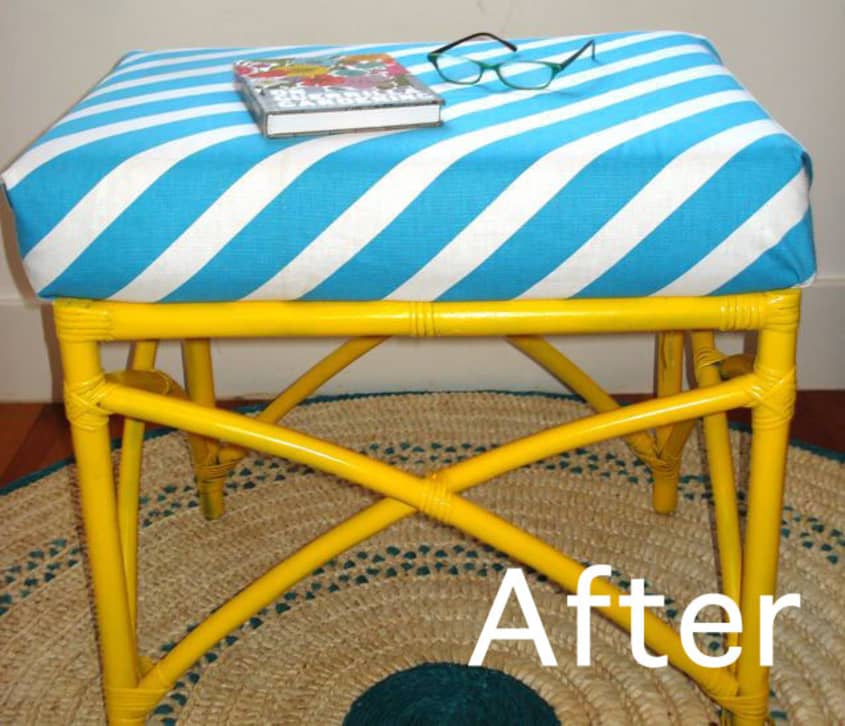
First, I cleaned the undercarriage of the ottoman, to ensure the spray primer would cover well and set. Next, I sprayed the the undercarriage with the spray primer and let it dry for about 30 minutes. (If you’re patient, you may want to follow the directions and wait one hour.) Then I sprayed the undercarriage with the sunburst yellow paint. In the sunlight, I didn’t notice I’d missed a few spots until I brought it inside…luckily it won’t be hard to touch up later.
Lastly, I used my staple gun to cover the existing cushion with my vintage fabric. I used what I call the “wrap a present” method, where you fold the corners in and staple underneath. I don’t love how this turned out on the ends and I may retry with the “tiny tuck and staple” method if I feel like locating my pliers, removing the staples and starting over.
Images: Alisha Peterson-Irwin