
How To Polish Wood Furniture
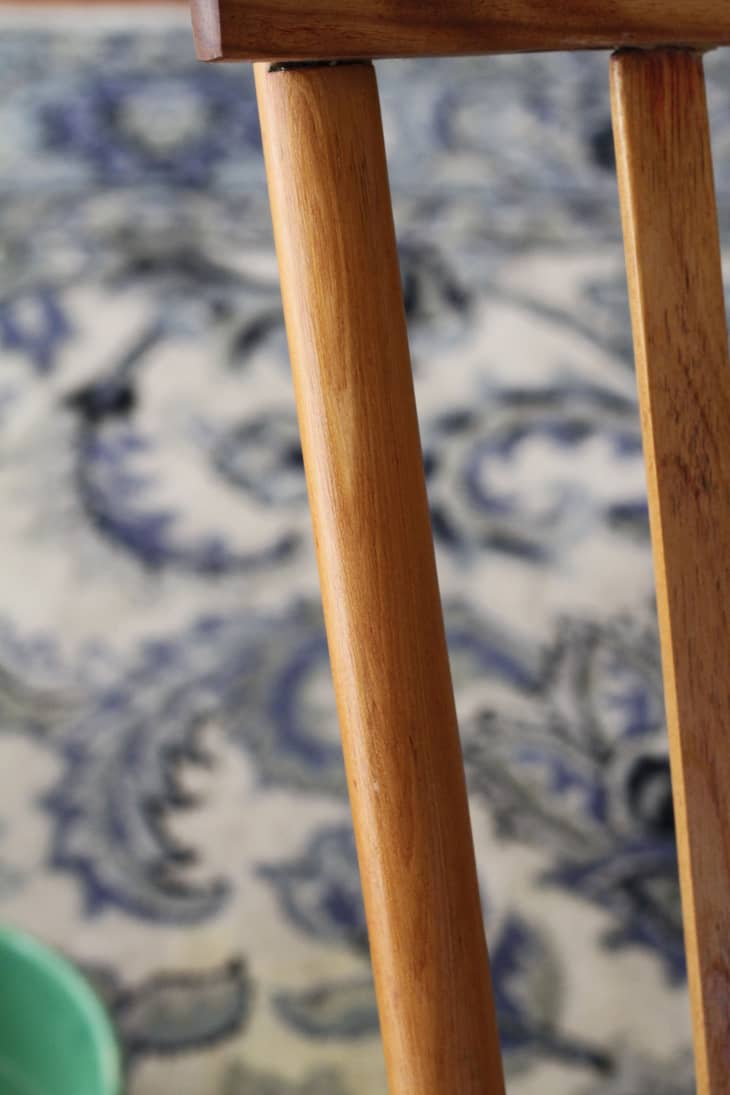
Of all the responsibilities that come with taking care of your home, paying special attention to your wood furniture is sometimes overlooked. I recently inherited a beautiful wood rocking chair that had been stored away for a few years and was in need of some TLC. If it’s time to restore the surface of your wood furniture, this step by step guide shows you everything you need to know and how to lengthen the time before your next polish as much as possible.
Before you begin:
Because you will need the area you are working in to be well ventilated, working outside is ideal. If that is not an option, you will want to keep as many windows open as possible. A perfect time for a task such as this is during more temperate seasons.
What You Need
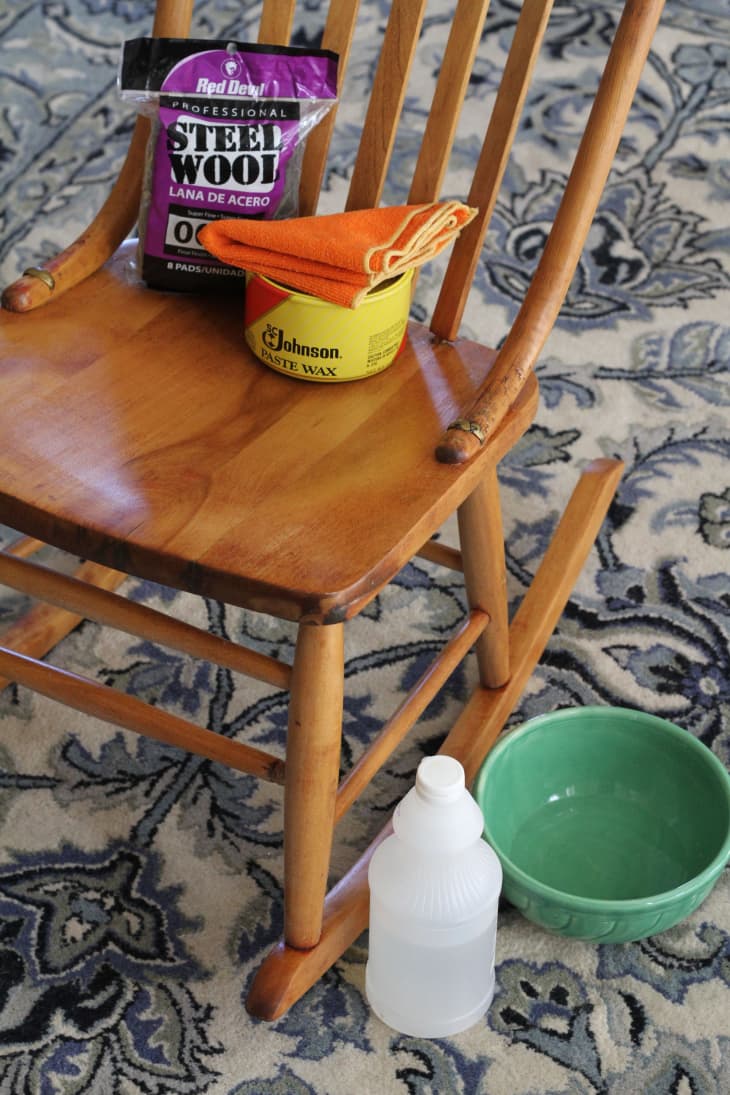
Materials
- Clean cloth rags
- Rubber gloves
- #0000 Super fine steel wool
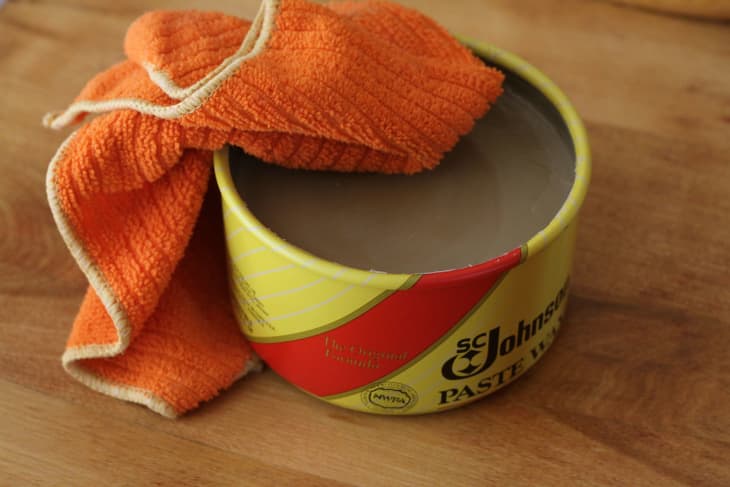
- Neutral Fine Paste Wax
- Cleaner and Wax Remover

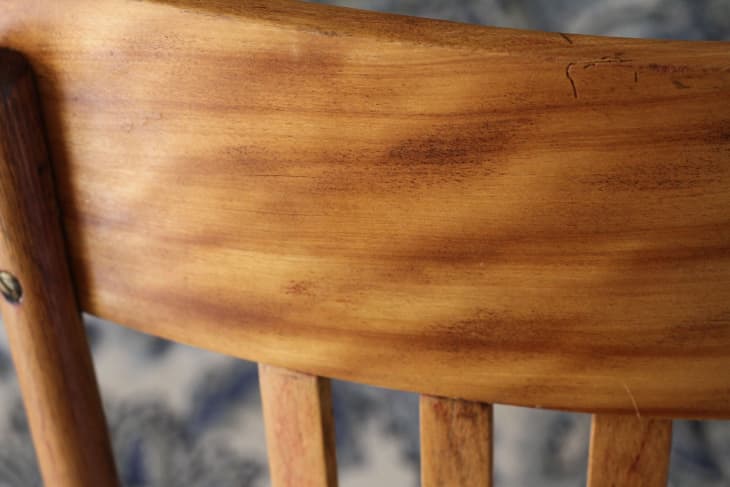
Most surfaces, if well cared for, will only need the furniture wax to be applied using a soft, clean cloth. If the wood has been neglected or has marks and stains, using super fine steel wool may be necessary. Although steel wool is available in various levels from super fine to super coarse, to be sure that no damage is done to your furniture, stick to the #0000 super fine variety.
Instructions
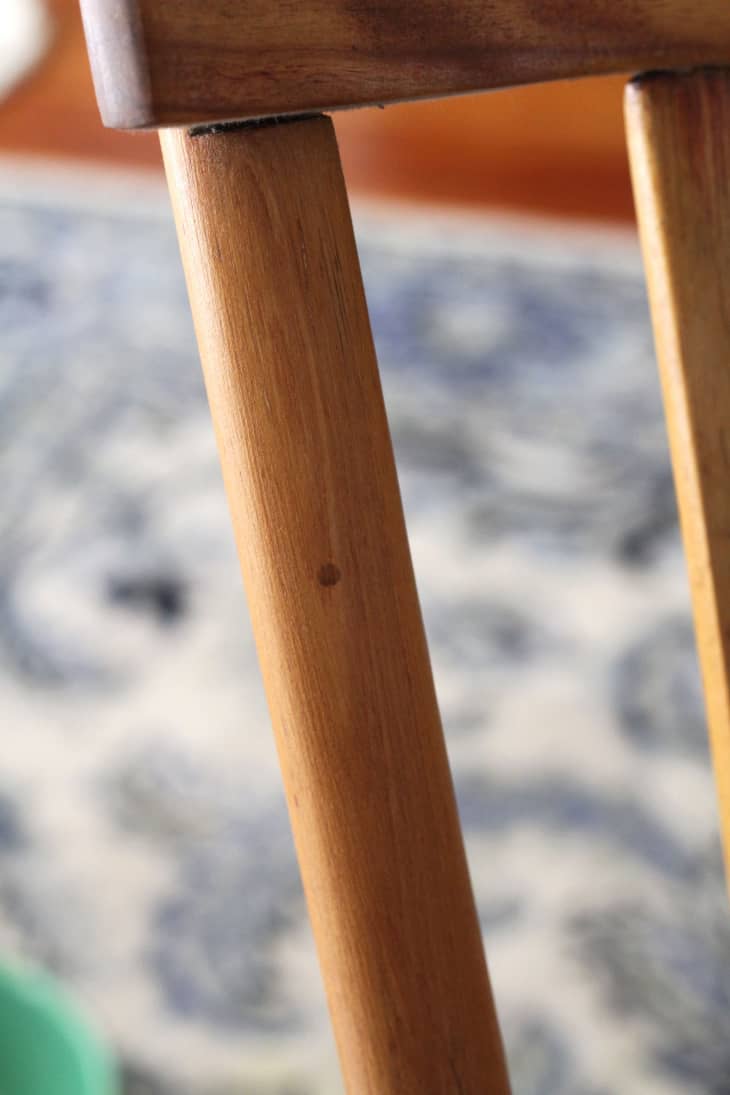
1. Test. When adding polish to wood furniture, the first step is to remove any excess wax buildup from the last time it was treated. Before you begin, it is a good idea to test the remover first. After wiping the surface down with a dry cloth, dampen a rag with wax remover and test a small area of the wood you will be treating. Let the test spot fully dry to make sure there are no adverse affects to the furniture’s surface before continuing.
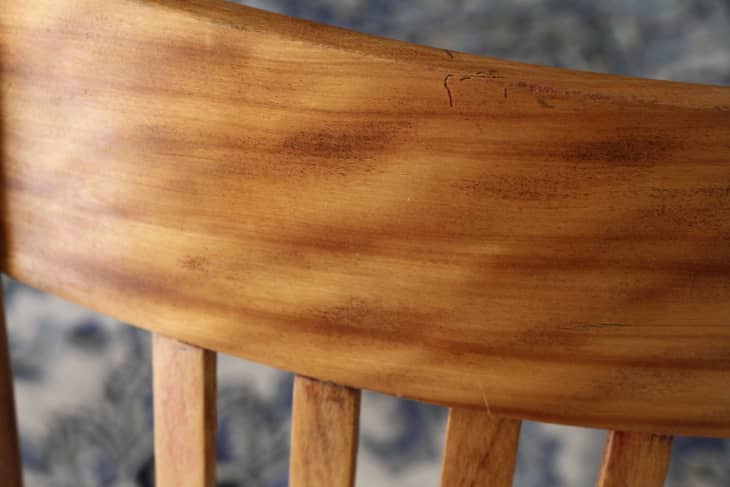
2. Strip. Going with the grain, lightly wipe down the entire surface that you will be polishing with wax remover. After allowing a couple of minutes to fully air dry, wipe off any excess dirt or wax remover that is left on the surface of the wood with a clean dry cloth. While many brands of wax remover are available in stores for purchase, you can also use 1/2 cup vinegar and 1/2 cup water mixture. At this point you’ll want to use steel wool on any stains or marks that need to be removed from the wood.
3. Polish. Coat the surface of the wood sparingly with polish. It may be tempting to over polish, but remember: any excess wax will need to be wiped off after it has dried, and the less you have to do this, the easier the process.
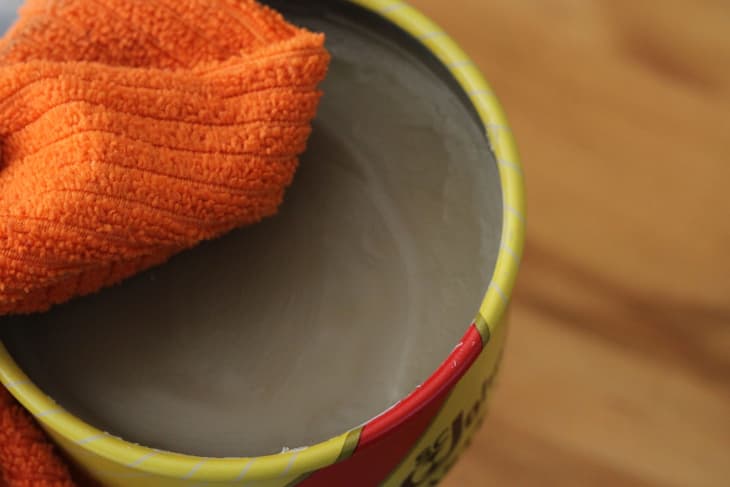
5. Buff. After giving the polish some time to absorb (usually about 15-20 minutes), wipe off excess wax with a clean, dry cloth.
More great tips and tutorials: Cleaning Basics
Edited from an original post by Liana Hayles published on July 17, 2012