
Supply Checklist: Everything You Need to Paint a Room
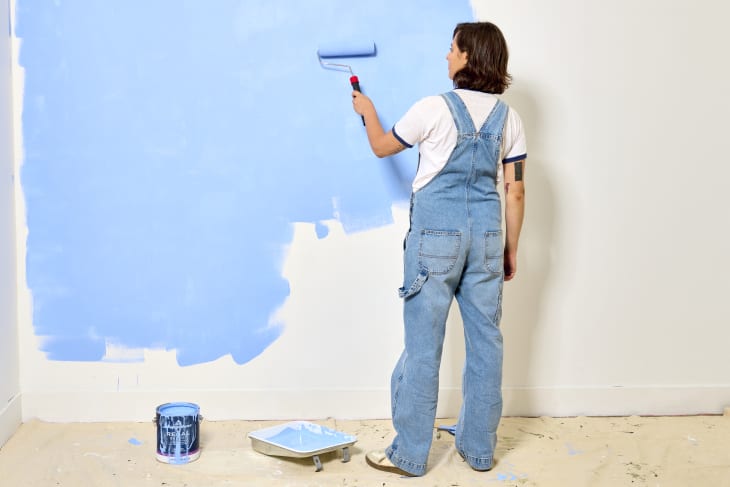
Painting a room is one of the simplest (and often most affordable) ways to give it a new life. Whether you want a space to look brighter and more open or cozier and more dramatic, paint is often the secret ingredient. That said, painting a room can feel intimidating to anyone who hasn’t done it before — or anyone who doesn’t have the right supplies to paint a room.
While technique is certainly part of getting a paint job right, a big part of your success also relies on you having the right supplies. You won’t get very far painting a room successfully if you don’t have the right tools to do it! Here’s everything you need to paint a room, from supplies to essential tools.
Supplies You Need to Paint a Room
I’ve found that getting my supplies in order makes a big difference when the time comes to start painting. Having all prep and paint supplies at the ready cuts down on frustration and helps the process move along more quickly. If you’re getting ready to start your own painting project, here’s a supply checklist that should cover everything you’ll need.

Prep Materials
Before getting to the fun part, it’s important to spend a few hours prepping your walls. Patching holes, cleaning, and sanding are all important to achieving the best result.
- Spackle and putty knife: Use to patch any holes.
- Metal paint scraper: Use to scrape off any peeling or cracking paint (if necessary) before sanding.
- Fine grit sandpaper: Use to even out rough texture and smooth down any bumps.
- Mild soap and water solution: Use to clean any dirt or grease off walls before priming.
- Painter’s tape: Use to tape off borders so paint doesn’t bleed into areas you are not painting, plus cover hardware and outlets. I really like Frog Tape, which I’ve found to work great to achieve clean edges.
Painting Supplies
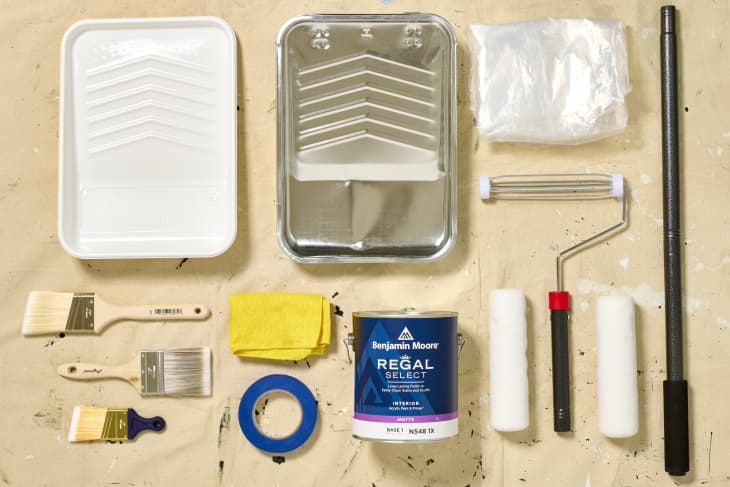
- Canvas tarp or plastic drop cloth: Use to protect floors and furniture (if furniture cannot be moved out of the general painting area). I’ve even used old newspapers in a pinch, but wouldn’t recommend if painting in a carpeted area.
- Angled paint brush: Use to paint corners. Angled brushes help achieve clean edges without paint bleed, which can be tricky in corners if using a regular flat brush. You might also want to use a shortened angled paint brush, which can give you extra control.
- 3-inch flat paint brush: Use for “cutting in”, which is the process of painting the border around the taped-off area.
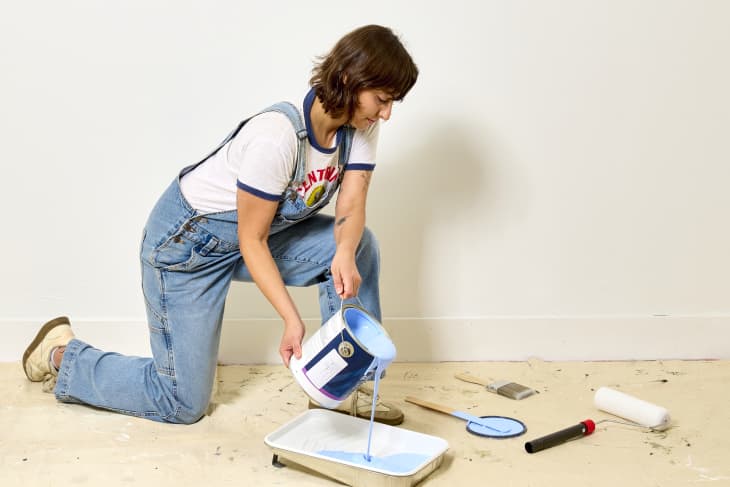
- Paint tray: Use to hold smaller portions of paint as you work. Also useful to avoid dipping brushes directly into paint cans, which can contaminate paint with dust and dirt.
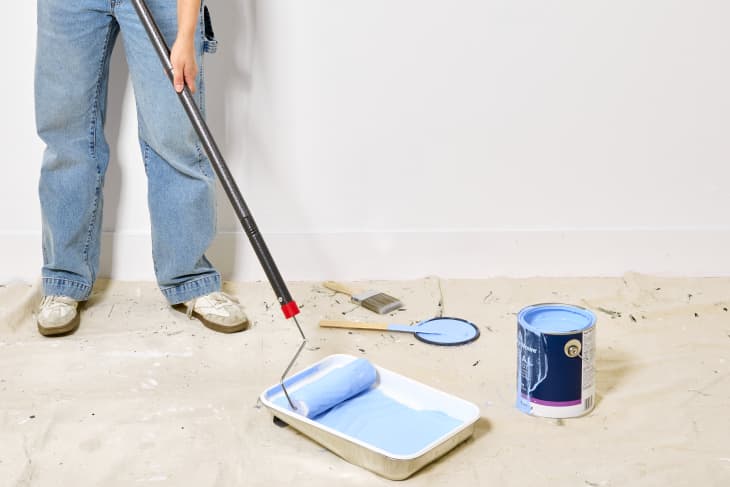
- Paint roller frame and roller covers: Use a roller for the majority of painting, since it’s a much faster method than a brush. If you’re painting a large room or a room with high ceilings, I would recommend using a painter’s pole, which you attach your roller to for extended reach.

A note about roller covers: Make sure to choose an appropriate roller cover for your project. All covers are not made the same! Some are designed for smooth wall surfaces, others for stucco or brick, and yet others are designed for extra slick surfaces like metal. Check the label to make sure the roller cover you choose matches what you need.
Paint
- Primer: Primer is an undercoat applied before color. Primer also contains binding properties that allow paint to adhere more evenly, so you can achieve a much more polished result in a shorter amount of time. You don’t need to use primer for every project, though it will help if you’re covering up a really dark paint color or if you’re painting a humid area like a kitchen or bathroom.
- Interior Paint: Finally, the fun part! Beyond choosing the color, there are different types of paint and each type is suited for different purposes.
Types of Paint Finishes
- Flat paint is suited for low-traffic areas and ceilings, since it provides a dull, no-gloss finish and is harder to clean.
- Satin and Eggshell paints are suited for higher traffic areas (e.g., living and bedrooms) since they are easy to clean and offer light-reflective qualities that are desirable in most rooms.
- Semi-gloss and High-gloss paints are suited for trim, windowsills, banisters, or smaller surface areas; these paints are not recommended for wall surfaces.
For those of you who are nervous about taking on interior painting, don’t be. It may not go perfectly the first time out, but in the words of Bob Ross, the man, the myth, the painter of so many happy little trees: “There are no mistakes, just happy accidents.” Now go paint some happy little walls!