Try Out These Brilliant Balcony Light Ideas to Illuminate Your Outdoor Space

Nothing beats the feeling of eating dinner out on your balcony or enjoying the company of family on your stylish new patio furniture set. When the warm weather months roll around, you’ll probably feel motivated to whip your patio into shape, whether it’s super small or expansive.
Sure, you’ll want to add some weatherproof chair cushions and ceramic planters to your shopping list, but there’s one thing that sets the ambiance like nothing else: lighting. Especially as the sun goes down and darkness settles on your outdoor gathering, the lighting you choose will go a long way toward setting the right mood.
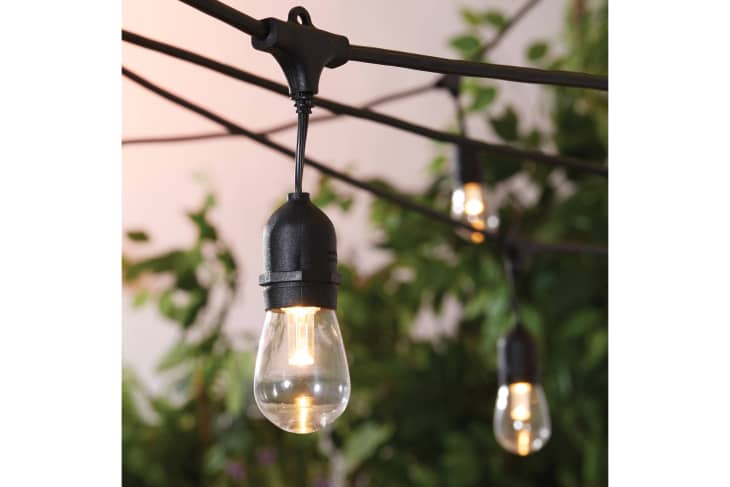
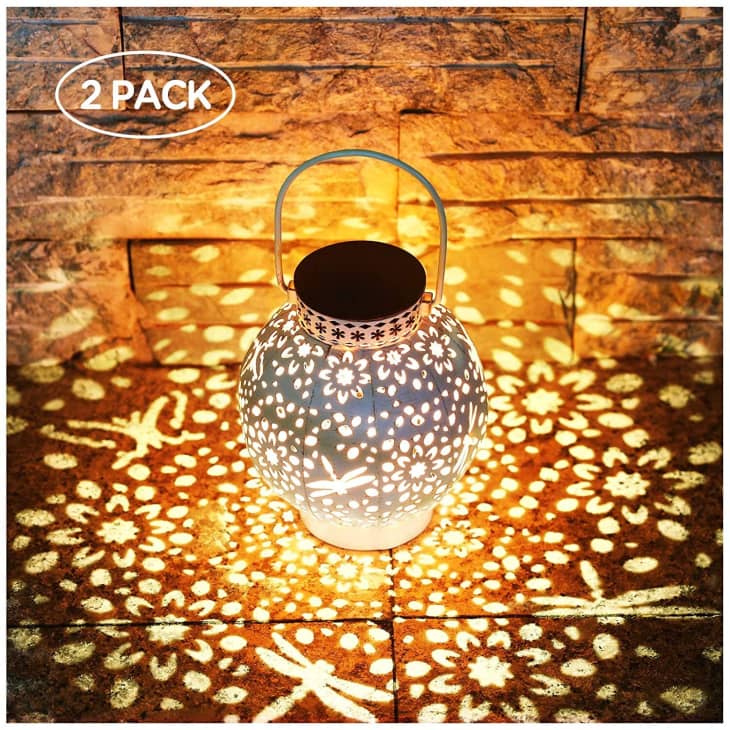
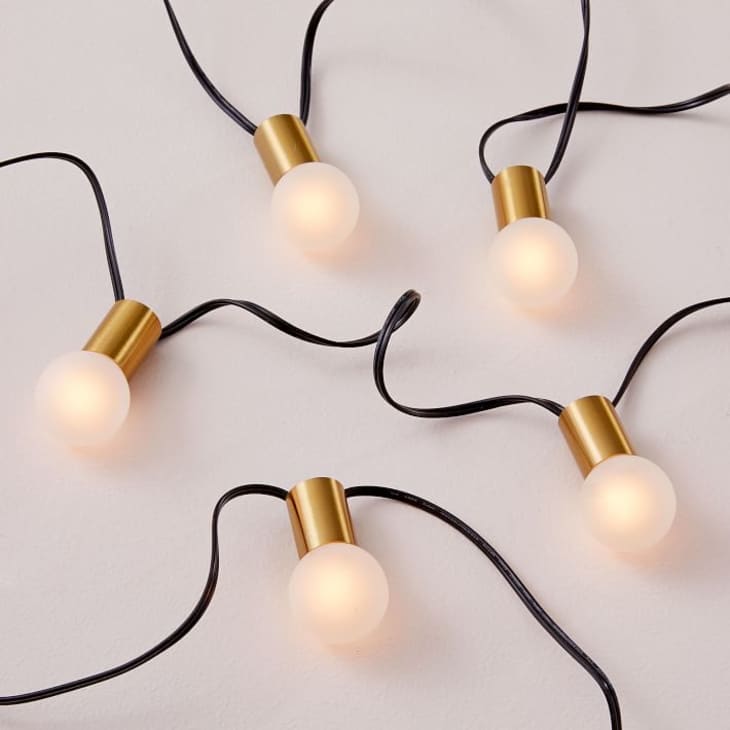
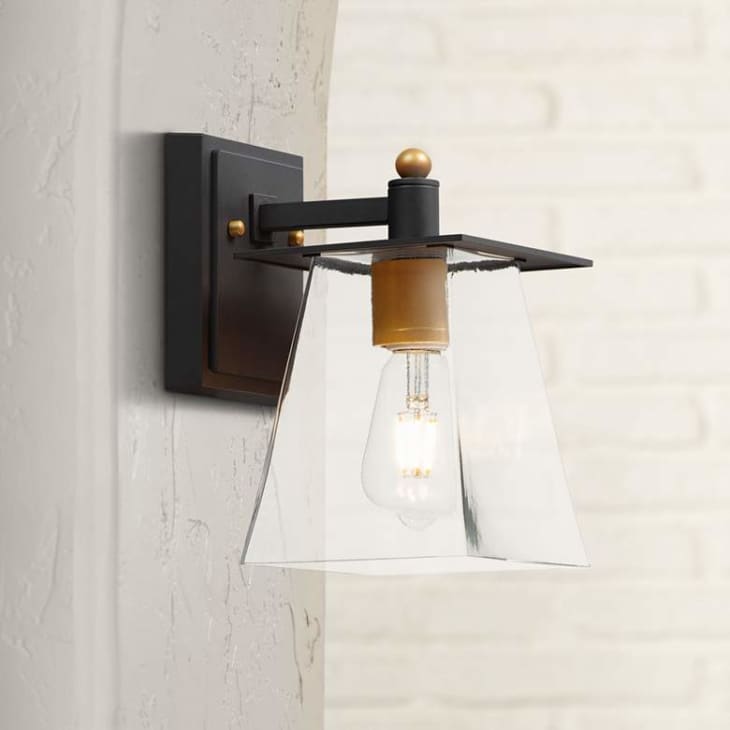
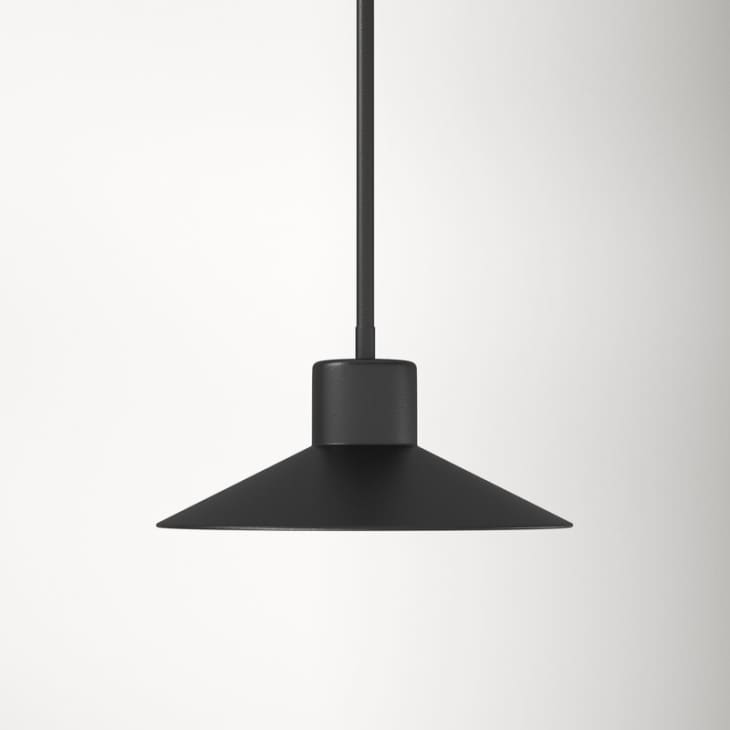
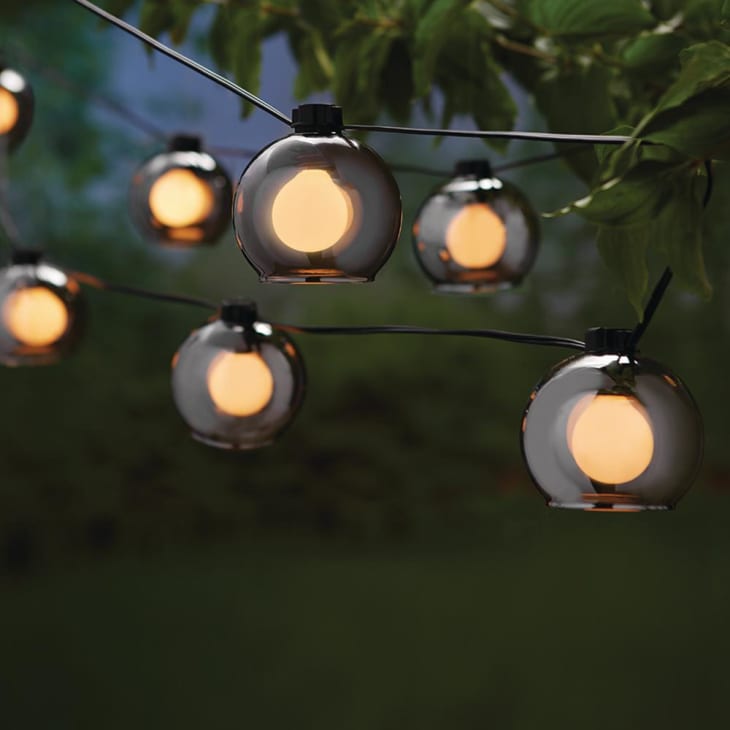
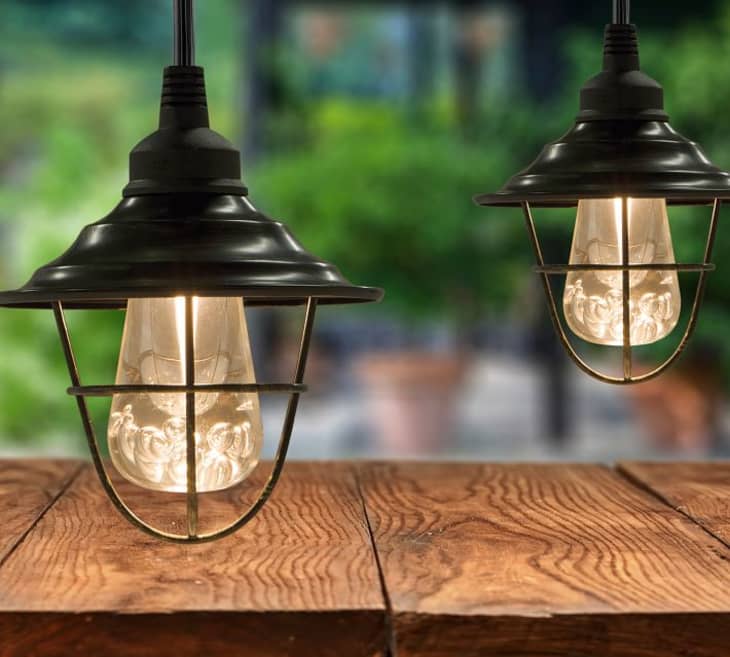
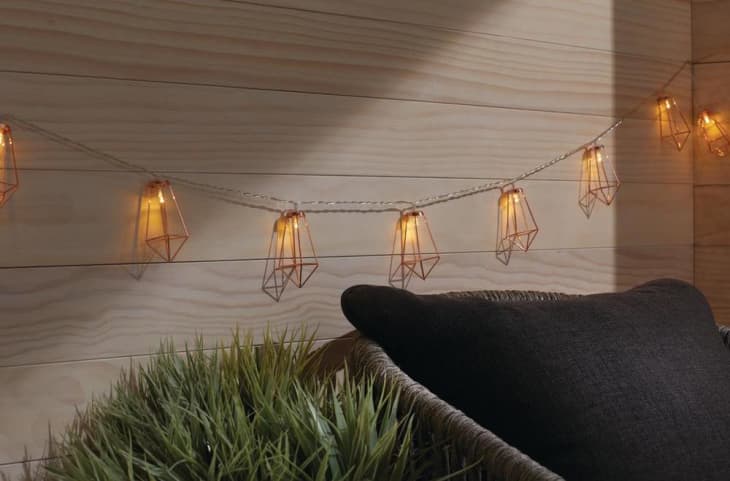
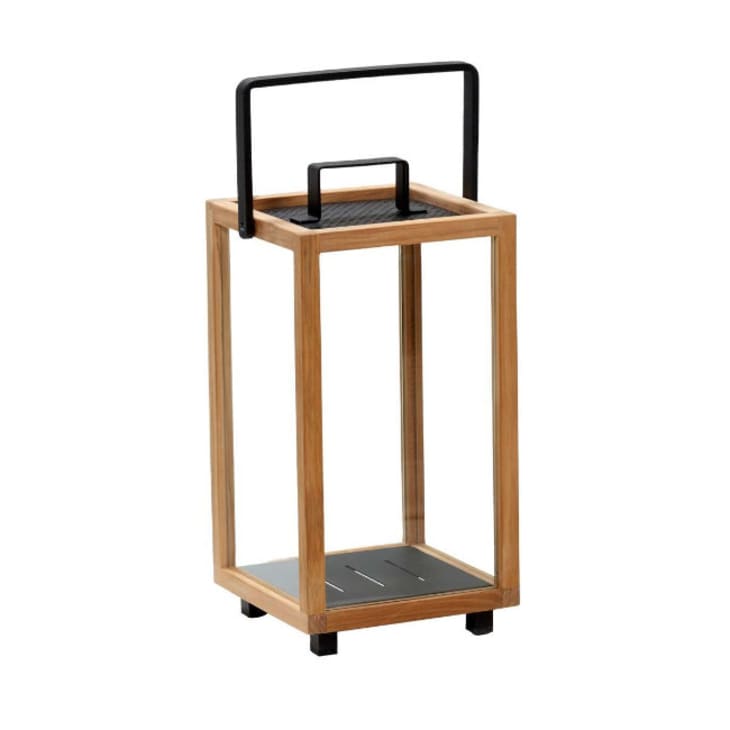
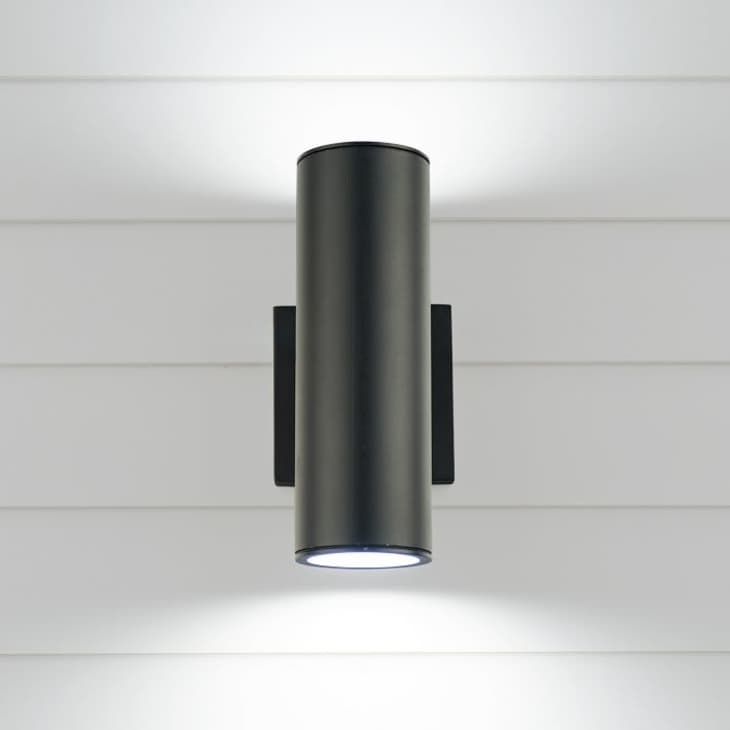
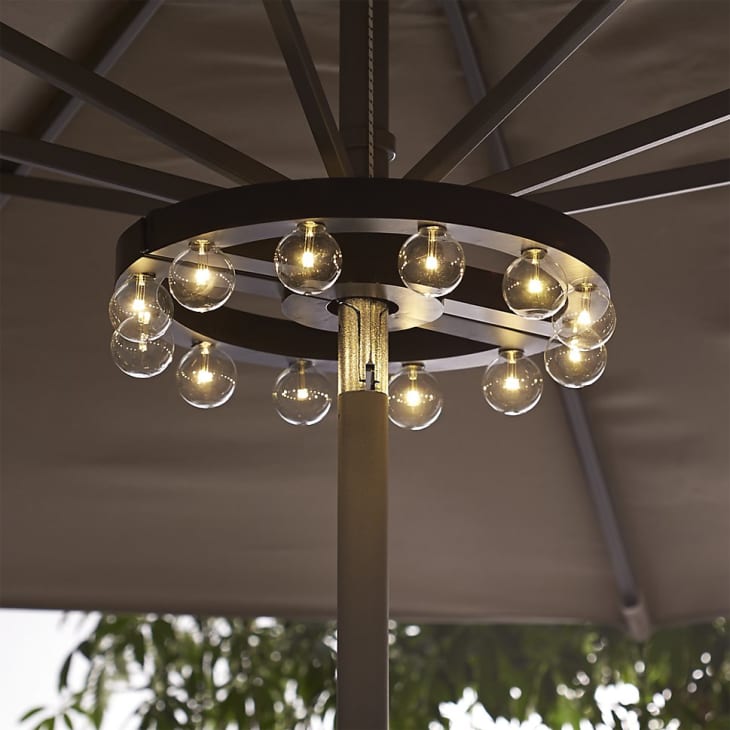
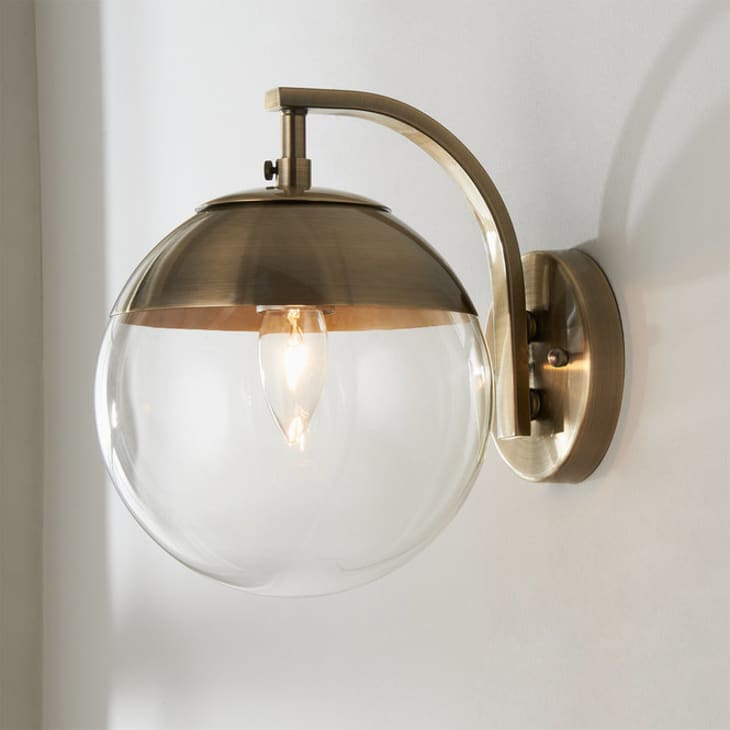
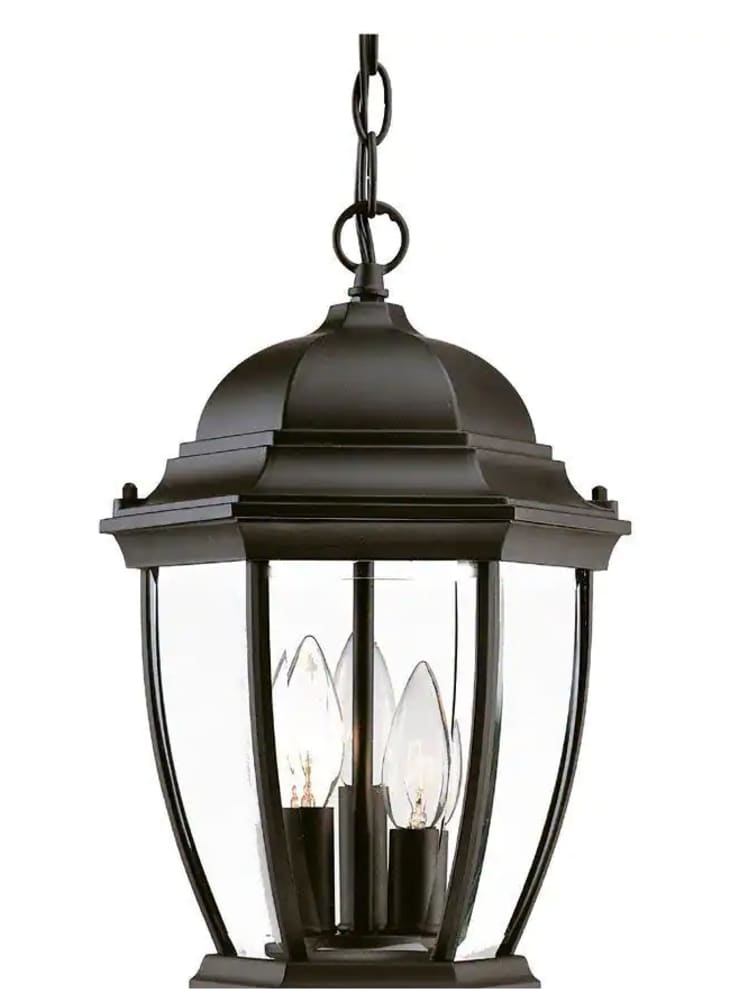
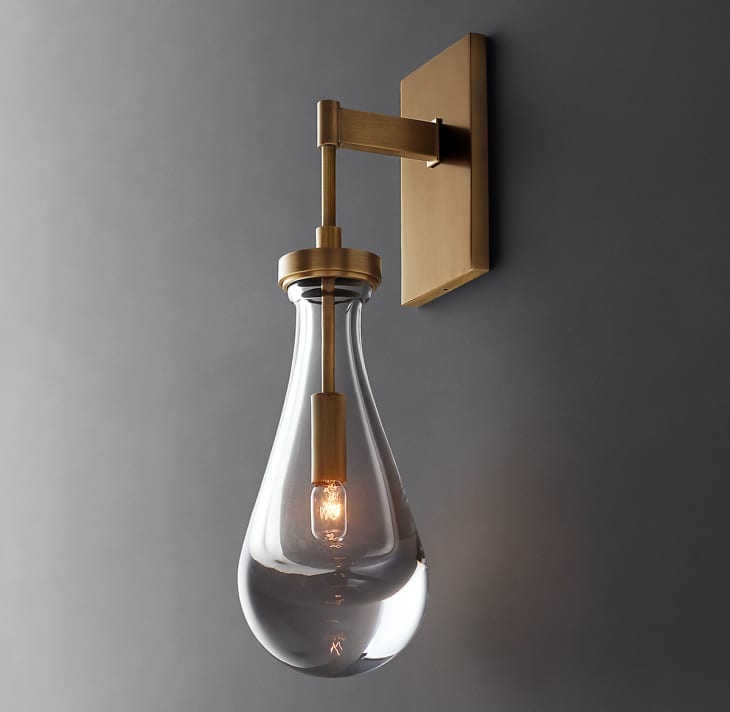
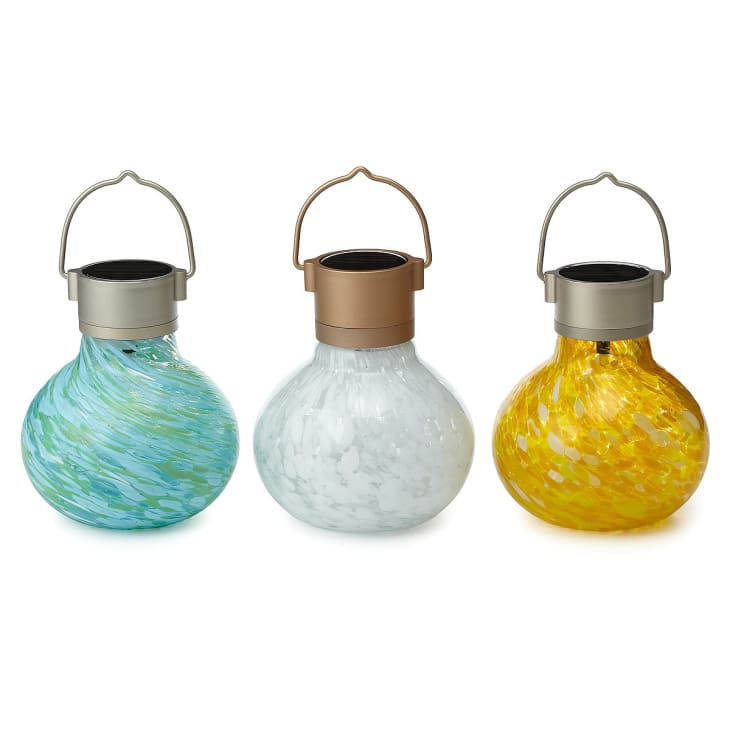
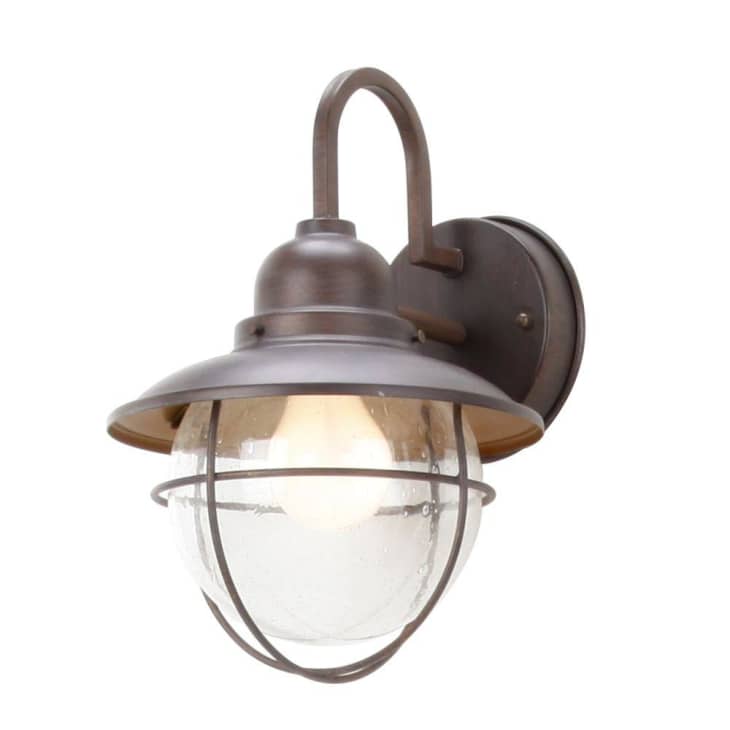
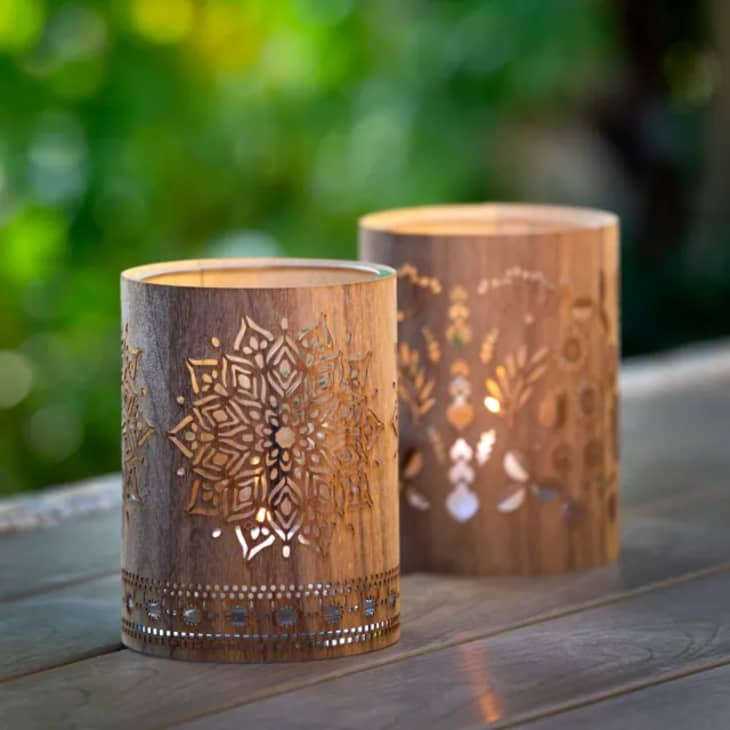
Luckily, there are tons of balcony lighting ideas out there – you’re no longer restricted to utilitarian pathway lamps or not-so-stylish floodlights; outdoor lighting is super chic now—so chic that you might question if that pendant light or table lamp actually belongs inside!
Below, you’ll find a shoppable selection of many of our favorite balcony lighting ideas, from string lights to sconces, that’ll extend the time you can spend outside and really make your outdoor spaces shine.