
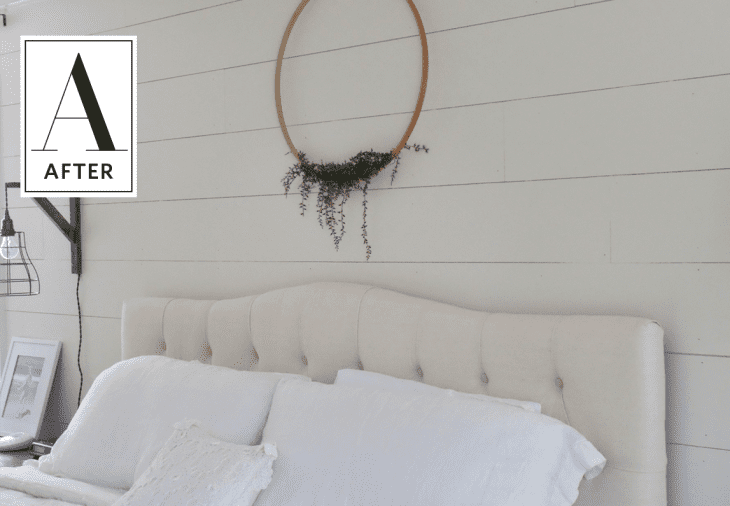
Before & After: A Master Bedroom Shapes Up With Shiplap
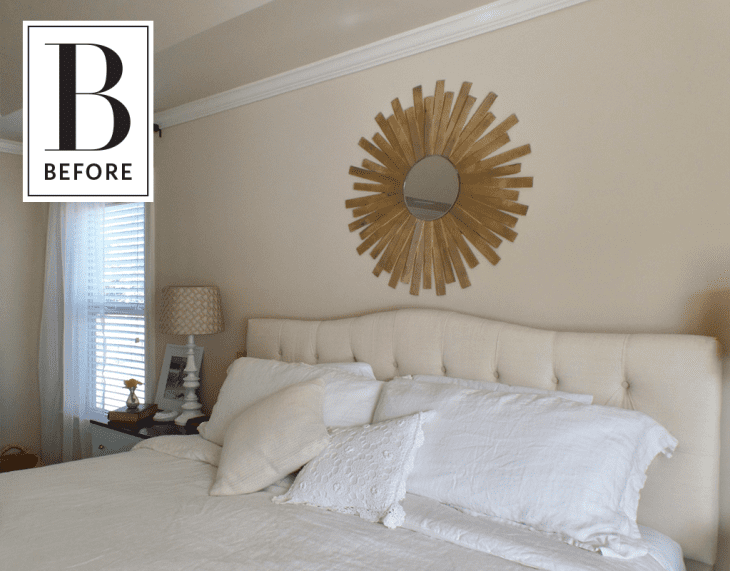
Melissa was looking to add some farmhouse style to her home but didn’t want to break the bank doing so. Enter shiplap! An intrepid DIYer, Melissa added a shiplap accent wall without professional help, keeping it well within budget (but not without a few headaches).
From Melissa: Shiplap – It’s timeless and classic. It goes hand in hand with farmhouse style and I’ve been patiently (big fat lie – no patience here my friends!) waiting to add some to our builder grade house. I’m in the process of updating our master bedroom and I knew this would be the perfect place to add a shiplap accent wall.
When I redo a space, I have to figure out how to get the most bang for my buck and shiplap fit the bill.
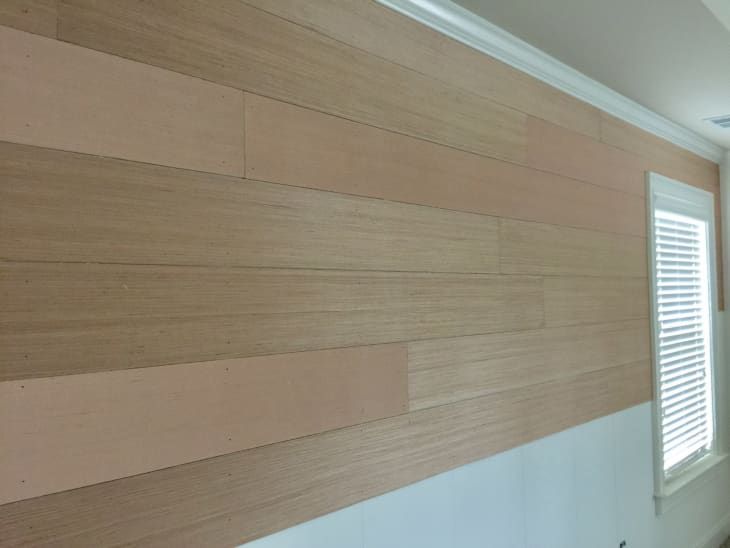
I’ve read a million tutorials on Pinterest for adding shiplap and let me tell you – I underestimated the time of this project tremendously. Partly because it turned out to be a super busy week for my husband, so he was unavailable to help until later in the evenings. If we had two days from morning to night to work with no interruptions, it would’ve been done quicker. It’s also not very nice to your neighbors to use jigsaws in the driveway at 11pm. (Sorry neighbors!). The other problem was that our bedroom is upstairs at the back of the house so it was no less than 8 million and one trips down to the garage to cut. And half of those 8 million, we forgot the tape measure and had to go back for it.
So if you’re taking this on – get help (my skill level is not up to completing this alone), buy two tape measures, and plan for a few days.
This took up quite a chunk of my budget for the master bedroom update, but it was completely worth it. Big impact and it’s just what I wanted. That’s part of budgeting – figure out what matters the most to you and put your pennies there.
For more photos and a how-to, head on over to Melissa’s blog, Brown Dog Vintage.
Thank you so much, Melissa!