
Everything You Need to Know to Paint a Projector Wall
Add Us
See more Apartment Therapy stories when you search on Google.
We independently select these products—if you buy from one of our links, we may earn a commission. All prices were accurate at the time of publishing.
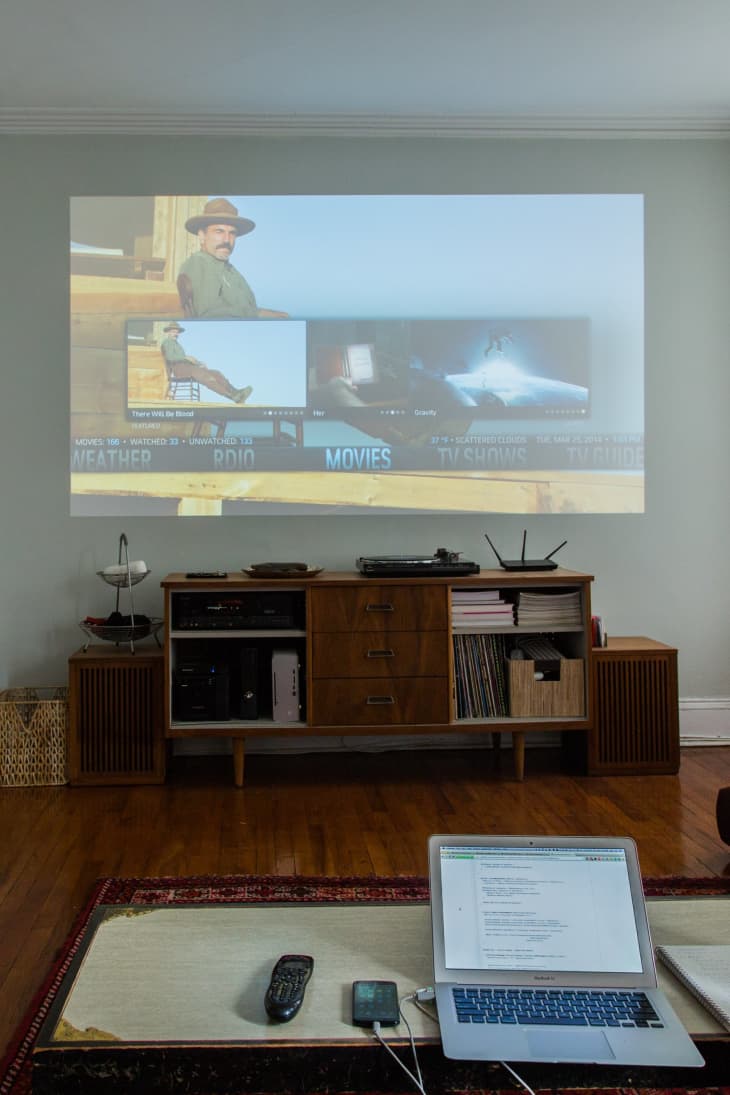
Credit: Pablo Enriquez
So you’re on a high from last night’s Oscars and finally ready to set up a proper home theater, huh movie buff? Well, you’ll need more than a projector and comfy chairs. It’s a common misconception: You can’t just aim your projector at a bare white wall and drool over your $1,800 projector’s stellar picture. To get the best viewing experience in your home theater, follow these tips for painting a projection wall.
How to Correctly Paint a Projector Wall
- Paint it proper. To get the high-def out of high-def projectors, you’ll want to invest in digital projector screen paint. It’s designed to be reflective or translucent in all the right places (and lights!). But this high-science stuff is going to cost you: You can grab a projector screen paint kit for just under $200, which will cover up to a 90-square-foot projection area. If your wall isn’t already white, you should prep it with a regular white wall primer before you apply any projection paint.
- Go gray. Depending on how many lumens your projector produces, you may want to grab a paint that’s closer to gray than white. A general rule of thumb is that you should go gray if your projector’s specs say it produces more than 3,500 lumens. If you want some help, head to PaintOnScreen.com. You can enter details about your projector and the site will help you choose the best one from their eight gradual gray paint options.
- Inspect for flaws. Before you paint, turn off all the lights in your theater room and have a friend shine a flashlight sideways onto your projection wall. Mark any surface flaws, like a raised bump of paint or a minor dip in the wall surface. Use a drywall compound to even out any of your found flaws.
- Set it up. Painting the screen on your wall should be the finishing touch to the home theater. You’ll want to make sure your projector has already been installed, hooked up and aimed at your projection wall. You’re looking to establish a screen size that is about 2/3 of your viewing distance. Math-phobic? Use this online projection calculator.
- Size it up. Before painting your wall, cycle through your cable channels to find the largest high-definition image. Use that picture as a guide for painting your projection square. Mark the edges with a light pencil or use painter’s tape to tape it off before you paint.
- Go for contrast. For the best picture possible, accentuate your painted surface with a black border—it’ll enhance the contrast you see in your projector’s picture. Line the area with a black velvet projector screen tape, or use a dark wood molding to get the same effect.
- Let it all hang out. Going for subtlety? Grab enough paint to cover the entire projection wall. you’ll save the time and hassle of measuring out a projection box, and your projection “screen” will just look like a lovely gray accent wall.
MORE PROJECTOR TIPS & PROJECTS:
Upgrading the Bed-Sheet Projector Screen
How To… Mount a Projector from the Ceiling
Look! Hidden Projector Behind Wall Art