
How to Build a Custom DIY Floating Frame for Artwork

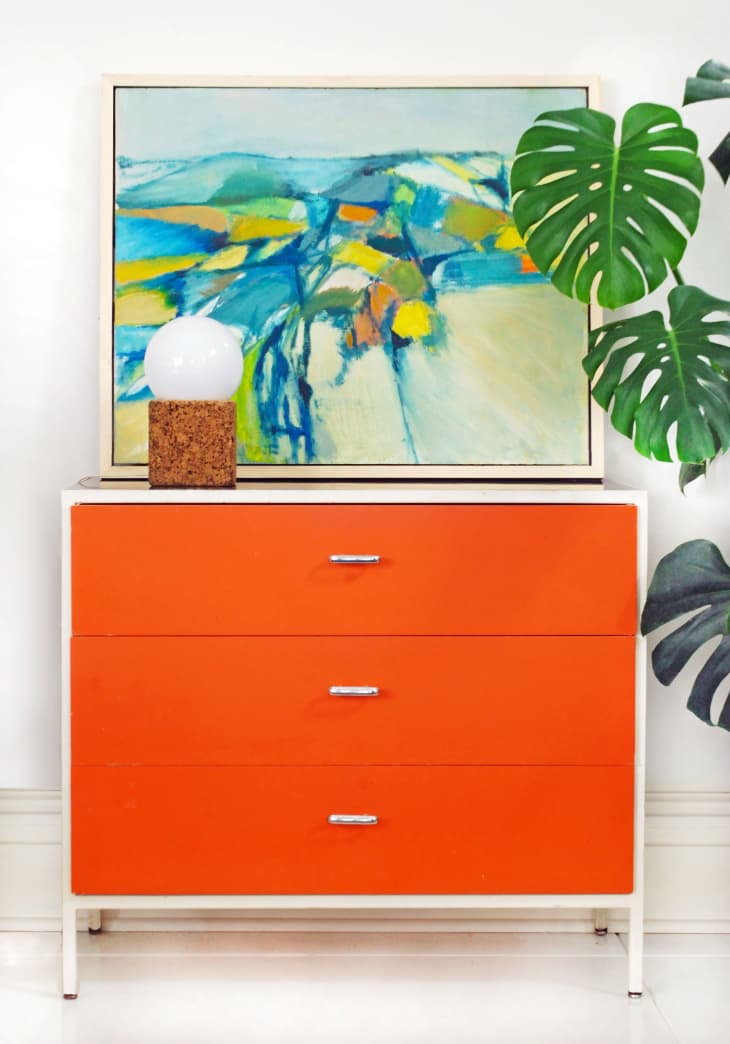
This inexpensive painting ($40 on eBay) needed a frame, but I didn’t want to invest the money in an expensive custom job. After doing a little research, I came up with a DIY floating frame that’s simple and modern, and very easy to make. This particular painting was done on a masonite board, but the plan can be modified for wrapped canvas as well.
What You Need
Materials
- 1″ x 2″ lengths of wood (in actuality they are about .75″ x 1.5″)
- Wood glue
- Finishing nails
- Acid-free adhesive
- Wood filler (optional)
- Black spray paint
Tools
- Compound miter saw
- Table saw (optional. you can also do cuts at a local hardware store)
- Angle protractor
- Pencil
- Hammer
- Band clamps (optional)
Instructions
1. First measure the painting and decide how large of a frame you’d like, and then how much of a gap that you’d like between the painting and the frame. For this type of frame, a smaller gap is better. My painting is 24″ x 30″. If you add in the width of the wood on each side (2 X .75″), and the size of the proposed gaps on either side (2 X .25″), then my finished frame will be 26″ x 32″.
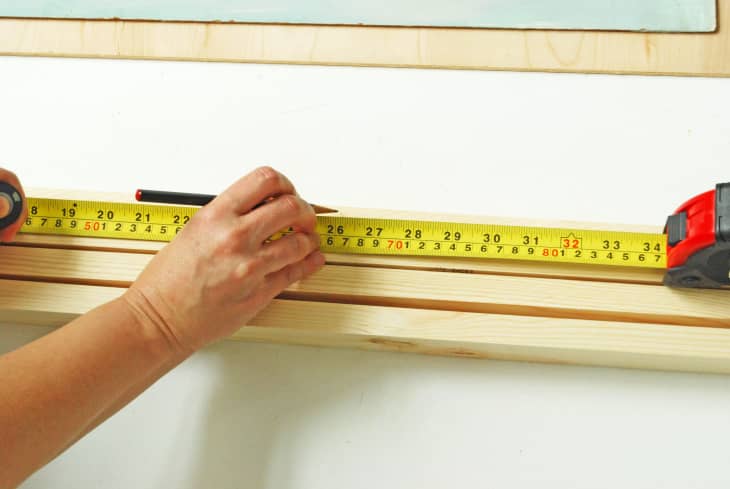
2. Measure and cut your wood to the appropriate lengths. Here, I cut two 26″ pieces and two 32″ pieces.
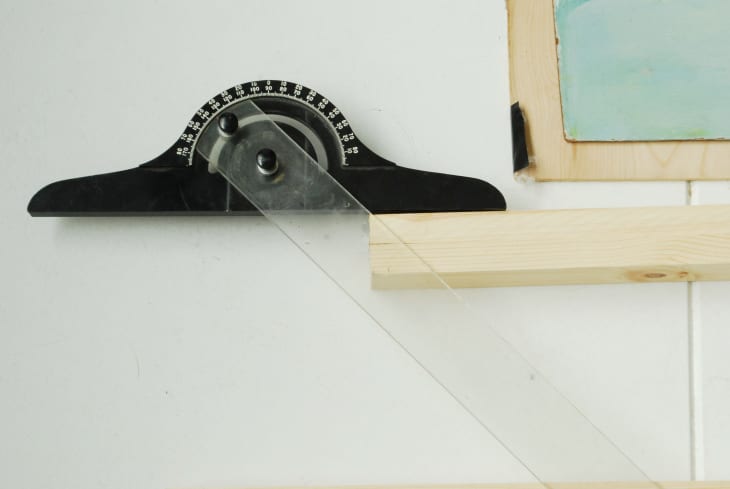
3. Using your angle protractor, trace 45 degree angles on each end of your wood lengths.
Tip: Make sure you draw the angles in the right direction. On each piece, the angled line will start on the top outside edge, and angle in towards the bottom edge, as seen above.
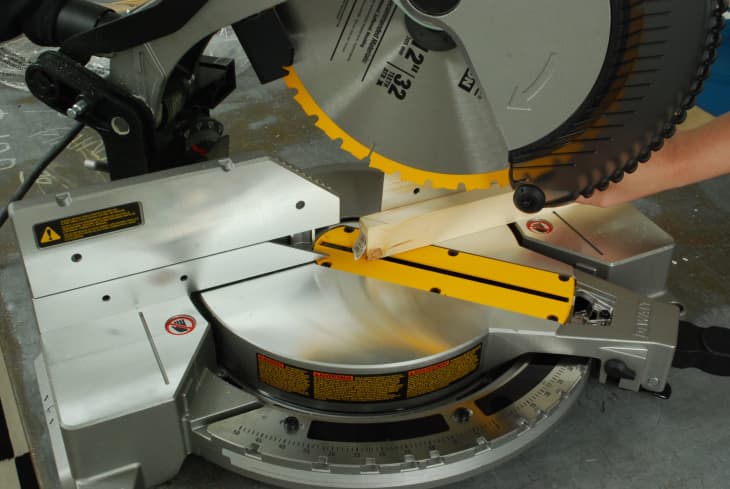
4. Set your saw to 45 degrees, and make all your angled cuts. I did all the left-side cuts first (photo above), then flipped the saw the other direction to cut the righthand sides of each of the pieces.
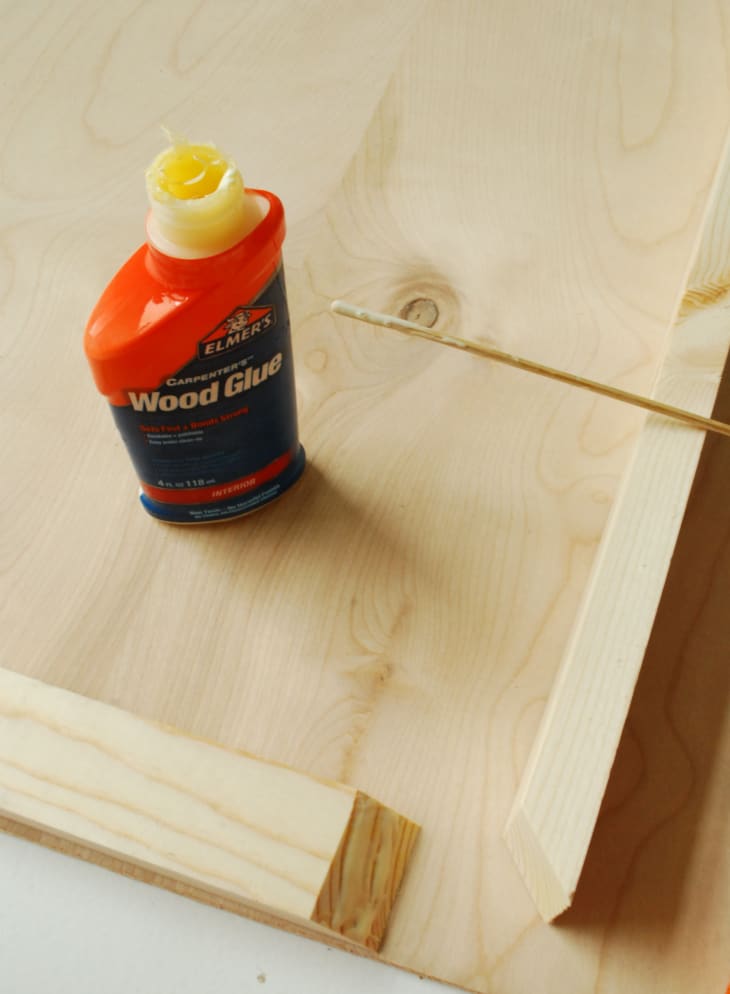
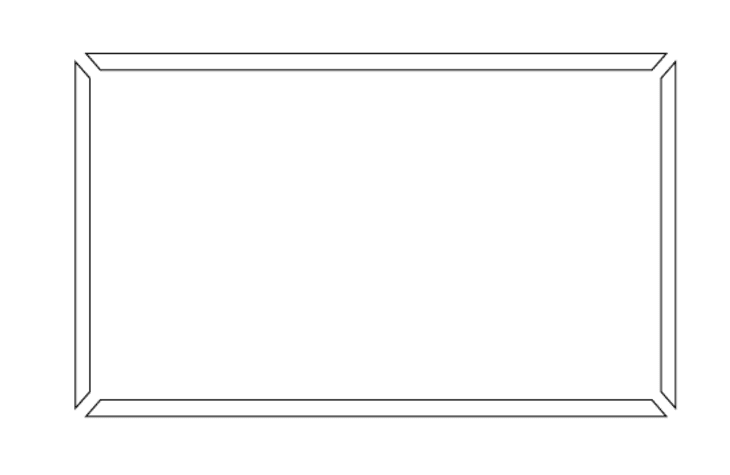
5. Glue the wood pieces together at each angle to create a rectangle. (Note: the plywood sheet below the frame is just a level work surface and not part of the actual project.)
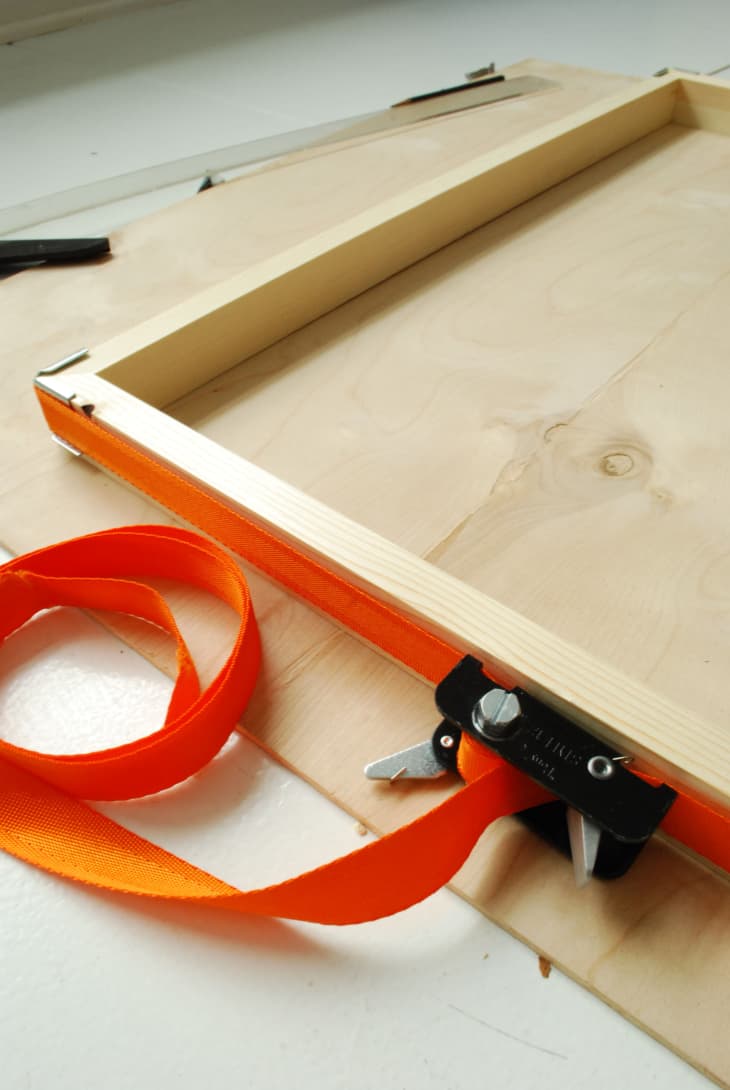
6. Secure the frame until it dries. I have a band clamp, which makes things easy. They are really nice to get if you plan on making more frames.
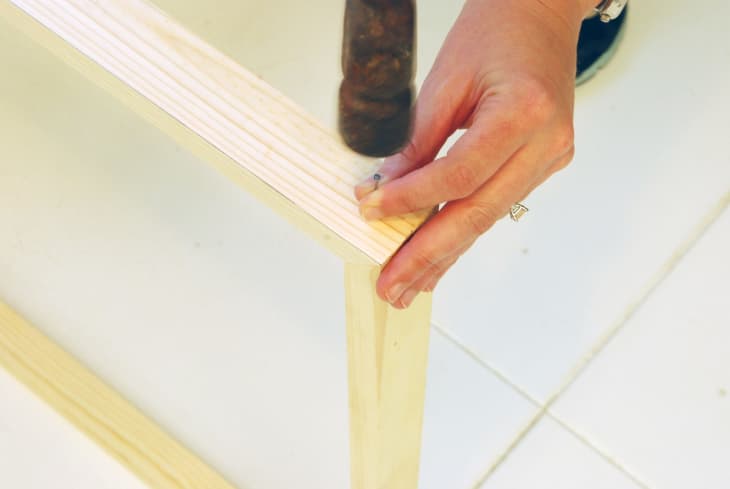
7. Once the glue is completely dry, hammer finishing nails into each corner until you feel the frame is solid. (If the nails holes are visible and bother you, use wood filler to mask them.)
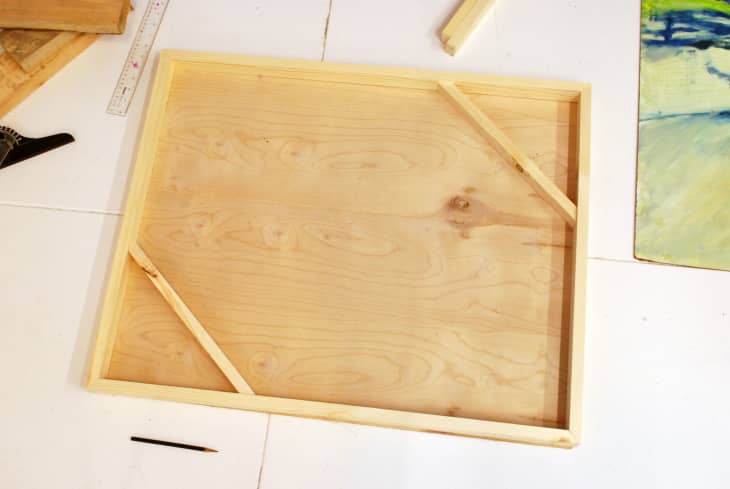
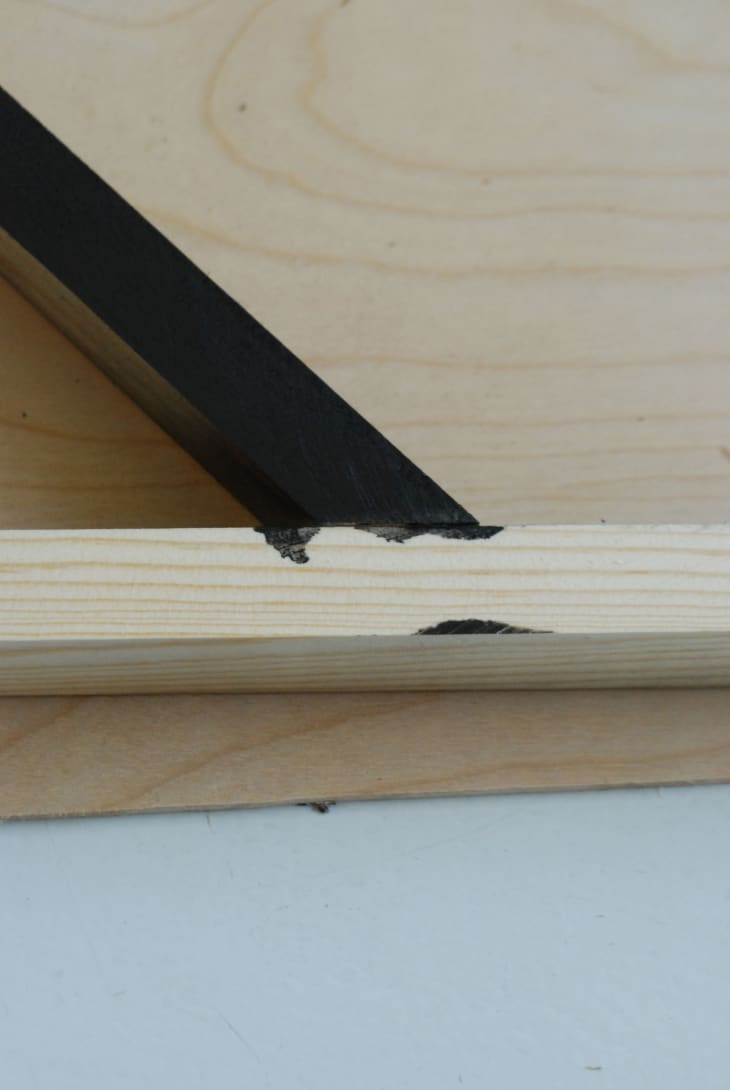
8. Make cross braces for each frame corner. They need to be shallower than the outside wood rectangle, so the painting will be flush with the frame in front. To do this, I used leftover pieces of the 1″ x 2″ wood, then cut them down using a table saw (ripping each piece lengthwise). You can use whatever you have on hand, as long as it’s the right height.
9. Cut each of the four pieces to fit each corner and create similar 45 degree angles on each end.
Tip: The easiest way to do this is to cut the angle on one end first, place the piece in the corner, then mark on the wood where the other end needs to be cut. These don’t have to be *perfect* but they should fit well enough to be glued and nailed together.

10. Glue cross braces into place and secure with finishing nails. Put some heavy objects up against each cross bar to keep them in place while the glue dries.
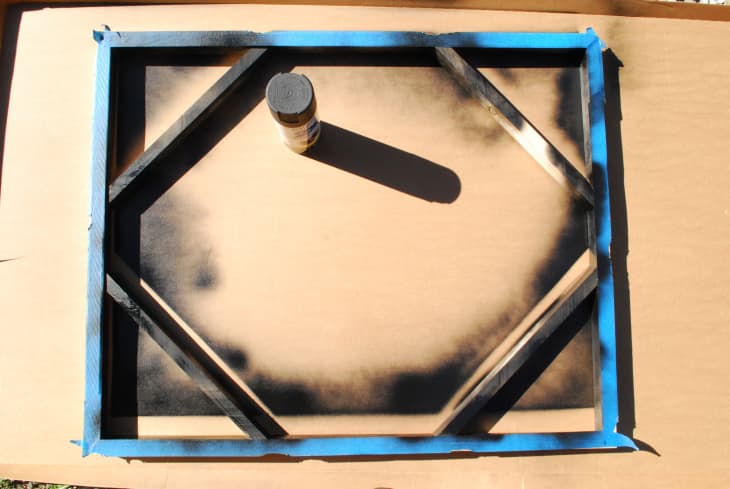
11. Paint the inside edge of the frame, and the ends of the cross braces, black. This also doesn’t need to be an amazing paint job. It’s just to camouflage the cross braces once the painting is mounted.
12. But, if you get any on the outside of the frame (always), you’ll have to sand it off. Oops.
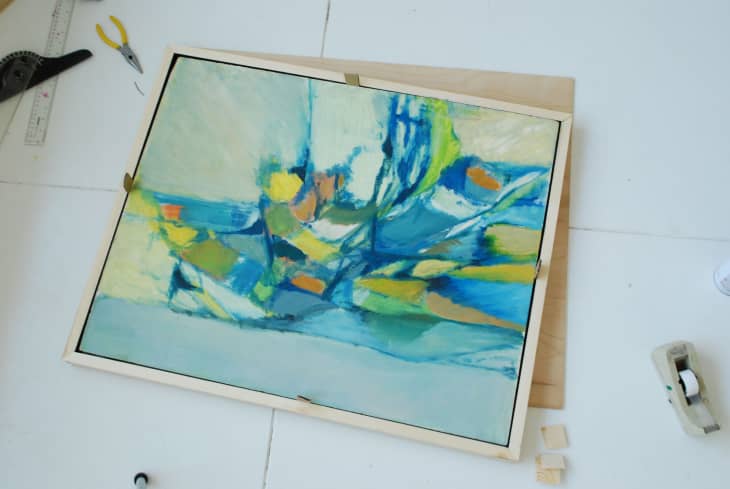
13. Put some acid-free adhesive on each of the cross braces, then carefully lower the painting on top. Again, the painting should be flush with the front of the frame.
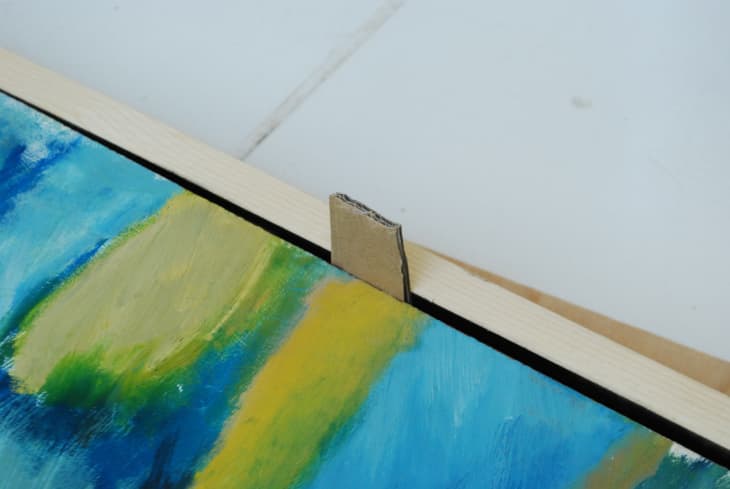
14. Use cardboard spacers to ensure the gap on each side is equal in size, then let the glue dry completely. Weighting the panel down with something heavy is a good idea here.
14. Add hardware to the back of the frame to hang it, or lean it up against a wall.
For wrapped canvas instead of masonite panels: Do everything the same, until you get to the acid-free adhesive. Instead of gluing a panel on top, you’ll screw the wooden canvas stretchers to the cross braces from the back. As long as you make the braces lower (to accommodate the thicker canvas), and don’t go all the way through the stretchers (and puncture the front of the painting), this should work.
Have a really great DIY project or tutorial that you want to share with others? Let us know! We love checking out what you’re making these days, and learning from our readers. When you’re ready, click here to submit your project and photos.