
How To: Cut a Mat for Framing Artwork
Invest in a simple mat cutter and the world of framing is at your fingertips. Cutting mats is easy, inexpensive, and takes your artwork to a new level. It looks custom, even if you buy a readymade frame from a store.
What You Need:
Materials:
Mat board
Artwork
Tools:
Sharp straight blade, such a X-Acto knife or box cutter
Mat cutter, like this Logan 4000 Pull-Style Cutter
Straight edge ruler
Pencil
Protective cutting surface
Store bought frame
Instructions:
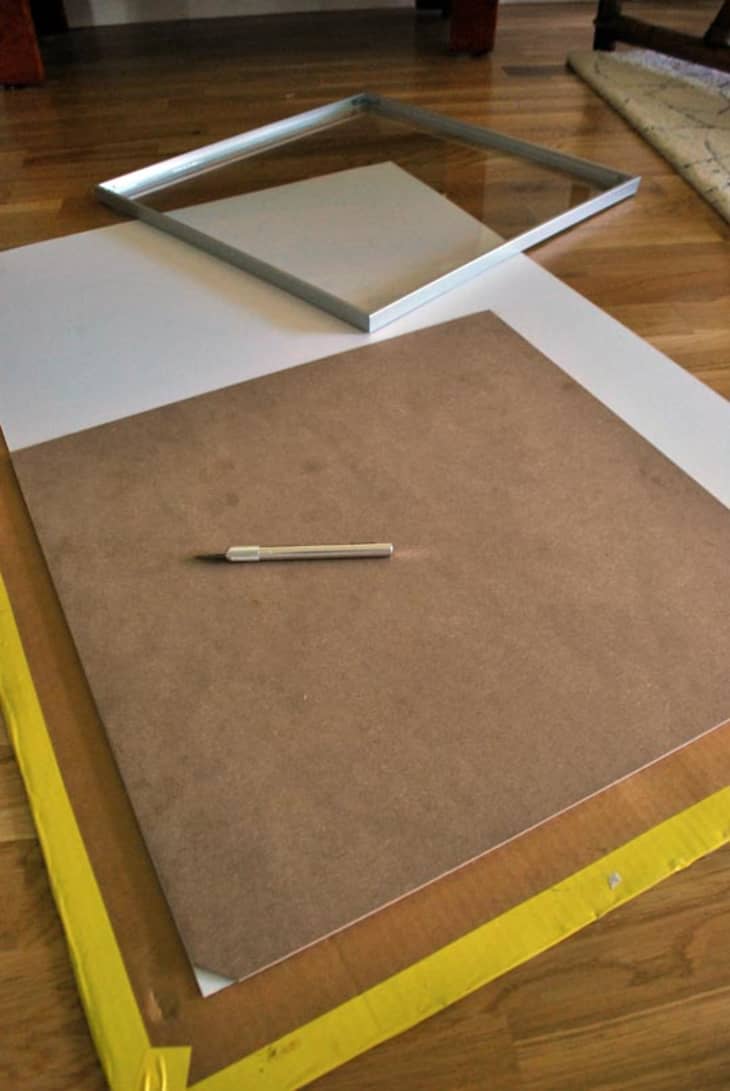
1. Make sure your cutting surface is clean. Cut a section of the mat board to match the dimensions of your frame. Tip: Use the backing that comes with the frame as a template by tracing around it.
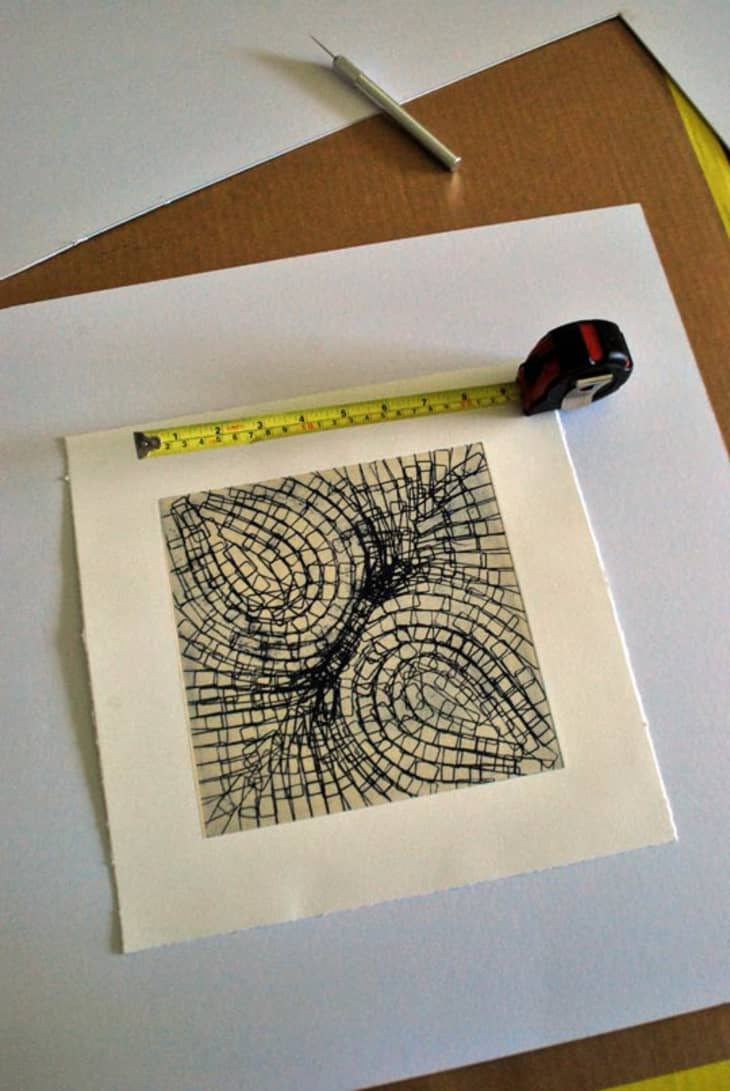
2. Measure for your proposed opening. If your artwork is perfectly centered on the mat, this is easy. Subtract the width of the artwork from the width of the mat, then divide in half. That’s how much space will be left on each side. If things aren’t centered or square, you’ll need to do the math for each side separately.
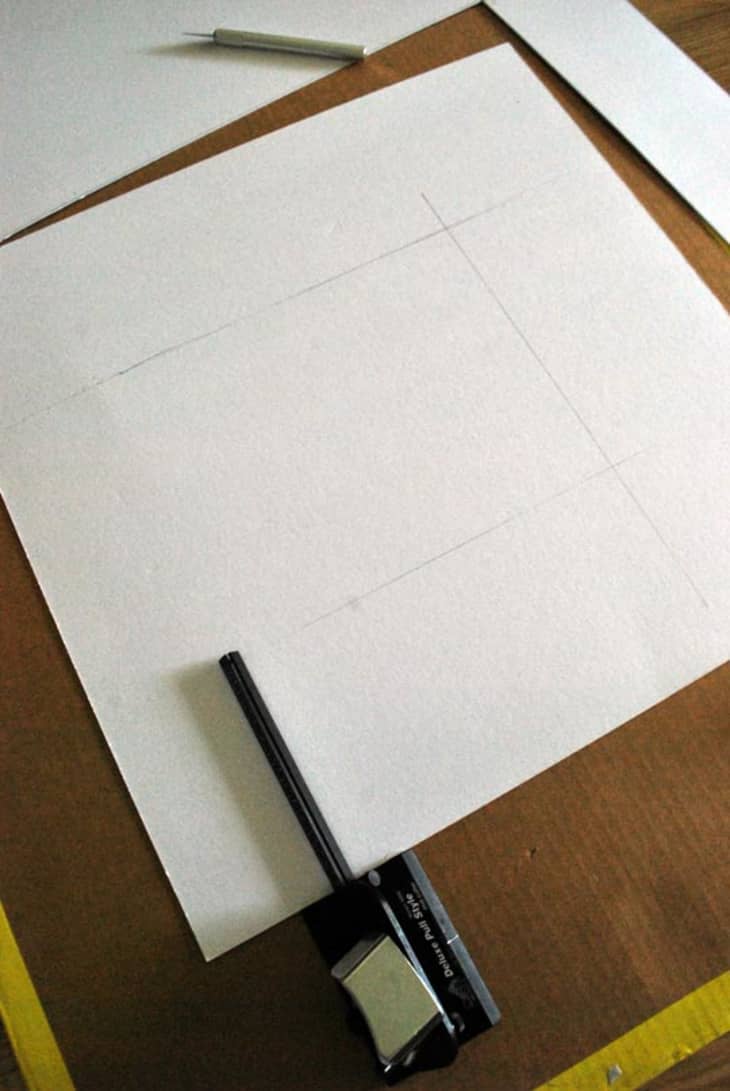
3. Based on your measurements, draw cut lines on the back of the mat board. Some mat cutters (like the one pictured) have a built in ruler/pencil mechanism that makes this easy. Follow instructions that come with the cutter and it will handily draw a straight line as a cutting guide. Otherwise, you’ll need to do it old school with a ruler and your noodle.
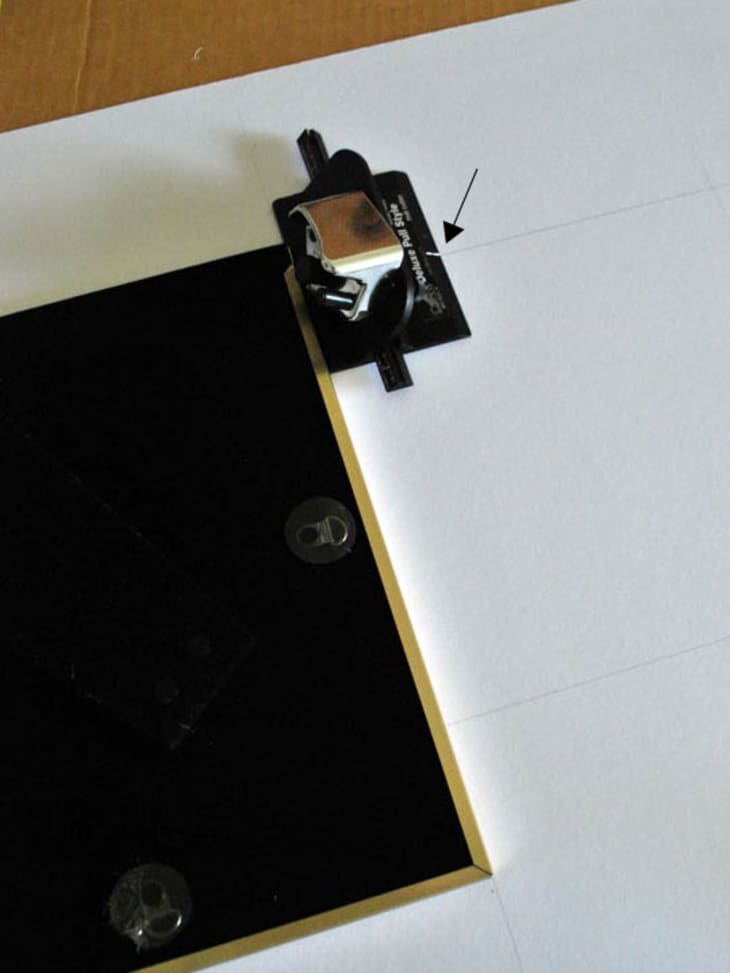
4. Line your straight edge along the left side of the first cut line (I didn’t have a straight edge, so I used the edge of a picture frame). Place the mat cutter against the straight edge, with the cutter’s tick mark lined up with the top cutting line.
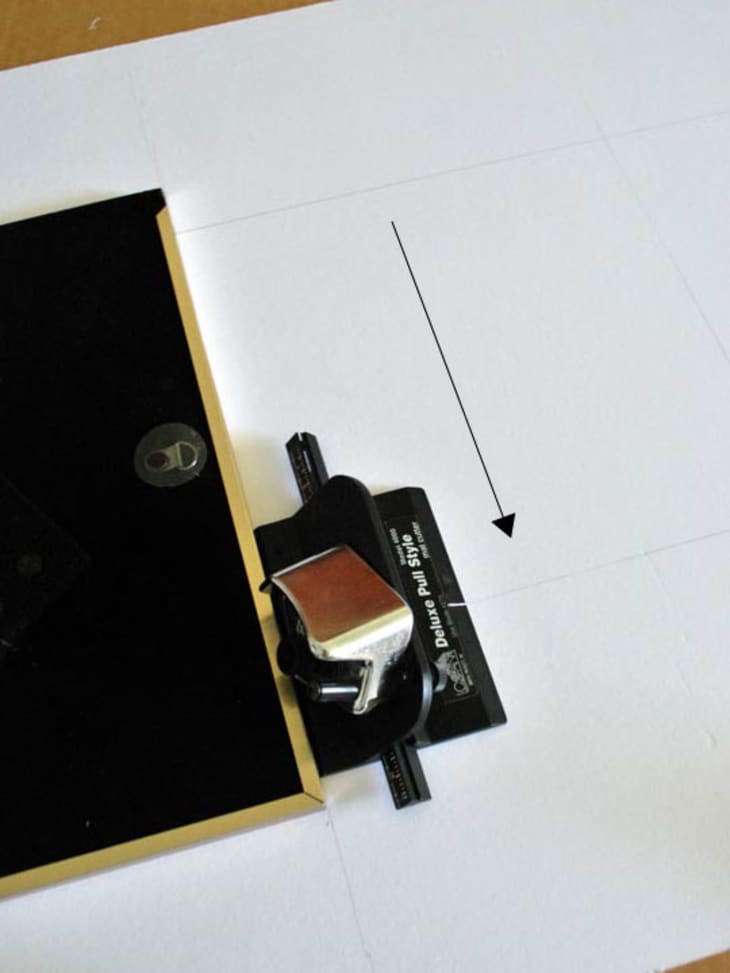
5. Press firmly down to engage the blade, and pull towards you until the tick mark hits the bottom horizontal cut line. Tip: I sometime pull the tiniest smidge past each cut line to ensure that the cut goes all the way through to the corner, and doesn’t create a hanging chad situation (we all know how serious those can be). Practice makes perfect here.

6. Repeat this process along each cut line, until the middle of the mat pops out. Note that beveled edge. Pretty.
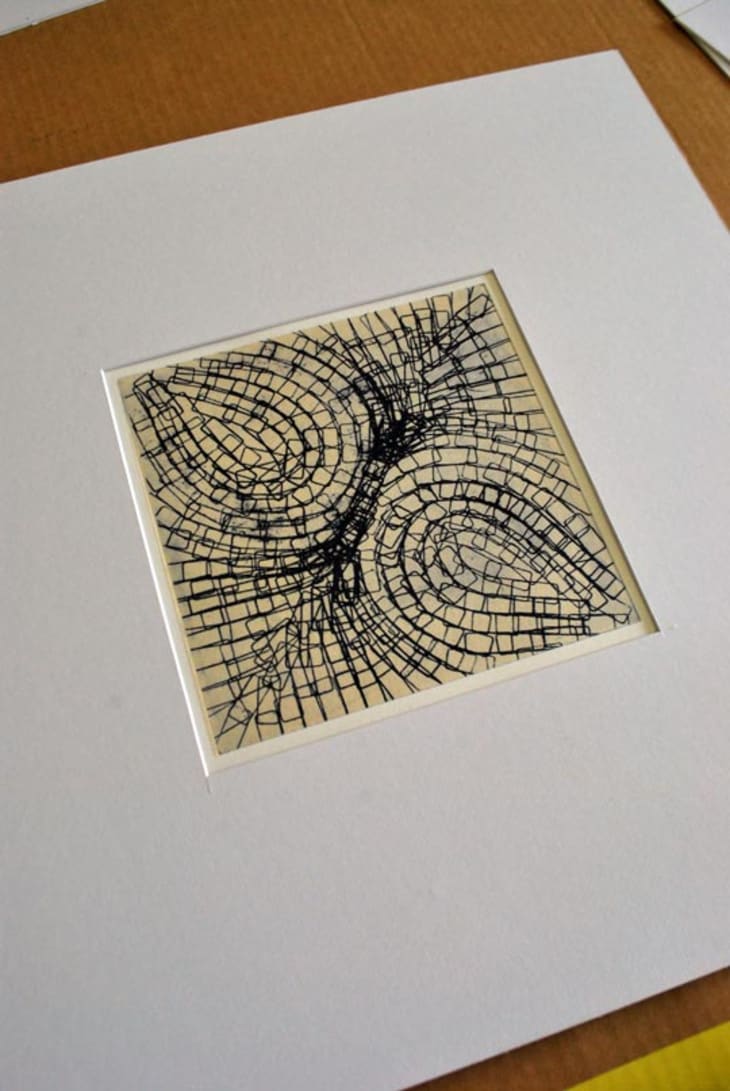
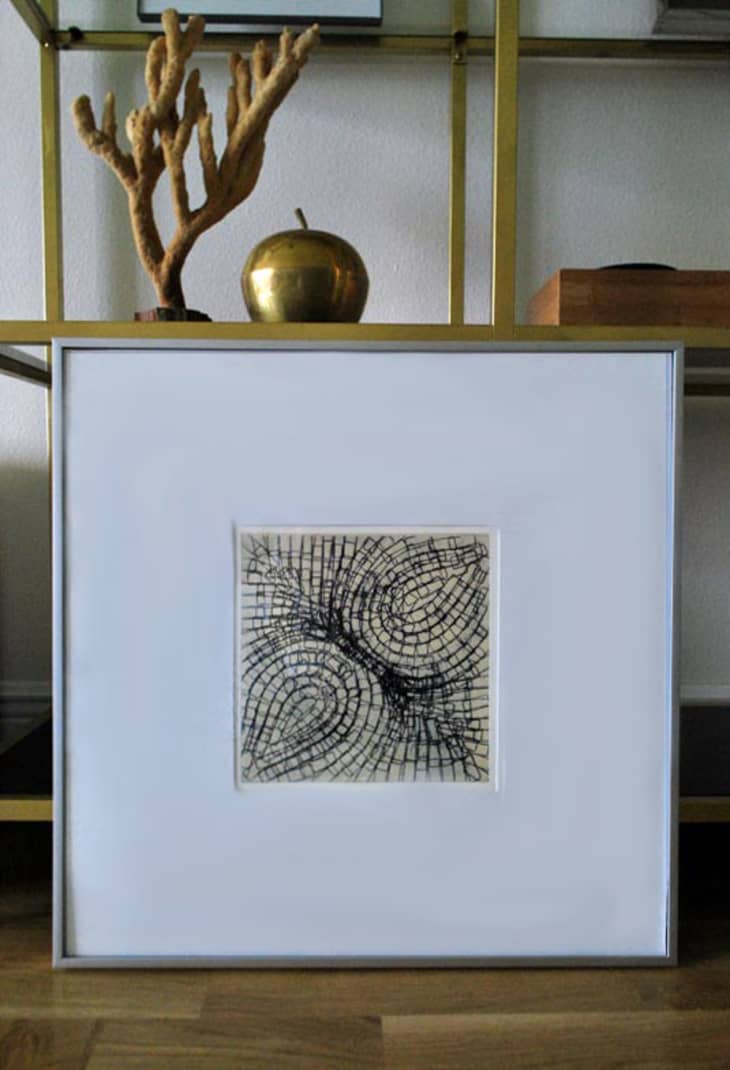
7. Center artwork behind the mat and secure with archival tape. Frame.
(Images: Dabney Frake)