
Here’s How to Fix Scratches in Your Hardwood Floors
A scratch on hardwood floors is a lot like a tell-tale heart. It doesn’t matter if you’ve vacuumed an area rug and arranged pillows, or scrubbed countertops and washed all the dishes. When you pan across a glistening living space and you know a scratch is there, your eye automatically zeroes in on it. Thankfully, though, this particular torture doesn’t have to go on forever.
“Hardwood floors typically last for the life of a home, but with wear and tear of everyday use, they’re bound to get a few scratches,” Dan Huffman, merchandise manager of flooring at The Home Depot, says. “Removing the scratches is a fairly simple do-it-yourself project.”
Aside from being a mounting annoyance in an otherwise clean room, a scratch that remains on hardwood floors can wear the material over time. So when you notice it, go ahead and zero in. “Removing scratches is a key way to keep your hardwood floors in the best shape for as long as possible,” Huffman says.
To do the job, you’ll need the following: sandpaper, hard wax or wood filler, wood stain, and a clear sealing pen. Here’s how to make the fix.
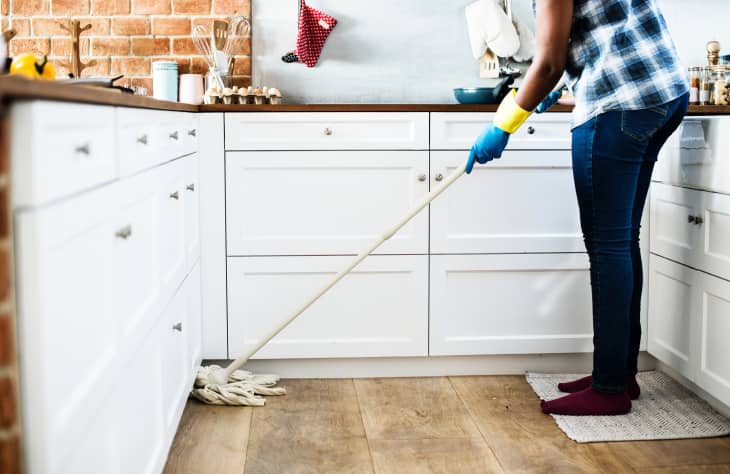
First, clean your hardwood floors
“Use a mop or vacuum to remove all dust and debris,” Huffman says. “Mix a few drops of liquid soap into water, spray it onto the floor, and wipe it up with a soft, dry cloth.”

Use sandpaper to sand out the scratches
“Make sure to sand the floor in the direction of the grain,” Huffman notes. That way, you’ll avoid creating splinters and further damaging the floor.
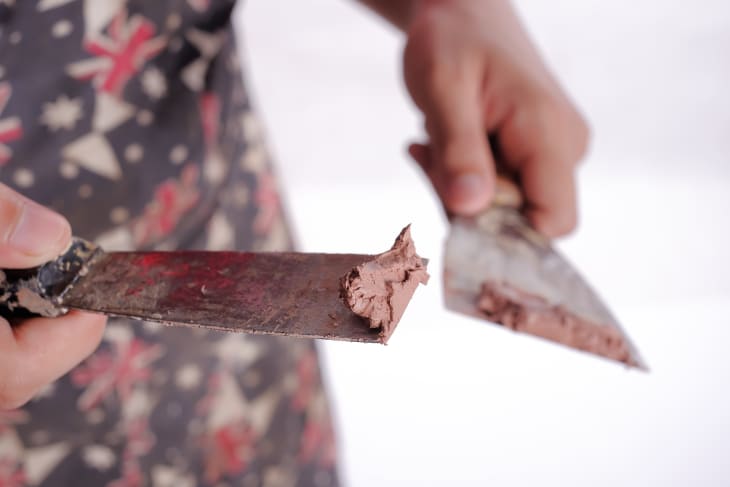
Fill the scratch with wood filler or hard wax
If you overfill the scratch, no worries, Huffman says. Just wait until it’s dry and then sand it down until it’s smooth and even with the rest of the floor.
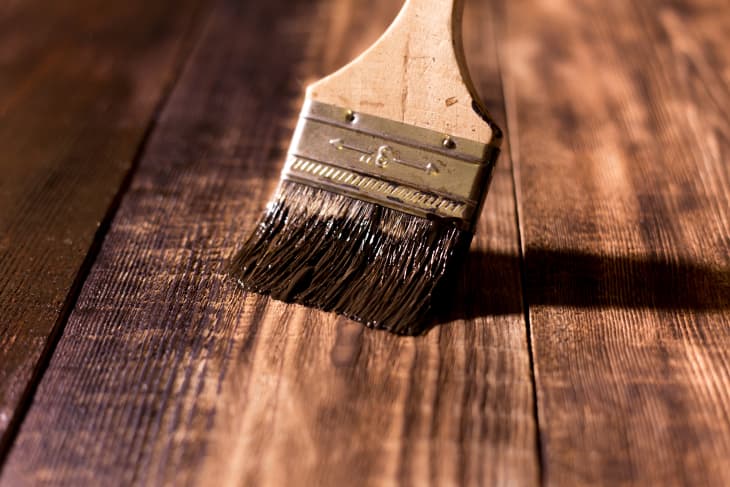
Rub a stain on the wood
Choose a color as close to the color of your floors as possible. Brush on the stain or rub it into the wood with a rag; wipe the excess stain off the floor.
Place a coat of protective wood sealant over the scratch
This will allow the stain to last longer and will help prevent the wood from scratching again.