
How To Light Up Boring Lampshades: 12 DIY Ideas

Lampshades are one of those household items that always seem shockingly expensive, and that’s just for a plain-but-decent shade! If you want something beautiful and/or unique, prepare to pay a ton—or, better yet, make your own. These 15 projects vary wildly in style and complexity, so there’s sure to be one that perfectly suits your decor and your DIY skill level.
You can never go wrong with a simple felt lampshade makeover like this Helena Nord update made for Apartment Therapy (shown above). It’s as affordable and efficient as it gets, and it’s sure to warm up your space as you get ready for fall.
TEXTILE ART
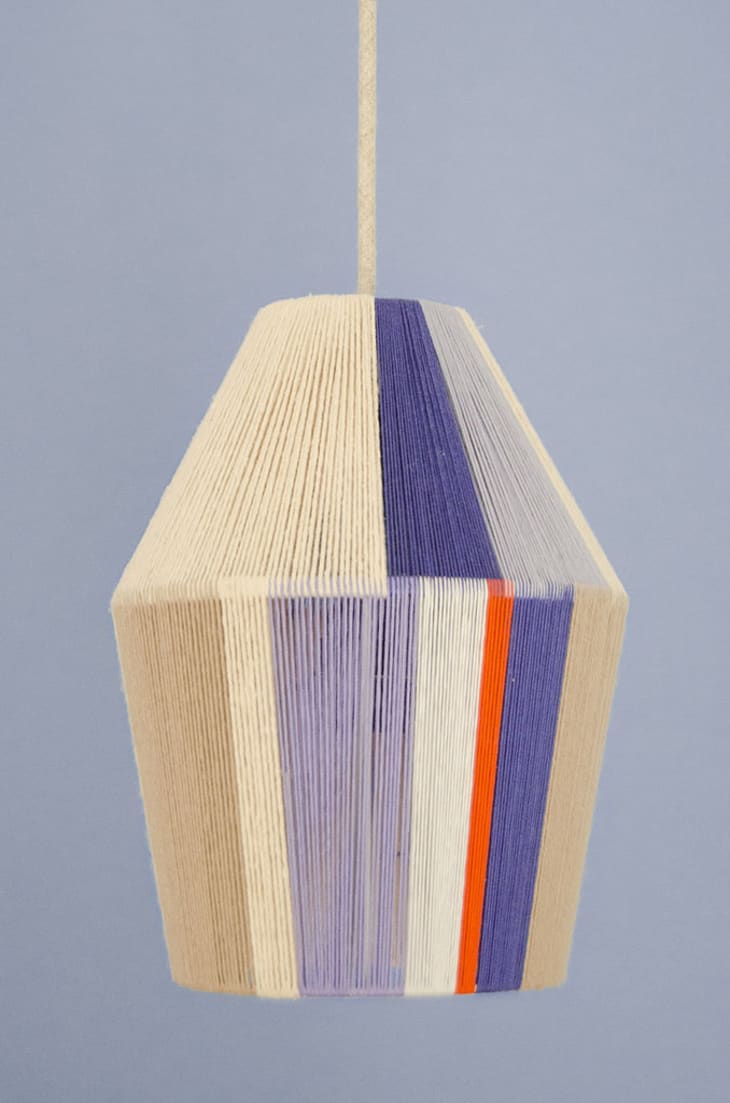
Woven Lampshade by Fábrica De Imaginación
Take textile art from the walls to the lights and make a shade that coordinates perfectly with your decor using this clever tutorial. Other than possibly a quick translation—it’s in Spanish, but thank goodness for Google Translate—all you need are two wire lampshades and plenty of embroidery floss in the hues of your choice.
METALLIC
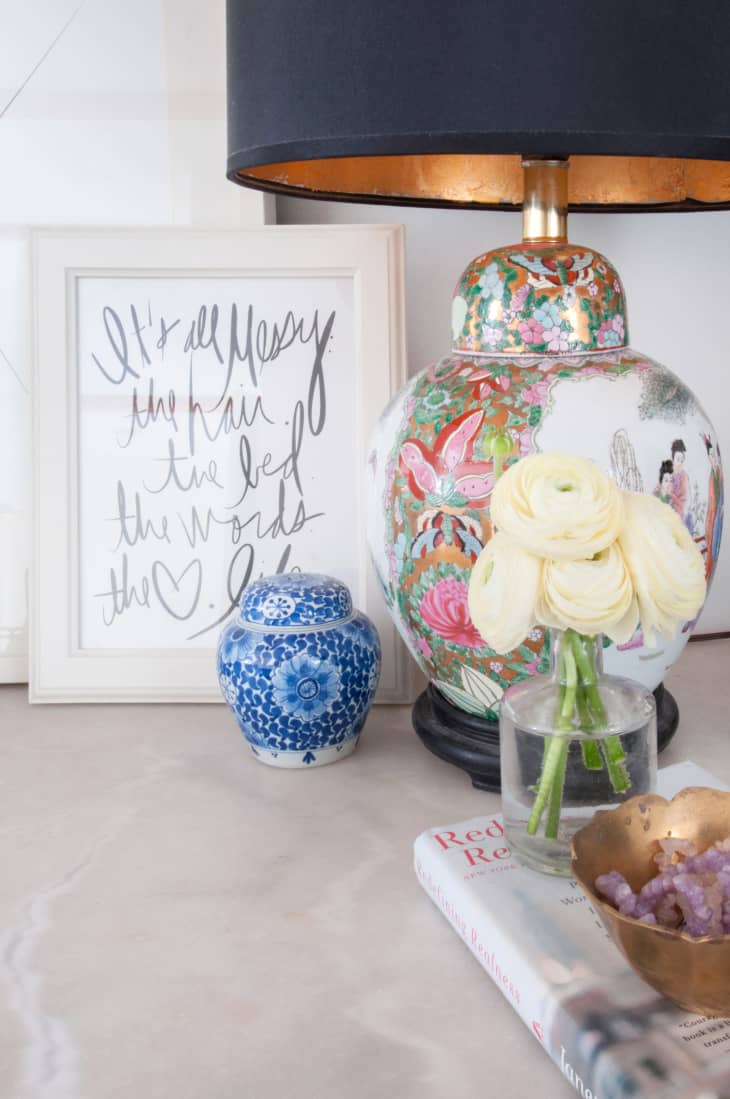
Gold Metallic Glow Lampshade by Little Black Door Designs
A quick spray of paint—this project calls for Rustoleum Specialty Metallic Spray Paint—is all it takes to achieve this understated level of glam.
METALLIC
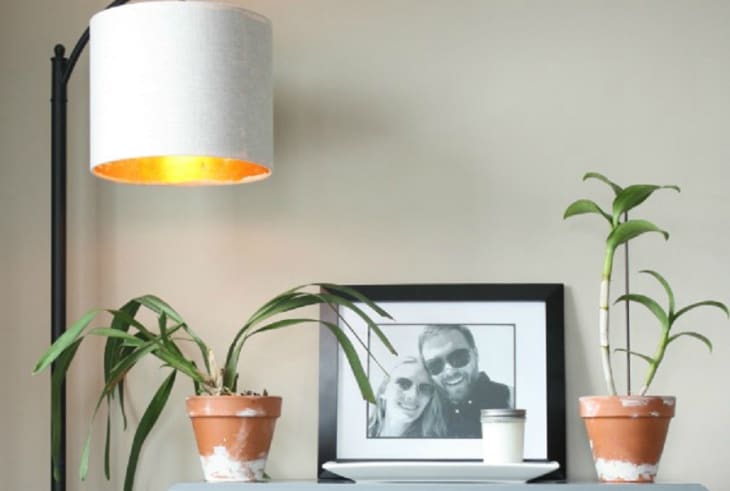
Gold-Leafed Lampshade by Craft Thyme
If you like the metallic-lined look but want to take things a few steps more luxe, use gold—or silver, of course—leaf rather than spray paint. Your project will be a bit more costly and time-consuming, but the results look totally worth it. Pro tip: a commenter recommended spraying real silver leaf with clear acrylic to prevent it from tarnishing.
METALLIC
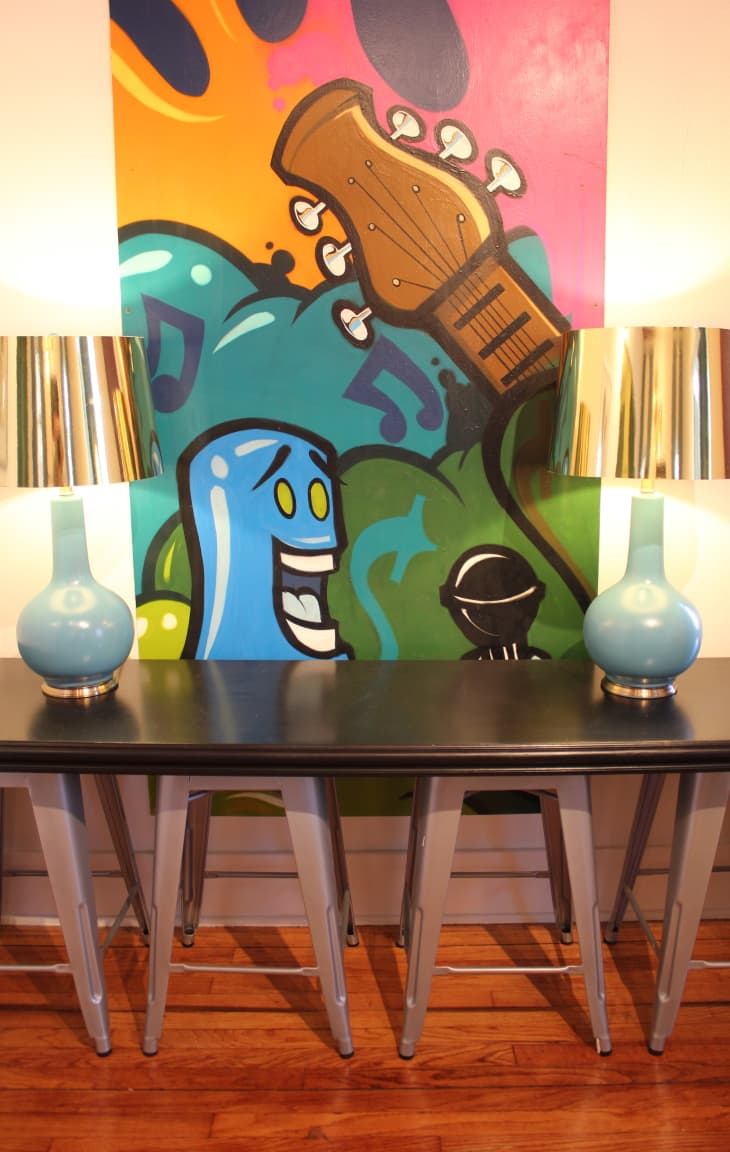
Gold Lampshades by Kara Paslay Designs
For a super-reflective metallic look, you can use Chromalux poster board—this blogger found it at Michael’s—wrapped around your existing lamshades.
GEOMETRIC
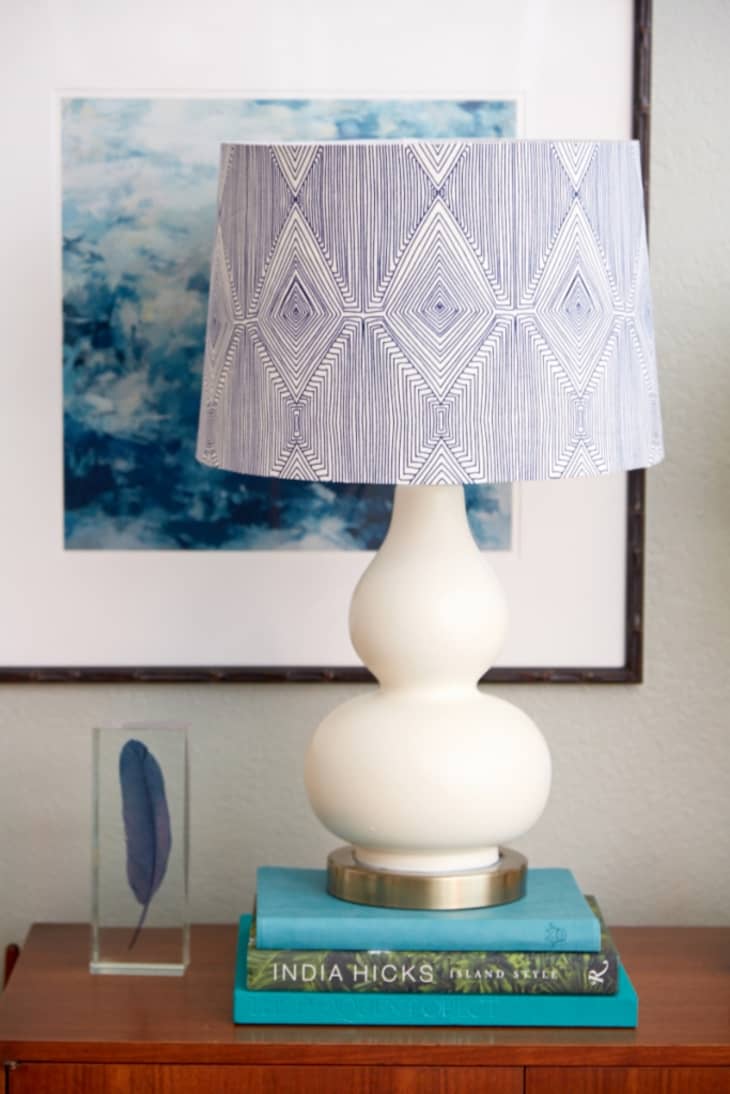
Fabric-Covered Lampshade by Style By Emily Henderson
You can obviously use any sort of fabric you like, but I love this delicately geometric Nate Berkus cotton now on-sale at JOANN Fabrics. This project’s secret weapons are spray adhesive and a rotary cutter.
FRINGE
Fringe Lampshade by Centered By Design
Extra-long fringe makes for a dramatic lampshade makeover, especially if you completely cover the shade, as shown on a planter in this tutorial.
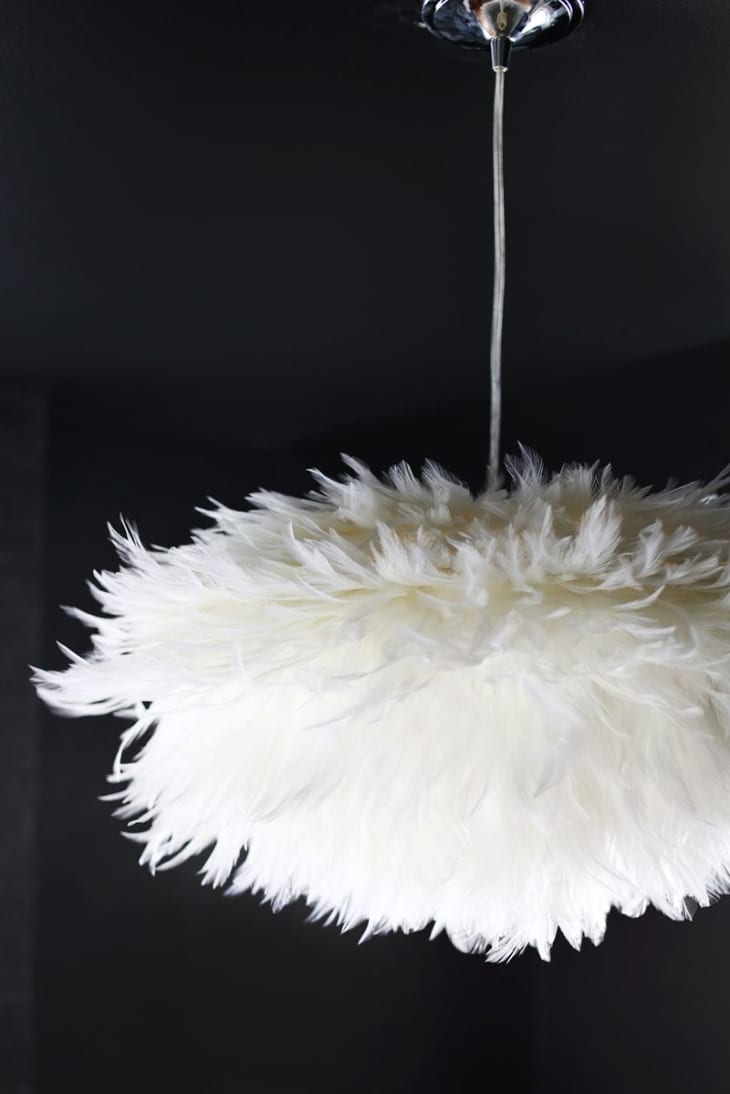
FEATHER FRINGE
Feather Pendant Lampshade by A Beautiful Mess
Feather trim (did you know this exists?!) and a cheap paper lantern combine to create dramatic, graceful greatness. You’ll also need a glue gun, of course, as all greatness involves a glue gun.
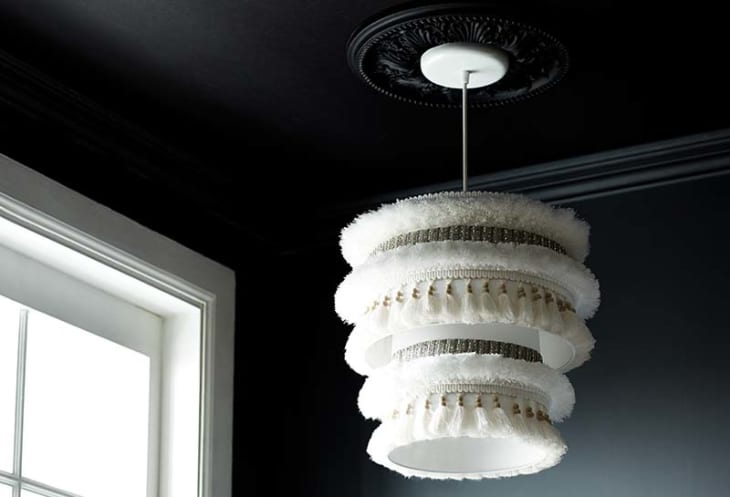
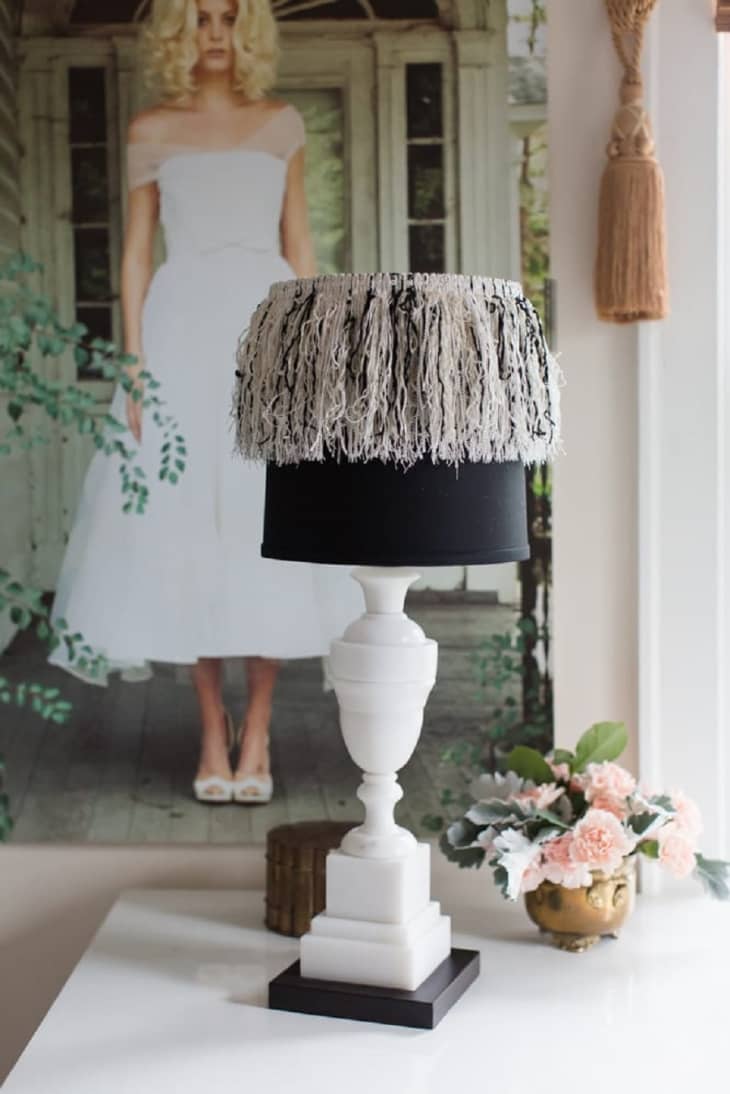
FRINGE + TASSELS
Moroccan Wedding Blanket-Inspired Lampshade by DesignSponge
Is the wedding blanket trend still going strong? I hope so, since these traditional Moroccan blankets are so beautiful and aren’t just some fad of the month. The great thing about this project is that you can make it as complex, layered, textured, and bejeweled—or as monochromatic and simple—as you like.

TASSELS
Tassel Lampshade by A Subtle Revelry
I love the juxtaposition of the long, stark shade and the teeny, playful tassels. This tutorial has you create a shade out of poster board and an embroidery hoop, but you could also just use a pre-made lampshade and focus your crafting energy on the tassel portion.
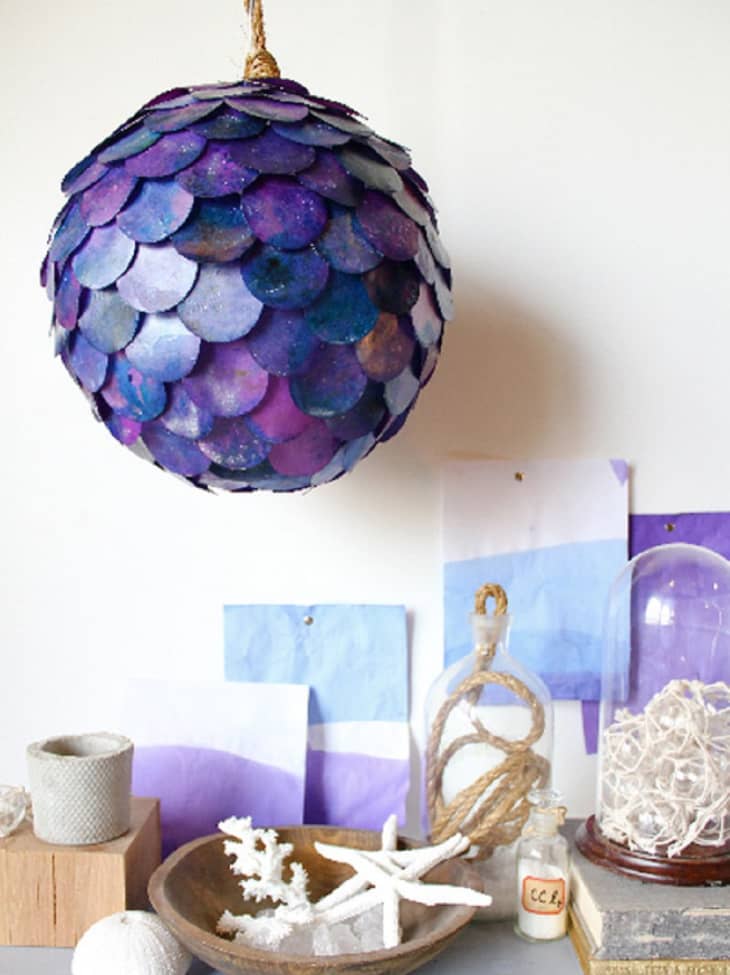
IRIDESCENT
Fish Scale Lamp Shade by DesignSponge
This lamp gets its shimmery look from circles of paper dipped in colorful paraffin wax, but you could get a beautiful, beachy look just by painting the circles with iridescent spray paint. Then just use the same lampshade-covering technique from the tutorial!
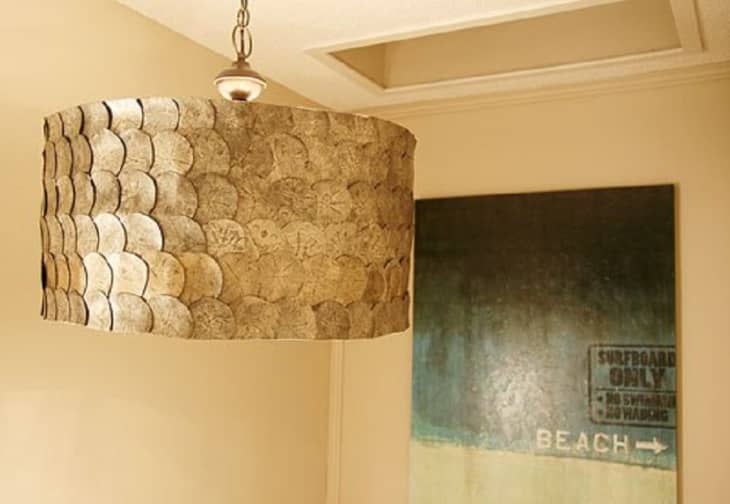
IRIDESCENT + METALLIC
Faux Leather Drum Shade by Sparkle Meets Pop
Achieve a similar look by covering a shade with circles—or any shape—of pleather. Keep things shimmery with a metallic faux leather, or go for drama with oxblood or nearly-black blue circles.
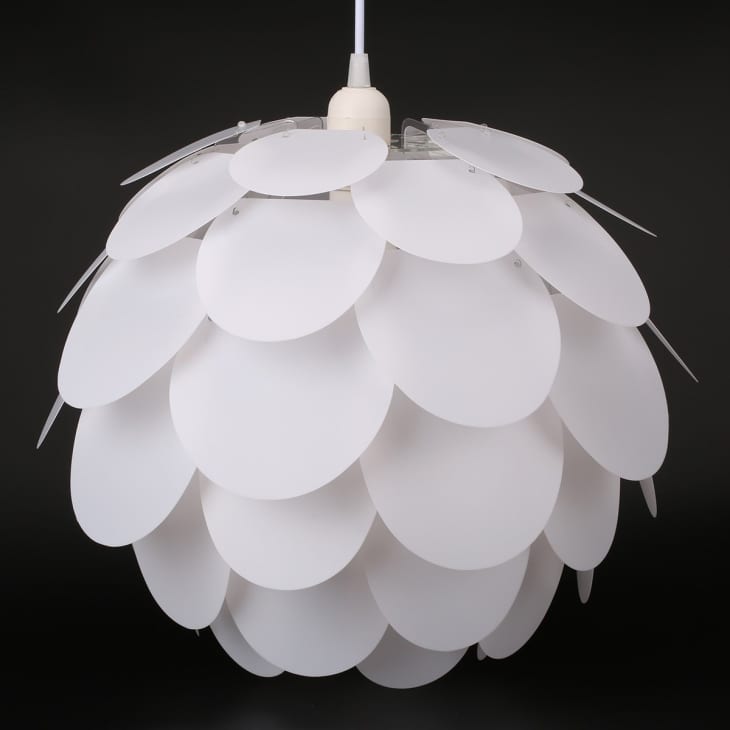
GEOMETRIC + SEMI-DIY
DIY Puzzle Lampshade Kit from Amazon
Let’s finish off with the lowest-key DIY on the list: no tools or adhesives necessary, and the whole thing is washable! All you’ll have to do is slot the iridescent pieces together, so you’ll get all the satisfaction of a DIY with neither the mess nor the fuss.
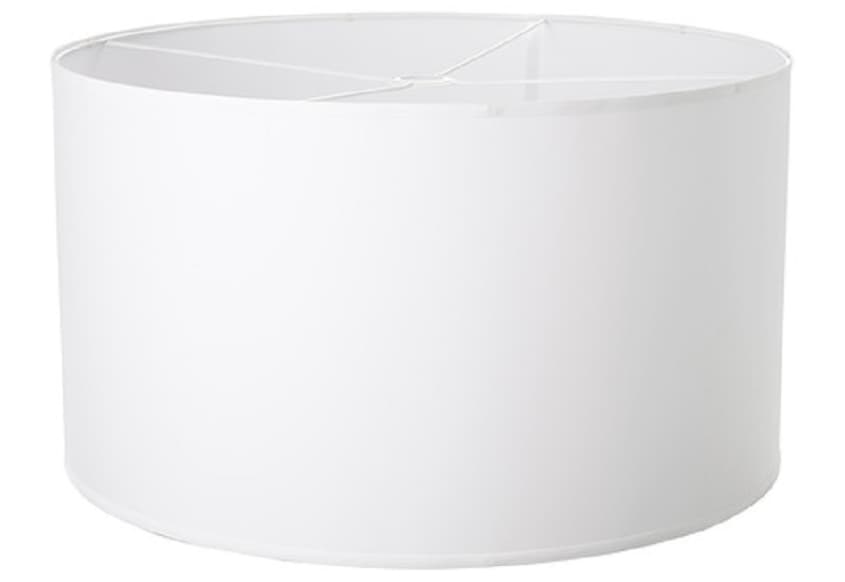
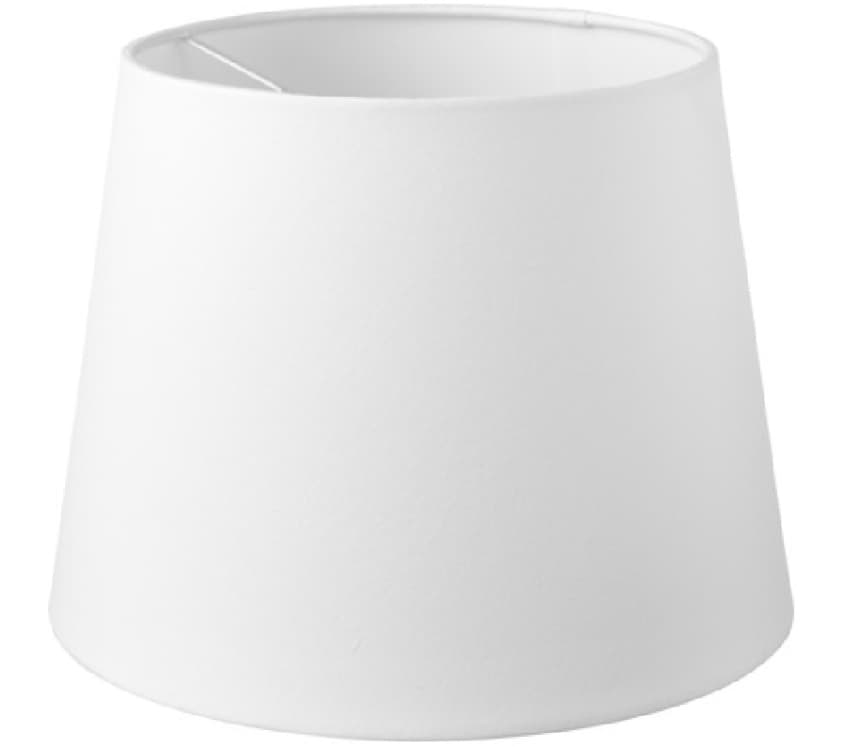
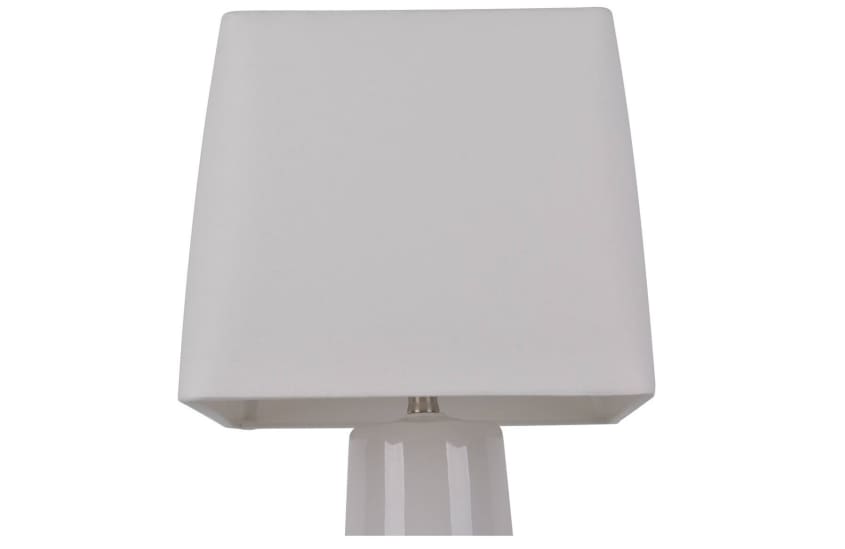
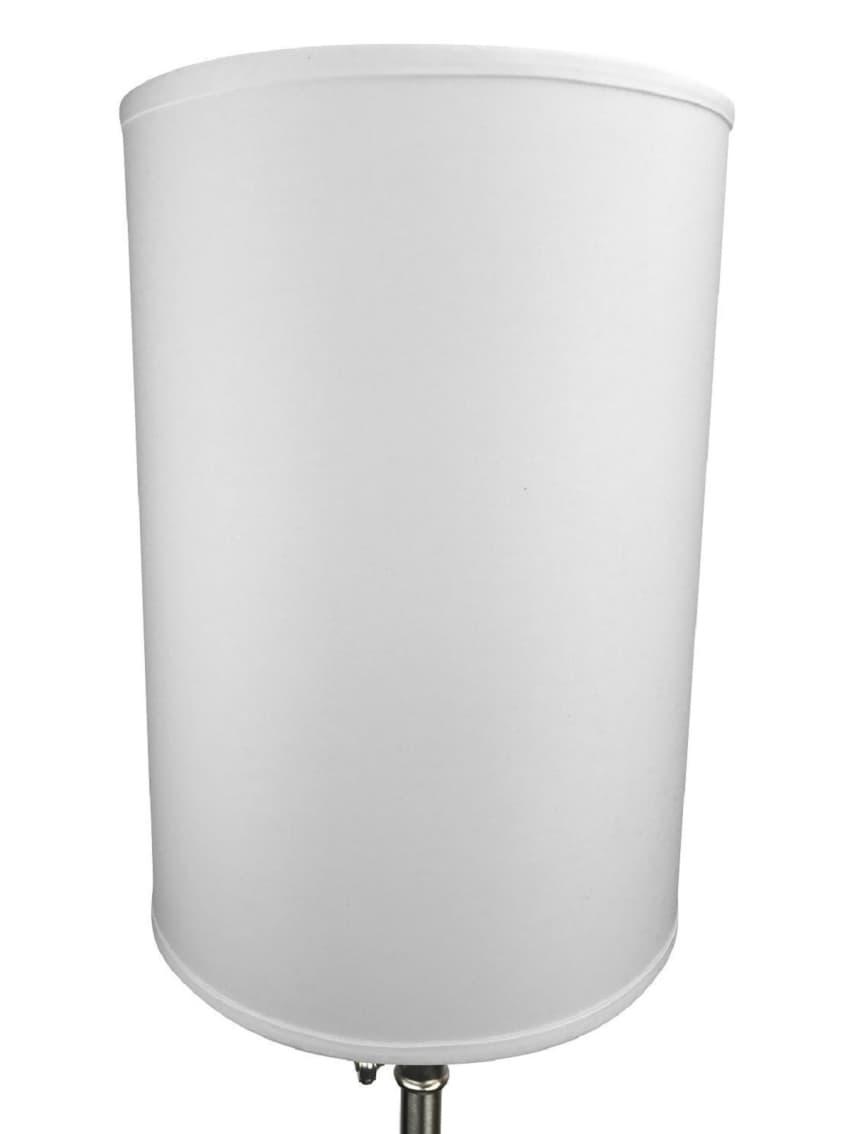
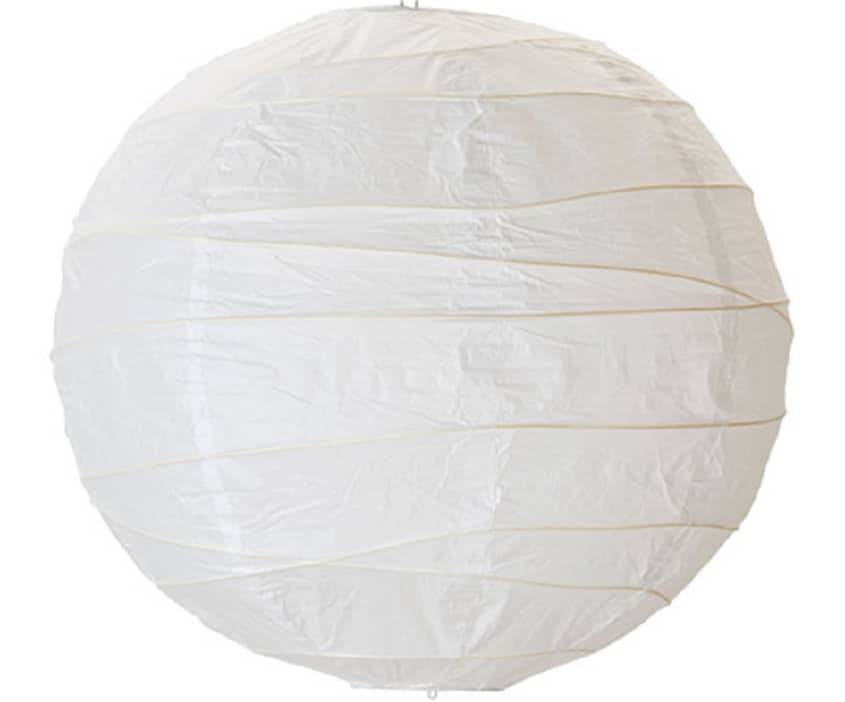
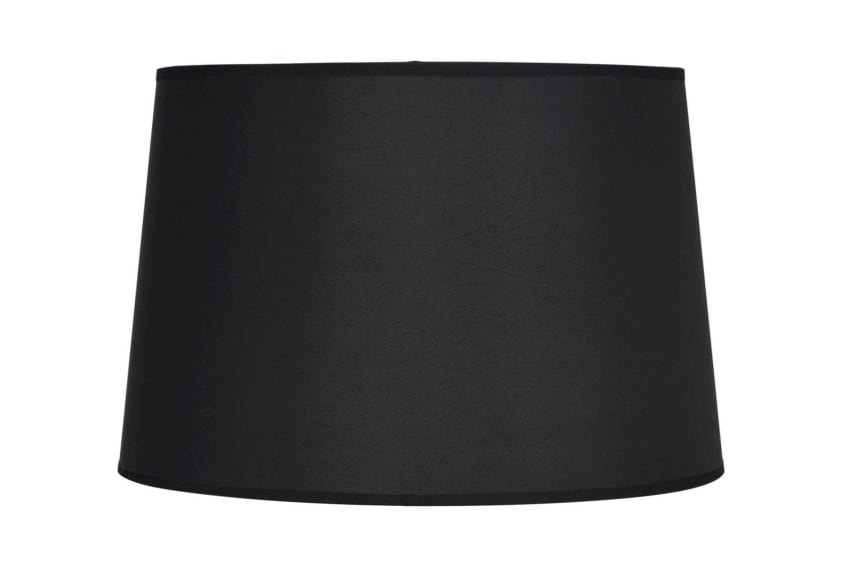
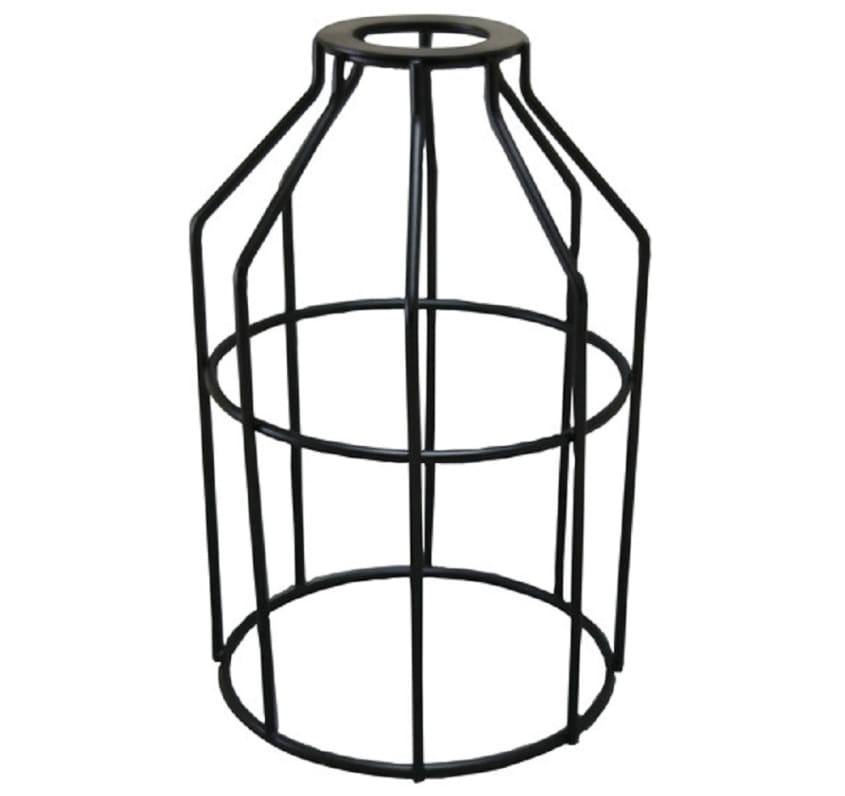
Lampshades for DIYs
If you’re ready to start your own DIY lampshade project, here are seven shades that are sure to suit all of these projects. You might also be able to find lampshades and lampshade frames at thrift stores―just remember to focus on the size and shape while totally ignoring the color and material. It doesn’t matter if you’ll be covering it up!