
How To Make Paper Flowers: Spray Roses

Paper flowers are a creative and economic way to add color and cheer to your space. These particular flowers are a favorite because they don’t come across as overly “crafty” and you can make large quantities in hardly any time at all. As an added bonus, construction is simple and requires nothing more than scissors and quick-drying glue.
What You Need
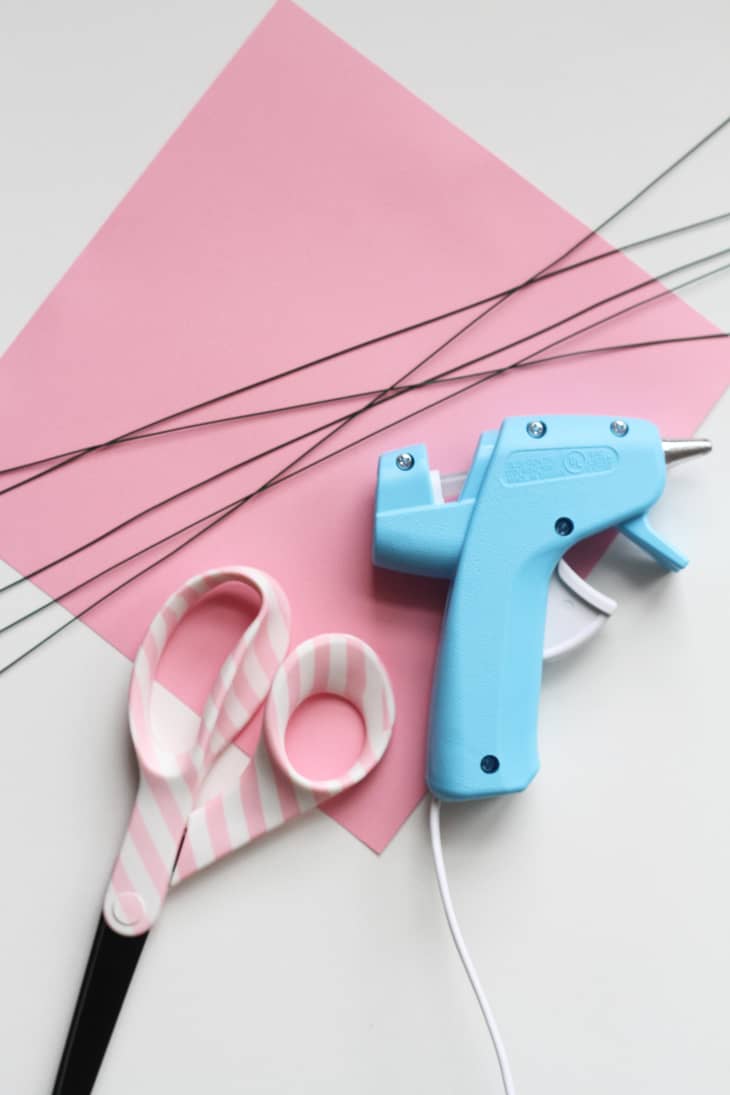
Materials
- Cardstock or construction paper
- Floral stem wire (or something similar)
Tools
- Glue gun + glue
- Scissors
Instructions
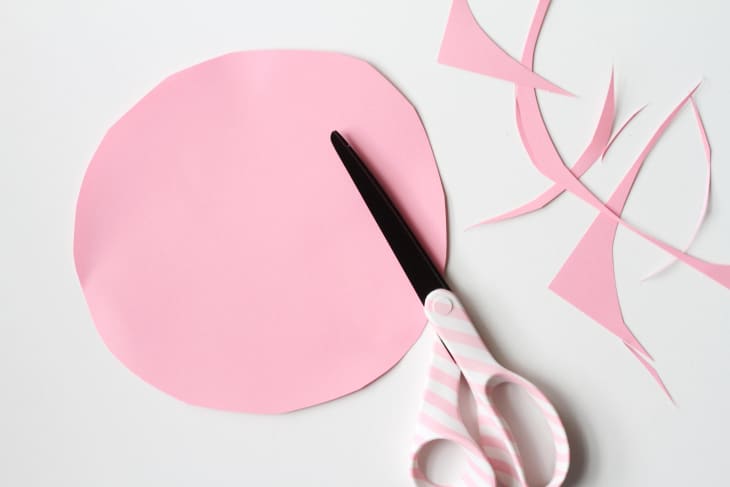
1. Cut out a circle from your card stock that is approximately 6″ (or smaller) in diameter. Your circle doesn’t have to be perfect, but if you want all your flowers to be the same size, you could use a compass or stencil.
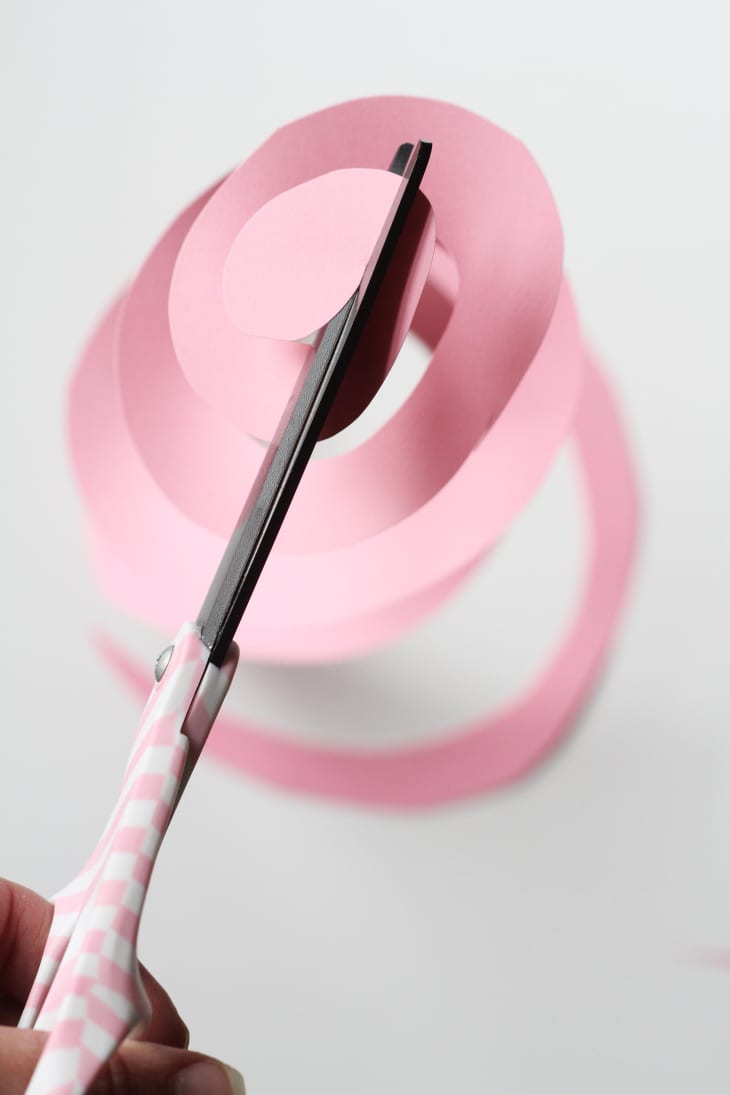
2. Starting from the outside of the circle, make one long, continuous pig tail cut. Stop when you get to the center, leaving a small circular area (apx. 1″). Don’t worry about making the width of the cut lines the same; once rolled you’ll appreciate the variation!
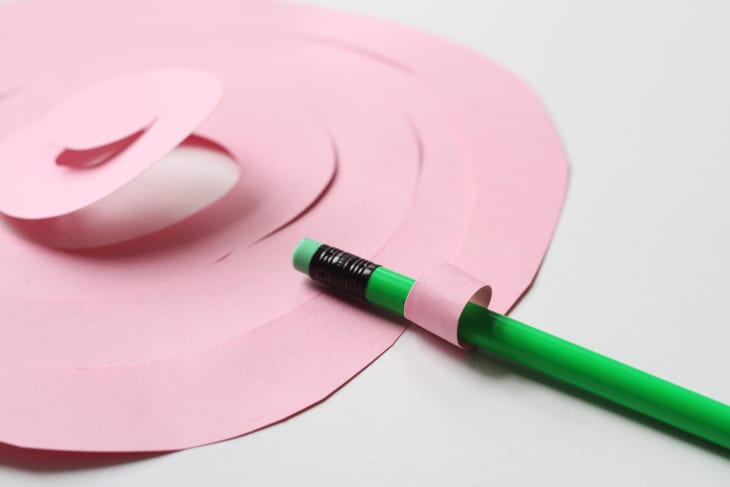
3. Starting back where you made your original cut, grab the tail and start to roll it up towards center of the circle. If you’re having a difficult time rolling the card stock, try wrapping it around a pencil to get you started. Once you’ve made a few twists remove the pencil and continue to roll the tail.

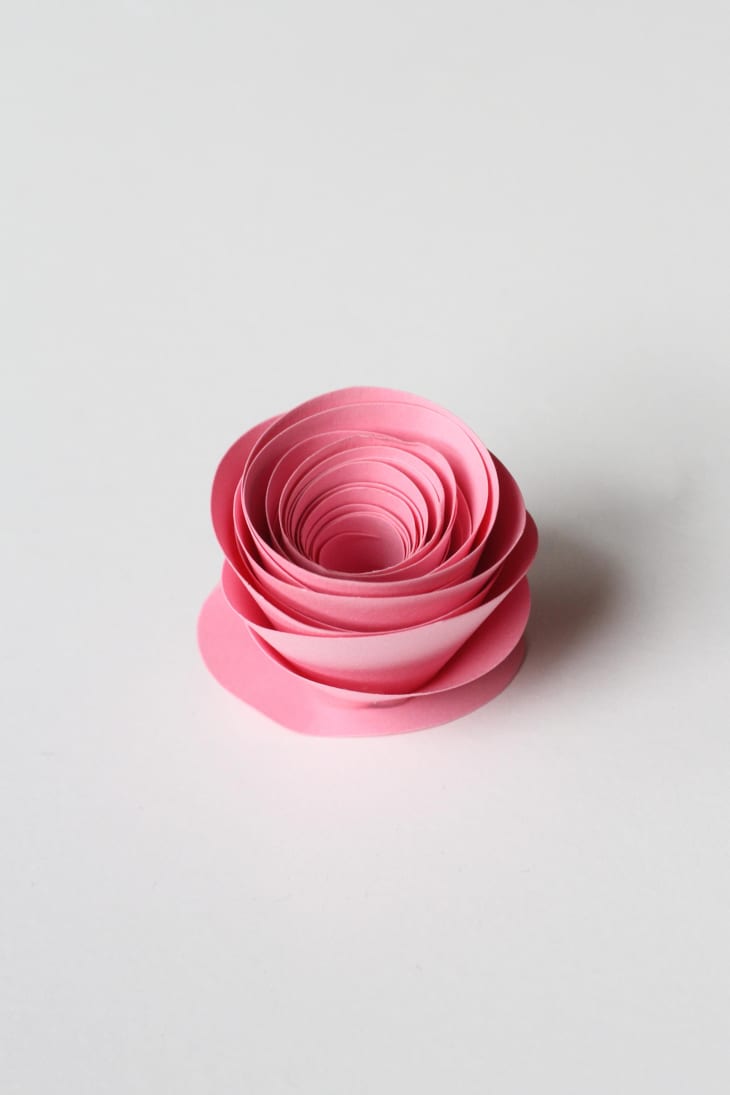
4. Continue to roll the tail towards the center of the circle, keeping it rolled tightly as you go. Once you reach the center of the circle, you can let go of the paper and allow the card stock to unwind a bit.
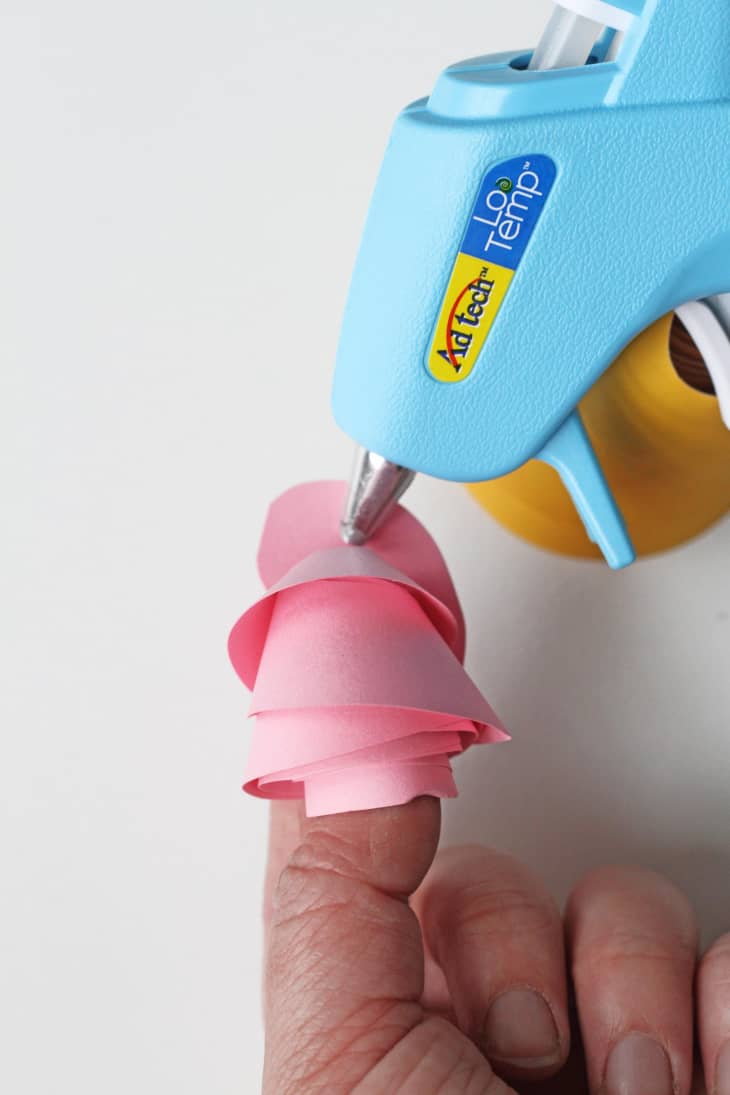
5. Use the very end of the tail (the circular part that looks like a comma) as the base for your flower. Lift up the curled portion of the tail, place a bit of hot glue on the “base” and lower the curled portion onto the base. Gently press the curled top into the glue.
6. You can use anything for the stem of the flower—pipe cleaners or thin sticks you find on the ground work great, but I had floral stem wire so I decided to use that. Whatever you choose, simply attach it to the underside of the flower with hot glue.
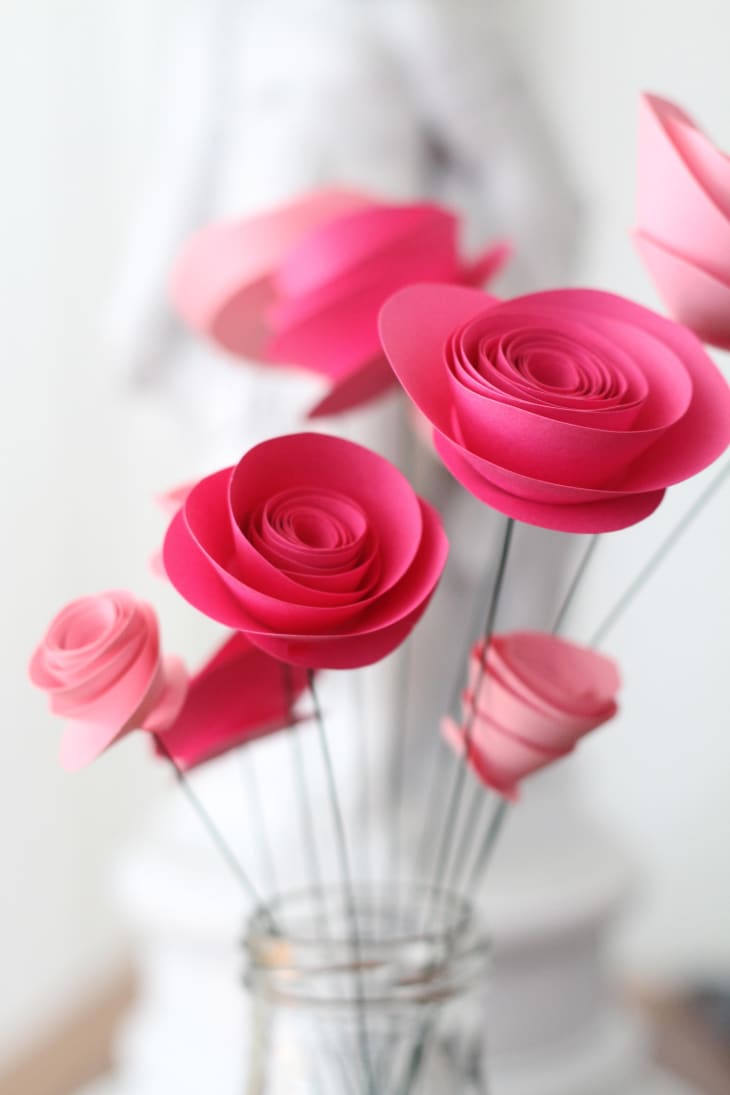
Enjoy your beautiful, long lasting bouquet!
Have a really great DIY project or tutorial that you want to share with others? Let us know! We love checking out what you’re making these days, and learning from our readers. When you’re ready, click here to submit your project and photos.