
The Dos and Don’ts of Painting a Room: Everything You Need to Know
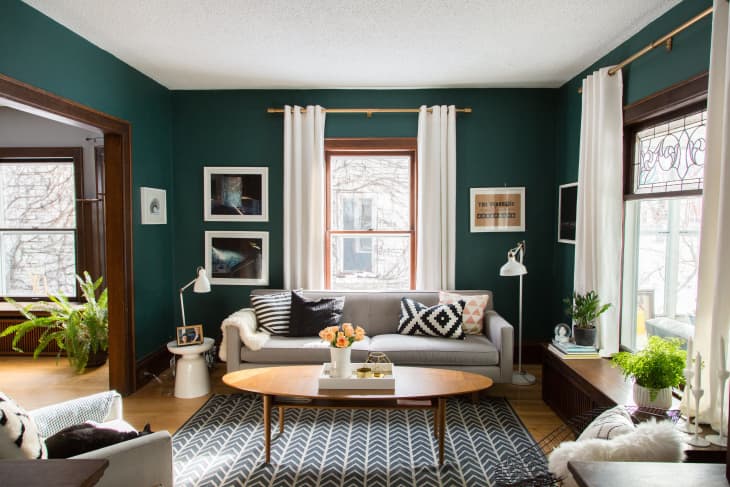
One of the best ways to dramatically transform a room, especially on a budget, is by using paint. Want a dark, dramatic bedroom? Paint! Want a welcoming entryway? Paint! Want a stylish black-and-white kitchen? Paint! There is so much you can do without replacing any furniture or adding any decor. Many times, you just need to paint your walls.
Painting your walls is a totally DIY-friendly project, but there are a few things you need to keep in mind. First, you’ll need to make sure you have all the right supplies for painting. You’ll also need to make sure you follow the right steps for prepping your walls, whether you’re painting over already-painted drywall or painting over existing wallpaper (yes, that’s possible!). If you want the most professional-looking results from your paint job, follow these instructions for how to paint a room.

How to Choose Paint Colors
Choose a few different colors in a few different shades, and use test pots to paint samples onto the wall of your space. Check in with those samples at various times of day to get a sense for how the colors will look in early mornings, afternoons, and evenings.
If painting samples on a wall isn’t helpful for you, there are lots of apps for visualizing paint colors on walls. There are also others that will help you find color matches for real-life objects, like the app available via Benjamin Moore. “You can take a picture of the stone around your fireplace, your furniture, or a rug you love and find colors that will complement it,” says Bill Nishanian, the owner of Nash Painting in Nashville, Tennessee. If you want a blank-slate look but aren’t sure where to start, Nishanian says to choose a neutral hue and to go a bit lighter in tone, as darker colors tend to read harsher than their small samples.
Types of Paint Finishes
Once you decide on the color, you need to choose the finish for the paint. Here’s a quick guide to paint finishes.
Semi-Gloss: Super durable, easy to clean. Great for trim, doors, and windows. Surface needs to be very smooth before painting.
Eggshell or Satin: Softer appearance than gloss, easy cleanup, great for high-traffic areas. Satin is just a bit shinier than eggshell.
Flat or Matte: Non-reflective and low-luster. Great for textured walls and hiding imperfections.
So, what types of finishes work best in which spaces? Here’s how to choose what kind of paint finish to use for your project.
For kitchens and bathrooms, choose high-gloss or semi-gloss. They’re durable and easy to clean.
For living rooms and dining rooms, choose flat or matte finishes. But if you have a young family or pets and the rooms get a lot of use, you should consider an eggshell finish, which is easier to clean. If you want something with a bit more shine, choose a satin finish.
For bedrooms, choose flat or matte finishes. These are especially fitting if you have textured walls. Flat paint is great at hiding that texture, plus any blemishes like cracks or bumps on a wall. It can be harder to keep clean, so you might want to consider an eggshell or semi-gloss if you’re painting kids’ bedrooms or playrooms.
For hallways, choose eggshell or satin finishes. These have just a tiny bit more luster than flat finishes, but they clean up a lot easier, making them great for high-traffic areas like hallways.
For ceilings, choose flat or matte. This disguises any imperfections or texture.
How Much Paint Do I Need?
Add up the amount of square footage in the room you’re painting before heading to the store (measure the length and height of each wall, then multiply them to get a total).
Generally speaking, one gallon of paint will cover 400 square feet, but ask the paint department. They will help you determine exactly how much you need for your project, depending on the brand you purchase. You can also use online paint calculators if you want another opinion.
What You Need to Paint a Room
Nishanian says there are two ways to paint your interiors: the traditional brush and roller technique used by most homeowners, and spray finish, which is reserved for professionals who paint large areas a single color, typically in new construction.
“Traditional cut-and-roll is the best way to paint existing homes,” Nishanian says. That’s where you use a brush for edges and a roller for the rest.
When it comes to tools and materials, invest in the best paint brushes you can afford and take good care of them, and you’ll have them for years to come.
Nishanian also stresses the importance of prepping your walls and protecting surfaces when taking on a painting project. “Painter’s plastic is essential for covering and protecting furniture and decor,” he says. Another added benefit of plastic or protective cloth is that it can block openings to other areas and keep dust from migrating.
If your walls are nicked, have holes (even small nail holes), or are marred from drywall removal, Nishanian also suggests picking up sanding sponges and something to repair the drywall. “Twenty-minute drywall mud is great for repairs and means you don’t have to wait until the next day to sand and apply another coat of paint,” he says.
Tools and Supplies for Painting a Room
- Drop cloths or masking paper
- Rags
- Painter’s tape
- Paint pail
- Trim brush
- Fabric roller cover
- Paint roller frame
- Paint tray
- Stir stick
- Paint can opener like a painter’s 5-in-1
- Ladder
- Extension pole
- Paint brush comb (optional)
- Drywall mud, putty knife, and a sanding sponge (optional if you need to do small wall repairs)
How to Prep the Walls and Room for Painting
1. Move furniture and do any needed repairs.
Start by moving all furniture out of the room or towards the center to keep it out of the way and safe from paint splatters. Next, perform necessary wall repairs. Dust the walls and trim with a rag or clean mop to remove debris.
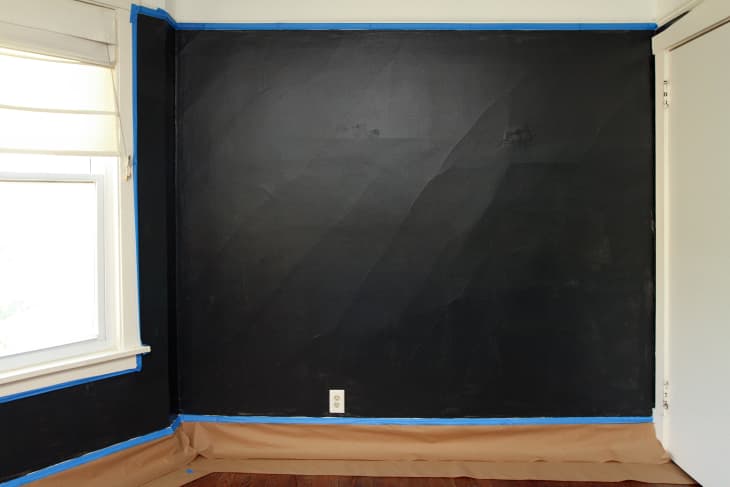
2. Tape any edges.
Tape off the border around all areas that are to be painted for easy trimming. If you use drywall mud, Nishanian recommends using a finish roller and finish paint to spot-prime those areas so they are smooth before painting.
3. Place drop cloths on the floor.
Line up your drop cloths around the room to cover the area below that will be painted by a width of at least 12 to 18 inches. If you’re painting a ceiling, be sure to cover the entire floor.
Canvas drop cloths are great but can be bulky to store. One DIYer’s trick: Grab a few $2.99 plastic shower curtain liners at IKEA to use instead; they’re cheap and fold up quite nicely when you’re done using them.
You can also use masking paper. Masking paper is best for experienced painters; it won’t protect your floor from big spills, but keeps paint flecks away quite nicely.
Nishanian also recommends using special tape if you have carpet. “Lay white painter’s tape about half an inch onto the baseboard and on the carpet at the same time,” he advises. “Then, push the tape down into the carpet and pull the carpet away from the baseboard, tucking the tape between the carpet and the baseboard.”
With this method, after the baseboards are painted, you can remove the tape, and the carpet will fluff back up, hiding any cut lines.

4. Mix up the paint.
After you open the paint can, you’ll probably need to mix up the paint.
Your freshly mixed paint will have been shaken well at the store, but if it’s been sitting around for a few days, give it a good shake before opening the can. Once the can is open, use the stir stick to mix the paint around if the color looks swirled or streaky.
5. Ventilate the area.
Make sure you’re working in a well-ventilated area. Open a window or turn on a fan to circulate the air. However, Nishanian advises doing just the opposite when sanding the walls. “Turn off HVAC units to prevent the air from moving drywall dust throughout the house while you make repairs,” he says.
How to Paint Walls
Note: In most cases, you won’t need to prime already-painted walls before painting again. But if you’re going from a dark color to a light color, or if you’re painting a kitchen or bathroom, it’s best to use a primer.
Follow the instructions on your primer and use the same painting techniques outlined below. Then, you can go in with your wall paint.
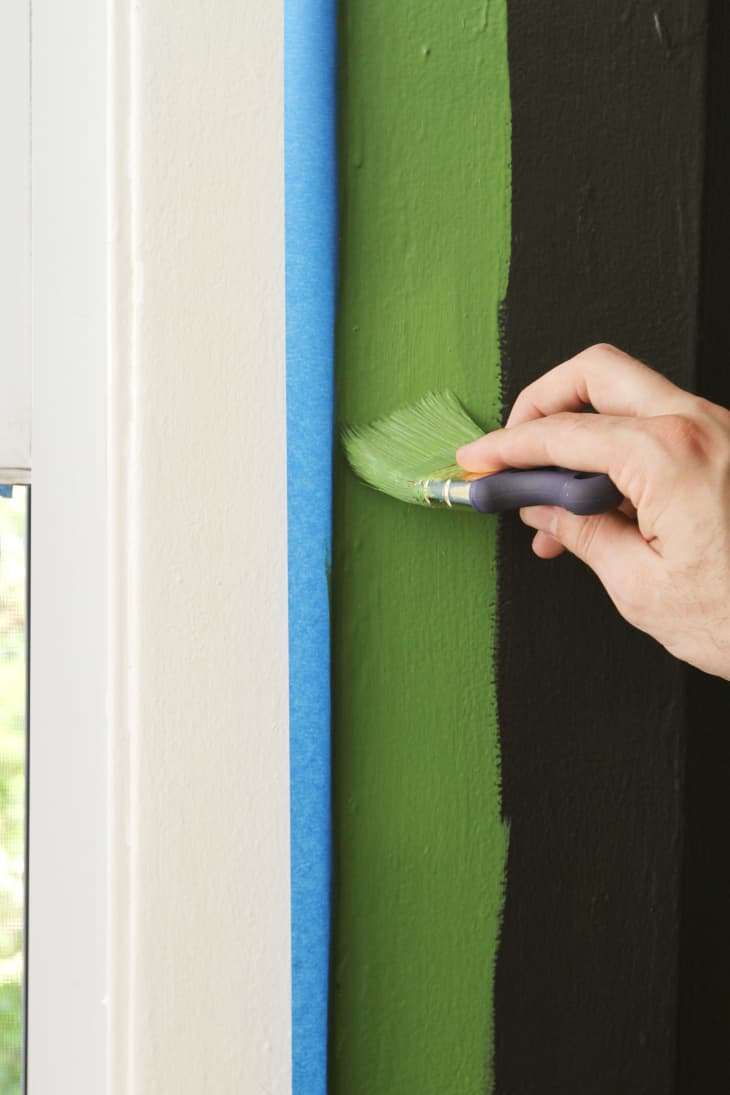
1. Paint the edges first.
Using a trim brush, apply paint around all windows, doors, the ceiling, and the floor. This is called “cutting in.”
Trim out at least a 3- to 5-inch border, lightly brushing the edge so it’s feathered, not thick and drippy. After everything has been trimmed out, the next step is to apply paint to the walls with your roller.
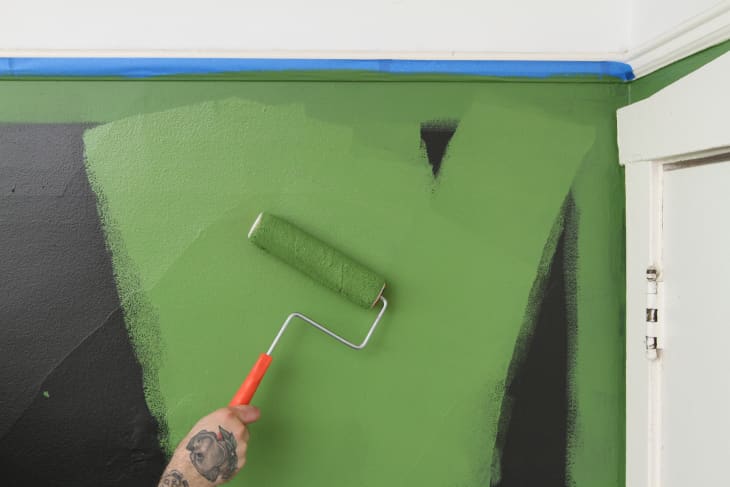
2. Go in with a paint roller.
Start at the top corner of the wall and roll paint onto the wall in a “W” shape. Work in an area that is within your arms’ reach, working from the top to the bottom, working back in the same “W” pattern to fill in as you go.
Most often, you’ll need to apply an additional coat or two — especially if you’re painting over a dark color (even if you’re using a paint and primer!) just be sure the walls are dry before you do this. Paint dries relatively fast, but the weather can have an effect on dry time.
Nishanian advises not getting ahead of yourself during the painting process, so working in sections is ideal. “When you are cutting and rolling a wall, don’t get more than six feet ahead of where you are rolling,” he says. “Otherwise, the cut-in lines may be visible after everything dries.” If you plan to paint the trim, give the walls a few days to cure before applying painter’s tape to the wall.
3. Paint a second coat.
Allow for dry time — whatever is specified on your paint can — and then go in for a second coat. Some paints might require a third.
How to Do Paint Cleanup
As soon as you’re finished for the day, clean your paintbrush. Even if the project isn’t finished, don’t be tempted to place them in a plastic bag or put them in the freezer.
The best way to clean latex paint from a paintbrush is to fill a clean container with warm, soapy water, then dip the brush around in the solution so that the soap works into the paintbrush.
You may need to let the paintbrush sit for just a few minutes. Follow up by rinsing the brush until the water runs clear and all the paint is gone. A paint brush comb is also a great tool to have on hand while cleaning your brushes.
Following these steps ensures the best possible outcome for painting your home without hiring a pro. With these steps you’ll get a pro-level finish (with a DIY price tag).