
How To Paint Windowsills & Window Trim
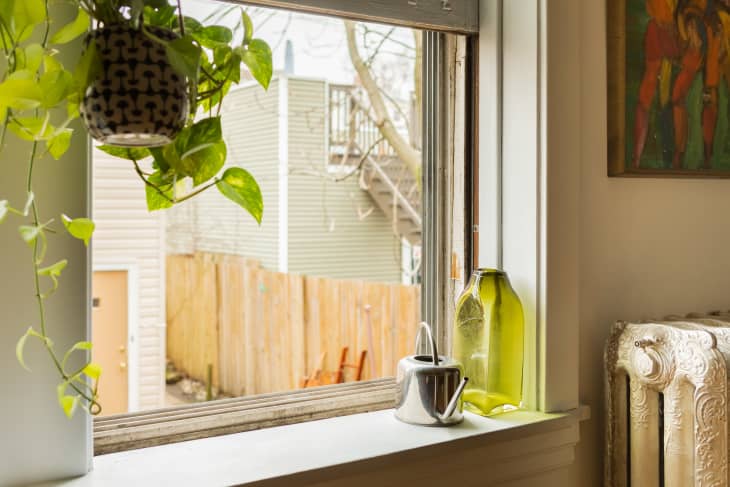
Repainting my windowsill made it onto my to-do list during the January Cure, and I decided to tackle it this past weekend. After a couple of hours of scraping and painting, my windowsill looks good as new. Below is a step-by-step visual guide of what I did:
How to Remove Paint and Repaint Windowsills
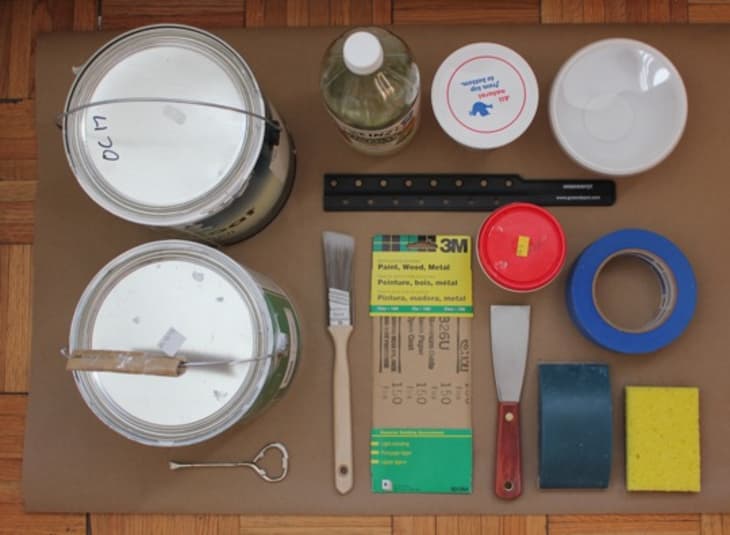
Materials
Drop Cloth
Spackle
Medium Grit Sand Paper
Sponge or Rag
White Vinegar
Painter’s Tape
Primer (I used no VOC)
Semi–Gloss Paint (I used no VOC)
Paint Cup (I used old yogurt containers)
Tools
5–in–1 Painter’s Tool or Putty Knife (I used a 1.5″ Stiff Putty Knife)
Sanding Block
Angle Paint Brush
Instructions
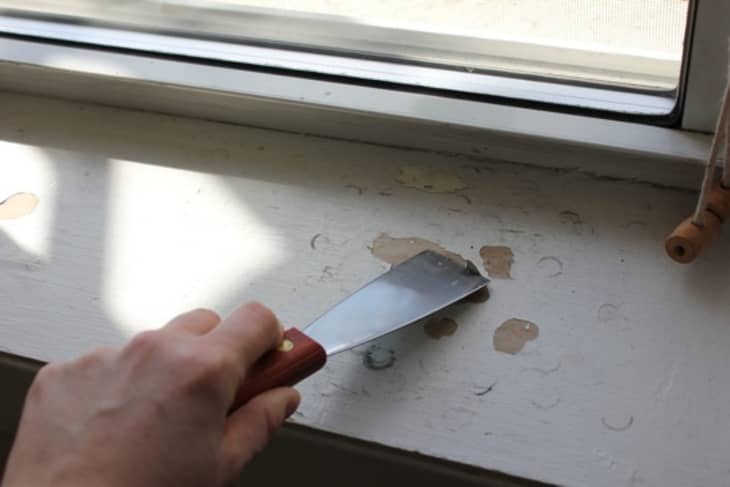
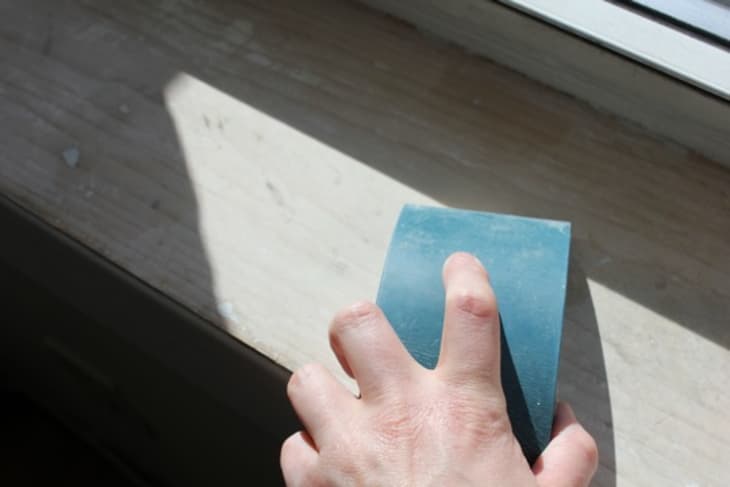
1. Lay down a drop cloth in front of the window, and remove as much of the old paint as you can with a scraper.
I used a putty knife, but a 5–in–1 painter’s tool would work, too. My window frame was not peeling, so I only removed paint from the sill.
Note: Remove only the loose paint. Do not force the paint off.
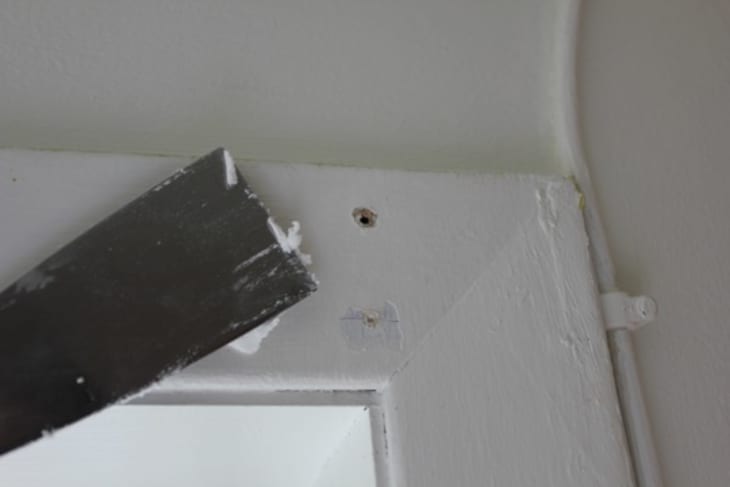
2. Fill in any holes with spackle, and allow it to dry completely.
Note: Less is more. Apply a small amount of spackle at a time; you can always apply more later.
3. Sand the patched areas smooth so they are flush with the rest of the sill, and sand the windowsill and the window frame to prepare for painting.
Note: Because I did not need to scrape the window frames, I prepped the painted surfaces by lightly sanding them until the sheen was gone; this will help the new paint stick.
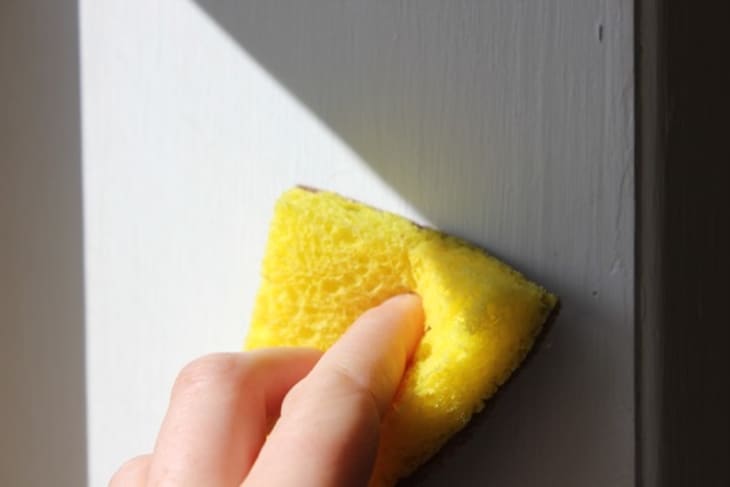
4. Clean the windowsills and frame.
I used vinegar and water to clean the surfaces and remove the dust.
Optional: if you have drafty windows, this would be a good time to caulk.
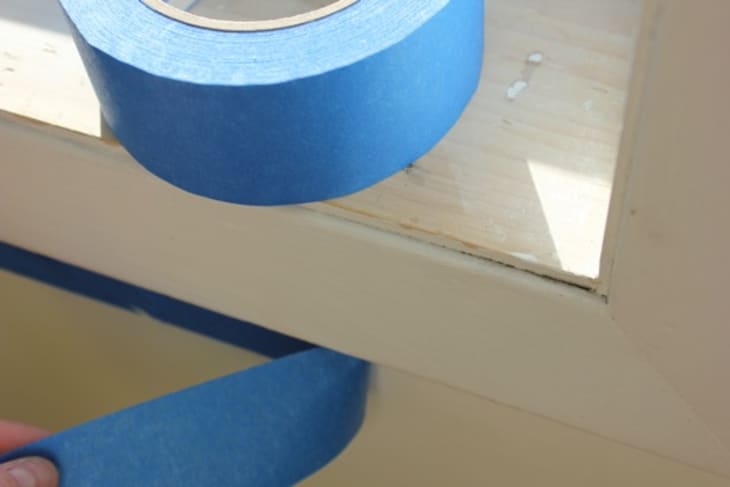
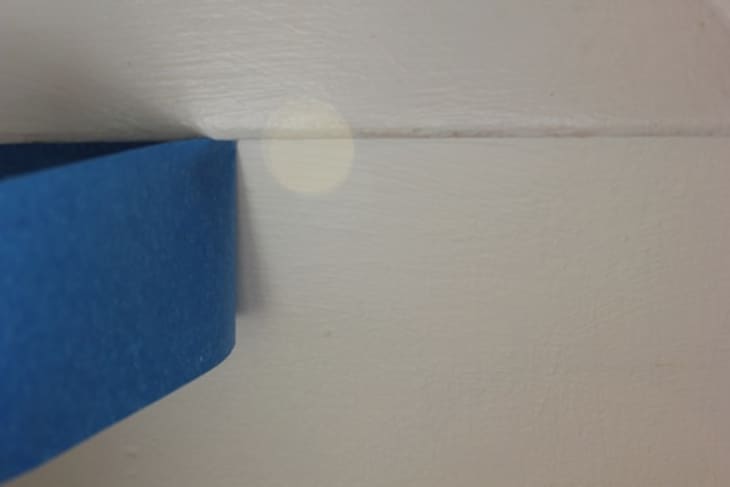
5. Tape around the area you are planning to paint.
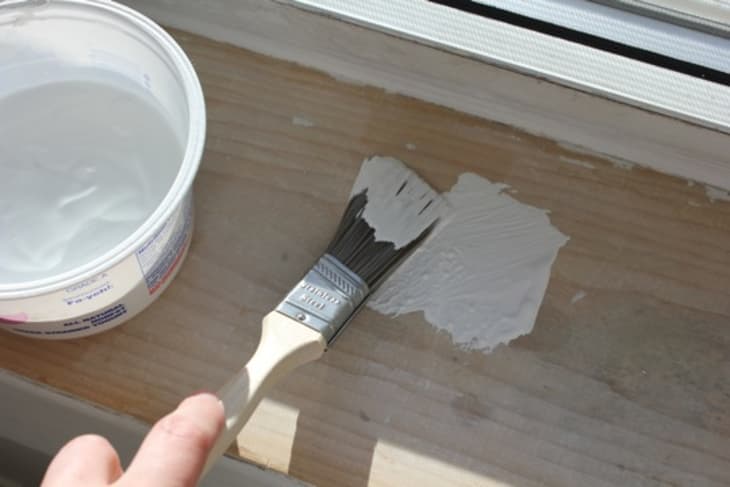
6. Using an angle brush, prime the raw wood and let it dry completely.
Because I only scraped the windowsill, I did not need to prime the window frame.
Note: an angled brush makes it easier to get into the nooks and crannies of the windowsill and trim.
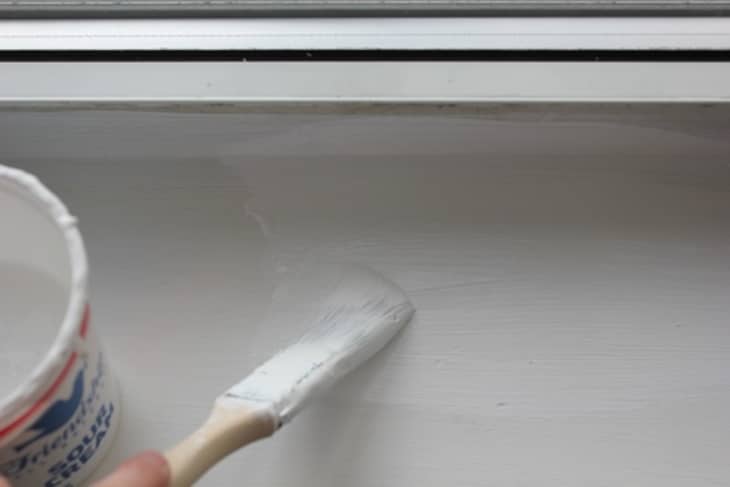
7. Next, paint the windowsill and window frame.
Make sure to use paint that is durable and easy to clean. I used leftover semi-gloss paint from when I painted my bathroom.
Note: I like to pour the paint into old yogurt or sour cream containers to make the job more manageable. Because these containers have lids, you can save the paint for a quick touch-up if you notice an area that needs attention later on in the day.
8. Remove the tape and let the paint dry.
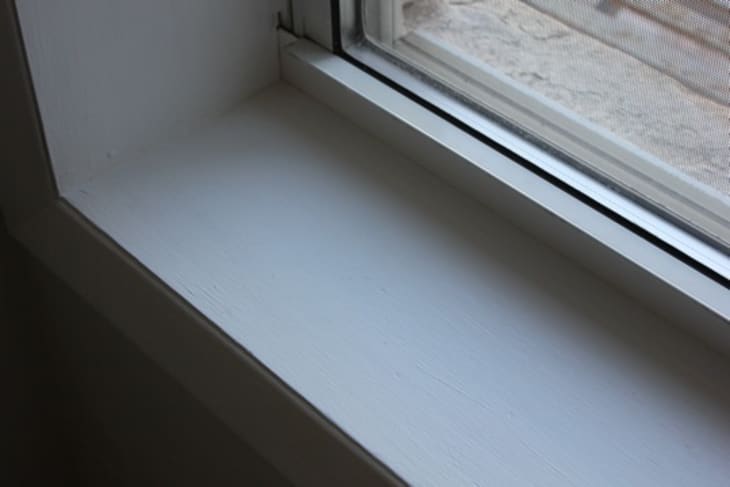
9. Voilà! Good as new.
(Images: Kate Legere)