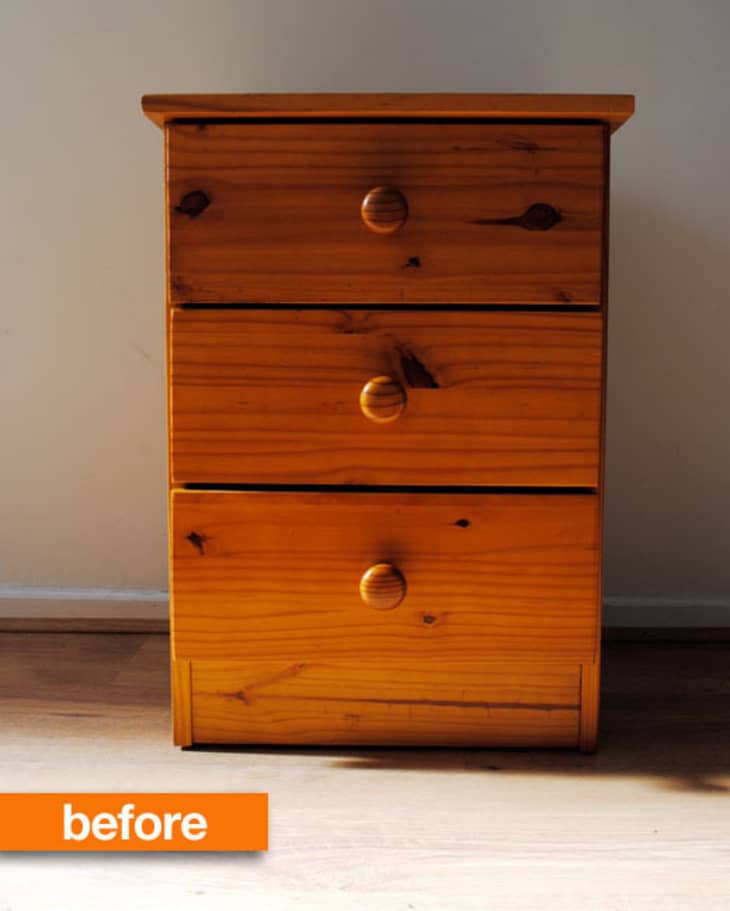
I know some of us at Apartment Therapy have strong views on painting wooden furniture, particularly (gasp!) painting it white, but sometimes it's gotta be done. This bedside table belongs to my flatmate/landlord, left behind by some long-ago tenant. We both agreed that the knotty pine was an eyesore, and that for the benefit of future tenants, giving it a makeover with a lick of white paint was the best thing we could do.
So on a sunny Saturday a few weeks ago, I gathered some supplies and got to work, photographing the process and keeping track of my steps for the benefit of the ugly furniture in all of your lives. The steps below are easily scaled up for a larger chest of drawers, or most other pieces of wooden furniture, as well.
1. Gather Your Tools
In a well-ventilated area, gather together your supplies. For this project, I used:
- A drop cloth to protect the patio
- An old rag for cleanup
- Blue painter's tape
- Sandpaper in three different grades: coarse, medium and fine
- Oil-based wood primer
- Latex/emulsion paint
- Water-based polyurethane varnish
- A plastic paint tray
- Small, dense foam rollers
- A small brush for corners and tricky-to-reach areas
- A soft brush for applying varnish
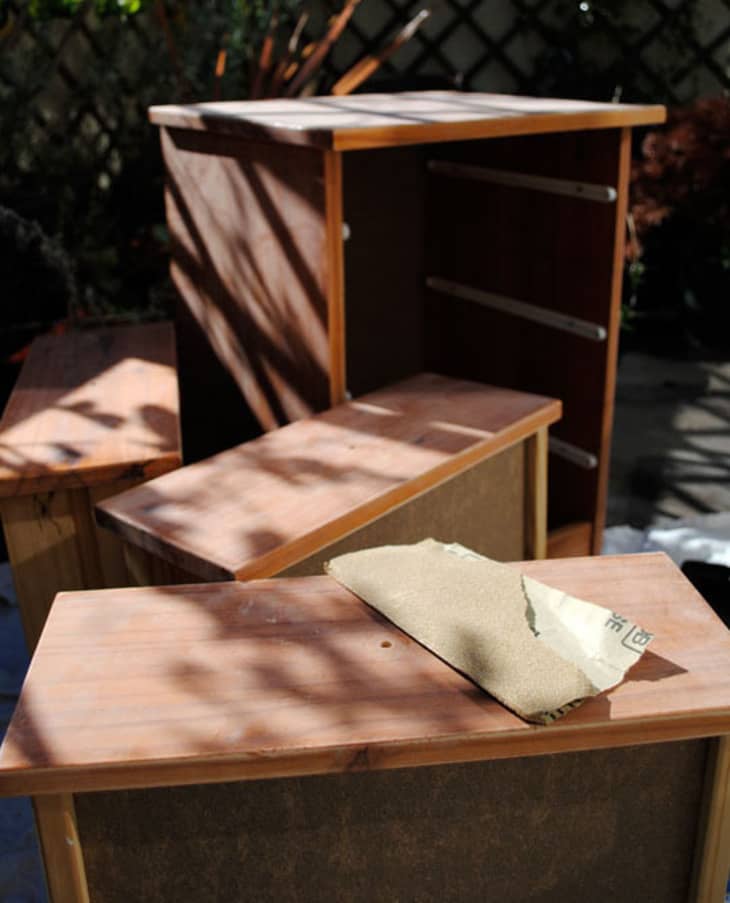
2. Sand
Begin by dismantling the chest of drawers as much as you can, removing the drawers and unscrewing pulls and hardware. Then, take a coarse sandpaper to all surfaces to be painted. Working in a circular motion, press firmly, but don't worry too much about coverage — the goal with this step is just to rough up the old varnish so that the primer can adhere. After you've used the coarse sandpaper, go over everything again with the medium grade paper, this time working with the direction of the wood grain. Once everything is smooth, clean all surfaces with a damp cloth, and allow to dry before continuing.
Note: If your dresser is unvarnished to begin with, skip the coarse sandpaper and just do a light go-over with the medium one.
3. Tape Off
Spending some thoughtful time with a roll of painter's tape is important, not just for avoiding drips and the like, but for deciding where you're going to start and stop painting. Whether you paint the back, drawer sides, or just what you see from the front of the piece is up to you, but it's best to be consistent. Tape neatly and carefully and it will save you time in the painting steps.
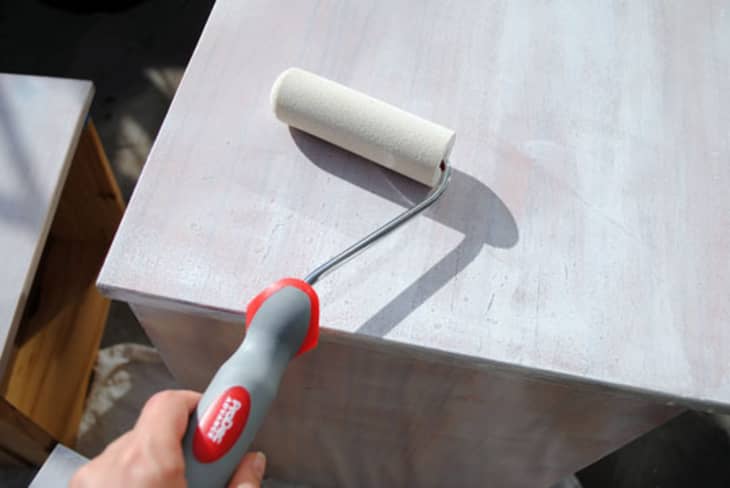
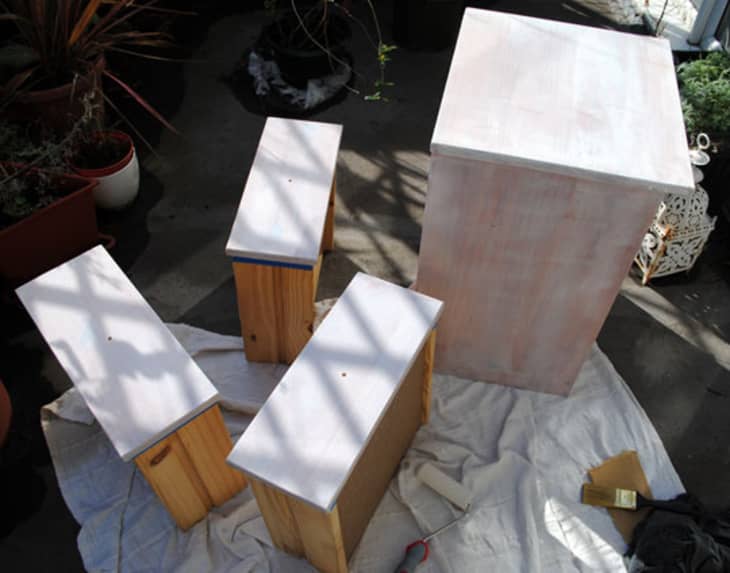
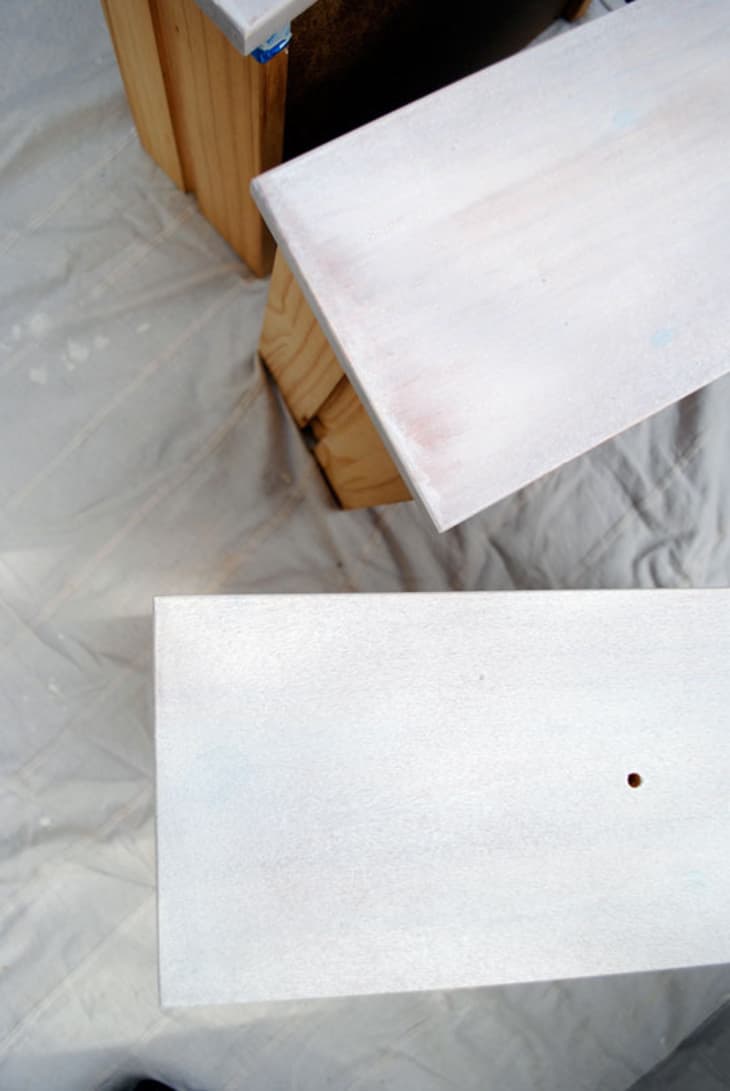
4. Prime
Using brush or a foam roller, apply a thin layer of primer to all the areas within your taped boundaries (if using a roller, you will need a brush anyway to get into the corners and tricky bits). Don't worry about it looking particularly even (primer never tends to anyway), just ensure you don't apply it too thickly and get drips. Let dry for the amount of time specified by your particular product (usually 4-6 hours).

Note: I used a primer with "knot block" specifically for knotty pine, which is meant to stop the resin from the wood knots seeping through the paint later on. If your wood isn't dark or knotty, a regular primer is perfectly fine.
5. Paint
When the primer has dried, begin painting. I like to do 3-4 very thin and even coats, depending on the color I'm using and the item. For this chest of drawers I did 3, which I applied with a foam roller, a great tool for creating a very smooth surface (again, I used a small brush for the corners). Use long, firm strokes which go in the same direction, and avoid going over the same spot more than once.
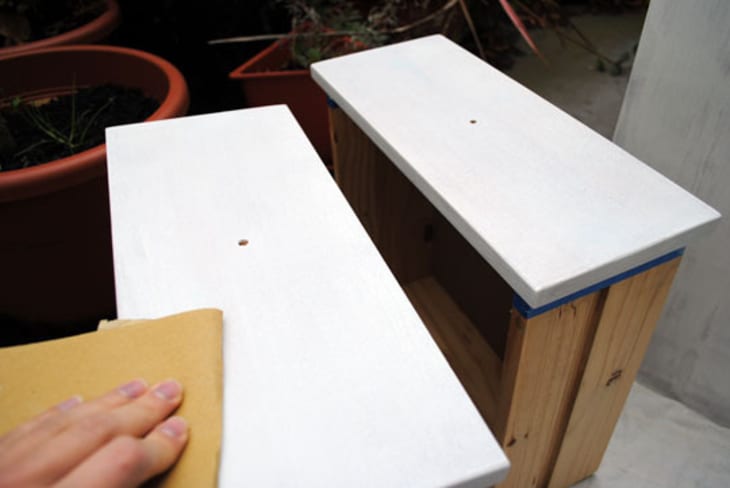
Allow each coat to dry completely before moving onto the next one, and sand the surfaces very lightly with a fine-grade sandpaper in between each coat. This will remove any tiny drips, or pieces of dust/fluff which landed on the item while it was drying.
Note: It's perfectly fine, in fact preferable, to use a water-based paint over an oil-based primer. The oil-based primer is what will prevent stains from the wood or previous varnishes from seeping through. You don't want to use a water-based paint over an oil-based paint, however.
6. Varnish
This step is technically optional, but I like to use 1-2 coats of varnish for extra protection and ease of future clean-ups (particularly as this piece is a bedside table, where tea will inevitably be spilt in the future). Once the last coat of paint has completely dried (I waited 24 hours), apply a very thin layer of varnish with a soft brush. As with the paint, you want to use long strokes in one direction only. After the coat has dried, lightly sand with the fine sandpaper and apply a second one.
7. Hardware
These days, a lot of people are choosing to replace wooden hardware with something more modern, so this might not be an issue for you. In this case I chose to keep the wooden knobs and paint them. For this the same priming, painting, sanding and varnishing steps apply, though it's particularly important to use a light hand- too much product on your brush will inevitably cause drips. If painting the drawer pulls, come up with a way of keeping them from touching other surfaces.
8. Assemble
After the last layer of varnish, the difficult part is waiting for everything to cure up — it's best to wait at least 48 hours, if not 72, to ensure the piece is completely dry. You don't want dents in your beautiful new dresser, so better safe than sorry! Once dry, reassemble your piece and commence basking in the glow of your efforts.

(Images: Eleanor Busing)


Stanley Console by ...
Wow, very nice! I have a wooden corner cabinet that looks very dated. I think I'll do the same thing. In my opinion, painting wood is way better than tossing furniture, and wasting a tree. Thanks for sharing!!
Looks great, and your tape-hanging solution for painting the knobs is excellent! Painting furniture is so much work.
I'm all about painting cheap wood furniture. I have a table I'm getting ready to paint right now. I probably would have done something other than plain, all white, as it looks rather like a generic white dresser. Also, regarding the primer, not true about it never looking particularly even. It's very much possible to get an even coat, and desirable actually, especially if using a saturated color. Ideally your primer coat(s) should look like a finished paint job, as it gives you a solid/even basis under your paint. Possibly less of an issue with white paint. I always brush furniture, so perhaps it's rolling it that makes even coverage harder.
I did this for an old armoire that was being given away for free. The wood was a little damaged but it's amazing how good it turned out and the cost of supplies was only $20. The biggest pain, but probably the most important step, was sanding.
It looks nice.
Thanks for this! I have an old bookshelf I want to paint this weekend!
Loving it I wish I had the time to do it, sigh.
Is it the varnish that makes it sooo shiny on top? Looks great.
I like the idea of hanging the knobs to paint them, but you can also poke the screws through a piece of cardboard, screw the knobs on partially, lay the cardboard flat, and then paint them. Then they wouldn't swing around.
It looks really nice, by the way. Much better.
The knob tape-hanging idea is genius! Thanks!
painting wood is far from a crime. it's when a valuable, salvageable, vintage(?) piece is covered in paint that a lot of people on here squirm (with good reason.) this little dresser looks sweet. new and different knobs might make it look even better. just a thought...
Is this a good method for furniture that has already been painted? I found a wooden dresser that was painted black, and I like it but it's definitely in need of a freshening up. Would I need to sand off all the old paint, or just enough to make the primer stick? Can you prime on top of paint?
You sure can prime on top of paint! Do a quick sand to rough up the surface, prime then paint.
As you're painting over black, you may need a double coat of primer (unlikely).
I actually was just at the hardware store looking for varnish to go over painted wood, and they all said "not recommended over latex paint" or "will turn yellow over white paint"... what brand should I use?
In place of vanish or polyurethane, can we use a polycrylic? It is water base, and comes in flat to shiny finishes. I keep a lot around for crafts, it's great - quick drying, easy clean up and zero odor. p.s. BTW, you did a THOROUGH job! I'm a corner cutter but my hat is off to you.
I don't know if I'd want to sleep next to oil based primer but it looks GREAT!
Looks great !
Great idea about the cardboard.
Cute but I think I may have changed the hardware but nice job.
Chalkboard paint needs no sanding or priming, apparently, and it comes in a variety of delicious colors. A shopowner in my town uses it for all kinds of furniture, outdoor, metal, wood, you name it. It dries matte, so varnish is required for a glossier finish, but that varnish may take care of sagekitten85's question...
I'm loving that simple wicker headboard, actually :)
If you're not going to varnish the piece, use acrylic paint: it dries harder than regular latex. Also, add Floetrol to your paint to extend the drying time and to prevent brush or roller marks in the finish. And always get the best brush you can: they leave a smoother finish. A flat paint under the polyurethane will help the poly bind stronger to the paint, too.
I love to give furniture a new life and paint is really ideal, thanks for great instructions, they are indeed very valuable and I believe they can also apply to kitchen cabinets if you want DIY. Have a good Sunday.
decogirlmontreal
i personally don't see why it would be a problem to paint over wood unless it's something that is antique or very lovely as a wood piece.
This was a generic wood pine so it looked really great painted and white is nice when you know what kind of look you're going through.
as for choosing varnish, i generally always test things out on a scrap piece first because you never know what paints react with what varnish and you don't want to waste hours sanding to get something bad at the end :)
Most water based polys are clear, meaning they won't turn your white paint yellow.
Kittery. Are you sure you don't mean chalk paint?
Yes I think Kittery means Annie Sloan Chalk Paint. The stuff is magic. I just painted a craig's list nightstand yesterday with it, no sanding or priming needed.
It's true the most painful part in painting wood furniture is sanding. But you should have minimize this chapter of preparation by using deglosser.You will still do some sanding though but very minimal.
Primer plus 3 to 4 coats...c'mon.
Thank you for describing this process so clearly. I'm trying to re-paint wooden outdoor furniture so assume that I will have to use specialist outdoor products instead but this has given me some good advice.
I've been wondering for a while how to paint knobs w/o them touching anything. Great idea!
Do you also sand the last coat of paint before varnish? Thanks for the awesome tutorial!