
Time for a Few Finishing Touches: Hang Artwork or Bust Out a Little Holiday Decor
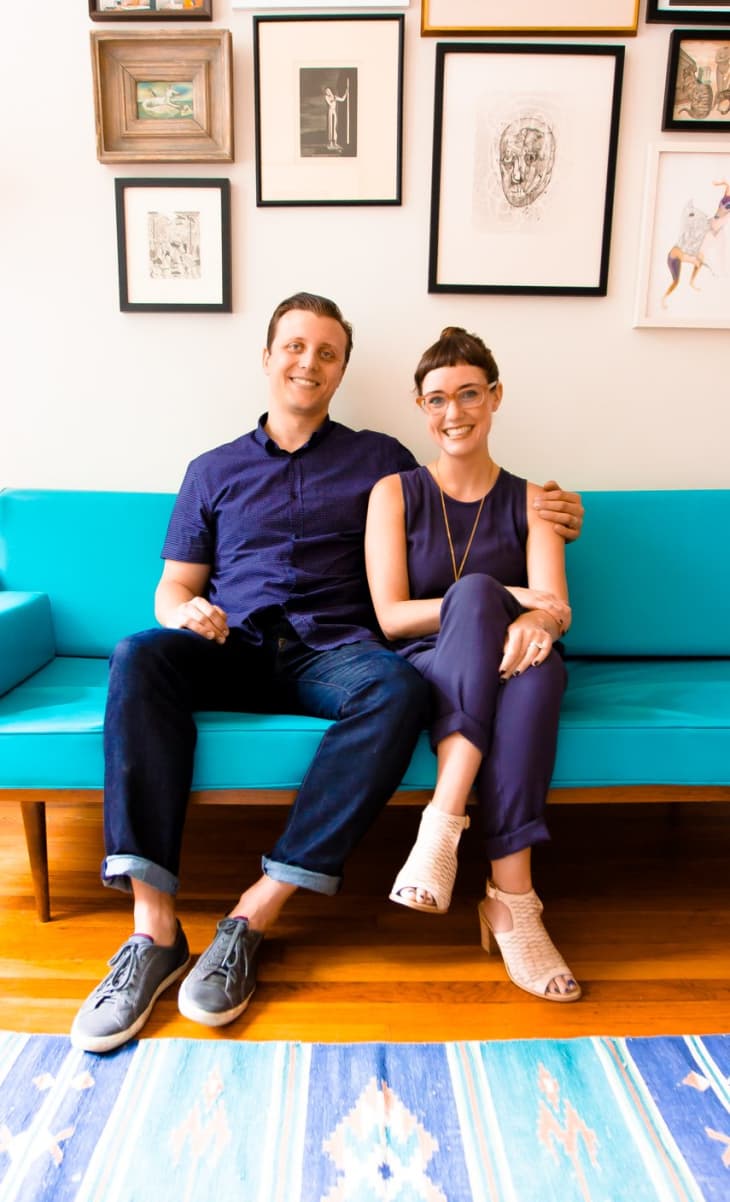
What you choose to decorate your walls with is one of the things that makes your style truly yours and all that matters is that you love it! Whether it’s high or low, rare or mass produced, permanently placed and lit or a constantly changing casual display, taking the time to hang artwork with care will make the most of it. Today’s the day to get the job done right! OR, if you are all set with artwork, spend a little time dressing up your space for the holiday season ahead.
Today’s Assignment
Hang (or re-hang, after your weekend of painting!) artwork OR, since it’s the season, bust out some holiday decor and get in the spirit in plenty of time for Thanksgiving!
Help for those of us hanging artwork…
A good guideline from one of our perennially popular posts:
Hang your art at 57″ on center. “On center” means that the middle of the picture is at 57″ (obviously, the hook will be higher). Interestingly, the 57″ standard represents the average human eye-height and is regularly used as a standard in many galleries and museums.
What we have discovered is that if you stick to this standard, you create a harmony among all the pictures in your home, as they will always hang in relationship to one another from their centers, not their sides. Additionally, we have also found that this helps solve the problem many people have, which is that they hang their pictures too high.
Step By Step:
1. Measure and lightly mark 57″ on the wall
2. Measure top of your picture to the middle (or take height and divide by 2)
3. Measure top of your picture to the tightened wire (a small amount)
4. Subtract this last amount to tell you how far above 57″ your hook should go
5. Measure up from 57″ with this last amount and lightly mark on the wall
Example:
1. Picture is 20″ tall
2. Middle is 10″ down from top (this should rest at 57″)
3. Wire comes to 2″ below the top
4. 10″ – 2″ = 8″
5. Lightly mark 8″ above your first mark OR 65″ on the wall
Though this may seem complicated to read, it is quite simple when you do it. The thing to always remember is that the CENTER of all your pictures are hanging at the same 57″, and you are just figuring out where the hook goes above it.
This 57″ also applies to groups of pictures. Think of a group as ONE picture. After you arrange how you want them all to hang (doing this on the floor makes it easier), start with the center picture/pictures and get them at 57″ on center. Then surround them with the rest of the group.
An exception to the rule, from Maxwell: One exception is artwork hung beside the bed. Because you want artwork over your bedside table to be cozier and closer to the table, I find that I hang art here lower. Rather than 57″ from the floor, I look for a distance like 12″-24″ above the bedside table – whatever that may be – and just make sure to keep it consistent on either side of the bed.
More helpful info for hanging artwork:
- Thanksgiving Table Decor, Step by Step: How To Build a Centerpiece
- 15 DIY Ideas and Inspiration for a Modern Thanksgiving Table
- 10 Simple Christmas Decorating Ideas for Small Spaces
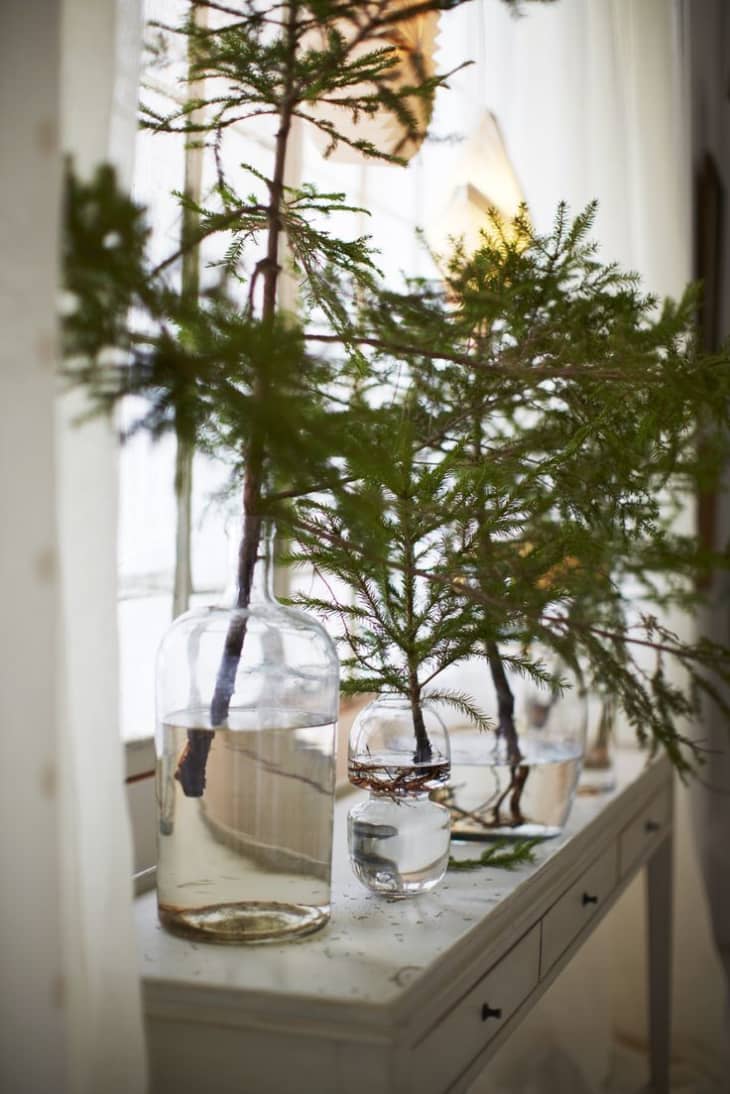
- Simple & Thrifty: Branch Christmas Trees
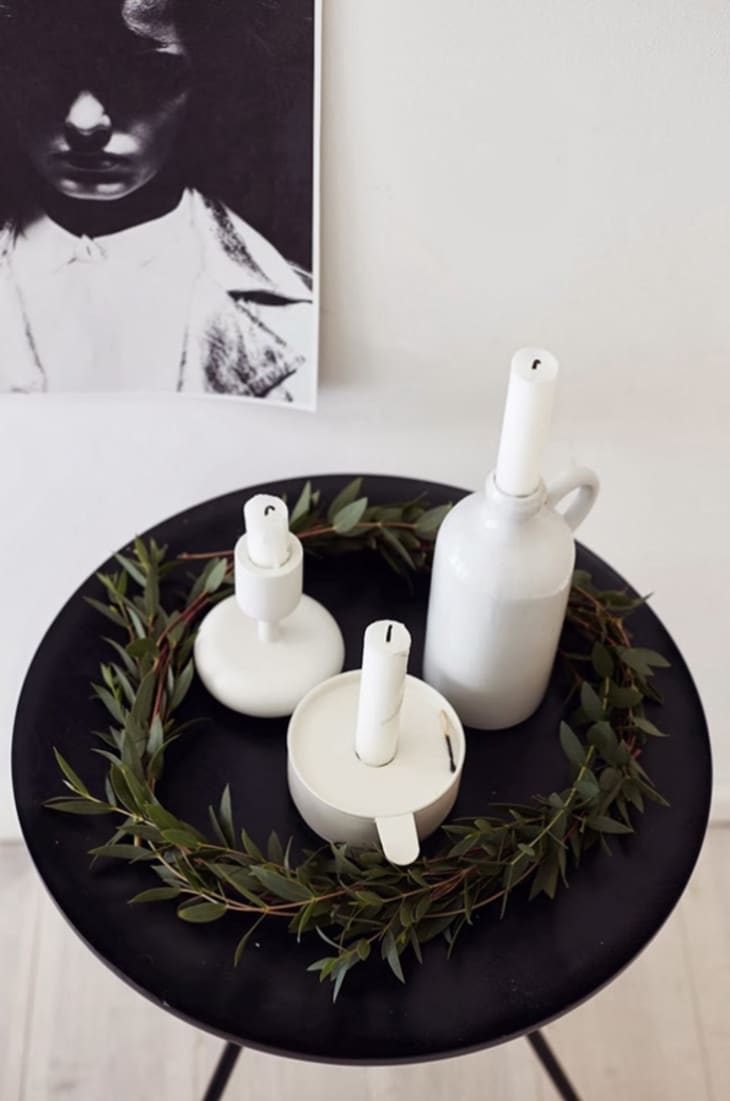
- Natural Holiday Decor Idea: Beautiful Birch Branches
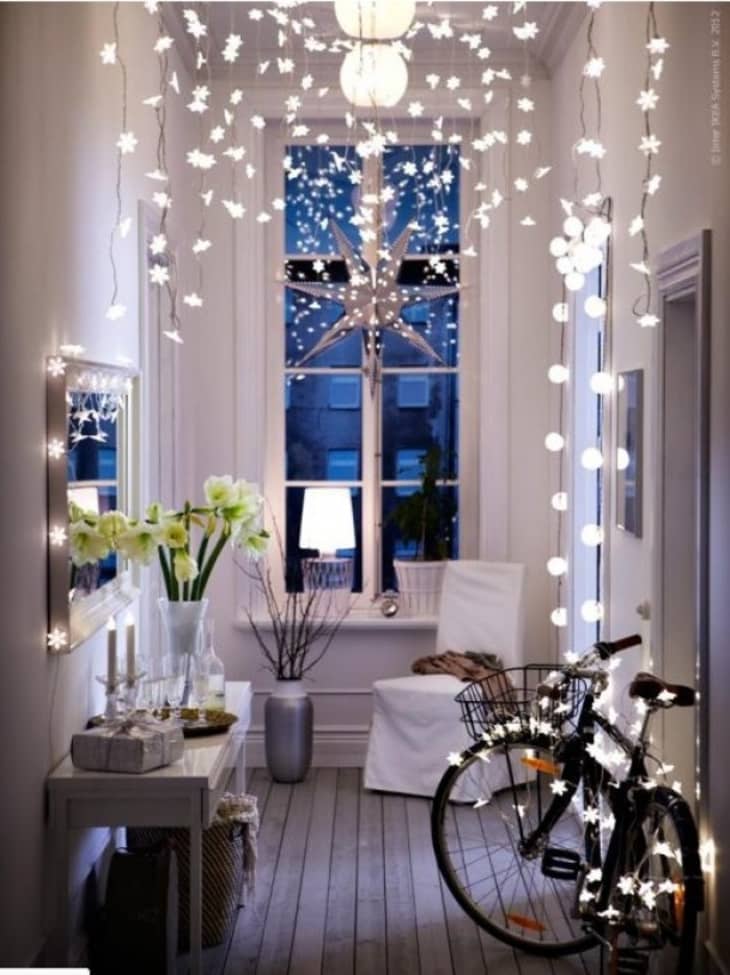
- 10 IKEA Holiday Decorating Ideas Worth Stealing
- How To: Make A Silvery Swag
- Keep It Simple: Subtle Holiday Decor Inspiration
- 6 DIY Holiday Decorating Ideas from Living Etc.
Join The Style Cure: Click Here to Sign Up
Questions? Comments? Pictures? Email us at: stylecure@apartmenttherapy.com
Share your progress on Instagram, Pinterest and Twitter! We’ll have an eye out for your updates and photo and would love to see how you are doing and share it with the group. Be sure to tag with #stylecure so we can find you.