
Try This DIY Project!: Turn an Old Box Spring Mattress into Stand Alone Bed Frame

This DIY project is a great use for older box springs, and an affordable way to have a “brand new” bed. It only requires about four yards of upholstery fabric, and can be done in just a couple of hours…
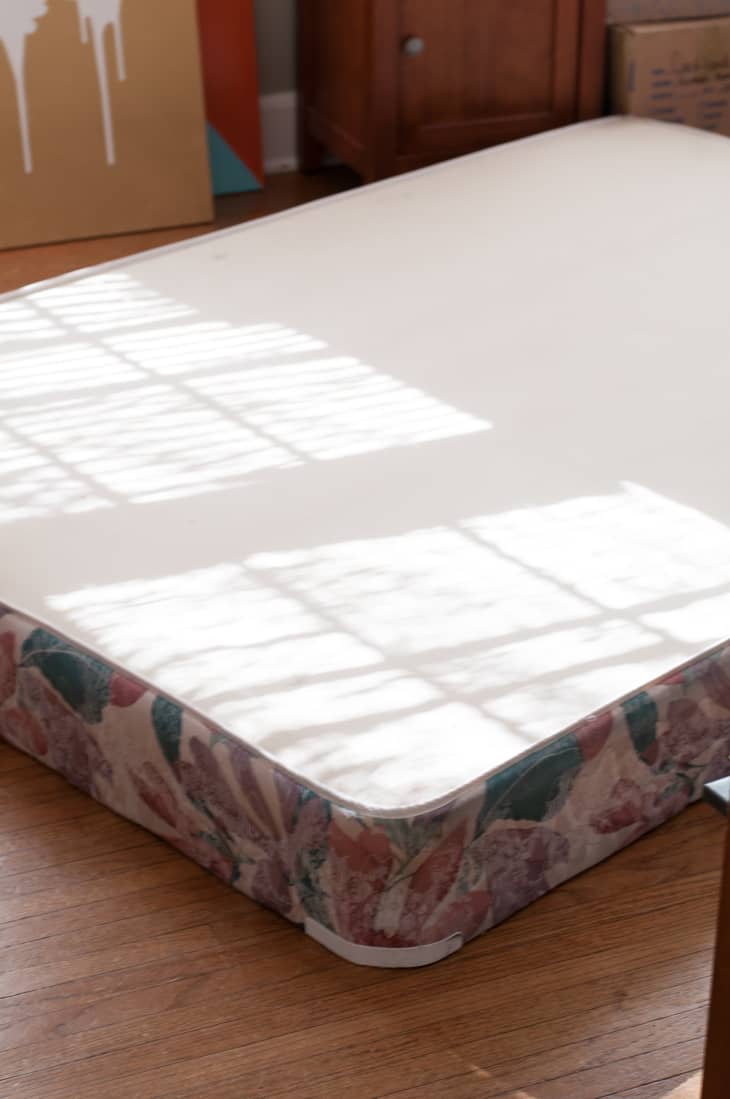
Katy from The Clever Bunny had a hand-me-down mattress which was relegated to her guest room. In lieu of a bed frame she chose to cover the box spring with fabric and add legs. Here’s what she did:
Materials
- Upholstery fabric (four yards, at least 54″ wide)
- Heavy duty upholstery staples and staple gun
- Sewing machine
- Scissors
- Drill
- Screws
- 6 wooden legs from hardware store
- 6 leg brackets (threaded for legs to screw into)
Instructions
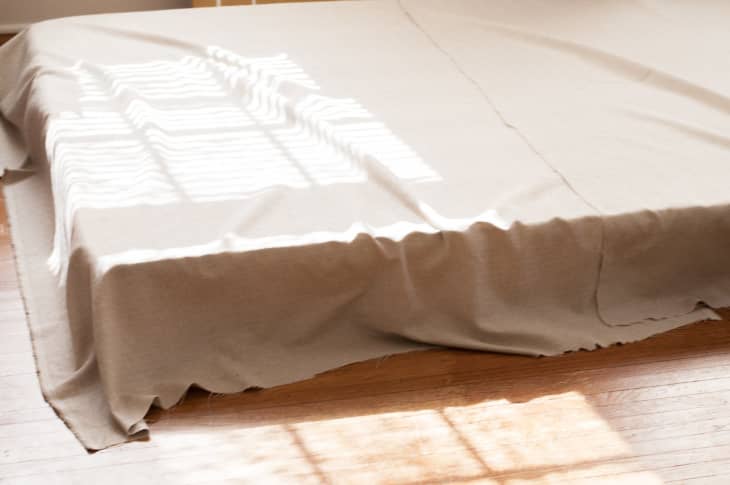
1. Cut the continuous fabric into two pieces and sew them together side by side. There should then be one piece that fits the entire box spring.
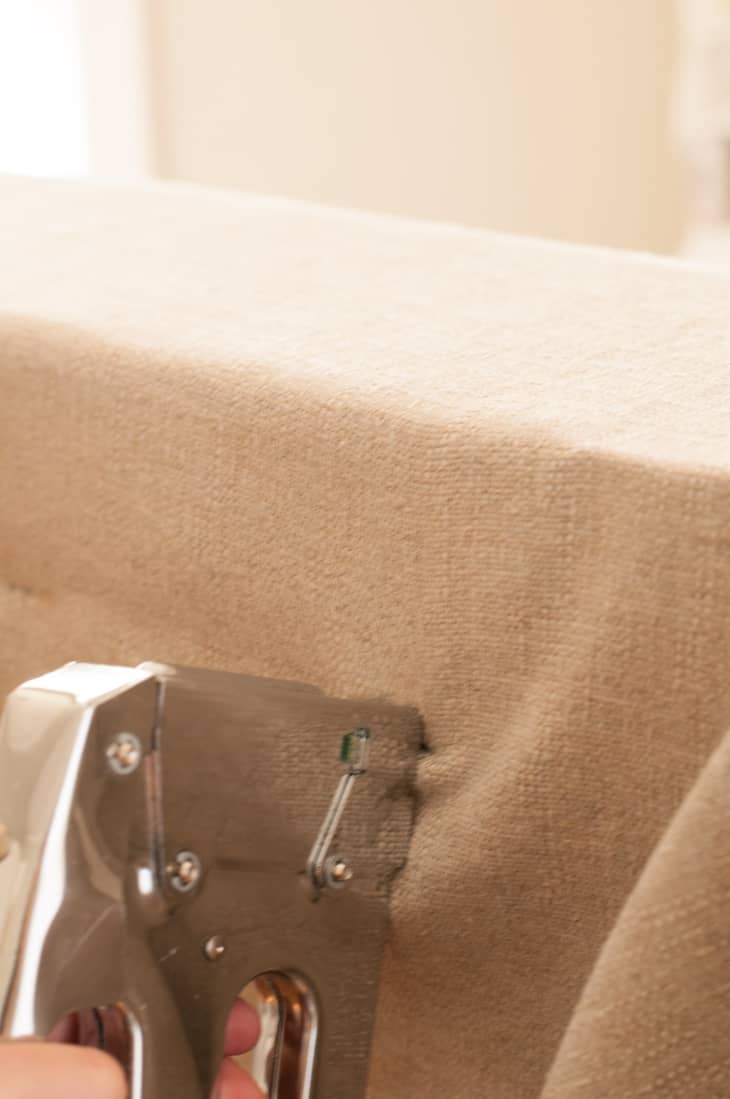
2. Lay the fabric (right side down) on the floor and flip your box spring face down on top of it. Make sure all sides are even and begin stapling the fabric to the underneath of the box spring.
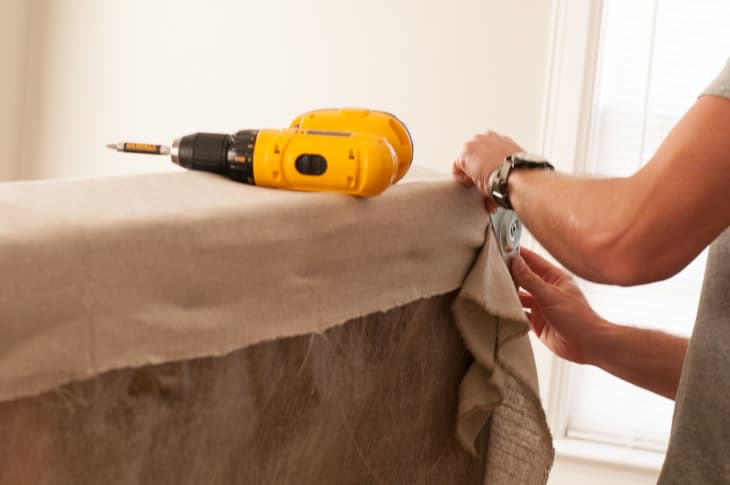
3. Once the fabric is completely stapled down, trip the excess and screw down the leg bracket mounts. This full-sized bed needed three bracket mounts on each side of the bed (for a total of six).
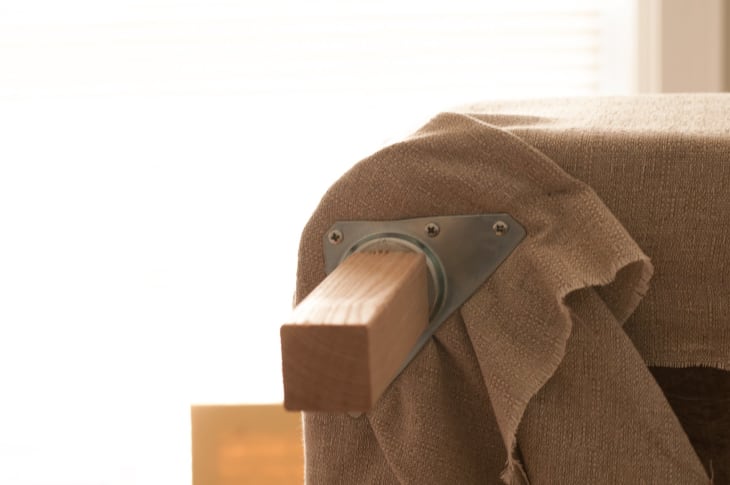
4. Screw in your legs to the bracket mounts. There should be three legs on each side. For wider beds (queen or king-sized), add another row of legs down the middle for extra reinforcement.
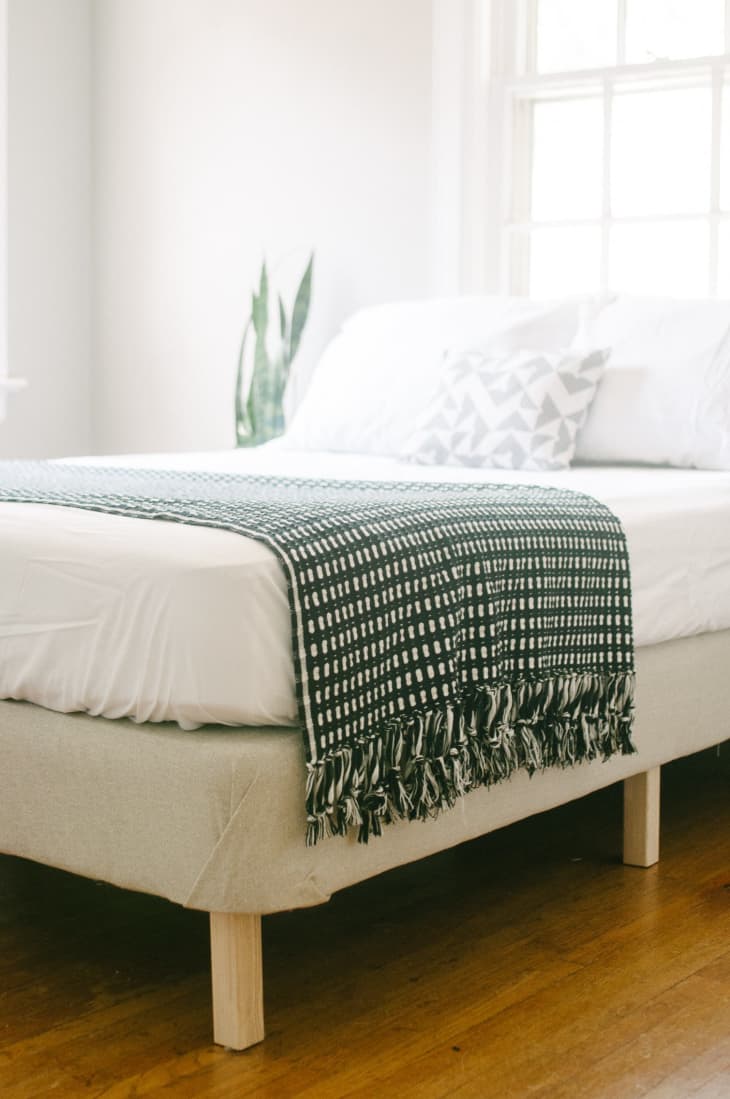
That’s it! Make your bed up and get a good night’s sleep…
Have a really great DIY project or tutorial that you want to share with others? Let us know! We love checking out what you’re making these days, and learning from our readers. When you’re ready, click here to submit your project and photos.