
DIY Project Idea: How to Make a Modern Pegboard Shelving System
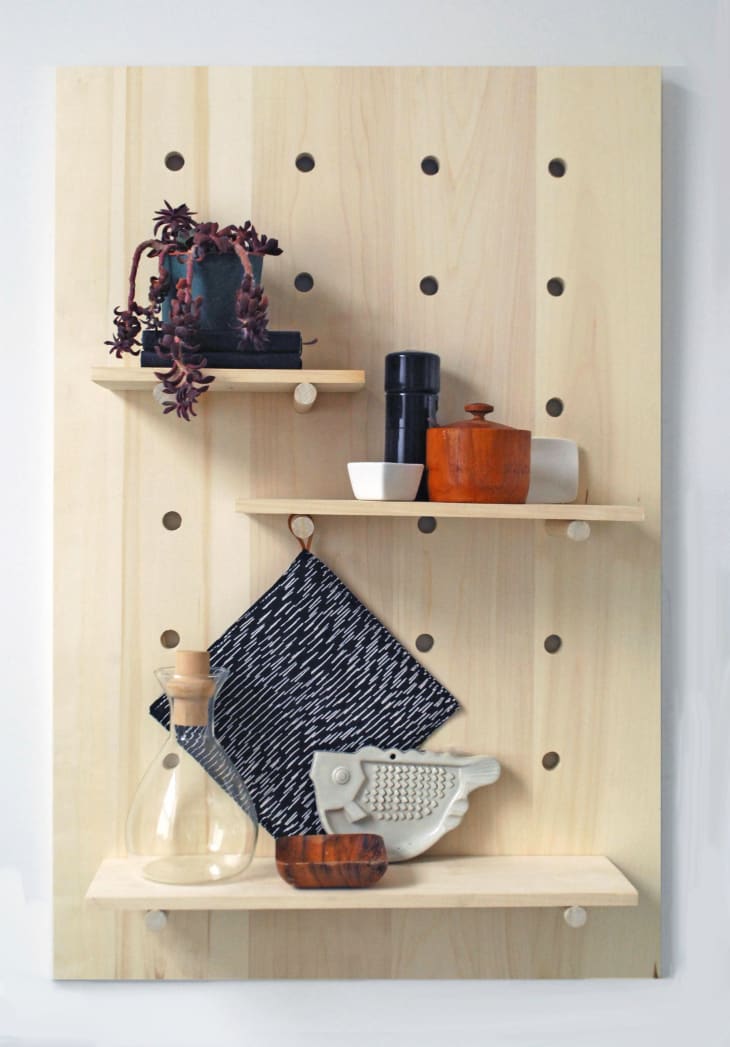
As DIY projects go, this is one of my favorites. A photo of one popped up here on Apartment Therapy last year, and it’s been in my crosshairs ever since. I love this shelving system because it’s simple, yet pretty, and can be configured in multiple ways. It’s also very easy to make, with a little precision and patience. Here’s how:
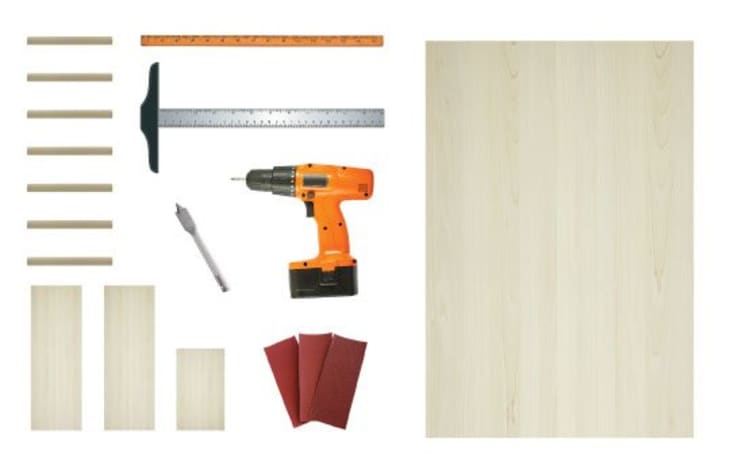
What You Need
Materials
- Large 3/4″ thick board or plywood that won’t splinter (mine is 2′ x 3′)
- Dowels (I used 3/4″ diameter)
- Sandpaper
- Wooden boards to use as shelves
Tools
- Power drill
- Saw (or access to a hardware store who will cut them for you)
- Spade bit (same size as your chosen dowels, so here 3/4″)
- T-square and/or ruler
- Pencil
Instructions
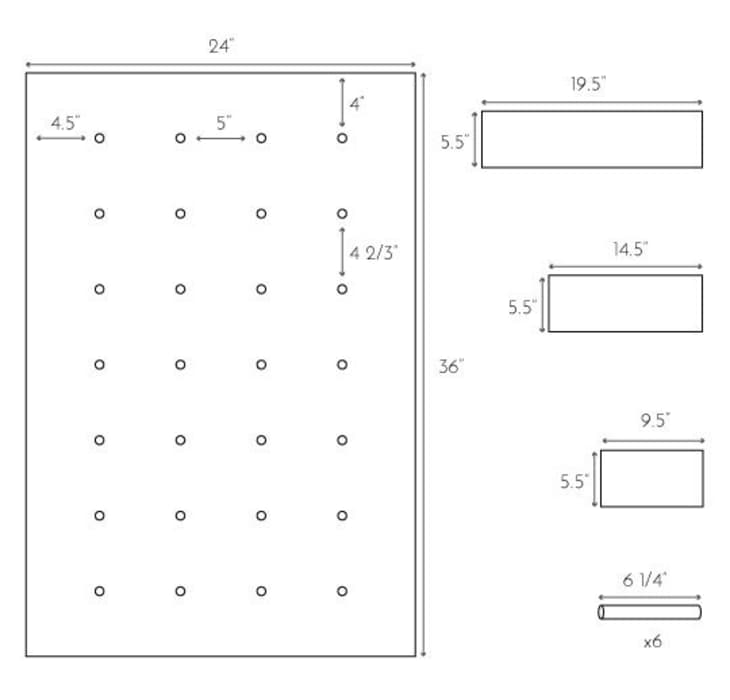
1. Begin by plotting out your hole placement. I went into Illustrator and fiddled around until I had something that looked good to me (measurements are above), but you can do it with a piece of paper and pencil, or whatever else is easiest for you.
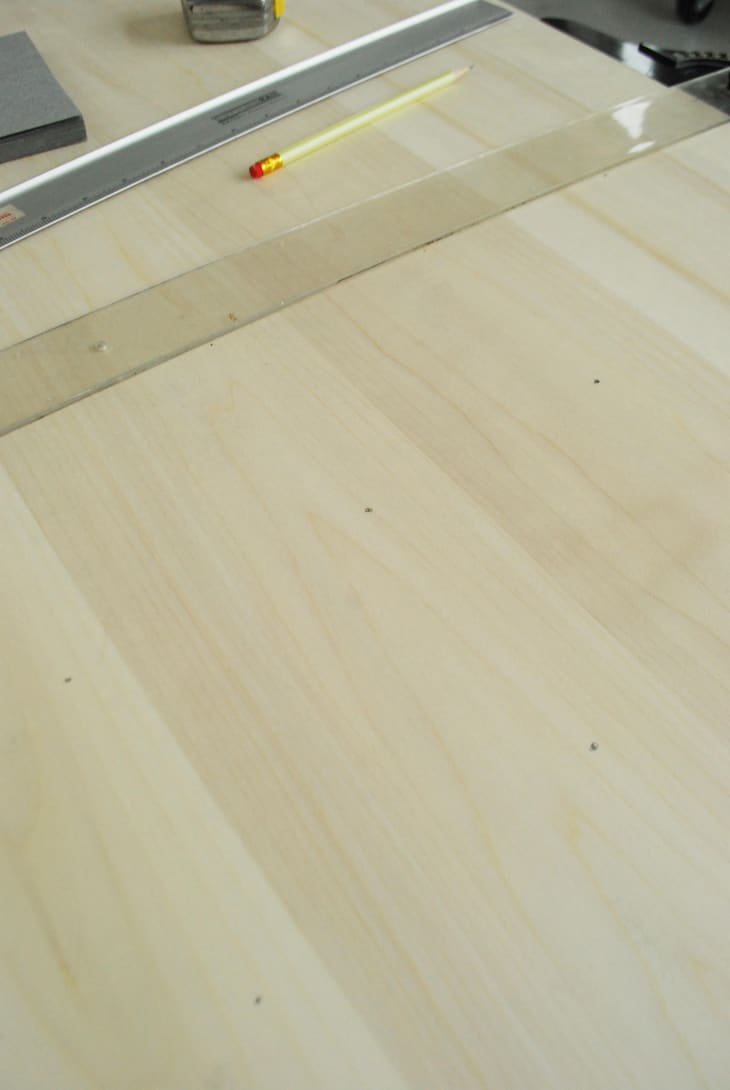
2. Once you’ve figured out your plan, mark your holes on the wooden panel with a pencil.
Tip: I found a T-square to be very, very helpful here. If you don’t have one, double check your measurements more than once.
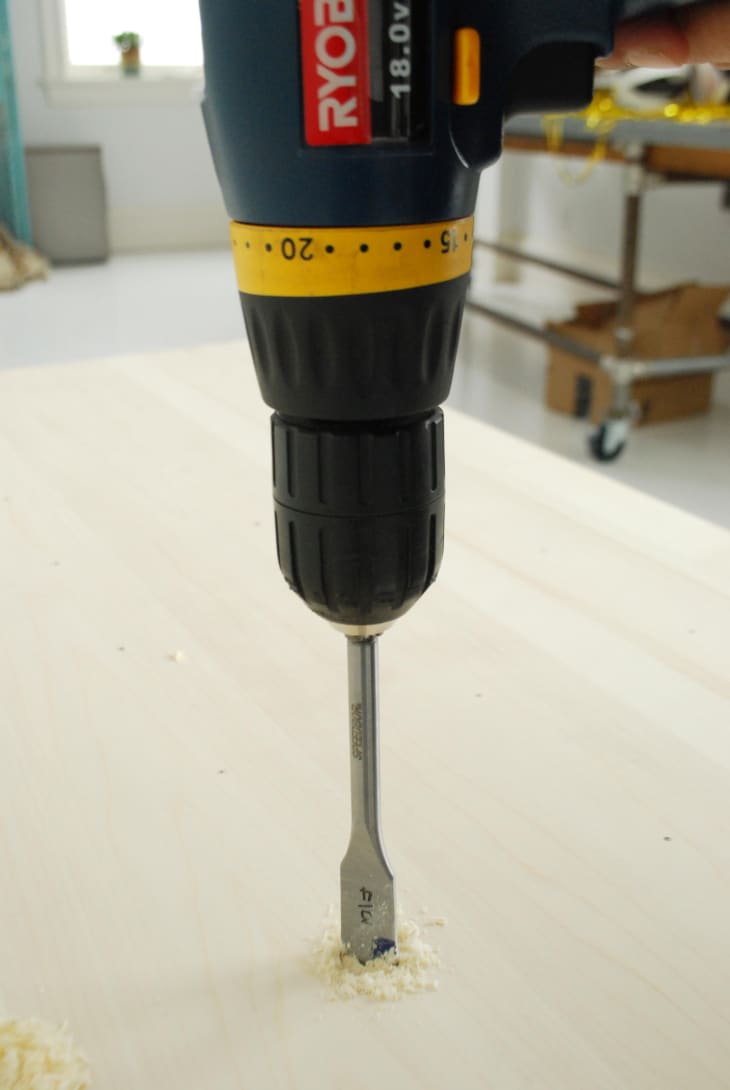
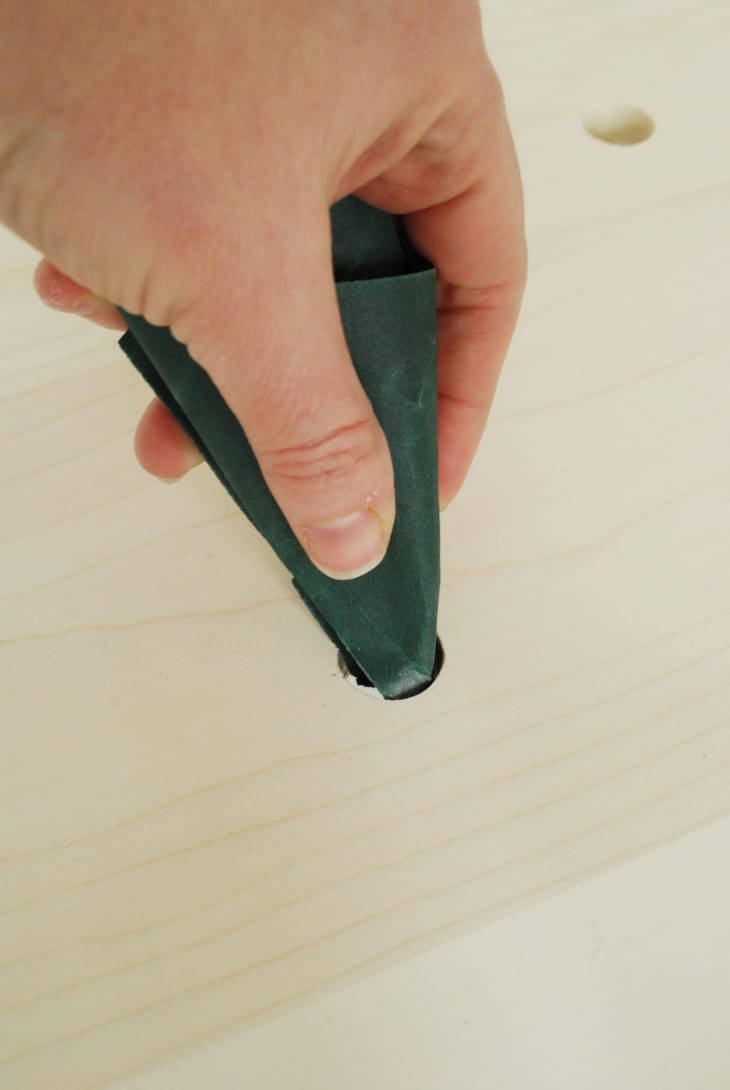
3. Using your spade bit, drill your first hole at your marks. Do your best to keep the drill upright and straight, as this will make your dowels more even in the end. I have a level on the base of my drill, and I watched that green bubble like a hawk.
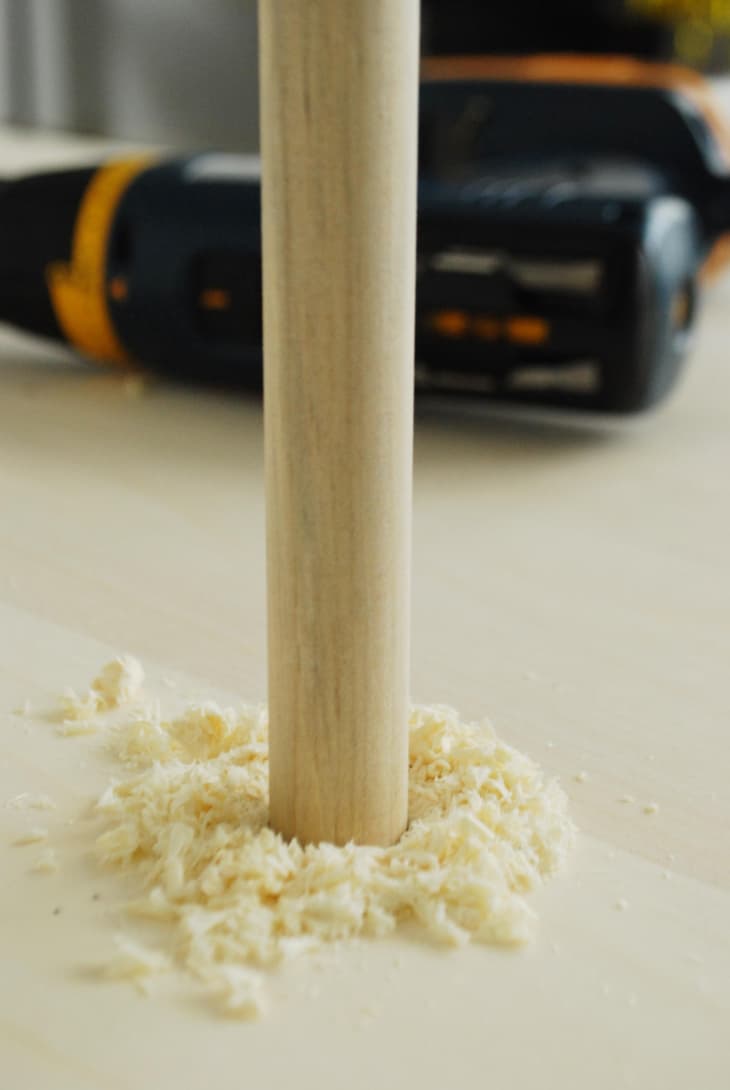
4. After the first hole, I inserted a dowel, just to make sure it was a nice snug fit. Phew!
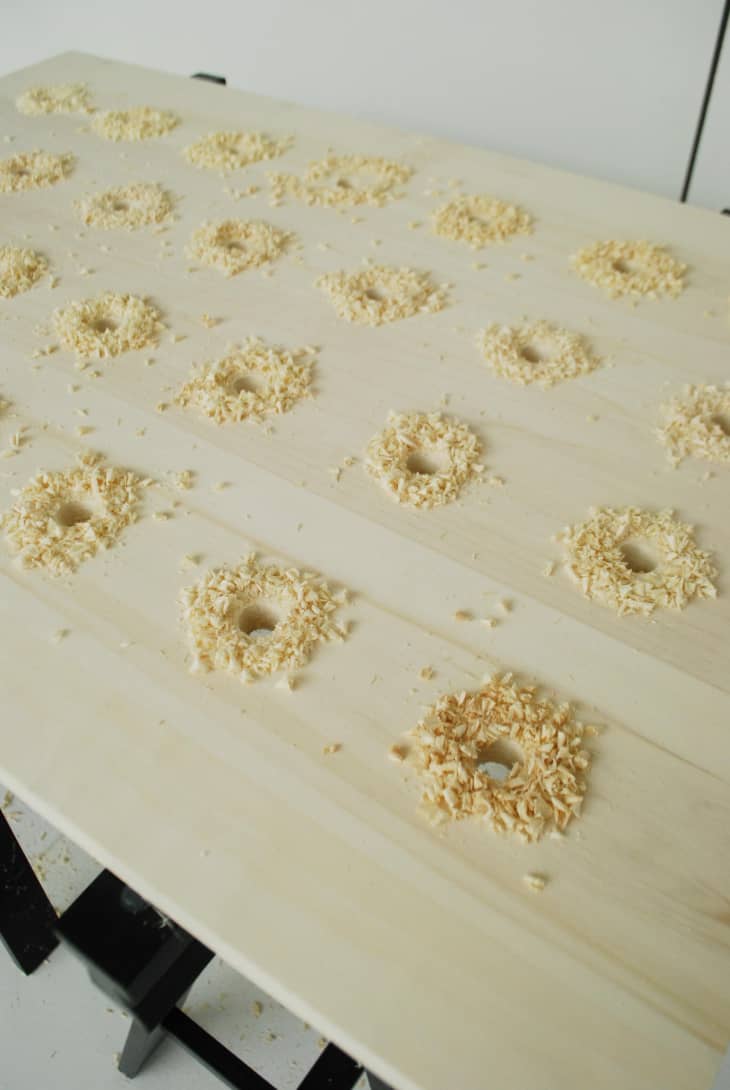
5. Once you’ve passed the dowel test, you can drill the rest of your holes.
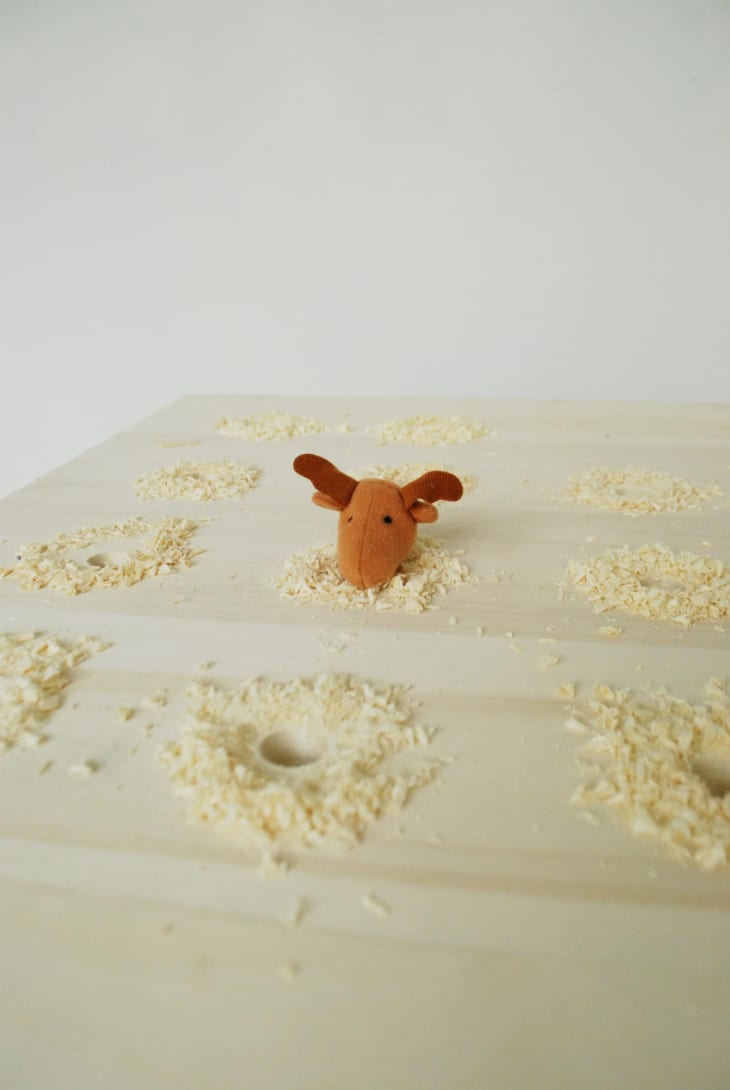
6. The next game of Whac-A-Moose will begin in five minutes.
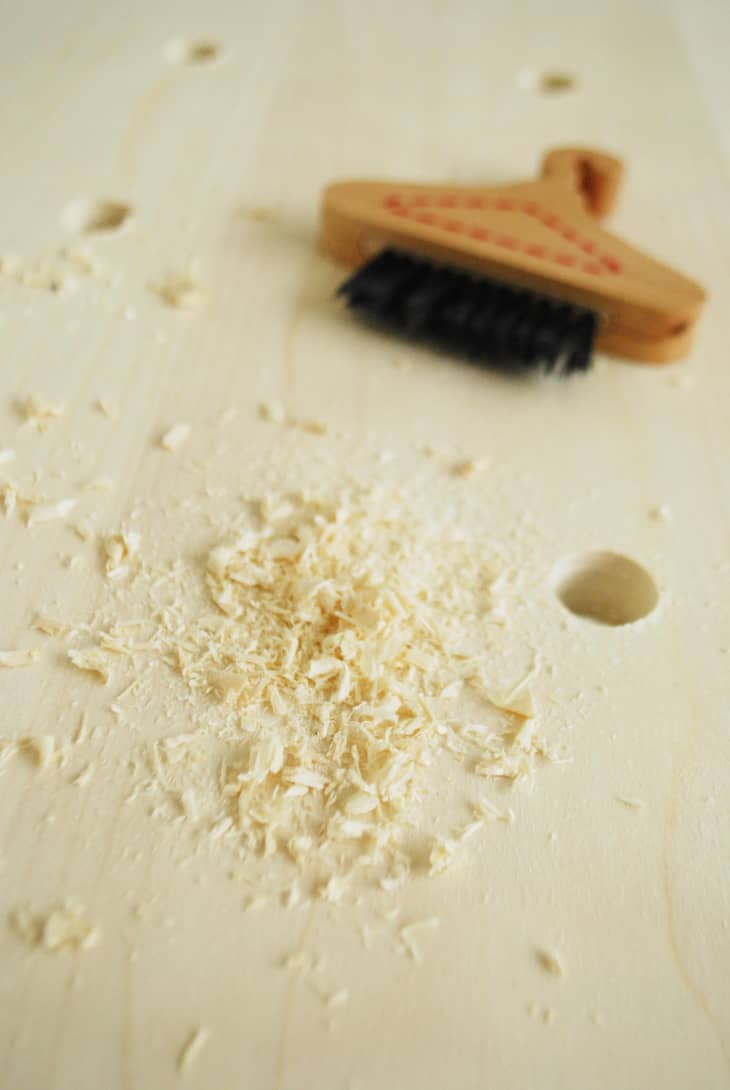
7. After all the holes are drilled, brush off all the sawdust and flip the panel over.

8. If your panel is anything like mine, you’ll have lots of splintering on the reverse side. No biggie though because it is the reverse side that no one will see. I just broke off some of the bigger splinters so the panel will lie flat against the wall.
9. When you’re satisfied, flip the panel back over and lightly sand the front. I curled up some sandpaper and stuck it in the holes to get rid of any jagged edges.
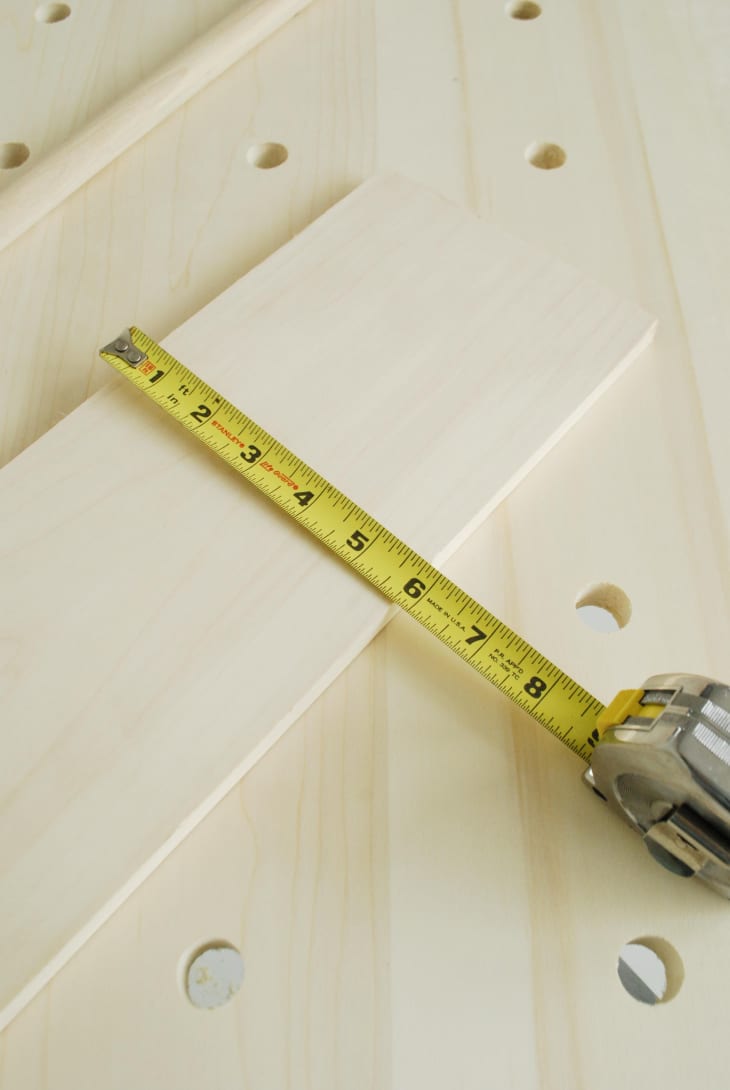
10. Now, if you are following your own plan (vs. using these measurements), measure the depth of your shelves and add that to the thickness of your wooden panel. That’s how long your dowels need to be. Cut the dowels with a saw, or have them cut for you at the hardware store if necessary.

11. I waited until the last step to cut my shelves to their desired length. It really is up to you how many you want and how long each should be. Stick some dowels in and try our different configurations. Then, cut your boards when you determine what looks good.

Have a really great DIY project or tutorial that you want to share with others? Let us know! We love checking out what you’re making these days, and learning from our readers. When you’re ready, click here to submit your project and photos.