
Fast & Fashionable: A Sweet Wooden Wall Hanging to DIY
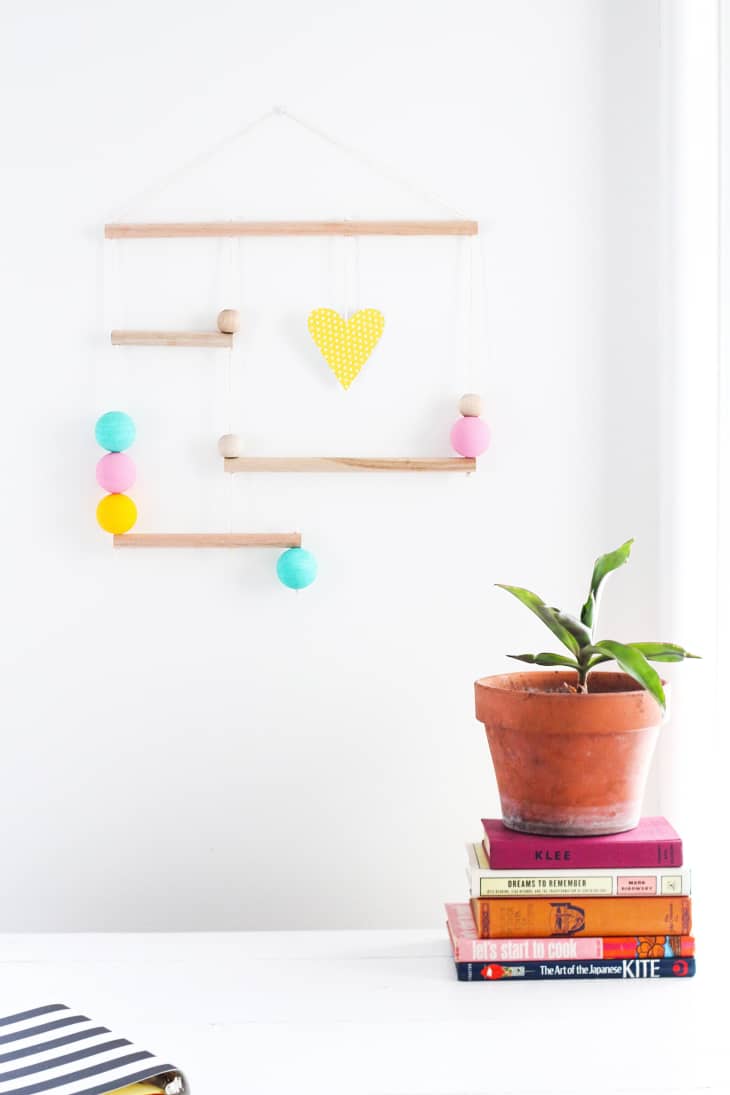
Who says Valentines Day has to be all about flowers and perfume, and delicate things? Sure, those are nice, but if your snookums fancies craft projects and lovely artwork instead — well, this project is for them!

What You Need
Materials
- 3′ wood dowel rods (I used 2 3/4″ diameter rods)
- String or twine
- Wood, styrofoam, or clay beads in all sizes
- Craft paint
Tools
- Power drill
- Saw
- Drill bits
- Scissors
- Sandpaper
- Small level (optional)
- Wood clamp (optional)
- Packing tape (optional)
- Craft needle (optional)
Instructions
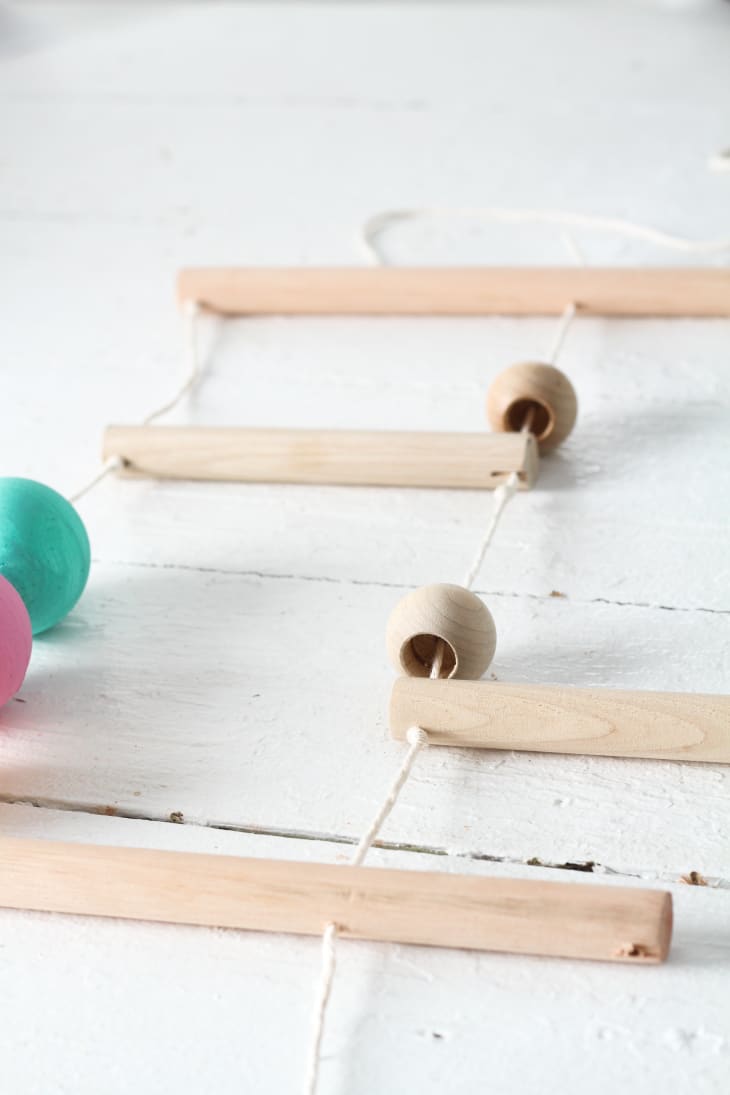
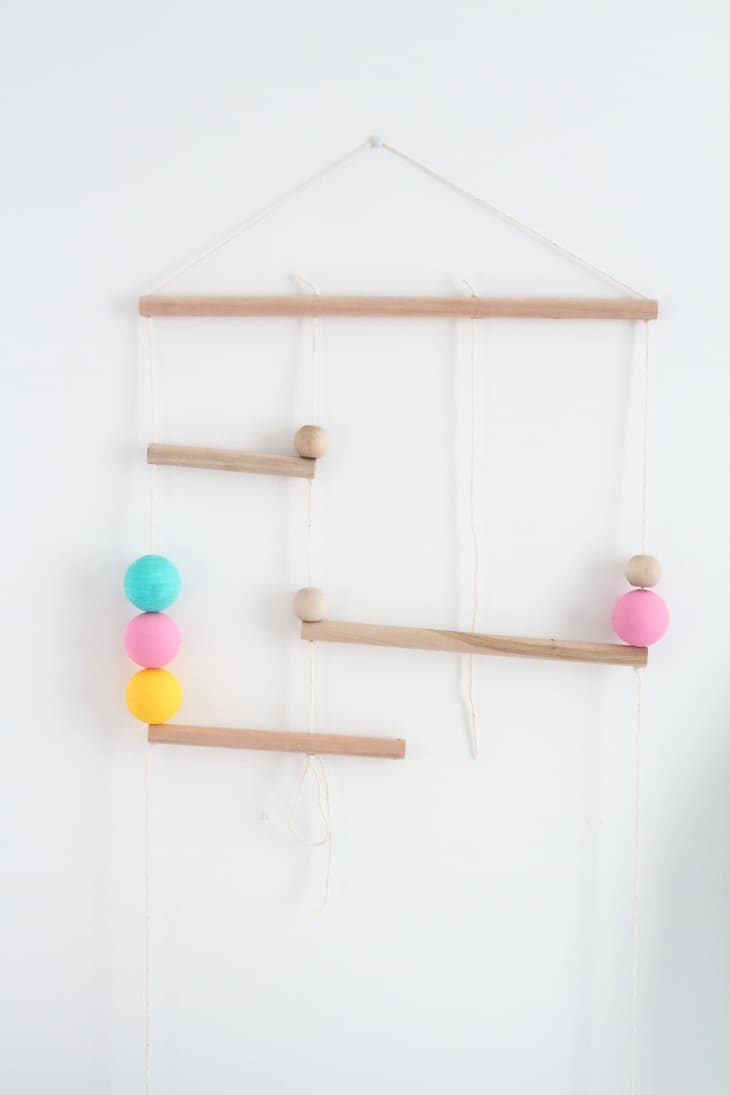
1. The best way to start is to sketch out what you want your wall hanging to look like. The wood pieces can really be placed any way you like, just try to stagger the lengths so they don’t make one side heavier than the other.
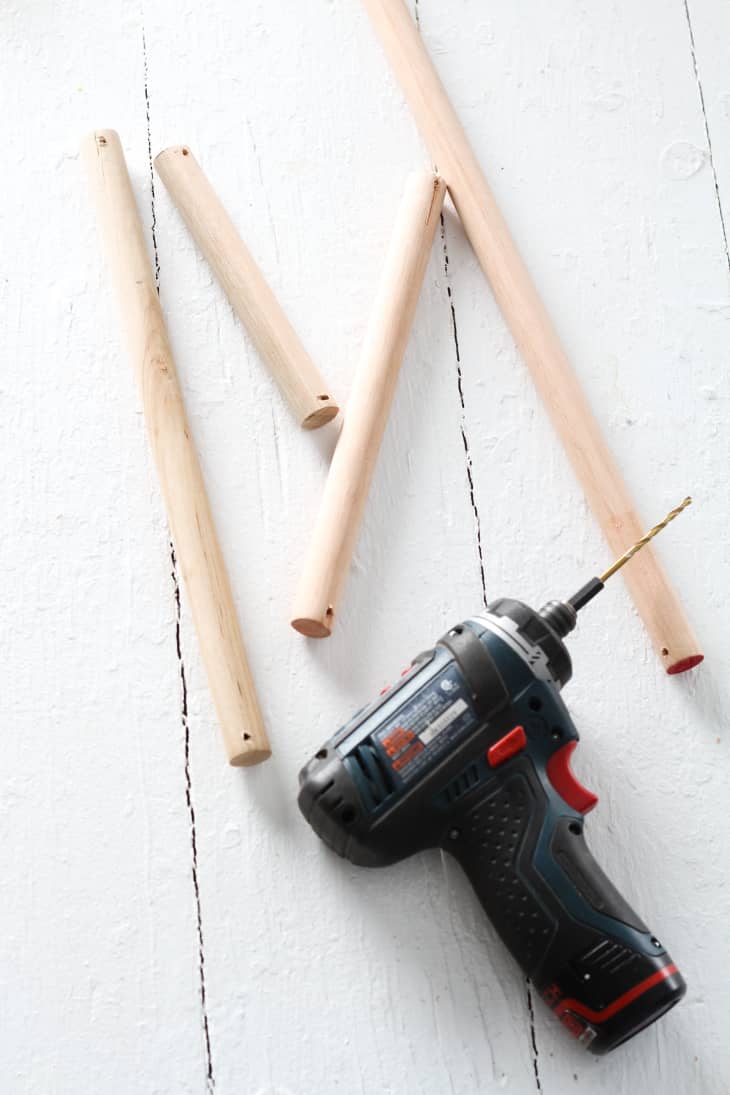
Once you’ve decided on placement, saw cut the wood rods to appropriate lengths. Hit the ends with sandpaper to knock down any rough, splintered areas cutting may have caused. Note: If you don’t have access to a saw you may be able to buy pre-cut lengths of wood dowels at your local craft store. Otherwise, you can usually have the hardware store cut them for you.
2. Measure in the same distance on each rod and drill your holes. I drilled the holes about 1/4″ in from each cut end. Try to drill each end without turning the rod so the holes on each side will be cut in the same place, and allow the string to hang level. If you have a clamp, use it to keep the rod in place while drilling.
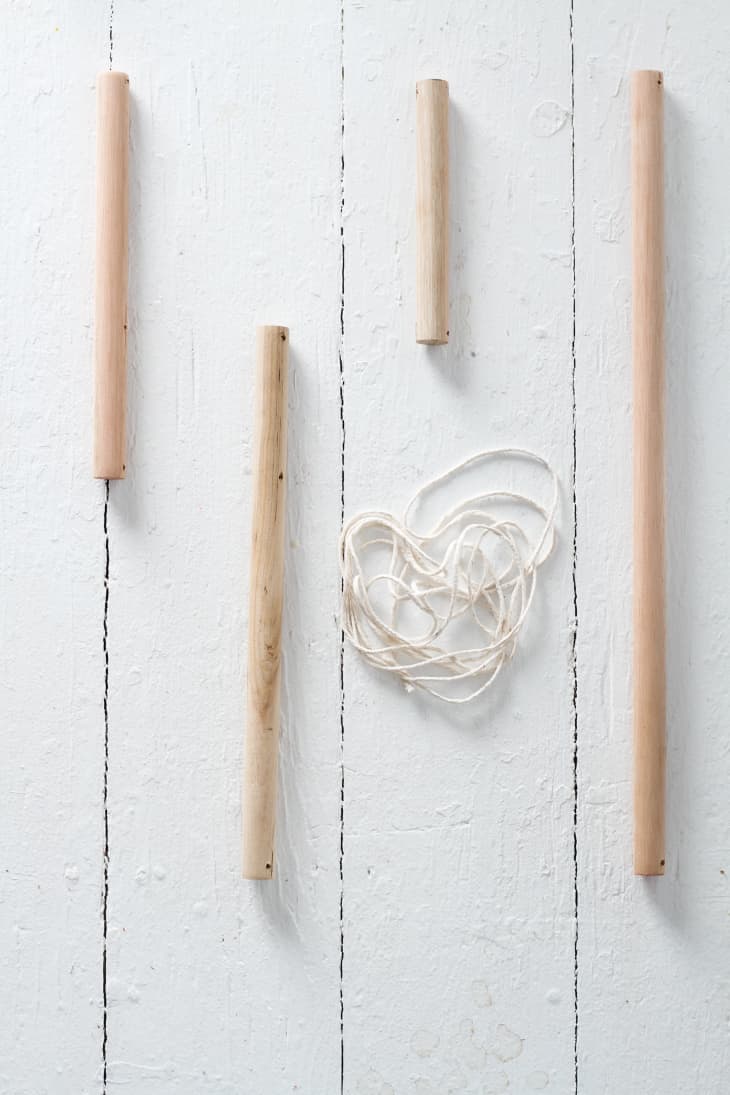
3. Lay out the wood rods according to your sketch and loosely drape your string across the top of the rod (allow extra length for hanging), and down each outer side of the piece. Be sure to allow 8″-10″ extra to allow for adjustments and knots. Cut additional strings to connect the inside ends of the rods, allowing the same amount of excess as you did for the outer strings.
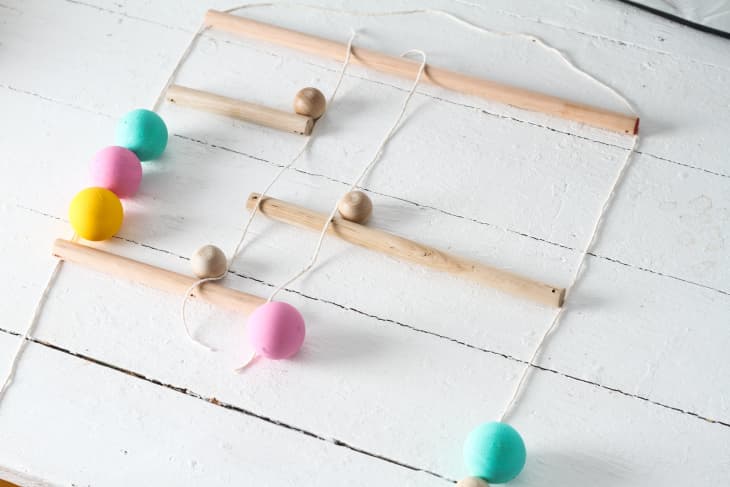
Tip: This is a good time to play around with your bead placement to get an idea of what your finished product will look like.

4. Starting with the longest outer string, thread each end down through the top dowel on the left and right sides. Make sure that the very middle of the string is also at the middle of the uppermost dowel. Once through, place a small knot below the dowel holes to help hold the rod in place once its hung.
Tip: To make threading through the holes easier, place a small strip of packaging tape around the end of the string (or use your craft needle).
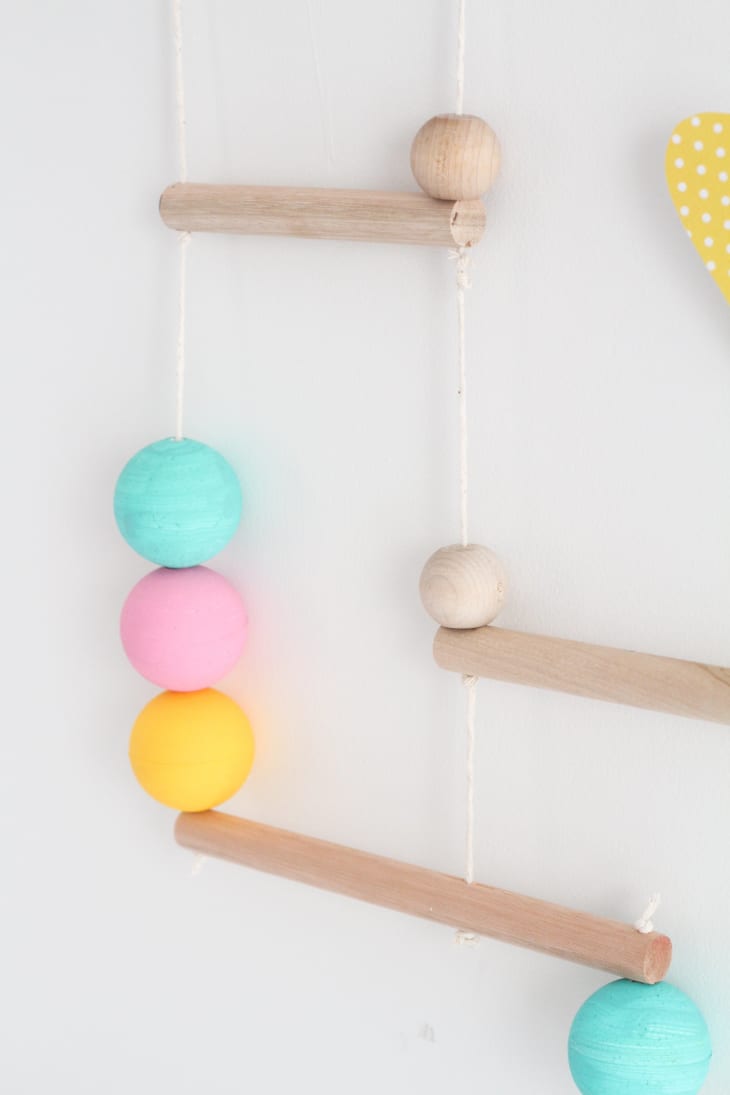
5. Continue the path downwards through the project, weaving the string through the beads on the outer edges, placing knots under each wood rod the string goes through.
6. After you’ve done the outer edges, hang the project on the wall to check that the rod is level. Then do the same thing with the inner ends of the rods, adjusting the rod levels as you go.
Here’s another option: If you want to walk on the wild side, weave the string through all the beads and rods, including the inner rods, eyeballing the level placement of the rods the best you can and place a loose knot under each one. Once you’ve got the piece hanging on the wall, loosen the knots and adjust to level out the rods. You can use a small level during this process to get things just right.
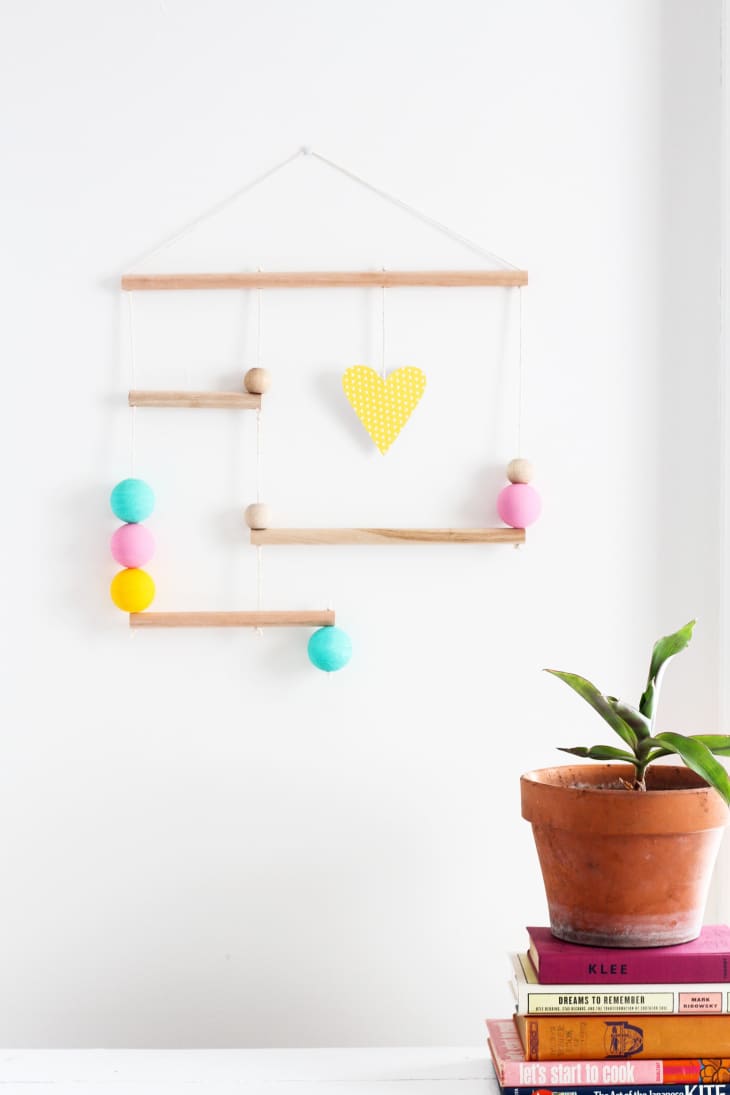
7. Trim the tails of the rest of the strings and either give it to your sweetie, or treat your own self with a new work of art!
Have a really great DIY project or tutorial that you want to share with others? Let us know! We love checking out what you’re making these days, and learning from our readers. When you’re ready, click here to submit your project and photos.