
This Handmade Modern Bean-Bag Toss Set Is Perfect For Summer
We independently select these products—if you buy from one of our links, we may earn a commission. All prices were accurate at the time of publishing.
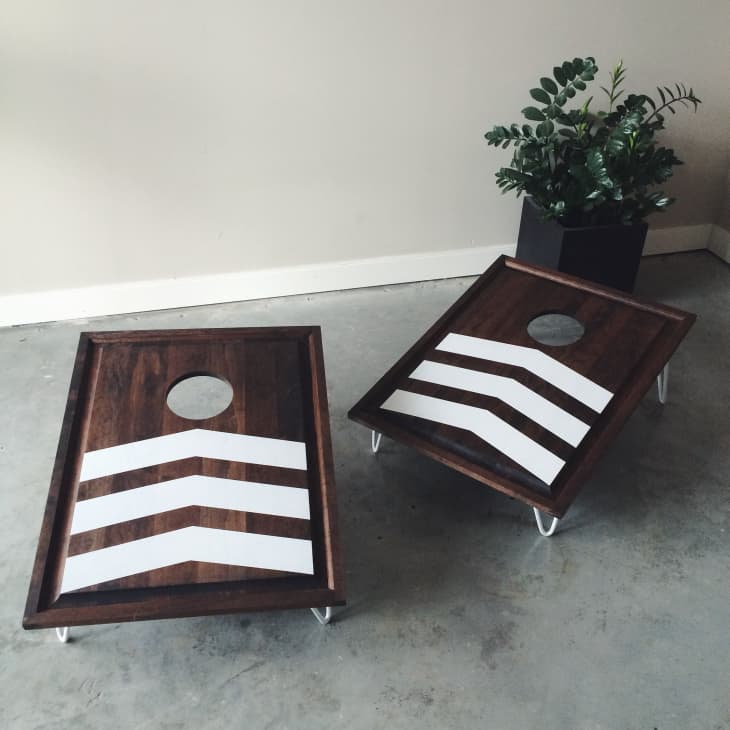
(Image credit: Submitted by Maegan)
Summer is quickly approaching (thank goodness) and with it lots of outdoor time. If you’re looking for a fun summer activity that doesn’t involve running (just me?) but fuels healthy competition, bean-bag toss is a great option.
Skill Level: Moderate
Time Required: 3 Days
Project Cost: $100
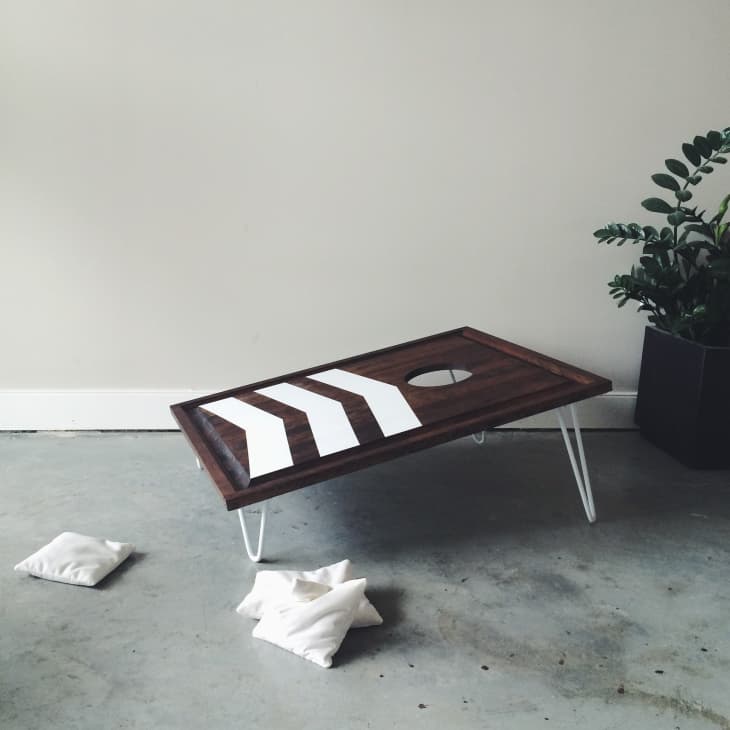
(Image credit: Submitted by Maegan)
What You Need
Materials
- Two solid wood boards (2-feet by 3-feet)
- Four 4-inch hairpin legs
- Four 10-inch hairpin legs
- Two – Three sanding sponges
- One small can dark wood stain
- One roll painters tape
- Two cans white metallic spray paint
- One tube fast setting epoxy
- Two large bags of popcorn kernels
- One package wood screws
- 1/4 meter white crushed velvet fabric
- 1/4 meter black crushed velvet fabric
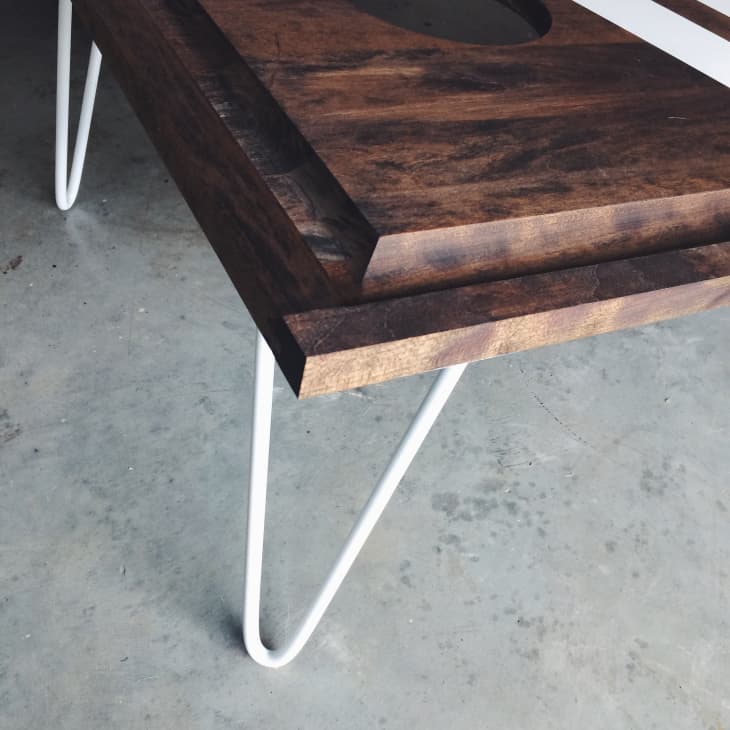
(Image credit: Submitted by Maegan)
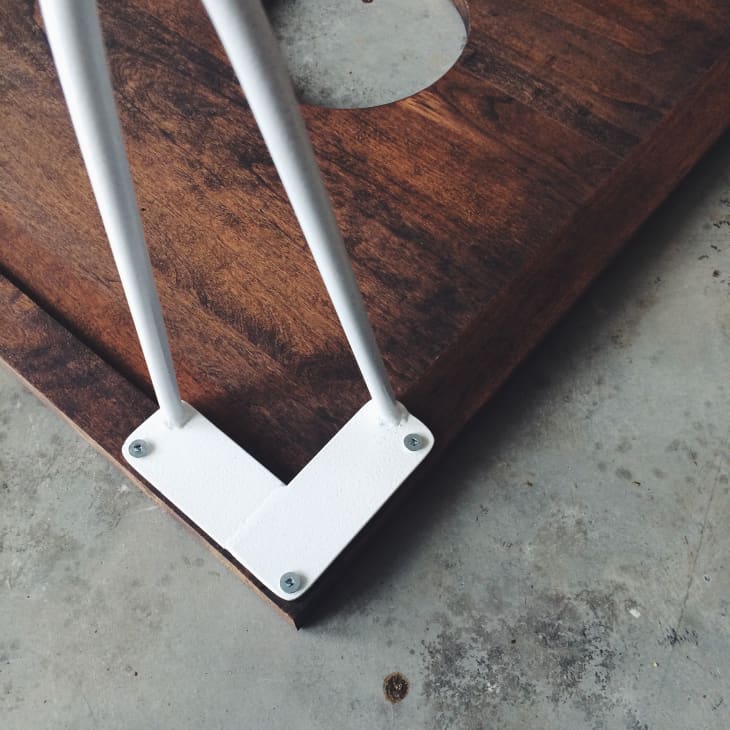
(Image credit: Submitted by Maegan)
(Image credit: Submitted by Maegan)
Instructions
Assembly process for the boards:
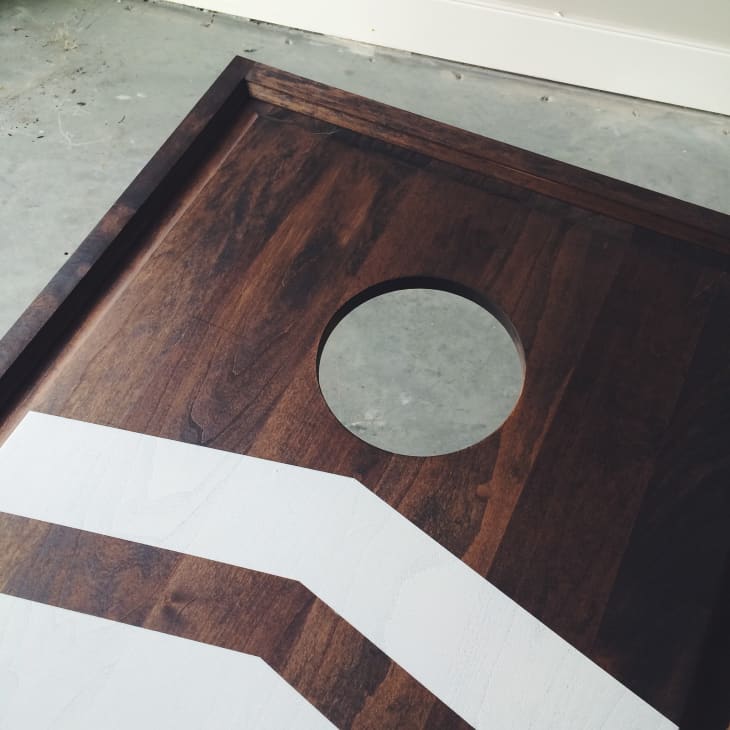
- First, draw the circle to be cut out on the board. Measure 9-inches from the top of the board and 12-inches from the side of board and mark the meeting point. From that mark, use a compass to draw a 6-inch diameter circle.
- Use a power drill and spade bit, drill a pilot hole on the inside of the circle. Be sure to use a bit that is larger in diameter than the jig saw blade.
- Secure the board to a flat surface with clamps and insert the jig saw blade into the pilot hole. Very slowly cut out the circle following the line as closely as possible.
- Once all the cuts are completed, sand the top surface and all the cuts (including the outside edges) until perfectly smooth and wipe clean with a damp towel.
- Apply one coat of dark stain to the board and allow to dry overnight.
- Using a ruler and painters tape; map out the desired pattern on the top surface of the board (arrows, triangles, stripes, etc). Once the desired pattern is taped off, cover the remaining parts of the board with plastic to protect it from paint splatter.
- Using the white metallic spray paint, apply several light coats to the surface pattern on the board as well as the hairpin legs. Carefully remove the tape and plastic covering from the board and allow everything to dry overnight.
- Place the board good side down on a clean smooth surface and set the 10-inch hairpin legs into place near top of the board using the fast setting epoxy. Repeat this process with the shorter legs near the bottom of the board. Allow to cure for 5-10 minutes.
- Once the legs are bonded to the touch, secure each leg into place with wood screws. To prevent splitting, use a hand screw driver or pre-drill the holes.
- Repeat steps 1-9 to complete the second board.
(Image credit: Submitted by Maegan)
Assembly process for the bean bags:
- Place the white velvet fabric good side down on a clean surface, then measure and cut out eight 6-inch squares.
- Using a sewing machine, sew two squares together velvet side in, leaving a 2-inch gap on one side; use the opening to turn the square inside out.
- Using a measuring cup and funnel, fill the bag with about 1 1/2 cups of raw corn kernels.
- Sew up the hole using a sewing machine or by hand with needle and thread; repeat with the remaining squares to end up with 4 white velvet bean bags.
- Repeat steps 1-4 with the black velvet fabric to end up with 4 black velvet bean bags.
Thanks, Maegan! You can see more of this project and others on Maegan’s blog Hand Meyd.
Have a really great DIY project or tutorial that you want to share with others? Let us know! We love checking out what you’re making these days, and learning from our readers. When you’re ready, click here to submit your project and photos.