Before and After: A Cheery $300 Paint-and-Paper Laundry Room Refresh

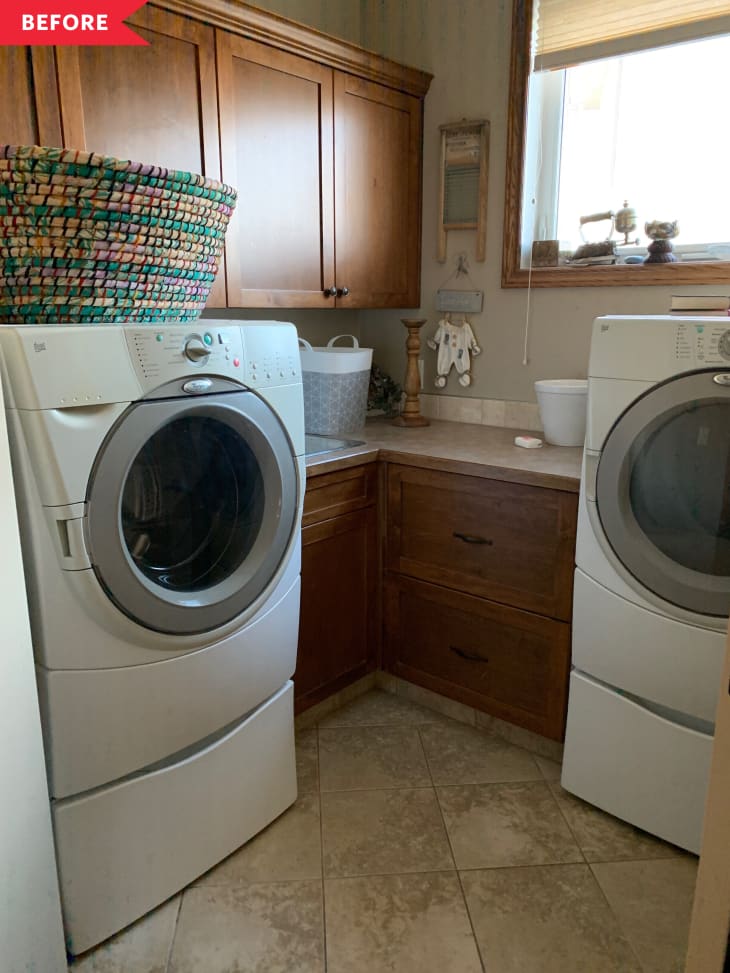
One great room makeover often inspires another. Once Erin Zubot redid her parents’ powder room, the results were so good that they put the neighboring laundry room to shame. “When I went to visit my parents it always bothered me that it didn’t feel very cohesive to the space next door, and I thought that a few small changes would make a big difference,” Erin says.
The laundry room wasn’t awful—just a little blah. “The home was built in 2006 and typical of that era, very brown! Brown cabinets, walls, countertops, floors,” Erin says. “It functioned well but it was somewhat uninspiring from a design perspective.”
So Erin made a deal with her mom, Adele Waldo: If Adele bought the materials, Erin would happily make over the laundry room. “My goal for this project was to make over a small space like this for a tiny budget. I wanted to give the space a bit of a cosmetic update but not spend a lot of money to do it,” Erin says.
Erin installed new tongue-and-groove paneling behind the sink using materials she had left over from a previous project. Then, she primed and painted the cabinet boxes and the new paneling; she took off the doors and drawers to spray them at home for a super smooth and professional look. Next, Erin installed peel-and-stick wallpaper with Adele’s help.
Erin used black wood-look contact paper to “resurface” the countertops on the cheap. “That was the thing I was the most nervous about,” Erin says. “My mom was willing to get new counters if the contact paper didn’t work, but it looks so good she won’t have to!” Because the contact paper was not wide enough to cover the whole counter, Erin ended up with several seams throughout; however, she says, “with careful application they are not noticeable at all.”
New hardware to match the black countertops completes the look, along with fresh DIY art. The project was mostly finished in a weekend, with a couple extra nights used for painting the cabinet fronts. That was the trickiest part, Erin says: “It’s a lot of prep work and careful application to ensure a smooth and professional looking result, but well worth it… I love everything about the after, and so does my mom!”
Inspired? Submit your own project here.
