
Before & After: A Cheery Chair Update!
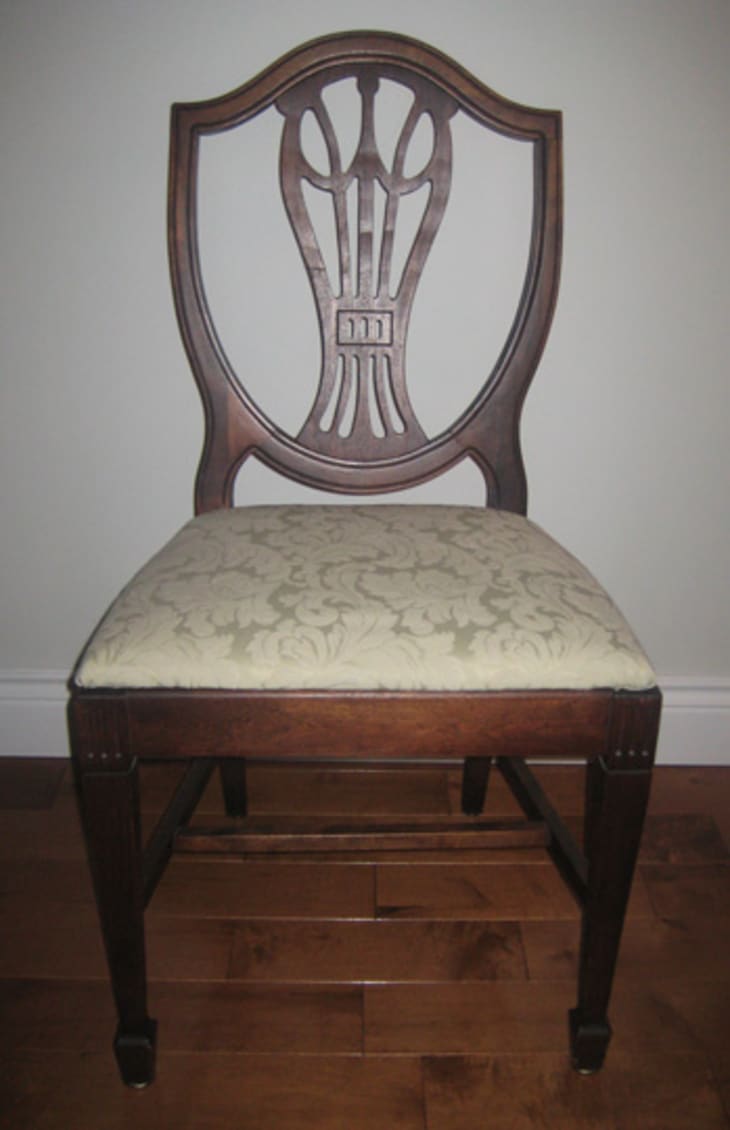
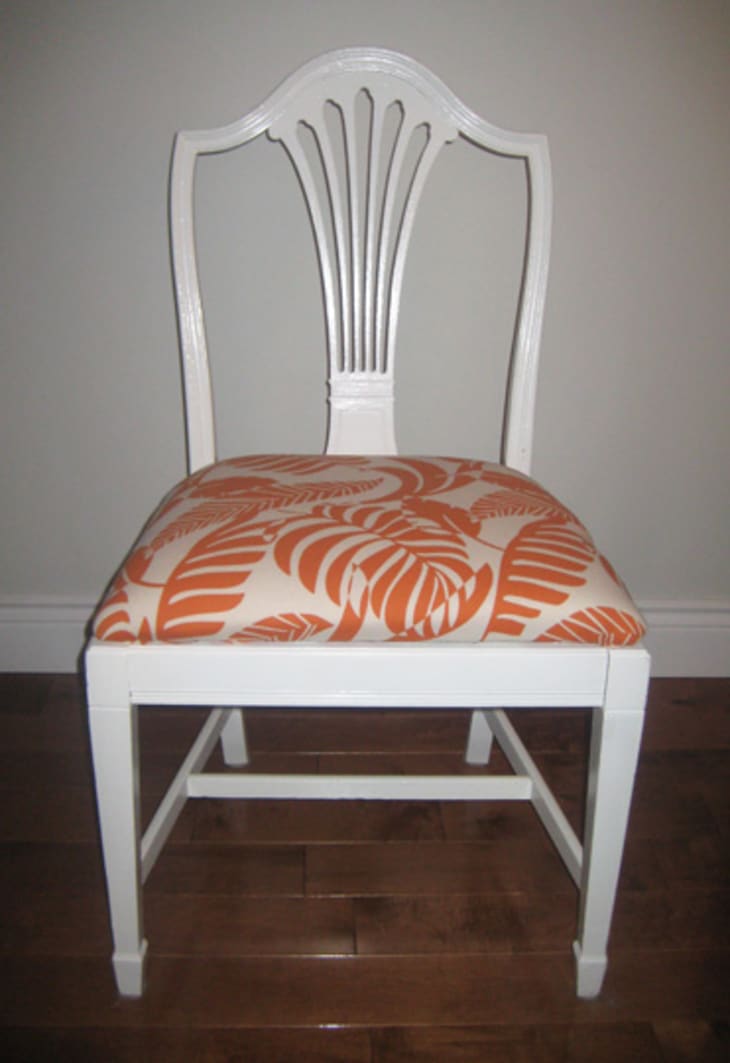
My Mum has owned her mismatched set of reproduction Georgian dining chairs for just about 35 years. Over that time the seats have been recovered in all manner of fabrics, but until recently they retained a rather traditional air. A little white paint and a bright, bold fabric turn these chairs from formal to funky!
First off, you probably noticed the after shot does not feature the exact same chair, but as mentioned, the dining set in question contain chairs of the same era with slight variation. Regardless of the “Can you spot the difference?” difference, the transformation is abundantly clear…
Easy-Peasy
This update an incredible simple one. After removing the seat, the old fabric and batting was replaced with 1 inch foam and secured in place with ½ inch batting, followed by the new bold print in off white and orange. Just a staple gun was needed to affix the batting, then fabric into place. As with all such jobs, start by stapling in the middle on one end, then across to the opposite side. Do this on all four sides, then move along stapling from the center outwards, always switching to the opposite side each time a new staple goes in. This method will keep the fabric nice and even.
In the meantime, the frame was lightly sanded, primed and painted. Whether you choose the brushed-on or spray paint route, be careful not to create drips—always use even strokes and apply minimal paint in several coats. Also keep in mind that chairs with similar cut-outs need to be approached from all angles to ensure that no spots are missed!
(Images: MaryAnne Petrella)