
Before & After: DIY Sofa Upgrade On the Cheap
We independently select these products—if you buy from one of our links, we may earn a commission. All prices were accurate at the time of publishing.
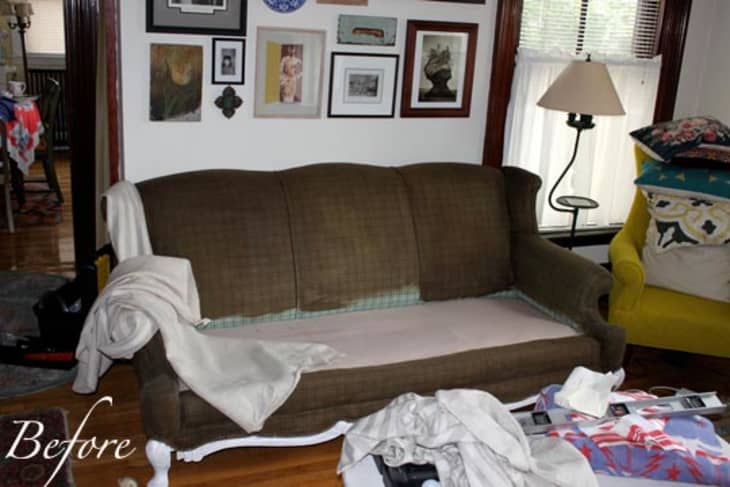
(Image credit: Apartment Therapy)
Re-Nest reader Abigail recently sent us her super thrifty sofa upgrade: A hand-me-down from her parents, she’s been living with the sofa for 3 years trying to disguise it with a floral slipcover and lots of pillows. After a not-so-great experience with brown fabric paint (the photo you see above), she decided to try her hand at recovering with some leftover linen fabric:
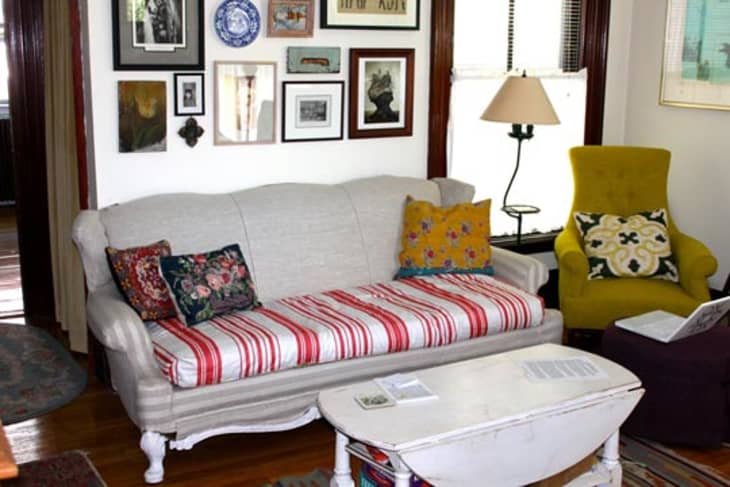
(Image credit: Apartment Therapy)
(Image credit: Apartment Therapy)
She writes about the process on her blog:
My number one tool was a curved sewing needle, an essential tool for any difficult sewing project such as this one. NOTE: I sewed behind the piping not over top. I did this on the two piping sections along the back to make it flush and for better durability. I attached the bottom striped fabric by hand sewing along the piping as well. (There was a lot of sewing by hand!) I then sewed the side pieces to the couch and to neighboring striped fabric. Once complete I removed the original staples. In the long run it would have been faster to make a slip cover, but I did not have enough fabric to make a proper one- so this method fit my need!
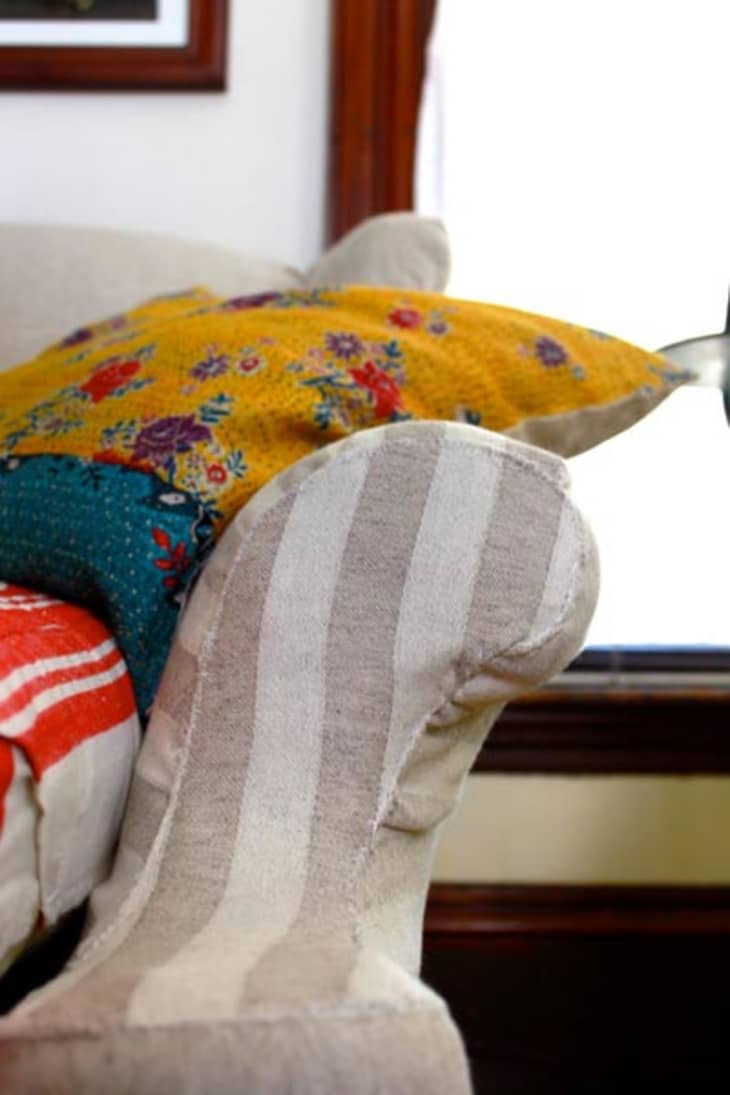
Now for the arms of the couch. First I took the extra striped fabric and cut a long piece for the facing of the arm. Then I folded the edges under and pinned it to the arm and using the same curved needle- sewed the fabric- attaching it to the original plaid couch fabric and to the striped fabric around it.
See more photos and read more about the project at TipToeThrough.
Thanks, Abigail!