
Before & After: From Disaster to Delightful in 2 Days
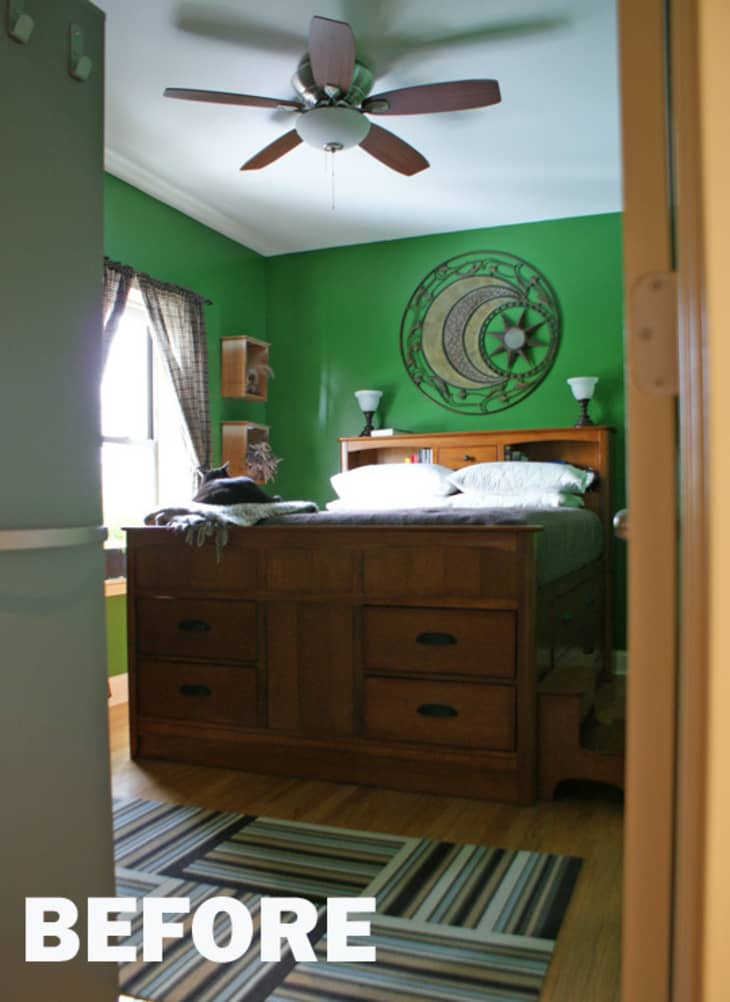
For some reason bedrooms seem to be left as the last room in the house to be decorated. I’ve seen it a lot in friend’s houses and House Tours. I am definitely guilty of neglecting my own bedroom, as you can see in this before photo. I am the first to admit — that room is hella ugly! But in two days I was able to take this room from a decorating disaster to delightful with a couple coats of paint (and some major purging).

I’ve been planning the overhaul of my bedroom for months. I’m usually a fly-by-the-seat-of-my-pants, devil-may-care decorator and — while that usually works for me — it clearly hadn’t in the bedroom. From the moment we painted the bedroom this awful shade of green, I hated it. And then, when the non-refundable bed we ordered online arrived I was also rather nonplussed. When I put it all together at the time I wasn’t pleased but I was willing to settle in and see if I learned to like it. That never happened and I’ve been thinking about redecorating the room almost as soon as I finished it the first time!
The planning and deliberation in redecorating the bedroom was actually really helpful in refining what I wanted to do to the room so that I accomplish it in a short amount of time. After all, my husband and I live in an 800 square foot one bedroom apartment. If I’m going to do an overhaul on the bedroom, it needs to be done in less than three days. Luckily, this project only took two days.
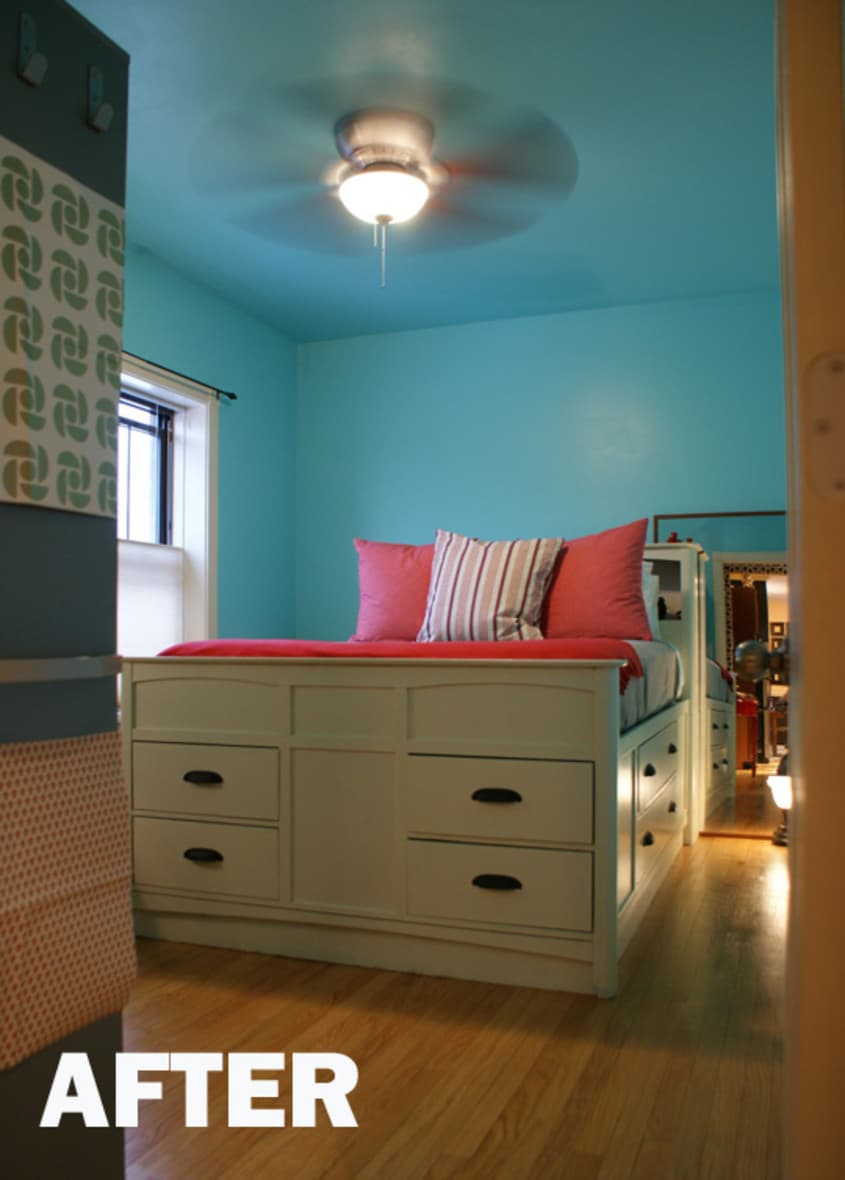
The most dramatic change in the room comes from repainting. The dark green in the before photo was an experiment in color gone awry. From the moment I applied a swath of the new color, inspired by a Tiffany & Co. box, I could see that painting the room was going to absolutely transform it.
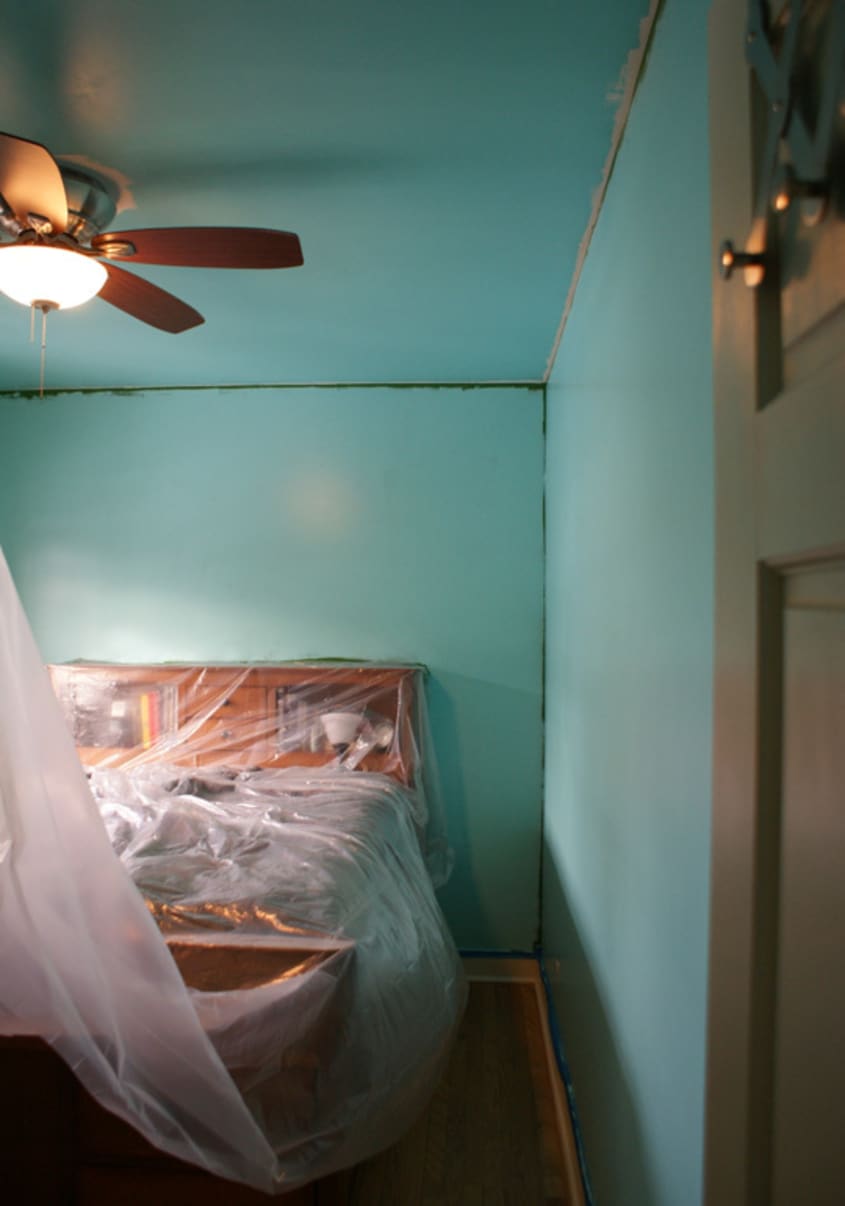
The paint mixer at Lowe’s innocently asked me if I wanted to use the new Valspar HD paint. He explained that the paint has a primer mixed into it and thinking about that dark, forest green I had to paint over, I agreed and ended up walking away with two gallons of Valspar HD paint in Tropicana Cabana blue.
To be honest, I hadn’t planned on painting the ceiling the same color as the walls. After I had finished taping around the baseboard and trim, I got a little overzealous and started painting before I taped off the ceiling. As I was painting the wall I thought “hmm, maybe I should paint the ceiling too and then I won’t have to tape”. Am I ever glad I did! Painting the ceiling and walls all one color really works in this room. It’s kind of like sleeping in a giant Tiffany box!
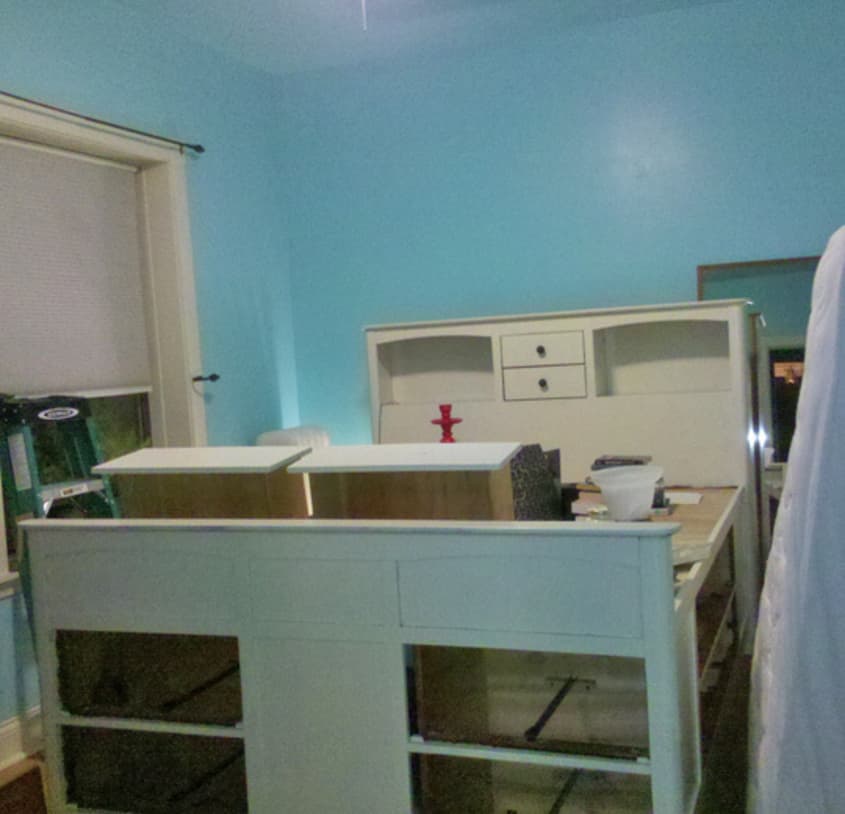
Before I started painting the walls, I was toying with also painting the bed. By the time I the second coat was on the walls, I was convinced that the bed had to be painted. Luckily, I had enough paint leftover from painting all the trim and doors in our apartment when we first moved in. The off-white paint not only transformed the bed from eyesore to OK, it also had the effect of visually shrinking the size of it. When the bed was its original wood finish, it seemed massive in our small bedroom. Painted off white, the bed now seems to recede a bit.
All told, the project cost me less than $200 (including new bedding) and I couldn’t be more pleased with the outcome. Next up: accessories!
Images: Jason Loper