Before & After: A Simple & Subtle $250 Kitchen Update

Sometimes when faced with a very outdated room, say like a kitchen, your first instinct could be to pour a lot of money into it to try to bring it back into the present day. But as Sabrina proves with this simple and subtle redesign, you can make a big impact on the look of a space with very small but potent changes (and only a bit of money).
From Sabrina:
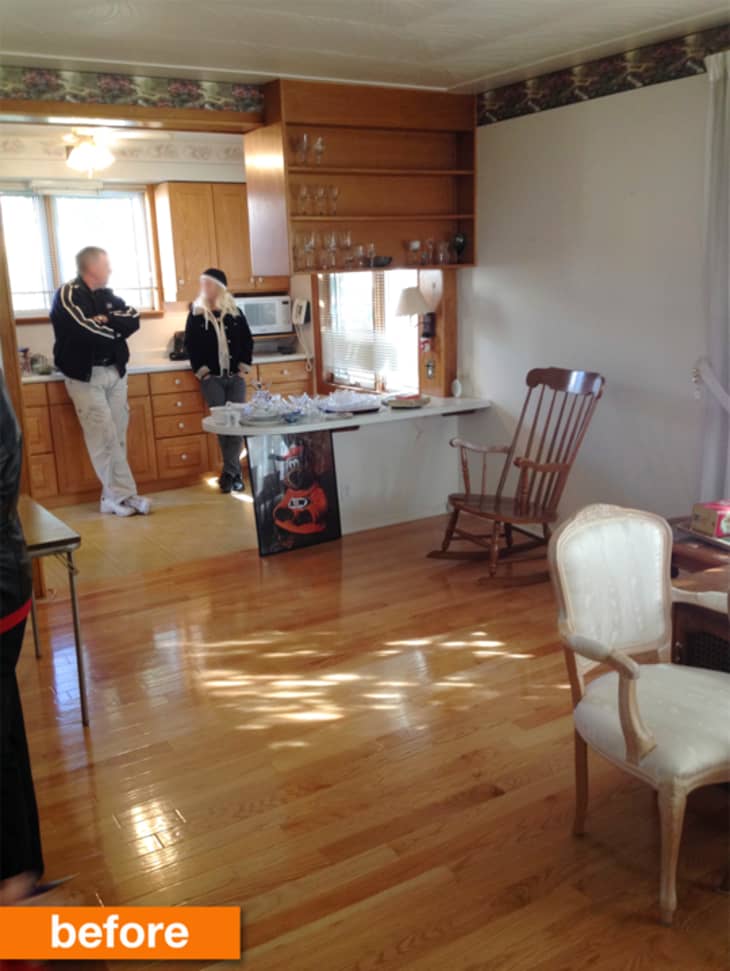
Believe it or not, I bought this home at an estate auction, and these people were looking at it as well. Second thing’s second, welcome to 1968, am I right?
What I Did:
Removing Wallpaper:
It started with removing the gosh-darn ugly border wallpaper of repeating grossness. Thank goodness it wasn’t all over the walls! After a quick wash and scrub, the walls were as good as new!
Replacing Knobs and Small Features:
Next came replacing the knobs. I got this pack of 10 simple silver knobs from Home Depot for around $23. That alone updated the overall look and age of the kitchen.
New Flooring:
I found an awesome and durable grey-scale, geometric vinyl lay-flat flooring from Re-Store (a Habitat for Humanity-run store) for $60. I found the exact same flooring at Home Depot for almost triple the price–but still a reasonable and fair investment for the result. With a lot of nooks and crannies and corners in my galley kitchen, I ended up measuring the footprint four times. And believe it or not, I got different numbers each time. I only felt confident once my measurements were identical twice – on the third and fourth try. It just goes to show you have to re-measure over and over to get it right.
These days, with advances in flooring and materials, there’s no need to remove the previous floor unless it’s falling apart or damaged. And even better than that, there’s also no need to glue or adhere the flooring down! The Tarkett lay-flat flooring like the one I got stays in place with gravity and the securing of baseboards ontop, and grips to whatever is underneath. It has never shifted or moved even a centimeter in my home –and it’s a high traffic area! So I simply removed the baseboards and — after a good sweep and vacuum – laid the sheet flooring, cutting off excess where it met the wall before putting the baseboards back in place. I liked the floor so much I decided to put it down on top of the ugly tiles in my entrance ways, so I got the exact same flooring at my local Home Depot as I mentioned before. I also painted the wooden window trim and baseboards white. Like the knobs, with a little elbow-grease and change, it updates the look tenfold!
Backsplash:
Next came the back-splash. I found white subway tile at Eden Tile-It in Burlington for around $50 and got my grout and tile-adhesive from my local Home Hardware for around $40.
With a few new switch and outlet plates, a good scrub and plenty of decor, kitchen accessories and plants, voila, my kitchen went from 60s to 2014!
Another thing to note is the use of the overhead storage to divide the room. I am in love with my overhead storage, and previously, the shelving was used for china and kitchen paraphernalia. But with the open concept layout opening into the living space, I opted to use this shelving as a pseudo-bookshelf and put living room goods, books and nick-knacks there instead. It divides the space and makes the living room feel more like a living room when looking towards the kitchen.
Thank you Sabrina! See a lot more photos of this affordable kitchen remodel on Sabrina’s blog.
Re-edited from a post originally published 10.11.14-NT
